
If you love cheesy, warm bread, you’re in for a treat! My easy and tasty Cheesy Garlic Breadsticks recipe will bring a smile to your face. With simple ingredients and steps, you can whip up these delightful snacks in no time. Whether you’re hosting a party or enjoying a cozy night in, this recipe will impress everyone. Let’s dive in and start creating cheesy, garlicky goodness together!
Ingredients
Main Ingredients List
To make Cheesy Garlic Breadsticks, you will need:
- 2 cups all-purpose flour
- 1 tablespoon sugar
- 1 teaspoon salt
- 1 tablespoon instant yeast
- 3/4 cup warm water (about 110°F)
- 1 tablespoon olive oil
- 2 tablespoons garlic powder
- 1 cup shredded mozzarella cheese
- 1/2 cup grated Parmesan cheese
- 1 tablespoon Italian seasoning
- Fresh parsley, chopped (for garnish)
Ingredient Substitutions
You can swap some ingredients if needed:
- Use whole wheat flour instead of all-purpose flour for added fiber.
- Honey or maple syrup can replace sugar for a healthier option.
- Active dry yeast works well if you don’t have instant yeast.
- Any cheese can replace mozzarella, like cheddar or gouda.
- If you lack Italian seasoning, use a mix of dried basil and oregano.
Tips for Fresh Ingredients
Using fresh ingredients makes your breadsticks taste better. Here are some tips:
- Check the expiration date on your yeast. It should be active and fresh.
- Use fresh garlic powder for stronger flavor. Stale powder loses its punch.
- Choose high-quality cheese for rich taste and melt.
- Fresh parsley adds color and brightness to your dish. Always opt for vibrant greens.
Step-by-Step Instructions
Preparing the Yeast Mixture
First, grab a mixing bowl. Pour in the warm water and add the sugar. Stir until the sugar dissolves. Now, sprinkle the instant yeast on top of the water. Let it sit for about five minutes. You want to see it get foamy. This foam shows that the yeast is alive and ready to help your bread rise.
Making and Kneading the Dough
In a large bowl, mix the flour and salt together well. After the yeast mixture is foamy, add it to the flour. Don’t forget to add the olive oil too! Mix everything until a dough forms. Now, dust a surface with flour and knead the dough for five to seven minutes. Keep kneading until it feels smooth and elastic. This step is key for great texture!
Once kneaded, place the dough in a greased bowl. Cover it with a kitchen towel. Let it rise in a warm spot for about one hour. You want it to double in size!
Shaping and Baking the Breadsticks
When the dough has risen, it’s time to shape it. Punch it down gently to release air. Roll it out into a large rectangle, about twelve by eight inches. Transfer it to a baking sheet lined with parchment paper.
In a small bowl, mix the garlic powder with the Italian seasoning. Sprinkle this mix evenly over the dough. Now, add the mozzarella and Parmesan cheeses on top. Press lightly so the cheese sticks well.
Next, cut the dough into strips that are one to two inches wide. Be careful not to cut all the way through to the bottom!
Now, bake in a preheated oven at 425°F for 15 to 18 minutes. Keep an eye on them! They should be golden brown and the cheese bubbly.
Once baked, take them out and let them cool for a couple of minutes. Garnish with chopped fresh parsley before serving. Enjoy your cheesy garlic breadsticks!
Tips & Tricks
Achieving Perfectly Cheesy Breadsticks
To make your cheesy garlic breadsticks truly delicious, follow these tips:
- Use warm water at about 110°F to wake up the yeast.
- Knead the dough well for at least 5-7 minutes. This helps build gluten for a chewy texture.
- Press the cheese down lightly on the dough before baking. This makes sure it sticks well.
Common Mistakes to Avoid
I’ve seen many home cooks make these common mistakes:
- Don’t skip the rising step. Letting the dough rise is key for light breadsticks.
- Avoid overbaking. Watch for that golden brown color. Overbaking can dry them out.
- Don’t rush the cooling time. Let them cool a little before serving. This helps the cheese set.
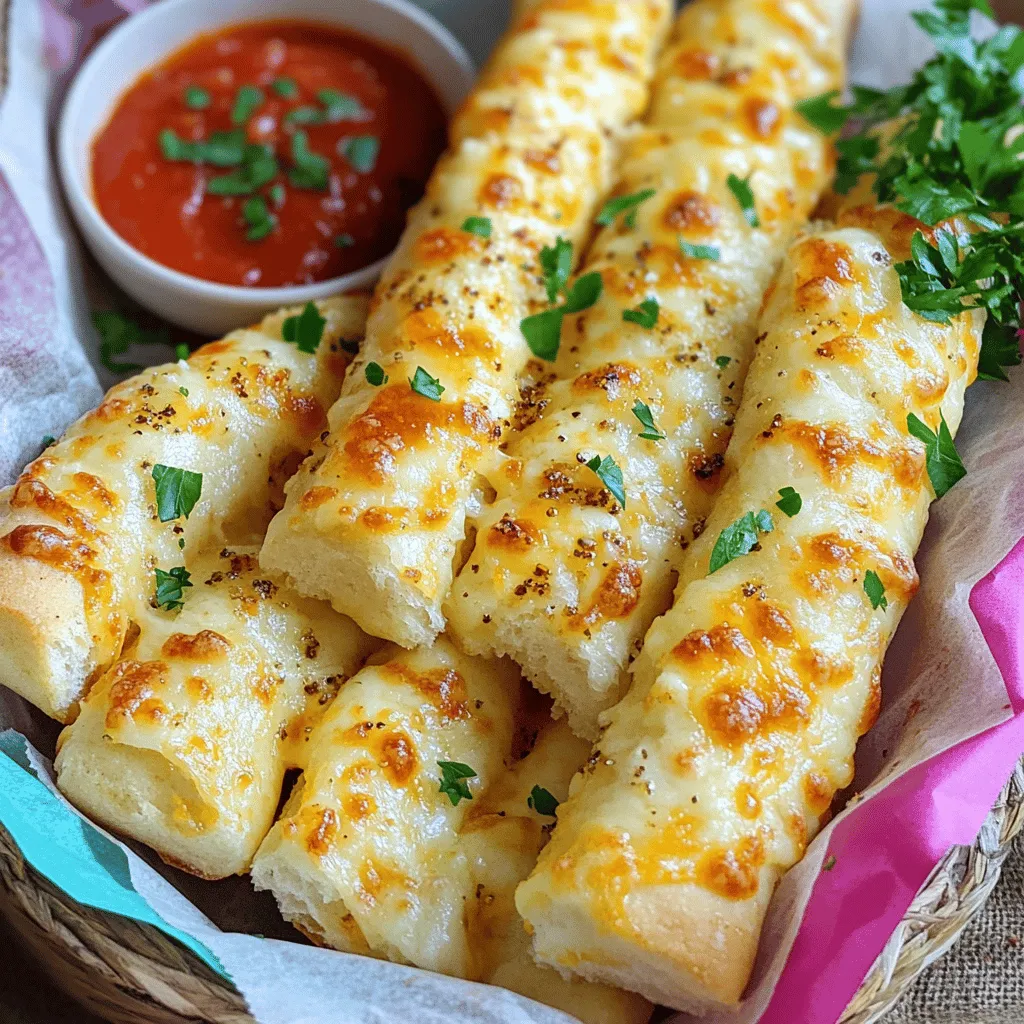
Serving Suggestions for Best Enjoyment
For the best experience, try these serving ideas:
- Serve the breadsticks in a basket lined with a colorful cloth. This adds a nice touch.
- Offer a small dish of marinara sauce for dipping. The flavors pair well.
- Sprinkle some fresh parsley on top for a pop of color and flavor.
Variations
Gluten-Free Cheesy Garlic Breadsticks
You can make gluten-free cheesy garlic breadsticks. Substitute all-purpose flour with a gluten-free blend. Use a blend that contains xanthan gum. This will help the breadsticks hold together. Follow the same steps in the recipe. The taste will still be cheesy and delicious.
Flavor Enhancements
Want to kick up the flavor? Add fresh herbs like basil or thyme. Mix in red pepper flakes for heat. You can also try smoked paprika for a smoky taste. Just sprinkle these on top with the garlic and cheese. These small changes can make a big difference.
Dipping Sauces Recommendations
Dipping sauces make cheesy garlic breadsticks even better. Try marinara sauce for a classic choice. A creamy ranch dip also pairs well. If you like spice, use a buffalo sauce. These options will elevate your breadsticks and impress your guests.
Storage Info
Storing Leftover Breadsticks
To keep your cheesy garlic breadsticks fresh, store them in an airtight container. This helps keep the breadsticks soft. You can also wrap them in plastic wrap. Place the wrapped breadsticks in a bag to block air. These breadsticks stay fresh for about 3 days at room temperature.
Reheating Instructions
To reheat, use your oven for the best taste. Preheat your oven to 350°F (175°C). Place the breadsticks on a baking sheet. Bake for about 5-10 minutes, until warm. If you want a crispy edge, you can turn on the broiler for a minute. Watch them closely so they don’t burn!
Freezing for Later Use
You can freeze cheesy garlic breadsticks for later enjoyment. First, let them cool completely. Then, wrap each breadstick tightly in plastic wrap. Place them in a freezer bag and remove as much air as you can. They can last in the freezer for up to 3 months. To enjoy, thaw in the fridge overnight and reheat as mentioned above.
FAQs
How long do cheesy garlic breadsticks last?
Cheesy garlic breadsticks can last for up to three days at room temperature. Store them in an airtight bag or container. If you want them fresh for longer, put them in the fridge. They can stay good for about a week when refrigerated. However, they taste best when eaten fresh.
Can I make the dough ahead of time?
Yes, you can make the dough ahead of time. After mixing and kneading, let the dough rise for about an hour. You can then punch it down and store it in the fridge. It will stay fresh for up to 24 hours. When you’re ready to bake, let it sit at room temperature for about 30 minutes before shaping it.
What is the best way to reheat cheesy garlic breadsticks?
To reheat cheesy garlic breadsticks, preheat your oven to 350°F (175°C). Place the breadsticks on a baking sheet. Heat them for about 10 minutes. This method keeps them crispy and warm. You can also use a microwave, but they might get a bit soft. If you do use the microwave, heat for about 20-30 seconds.
You now have all the steps to make cheesy garlic breadsticks. From choosing the right ingredients to baking, each part is key. Remember to keep it fresh and avoid common mistakes. You can even try fun variations or great dips. Store your leftovers well for later. With these tips, you can enjoy delicious breadsticks anytime. I hope you feel ready to bake!