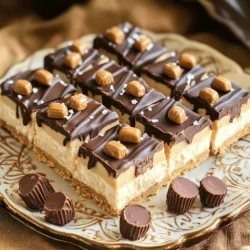
Indulge in the ultimate treat with my No-Bake Peanut Butter Cup Cheesecake Bars. These bars blend creamy peanut butter and velvety cheesecake for a dessert that’s easy to make and hard to resist. Whether you’re a novice baker or a seasoned pro, I’ll guide you step-by-step. Get ready to impress your friends and family with this delicious, no-bake delight that satisfies every sweet tooth!
Ingredients
List of Ingredients
To make No-Bake Peanut Butter Cup Cheesecake Bars, gather these ingredients:
- 1 ½ cups graham cracker crumbs
- ½ cup unsalted butter, melted
- 2 cups cream cheese, softened
- 1 cup powdered sugar
- 1 cup creamy peanut butter
- 1 teaspoon vanilla extract
- 1 cup heavy whipping cream
- 1 cup mini peanut butter cups, chopped
- ½ cup chocolate chips, for topping
- Sea salt, for garnish
Ingredient Substitutions
If you need to swap some ingredients, here are some ideas:
- Use almond butter instead of peanut butter for a nut-free option.
- Swap the graham cracker crumbs for crushed Oreos for a chocolatey twist.
- You can replace heavy cream with coconut cream for a dairy-free version.
- If you don’t have powdered sugar, you can blend granulated sugar until fine.
Tips for Choosing Quality Ingredients
Using the best ingredients makes a big difference. Here’s what to look for:
- Choose unsalted butter for better control of salt in your recipe.
- Select high-quality cream cheese for a rich and creamy texture.
- Look for creamy peanut butter that has no added sugars or oils.
- Buy fresh mini peanut butter cups for perfect flavor and texture.
- Use real vanilla extract instead of imitation for a richer taste.
These details make your No-Bake Peanut Butter Cup Cheesecake Bars taste amazing!
Step-by-Step Instructions
Preparation of the Crust
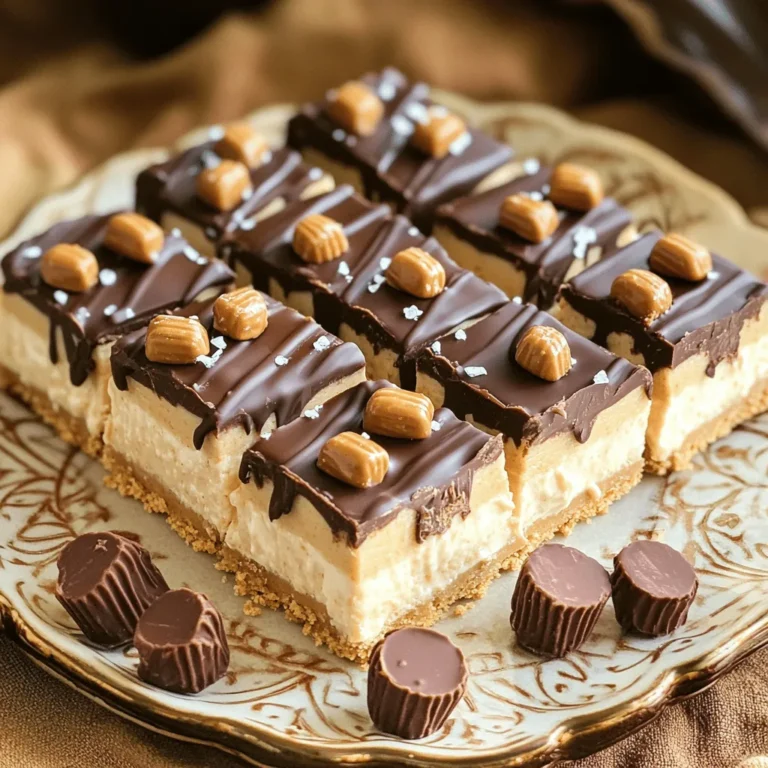
To start, gather your ingredients. You need graham cracker crumbs and melted butter. In a medium bowl, mix the crumbs and butter. Stir until it looks like wet sand. This is your crust. Next, take a 9×9 inch square dish. Press the crumb mix firmly into the bottom. Make sure it’s even all around. Place the dish in the fridge while you make the filling. This helps the crust set.
Making the Peanut Butter Filling
Now it’s time for the filling. In a large bowl, add softened cream cheese. Use an electric mixer to beat it until smooth. Slowly add powdered sugar, creamy peanut butter, and vanilla extract. Mix until fluffy and blended well. In another bowl, whip heavy cream until it forms soft peaks. Gently fold this whipped cream into the peanut butter mix. Be careful not to deflate it. Finally, add chopped mini peanut butter cups to the filling. Stir until they are spread evenly throughout.
Assembling and Setting the Bars
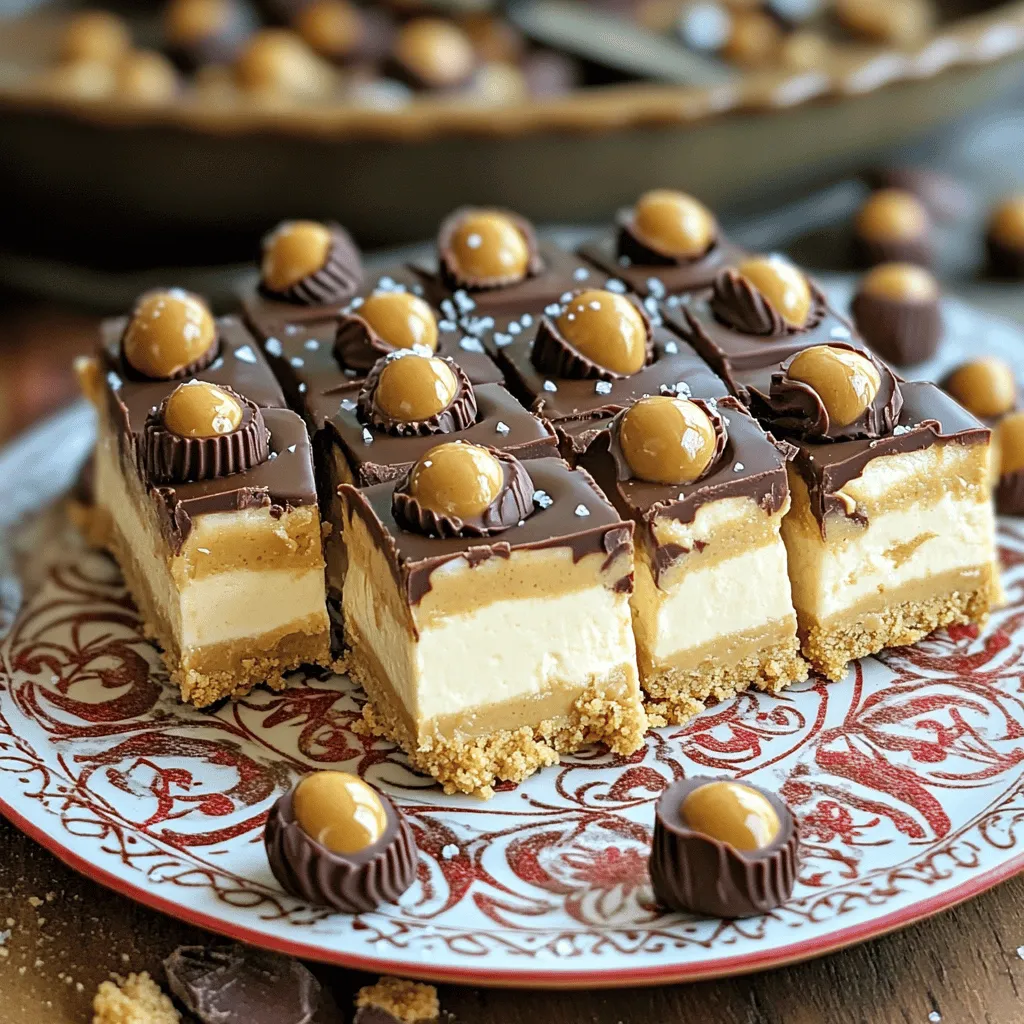
Next, spread the peanut butter filling over the chilled crust. Use a spatula to smooth out the top. Melt chocolate chips in the microwave. Stir every 15 seconds until smooth. Drizzle this melted chocolate over the cheesecake layer. Put the dish back in the fridge. Let it chill for at least 4 hours or until it sets completely. After it’s set, slice into squares. For a nice touch, sprinkle a pinch of sea salt on top before serving. Enjoy your delicious no-bake bars!
Tips & Tricks
How to Achieve the Perfect Texture
To get the best texture for your cheesecake bars, it’s key to use softened cream cheese. If it’s too cold, it will be lumpy. Beat your cream cheese well until it’s smooth. When you whip the heavy cream, make soft peaks. This helps your bars stay light. Always fold the whipped cream gently into the peanut butter mix. This keeps air in and makes the filling fluffy.
Garnishing Suggestions
For a fun touch, top your cheesecake bars with more mini peanut butter cups. You can also drizzle extra melted chocolate on top. A sprinkle of sea salt adds a nice contrast to the sweet taste. Serve the bars on a pretty plate. Add fresh fruit or whipped cream for extra flair.
Troubleshooting Common Issues
If your bars are too soft, they might need more time in the fridge. Make sure they chill for at least four hours. If they are hard to slice, let them sit at room temperature for a few minutes. This makes cutting easier. If the crust crumbles, press it down more firmly next time. A good crust holds everything together.
Variations
Alternative Flavors
You can change the flavor of your cheesecake bars easily. Try using chocolate instead of peanut butter. Just swap the creamy peanut butter for melted chocolate. You can also add a swirl of Nutella for a rich twist. For a fruity option, mix in some pureed strawberries or raspberries. This adds a fresh taste and color.
Dietary Adjustments
If you need gluten-free bars, use gluten-free graham cracker crumbs. Check the label to make sure they are safe. For a vegan version, replace the cream cheese with a vegan cream cheese. You can also use coconut cream instead of heavy cream. Substitute powdered sugar with a vegan sweetener for best results.
Serving Suggestions
These bars taste great on their own. But they shine when paired with ice cream. Vanilla or chocolate ice cream works well. You can also serve them with fresh berries for a burst of flavor. Add a drizzle of chocolate sauce for extra sweetness. This makes your dessert more special and fun.
Storage Info
Best Practices for Refrigeration
To keep your No-Bake Peanut Butter Cup Cheesecake Bars fresh, store them in the fridge. Use an airtight container to prevent any odors from mixing with the bars. If you cut the bars, separate layers with parchment paper. This will help keep them intact and looking nice.
How Long Do They Last?
These cheesecake bars can last up to one week in the fridge. Keep an eye on them for any signs of spoilage. If they start to look or smell off, it’s best to toss them. You want to enjoy them at their best!
Freezing Instructions
You can freeze these bars for a longer shelf life. First, cut them into squares. Wrap each square tightly in plastic wrap, then place them in a freezer-safe bag. They can last up to three months in the freezer. When ready to eat, let them thaw in the fridge overnight for the best texture.
FAQs
Can I make these bars in advance?
Yes, you can make these bars a day ahead. They taste even better after chilling overnight. Just store them in the fridge. This helps the flavors blend well. Be sure to cover them with plastic wrap.
What can I substitute for cream cheese?
You can use Greek yogurt or silken tofu as a substitute for cream cheese. Both options work well. They give a nice creamy texture. Just note that the flavor may change slightly. Greek yogurt will add a tang, while silken tofu keeps it mild.
How do I know when the cheesecake is set?
The cheesecake is set when it feels firm to the touch. You can also check by gently shaking the dish. If it jiggles slightly in the center, it needs more time. Chill it for at least four hours for the best results.
We covered all the key steps to make delicious peanut butter bars. You learned about choosing top-quality ingredients, preparing the crust, and making the filling. I shared tips for texture and common problems. You can also try fun variations like chocolate or vegan options. Remember the best storage practices so your bars stay fresh. With these guidelines, you’ll create bars that impress everyone. Enjoy making these sweet treats and feel confident in your baking skills!