
Garlic Butter Roasted Rainbow Carrots Simple Delight
If you want a side dish that dazzles and delights, look no further! Garlic Butter Roasted Rainbow Carrots are simple

If you want a side dish that dazzles and delights, look no further! Garlic Butter Roasted Rainbow Carrots are simple
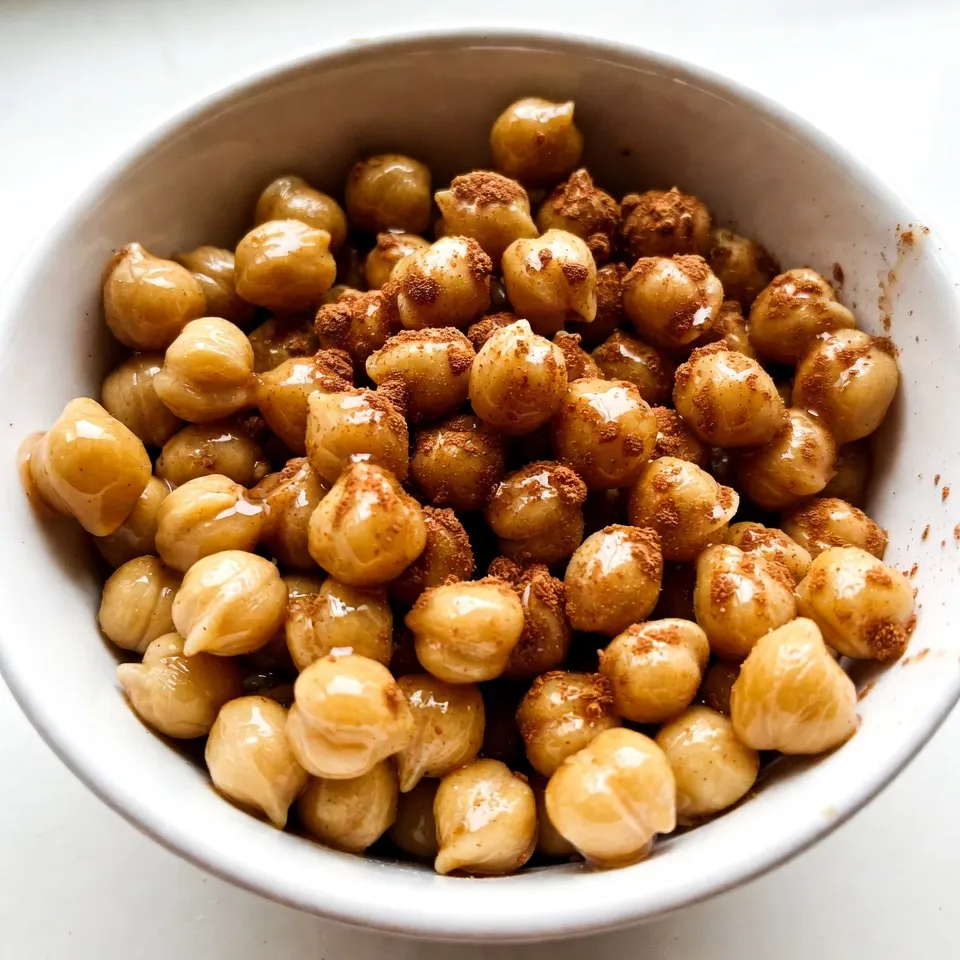
Are you ready for a tasty treat that’s both sweet and crunchy? Maple Cinnamon Roasted Chickpeas are the perfect snack

Get ready to indulge in a sweet, nutty delight with my Maple Pecan Fudge Bars! These tasty treats combine rich
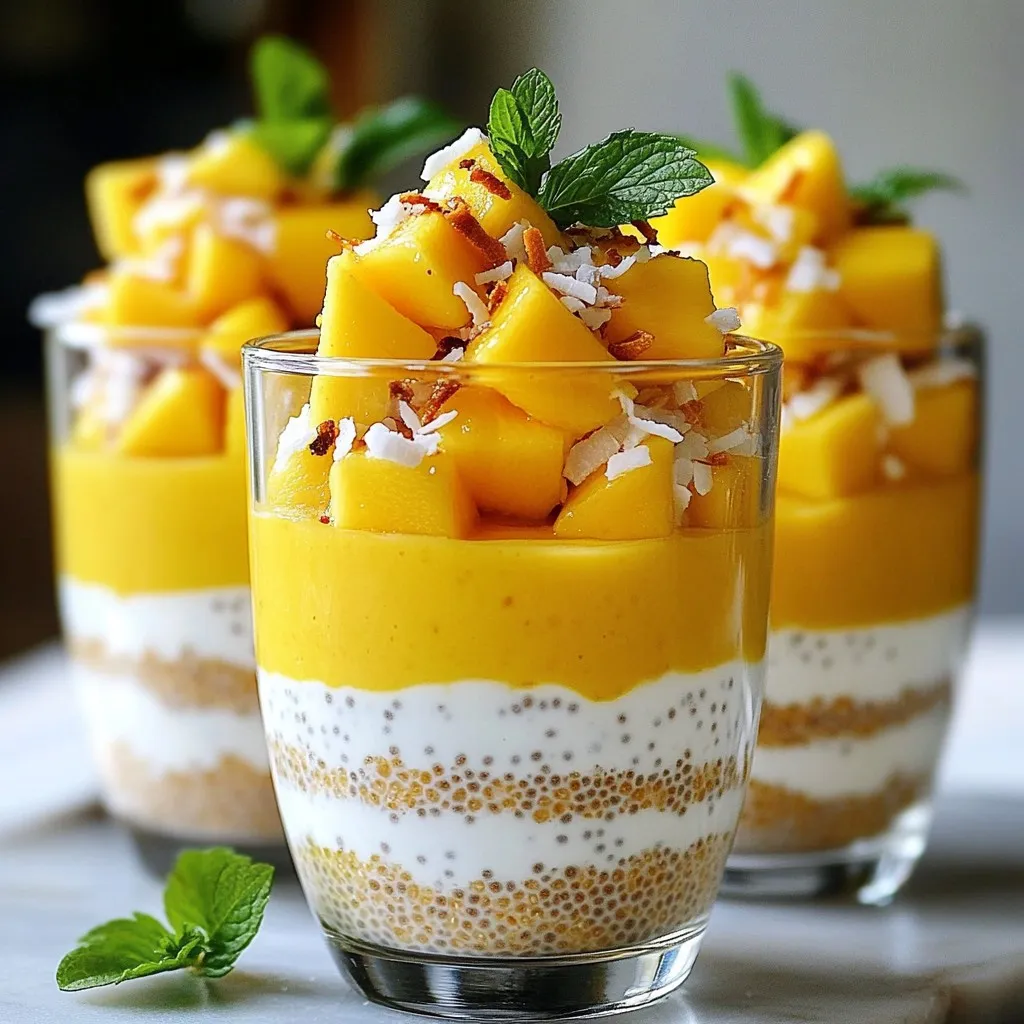
Looking for a simple and nutritious treat? Dive into the delicious world of Mango Coconut Chia Pudding! This delightful recipe
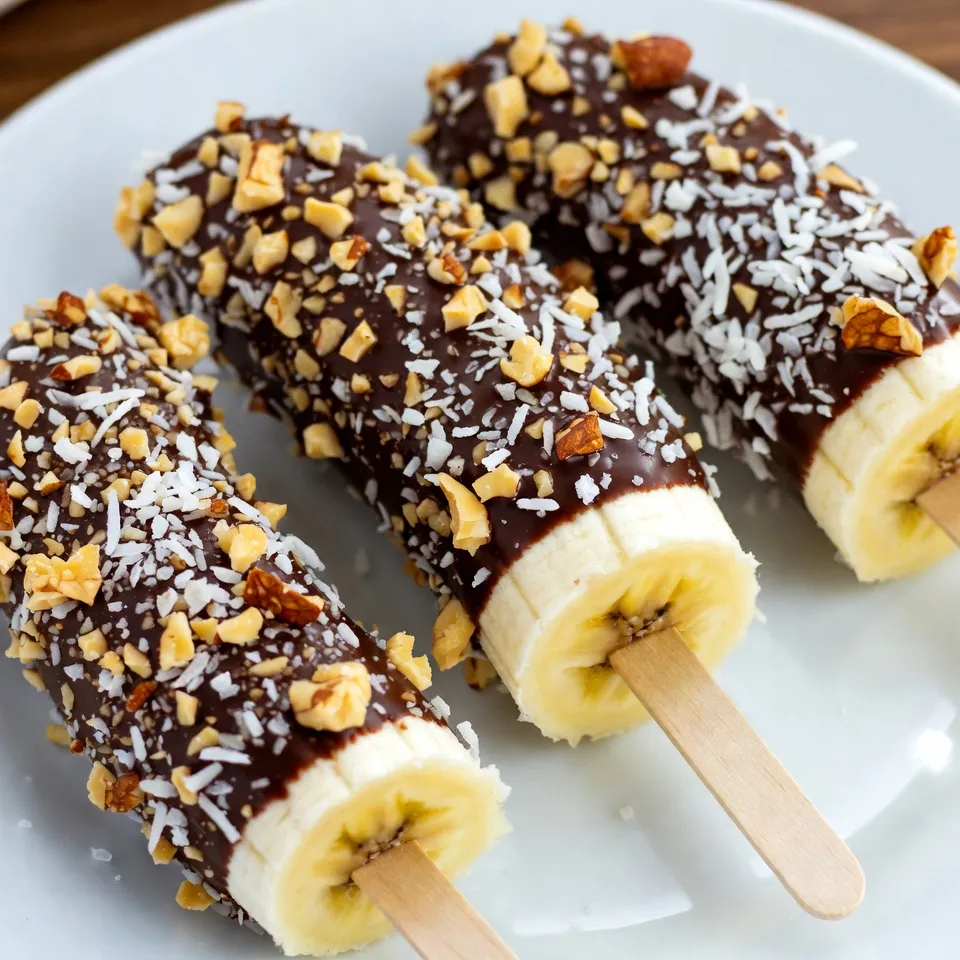
Craving a sweet, healthy treat? You’re in the right spot! Chocolate-covered banana pops are easy to whip up and taste
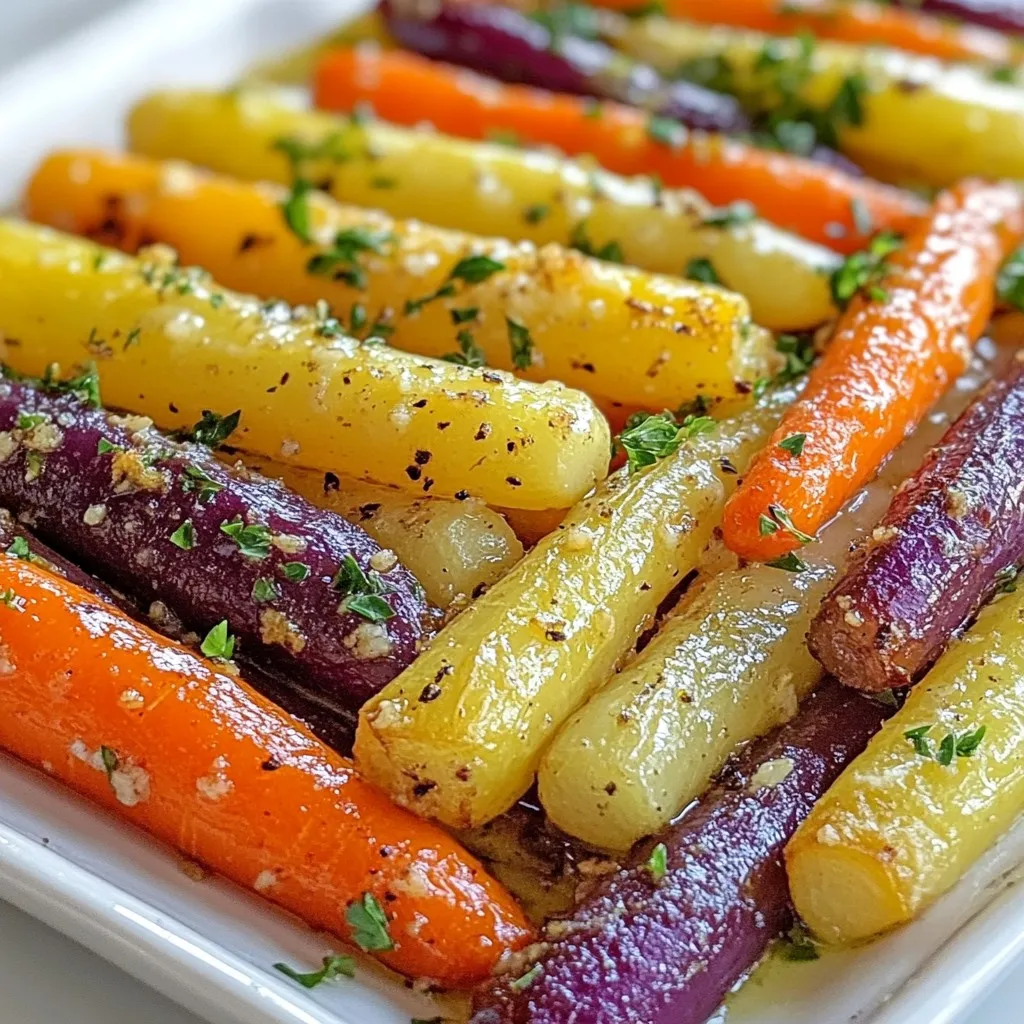
If you’re looking for an easy and delicious side dish, garlic butter roasted rainbow carrots are your answer. These vibrant
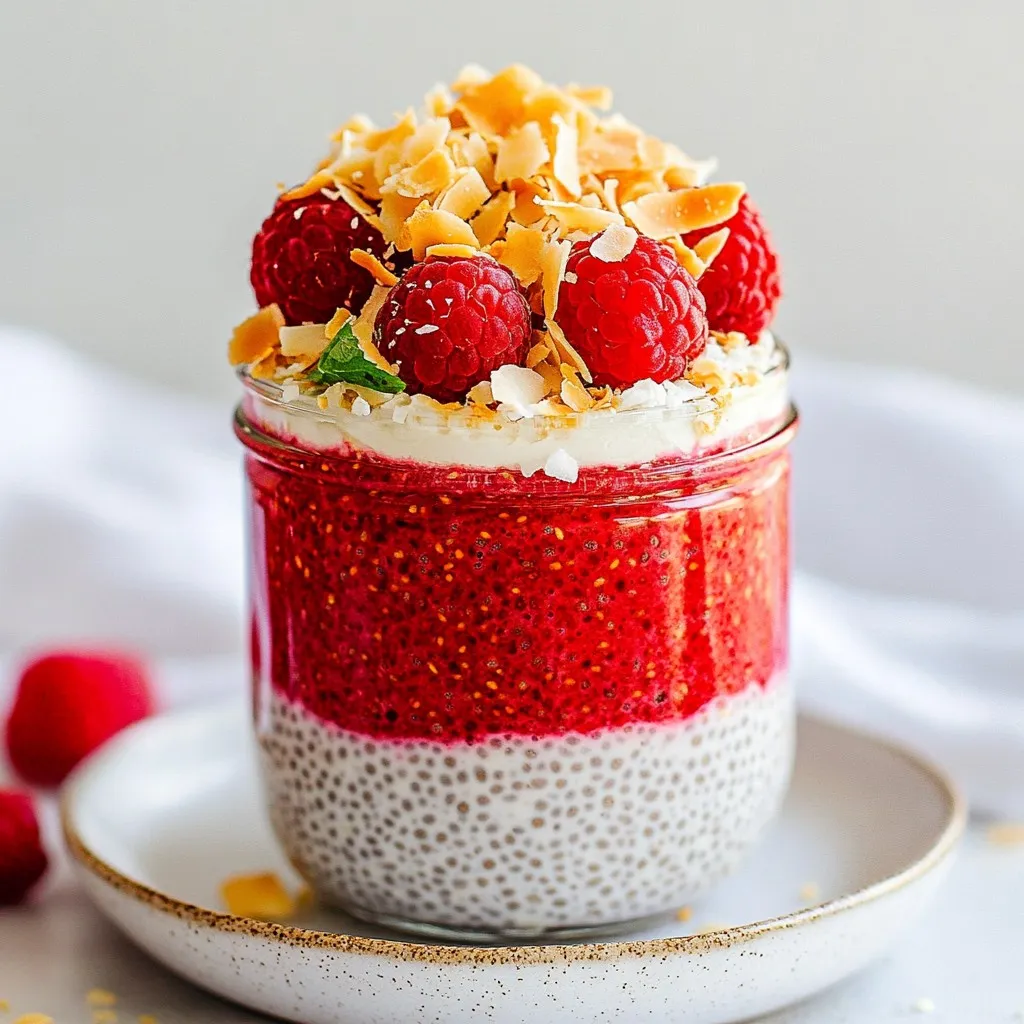
Looking for a tasty and healthy treat? You’ll love this Coconut Raspberry Chia Pudding! Packed with flavor and nutrients, it’s
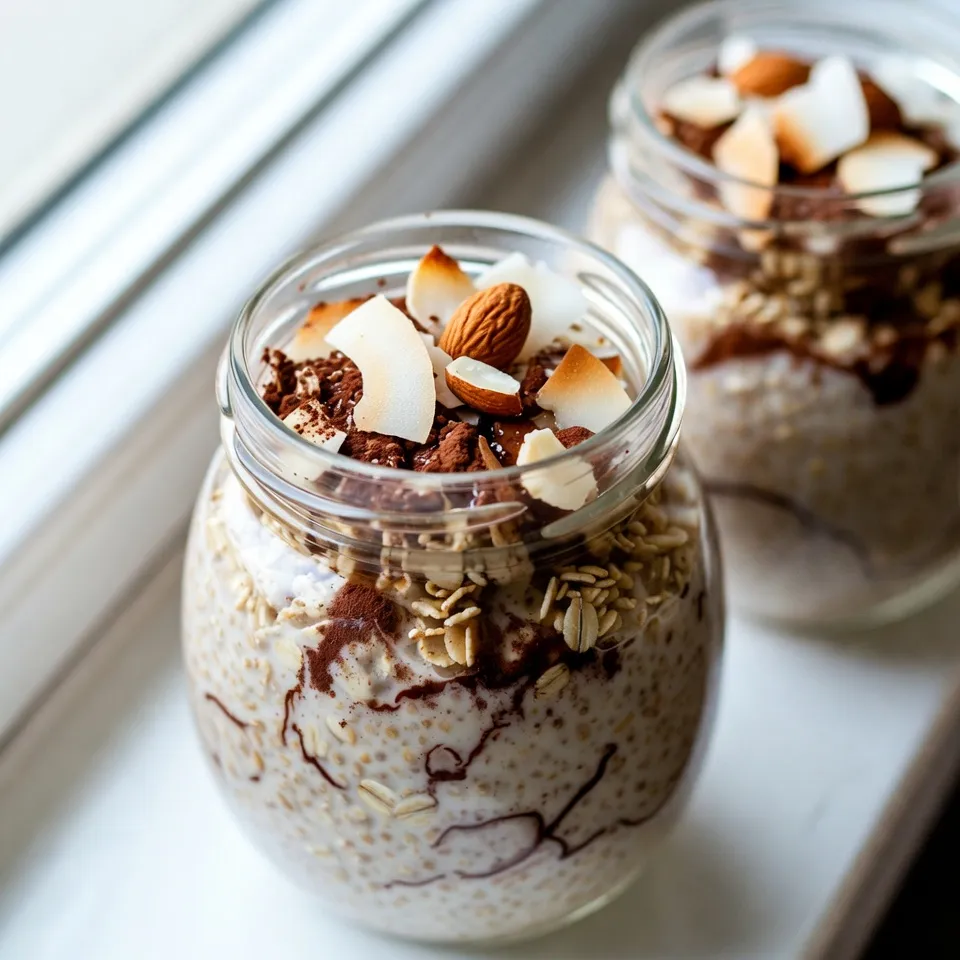
Are you ready to elevate your breakfast game with a delicious twist? Almond Joy Overnight Oats are a quick and

Craving a warm, gooey dessert that will impress anyone? Look no further than this Chocolate Chip Cookie Skillet recipe! I’ll

Are you craving a warm, buttery treat? Garlic Herb Pull-Apart Rolls are your answer! These rolls are soft, packed with
