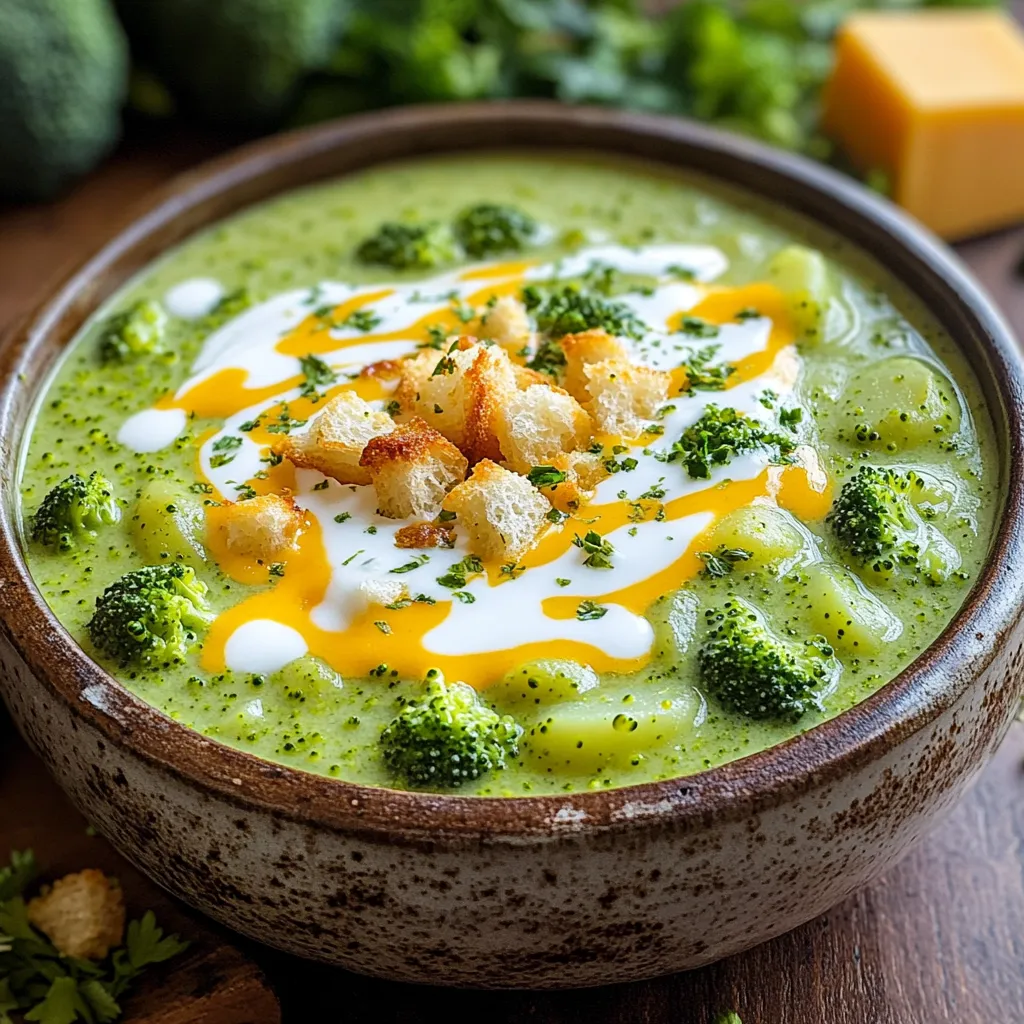
Creamy Broccoli Cheddar Soup Slow Cooker Delight
If you’re craving a warm, comforting bowl of soup, you’re in the right place! In this blog post, I’ll guide

If you’re craving a warm, comforting bowl of soup, you’re in the right place! In this blog post, I’ll guide
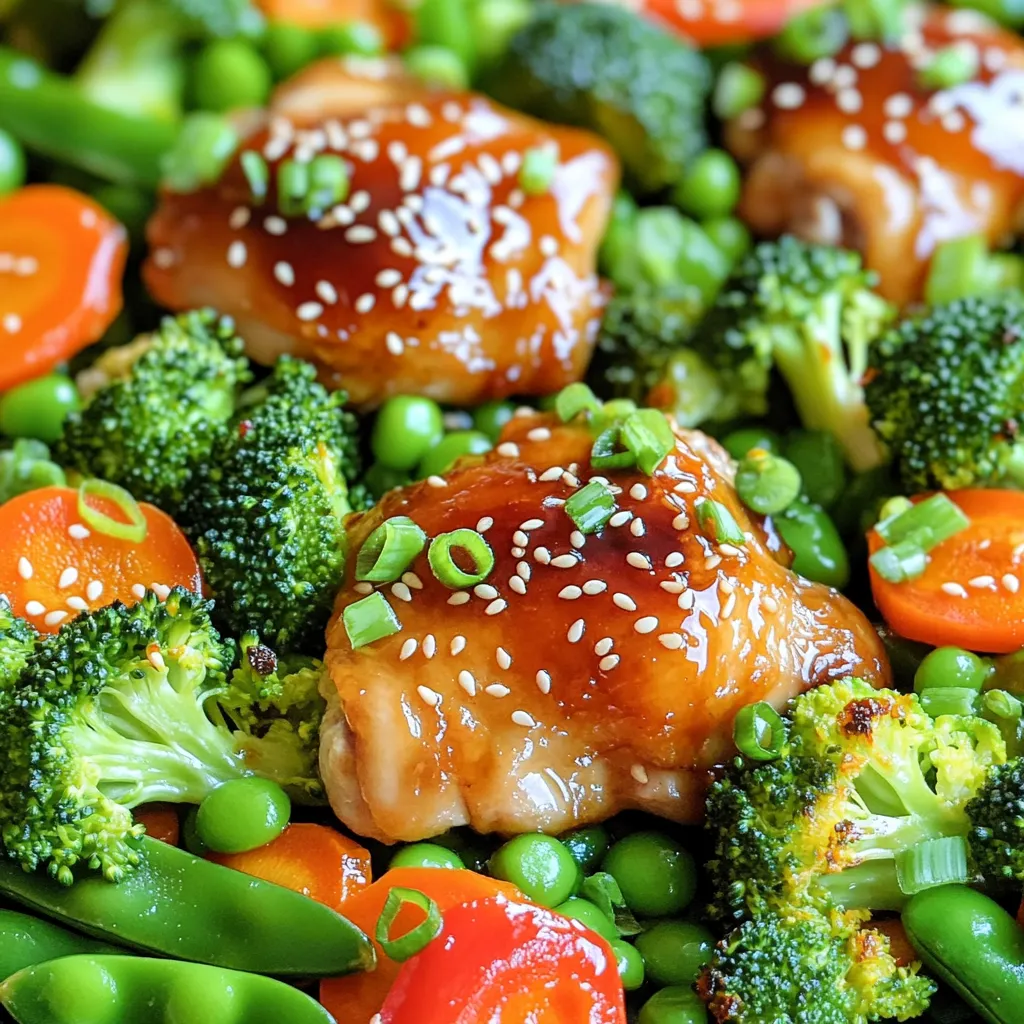
Ready to spice up your weeknight dinners? My Teriyaki Chicken & Veggies Sheet Pan is packed with flavor and easy

Get ready to spice up your dinner with my Blackened Fish Tacos with Avocado Crema Delight! This dish combines fresh
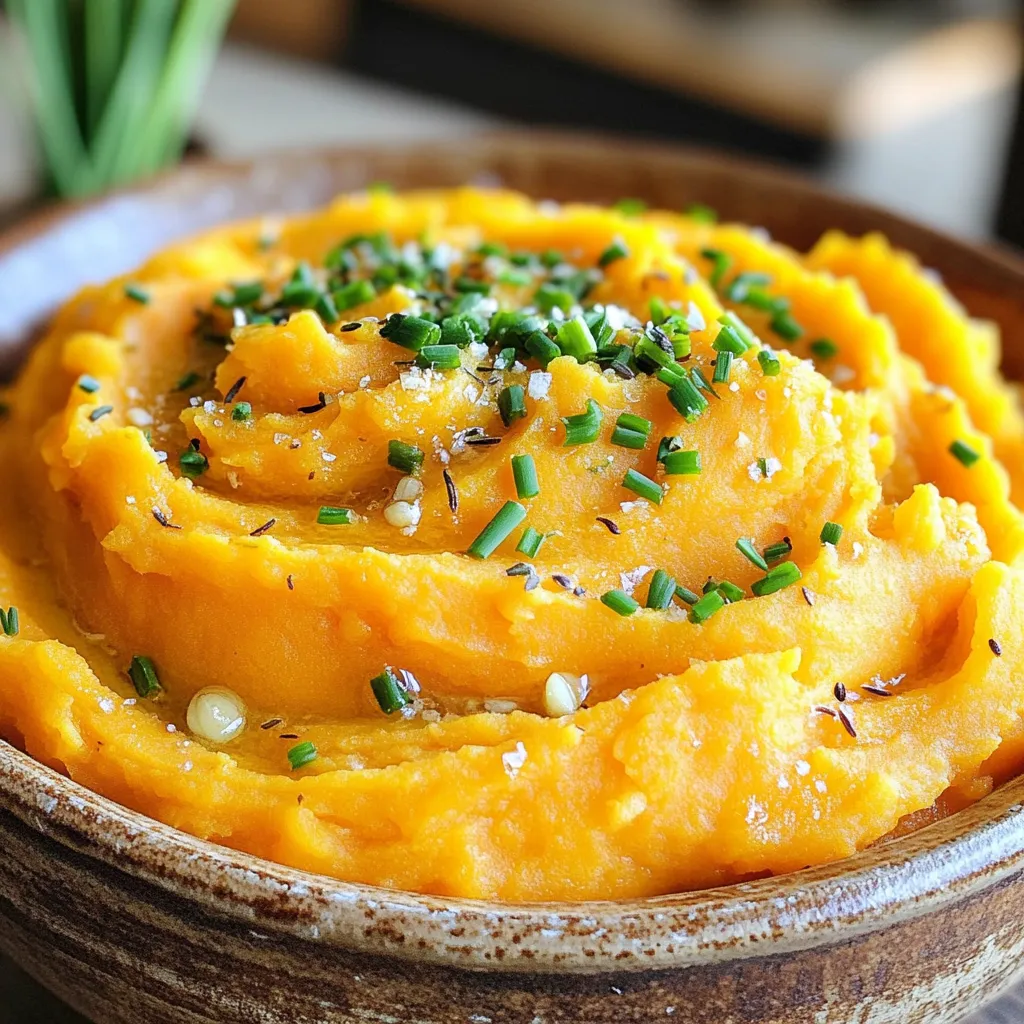
Do you crave a side dish that’s both creamy and full of flavor? Garlic Herb Mashed Sweet Potatoes are just
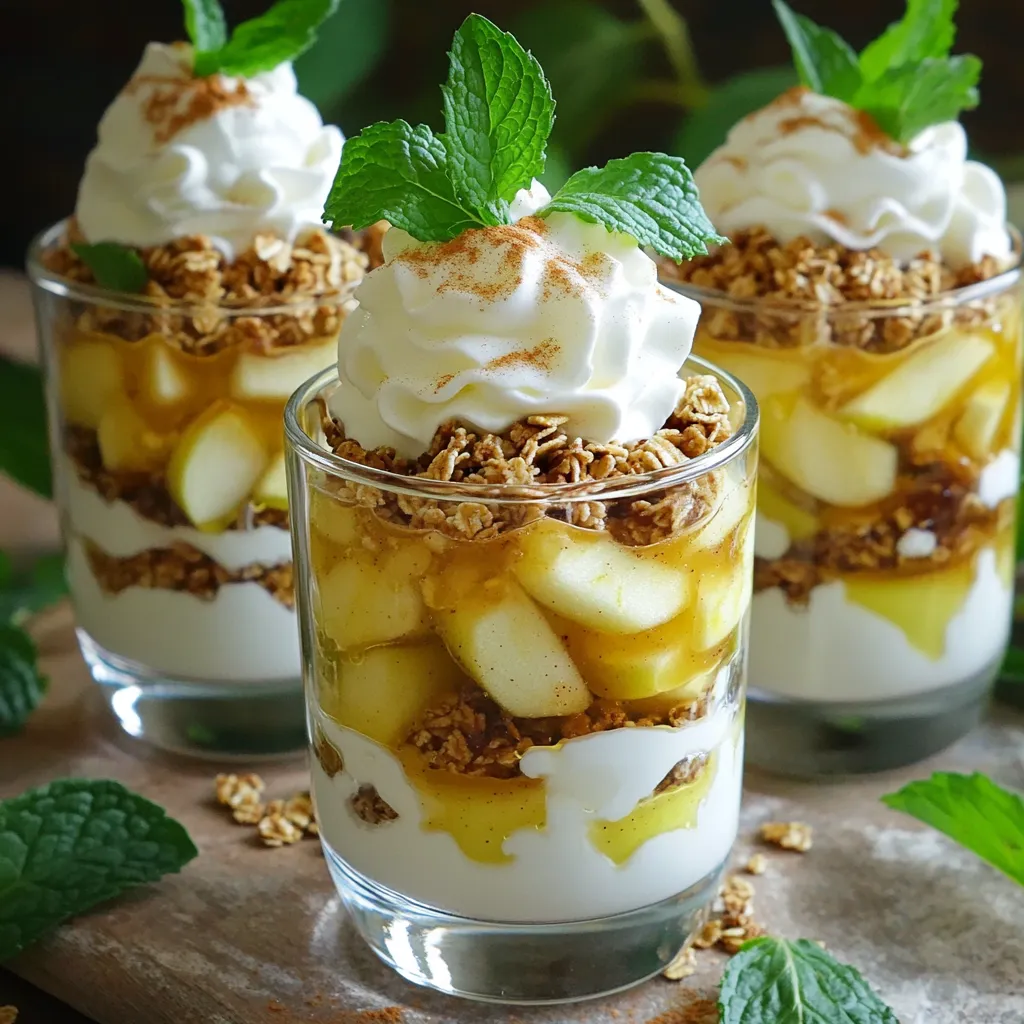
Dive into sweet layers of joy with my Cinnamon Apple Pie Parfaits! This delightful dessert combines warm baked apples, creamy
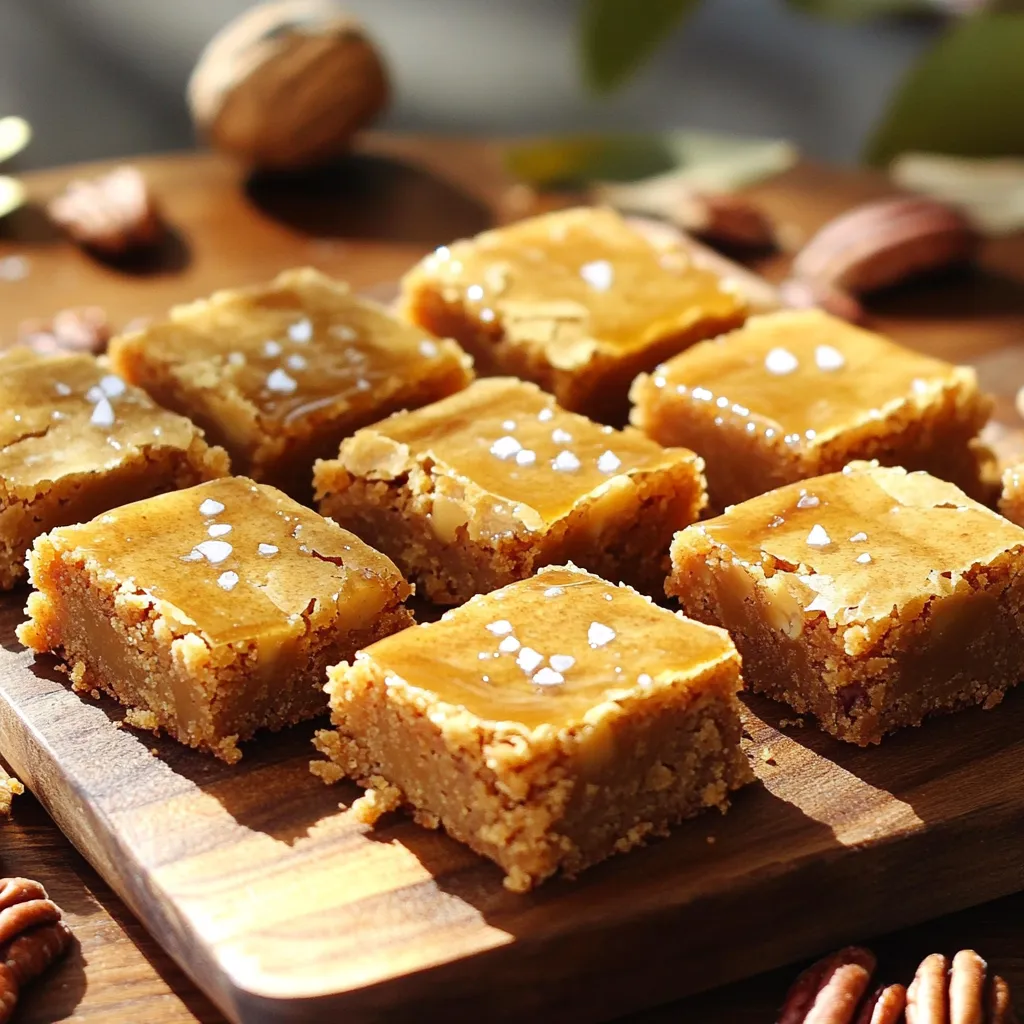
Are you ready for a sweet treat that will make your day? Brown Butter Maple Blondie Bites are the perfect
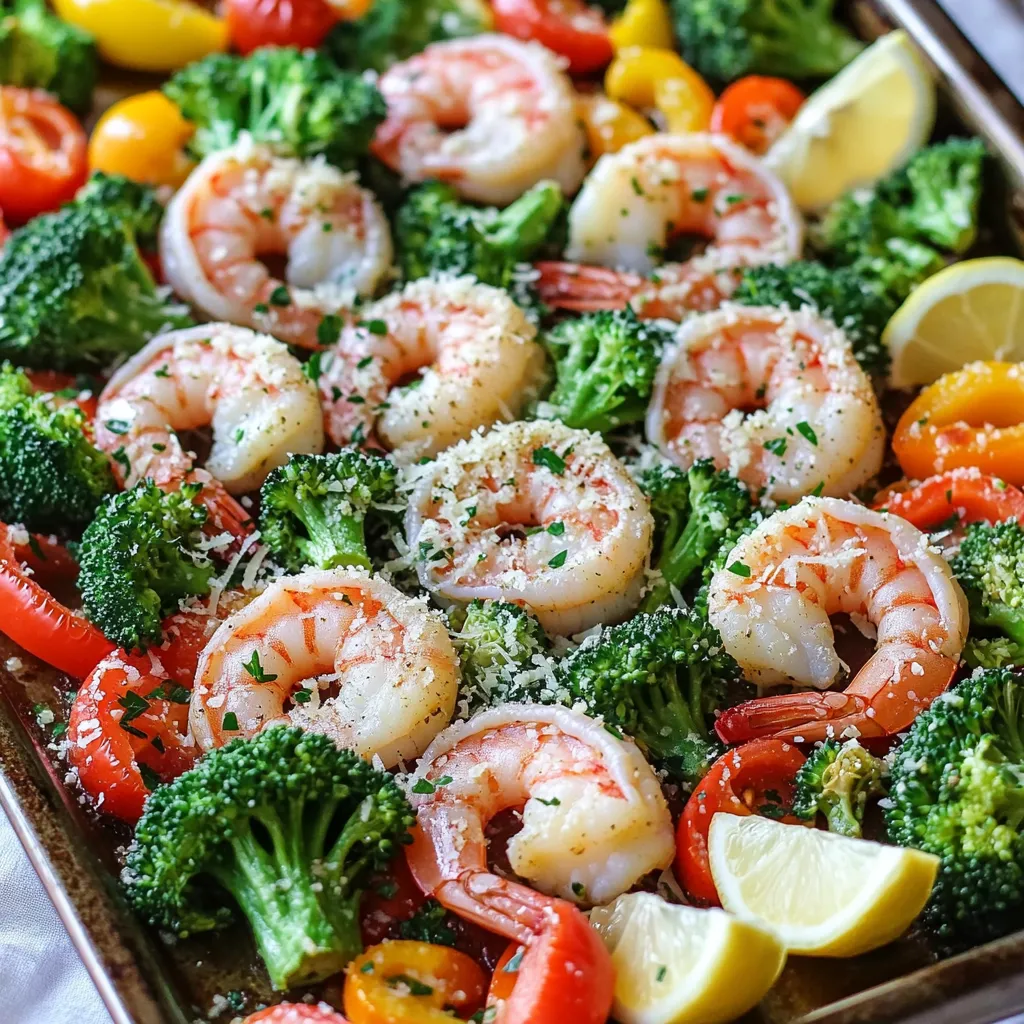
Craving a quick, delicious meal? Look no further! My Sheet-Pan Garlic Parmesan Shrimp and Veggies Delight combines tender shrimp and
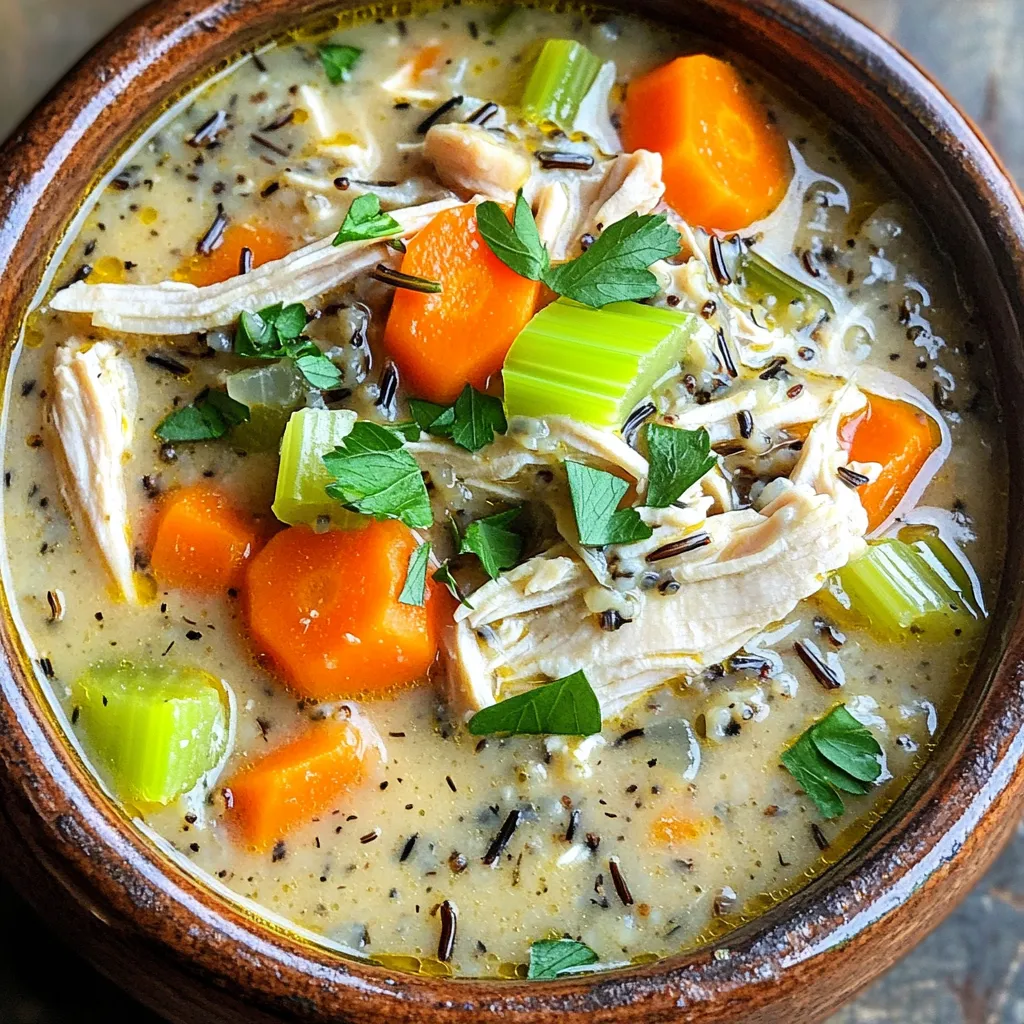
Are you craving a warm bowl of comfort? This Savory Slow Cooker Chicken and Wild Rice Soup is your answer!
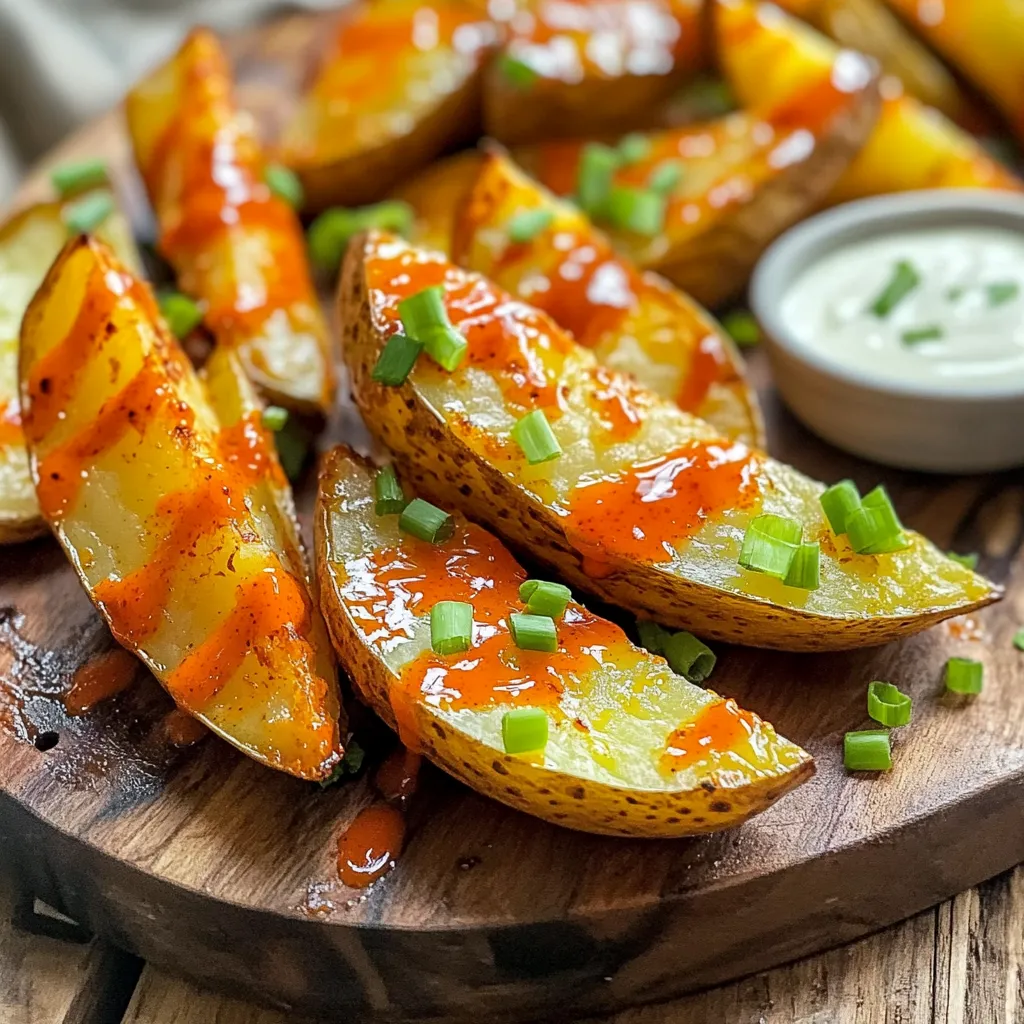
Get ready to spice up your snack game with my Air Fryer Crispy Buffalo Potato Wedges! These golden, crunchy wedges
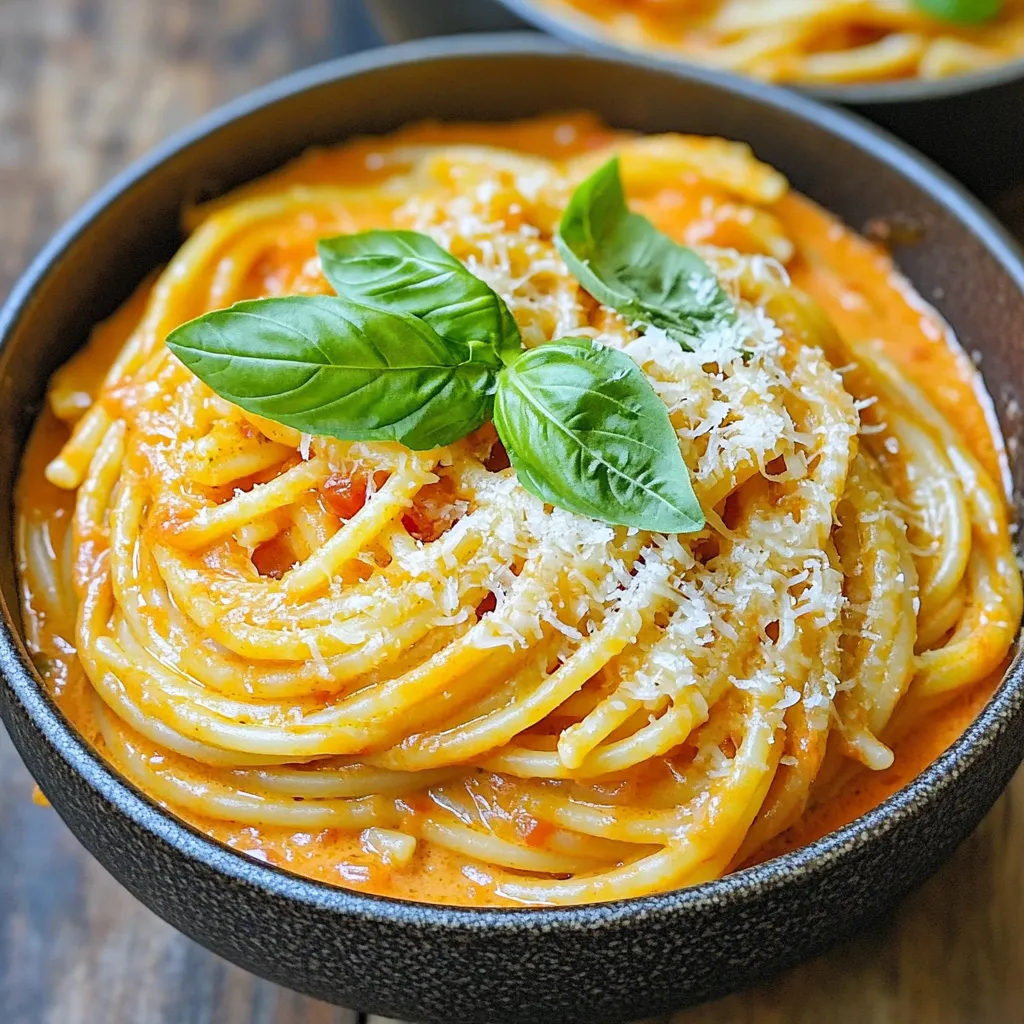
Looking for a quick and tasty meal? You’ve found it with my One-Pot Creamy Tomato Basil Pasta Delight Recipe! This
