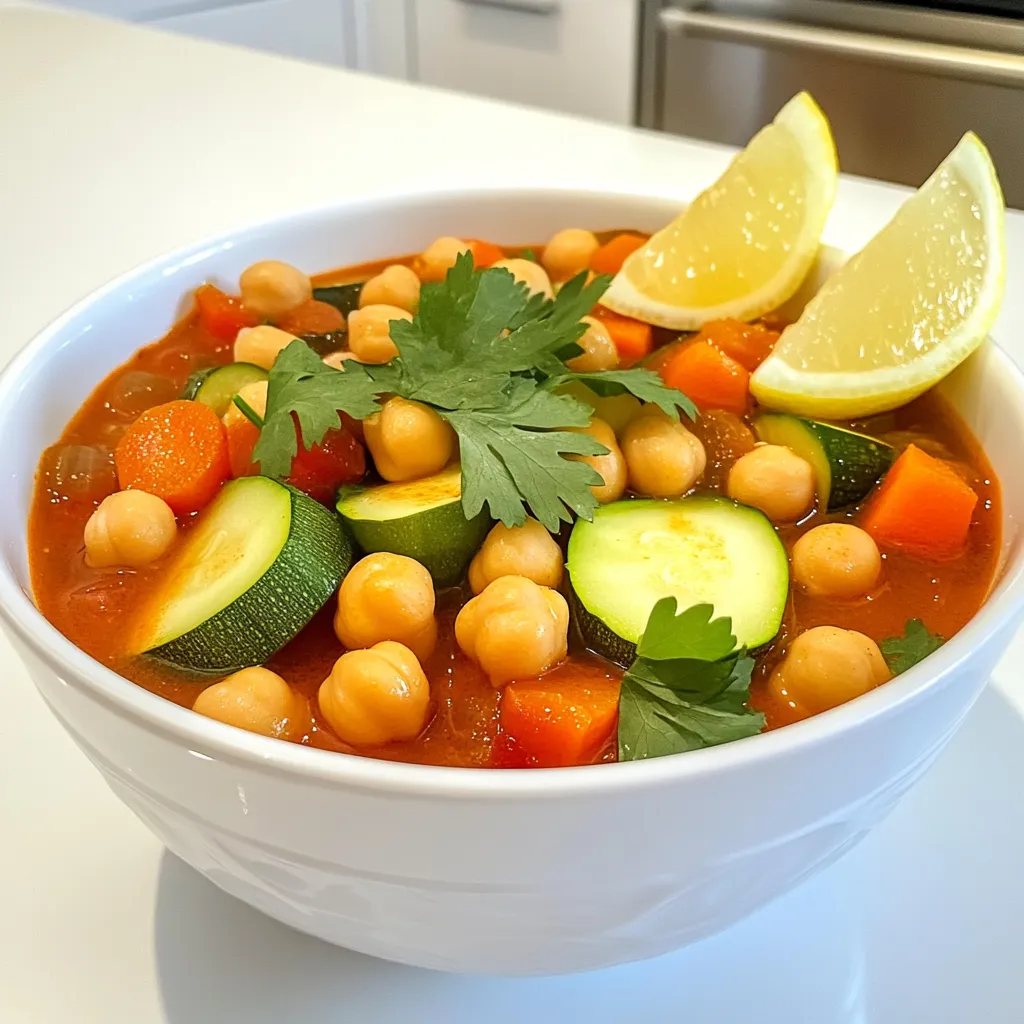
Moroccan Chickpea Stew Flavorful and Hearty Recipe
Looking for a cozy dish that warms your heart? Moroccan Chickpea Stew is the answer! Packed with rich flavors and

Looking for a cozy dish that warms your heart? Moroccan Chickpea Stew is the answer! Packed with rich flavors and
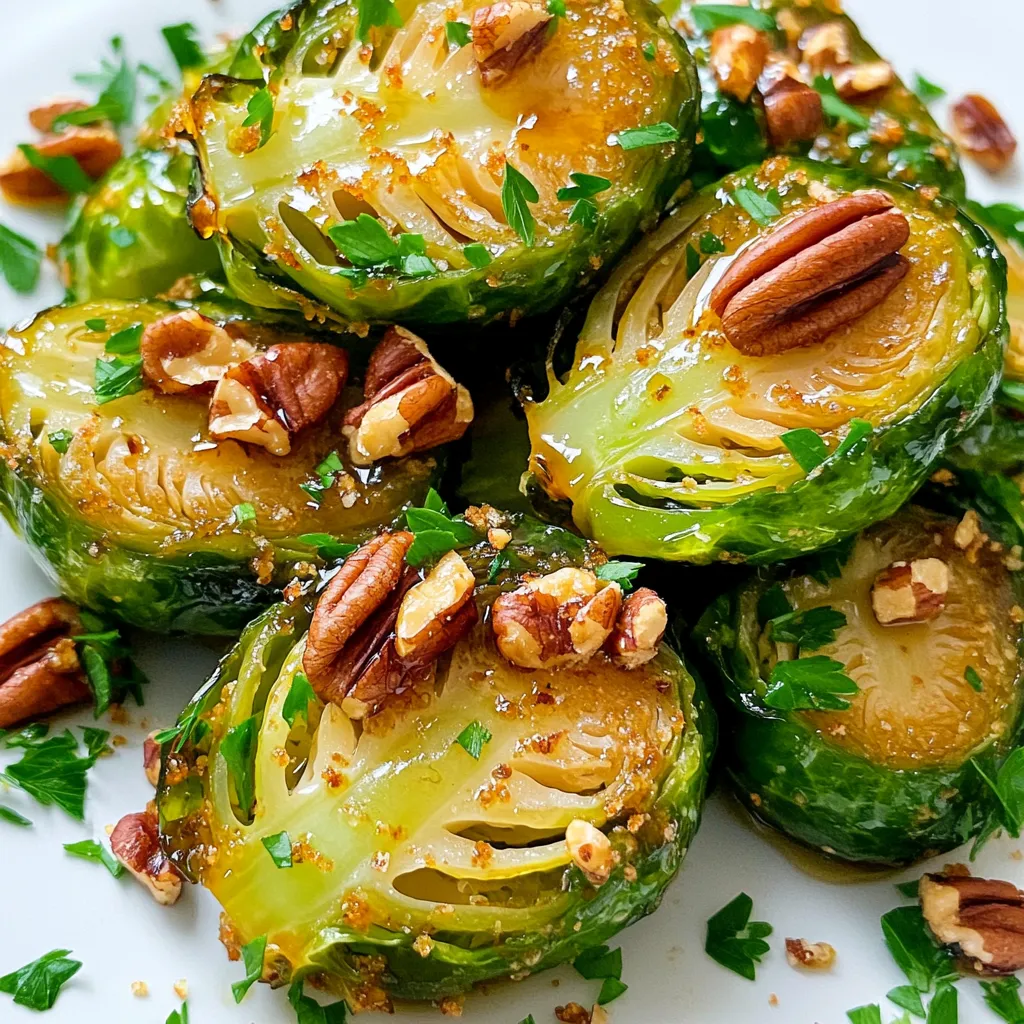
If you’re looking for a side dish that combines flavor and ease, you’ve found it! Maple roasted Brussels sprouts offer

Looking for a quick, healthy breakfast? Veggie Loaded Egg Muffins are your answer! Packed with fresh veggies and protein, these
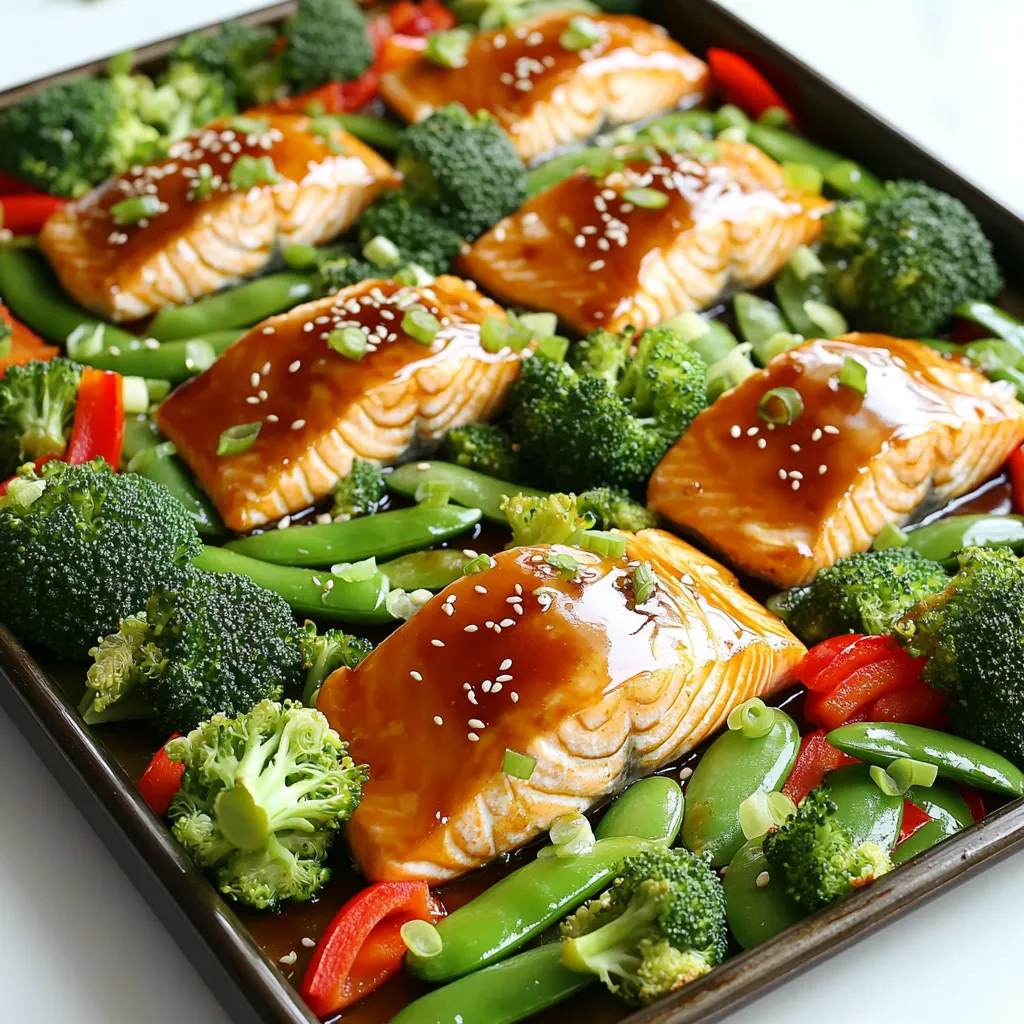
Are you ready to enjoy a tasty and easy dinner? This Teriyaki Salmon Sheet Pan recipe brings together tender salmon
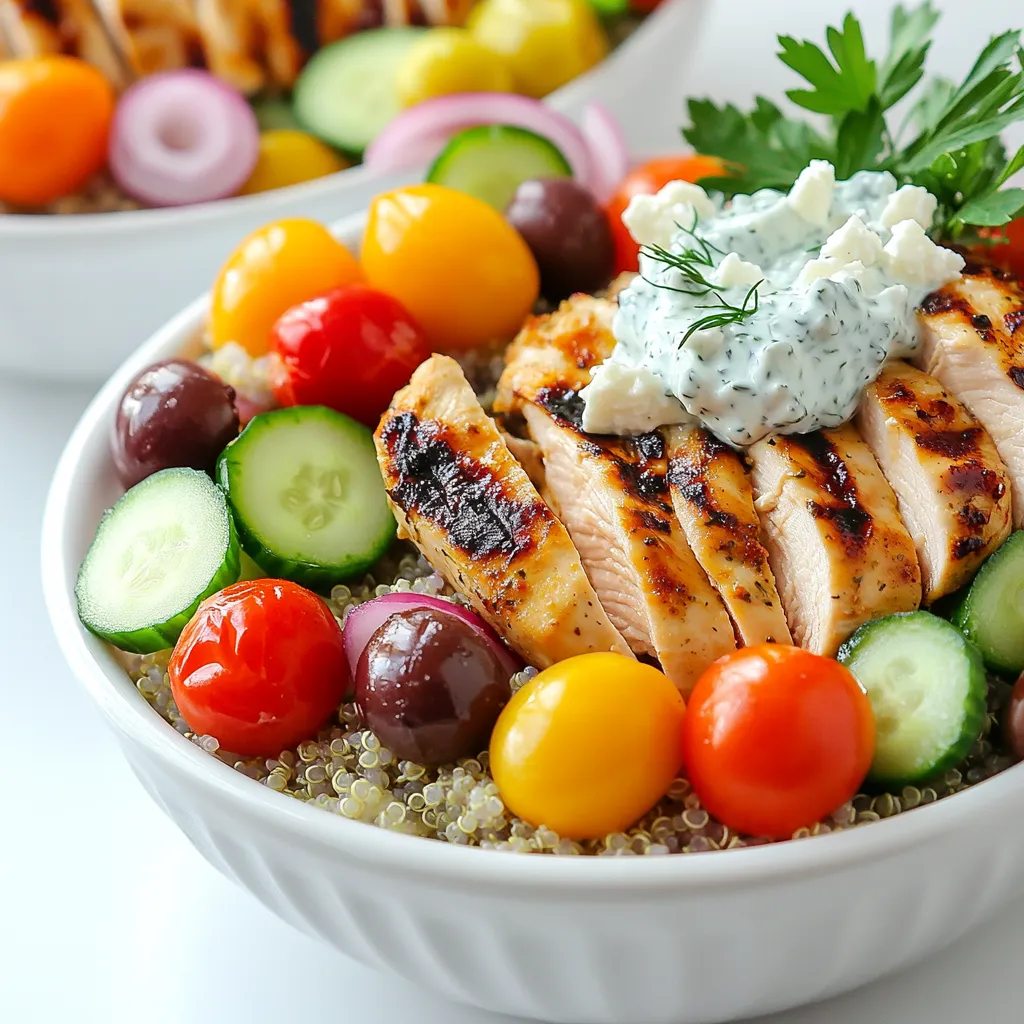
If you crave a meal that’s both tasty and easy to make, Greek Chicken Gyro Bowls are your answer. Packed
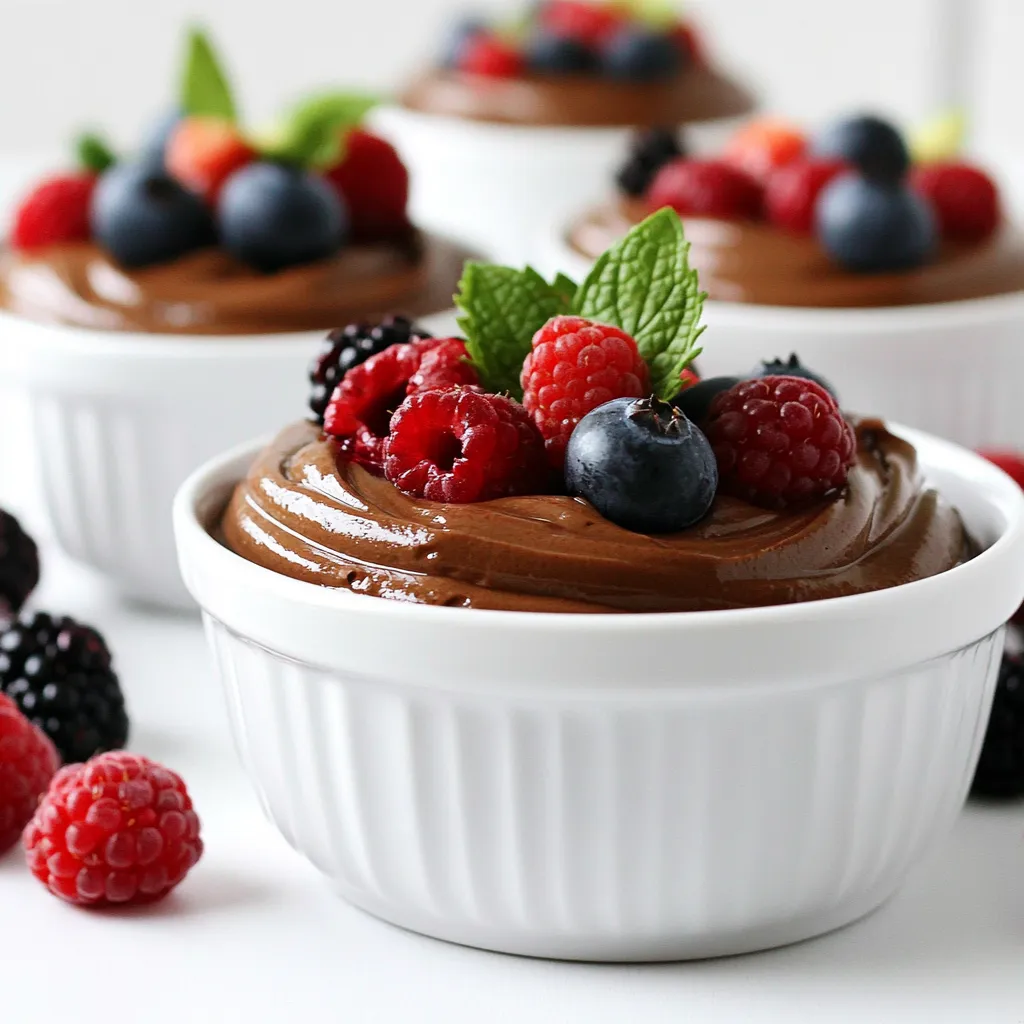
Craving a dessert that’s both tasty and healthy? Look no further than chocolate avocado mousse! This creamy treat uses ripe
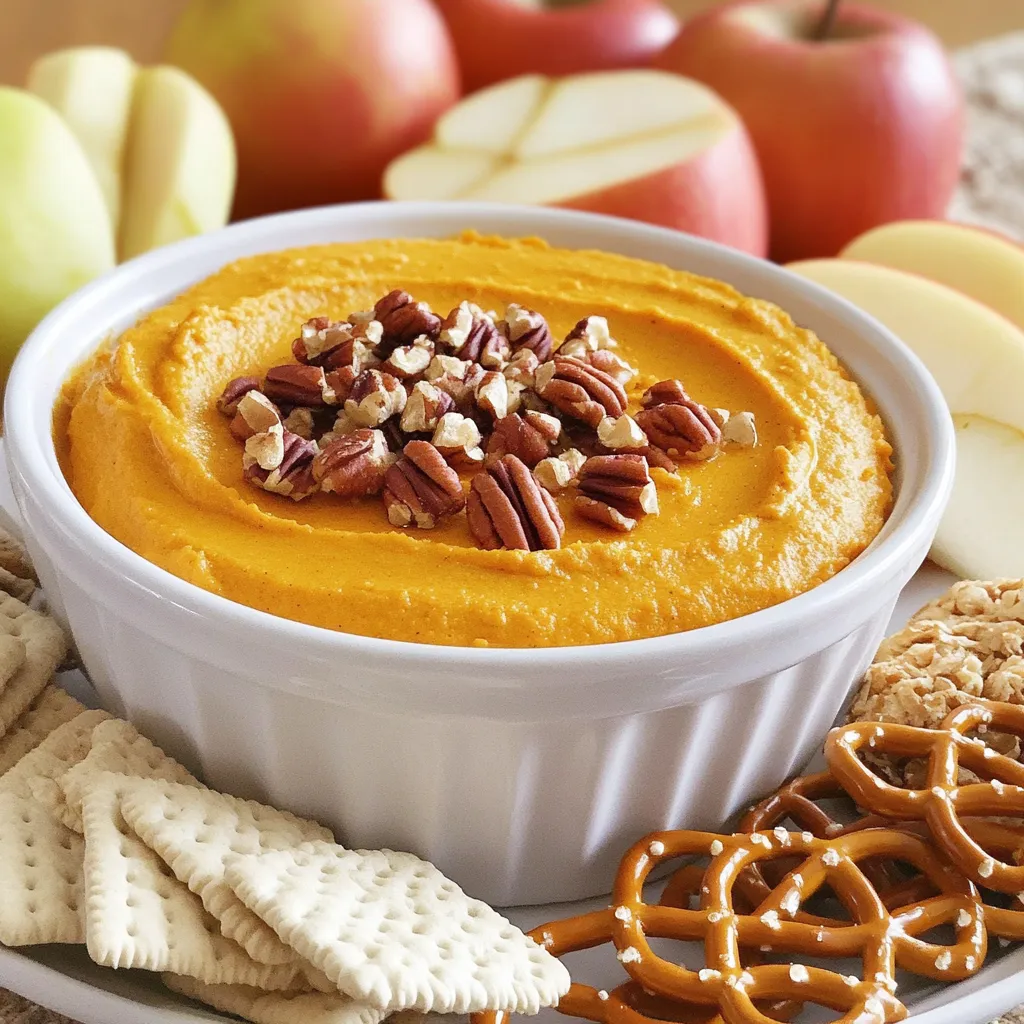
If you love creamy, sweet treats, you’re in for a delight! My Pumpkin Pecan Cheesecake Dip mixes the warm flavors

If you’re in search of a warm, comforting meal, look no further than Slow Cooker Chicken & Rice Soup. This
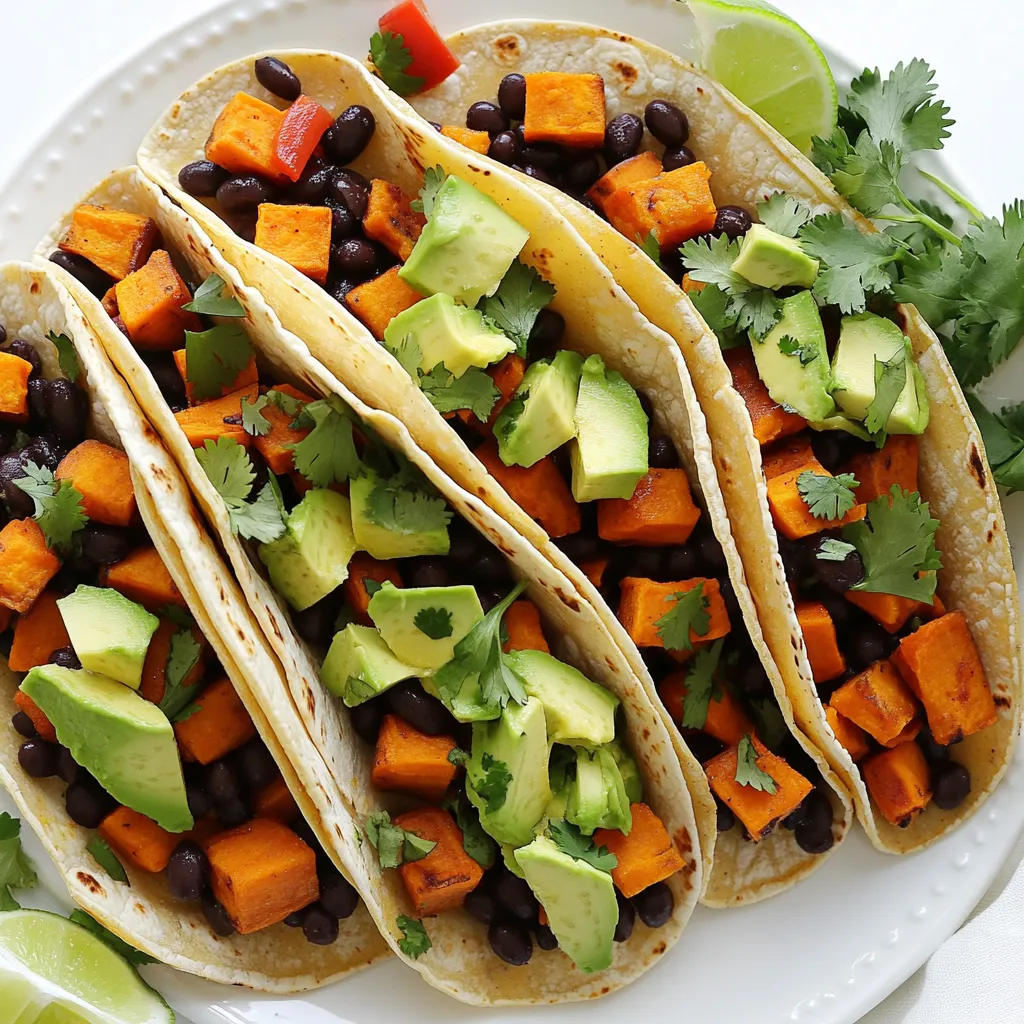
If you’re searching for a delicious and easy meal, these Flavorful Sheet Pan Sweet Potato Black Bean Tacos are perfect

Craving a fall treat that’s quick and easy? Look no further! These No Bake Pumpkin Mousse Cups are perfect for
