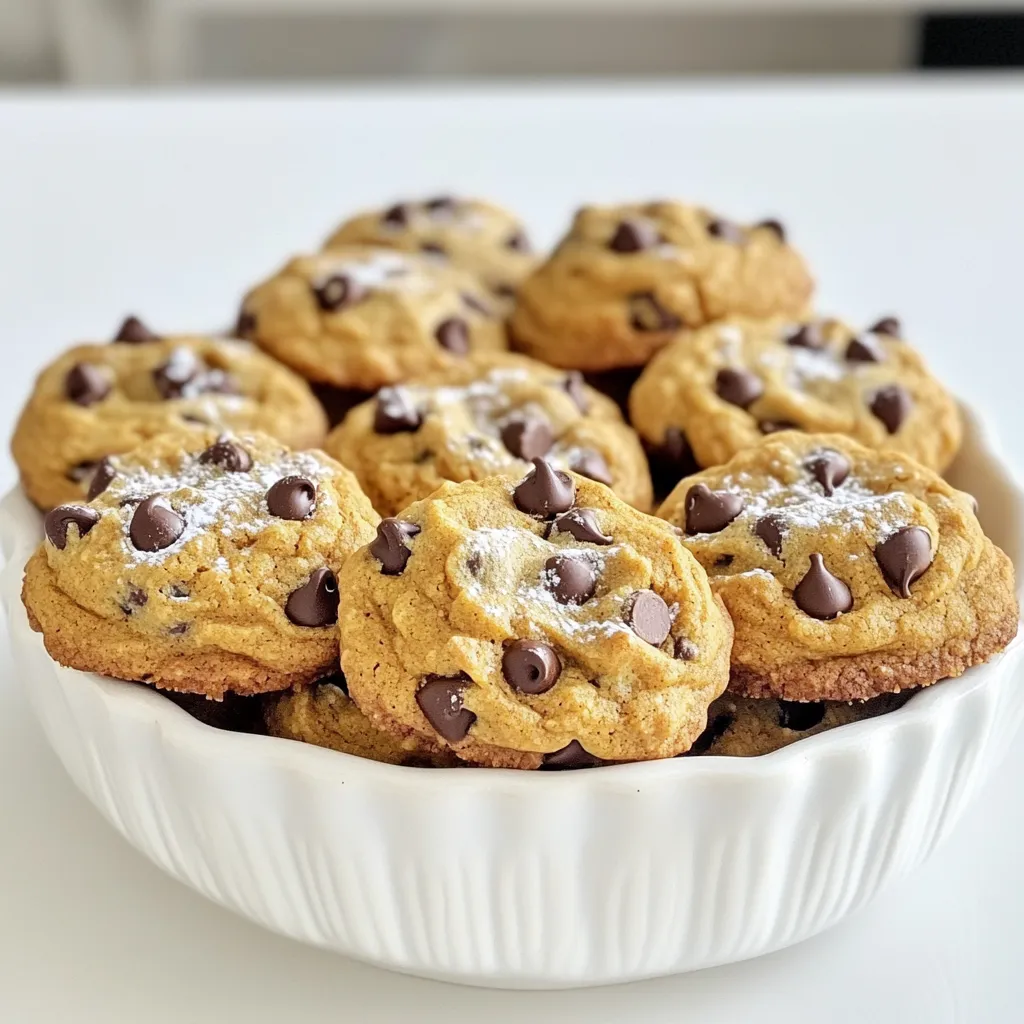
Pumpkin Chocolate Chip Cookies Bakery-Style Delight
Welcome to your new favorite fall treat: Pumpkin Chocolate Chip Cookies! In this article, I’ll guide you through creating bakery-style

Welcome to your new favorite fall treat: Pumpkin Chocolate Chip Cookies! In this article, I’ll guide you through creating bakery-style
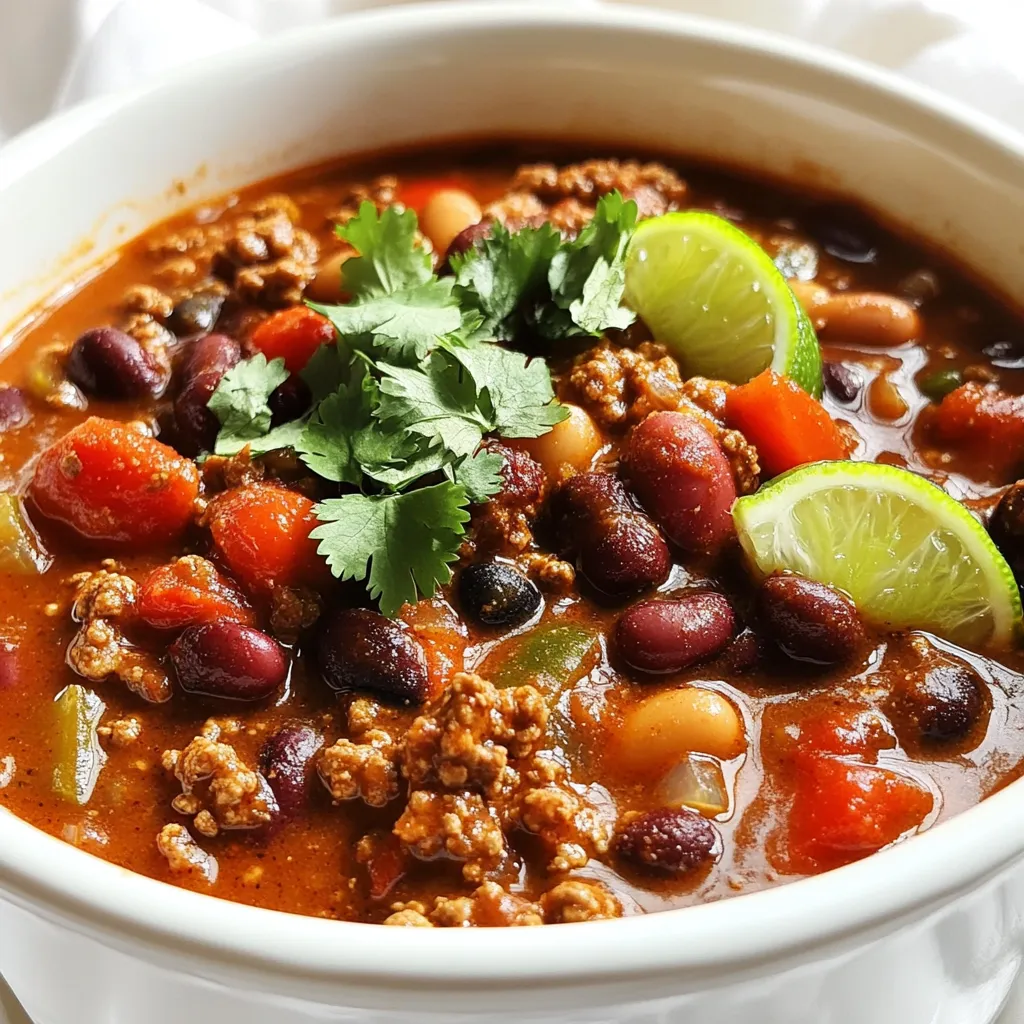
If you’re craving a warm, hearty meal, my Beef & Bean Chili recipe is perfect for you. In this simple
Are you ready to enjoy the perfect mix of sweet and spicy? In this blog post, I’ll show you how
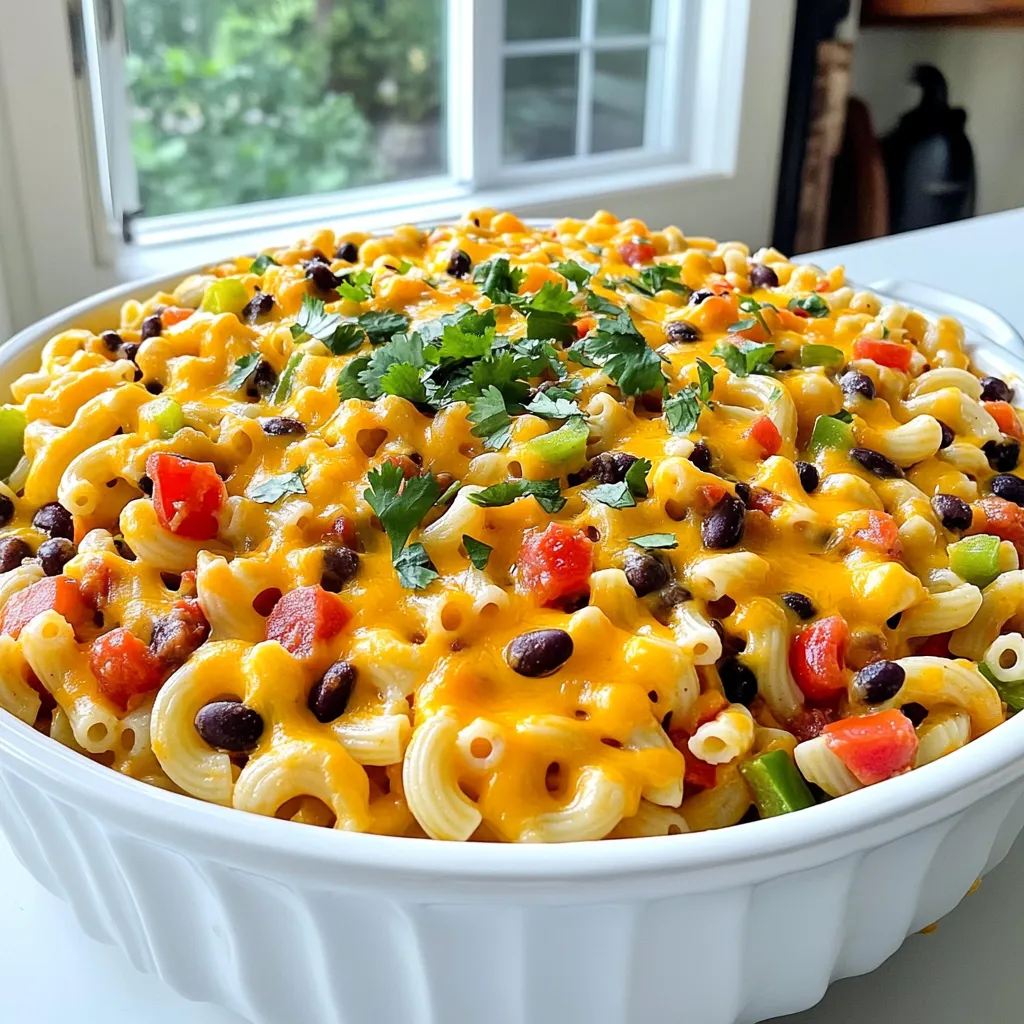
Get ready for a cozy, one-pot meal that bursts with flavor! My Cheesy Chili Mac Skillet combines gooey cheese, hearty
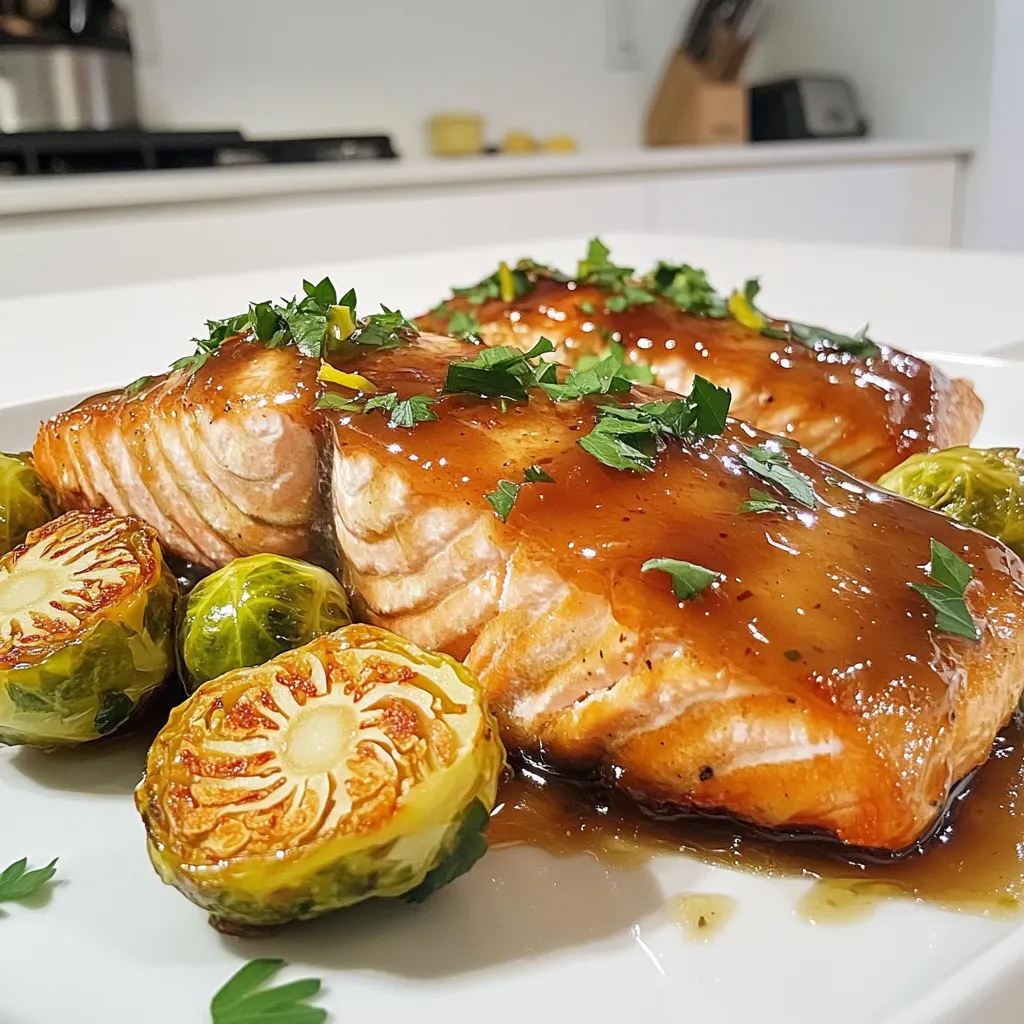
Looking to impress at dinner without spending hours in the kitchen? You’re in the right place! In this guide, I’ll
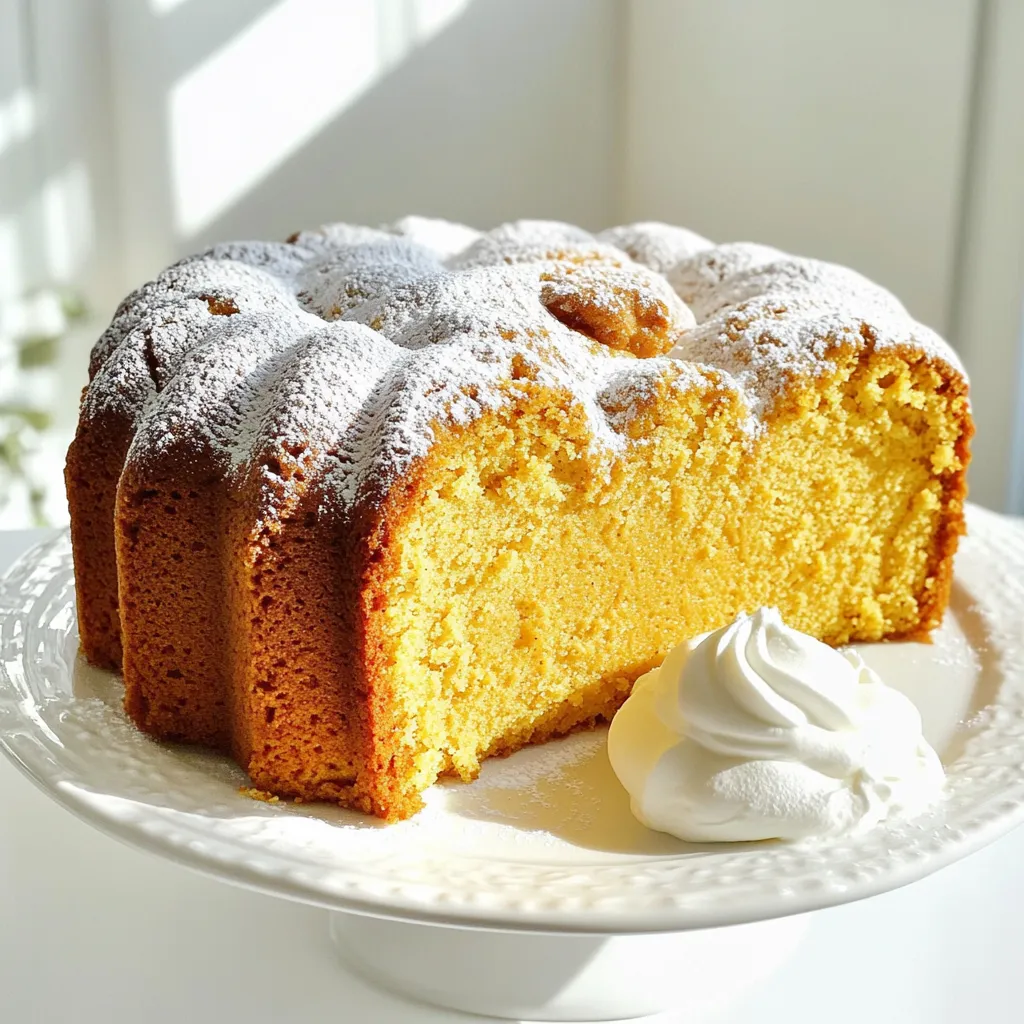
Are you ready to dive into autumn flavor? This Pumpkin Cream Cheese Pound Cake is your perfect dessert. It’s rich,

Are you craving a quick and delicious meal? Look no further than Sweet Garlic Chili Noodles! In just 15 minutes,
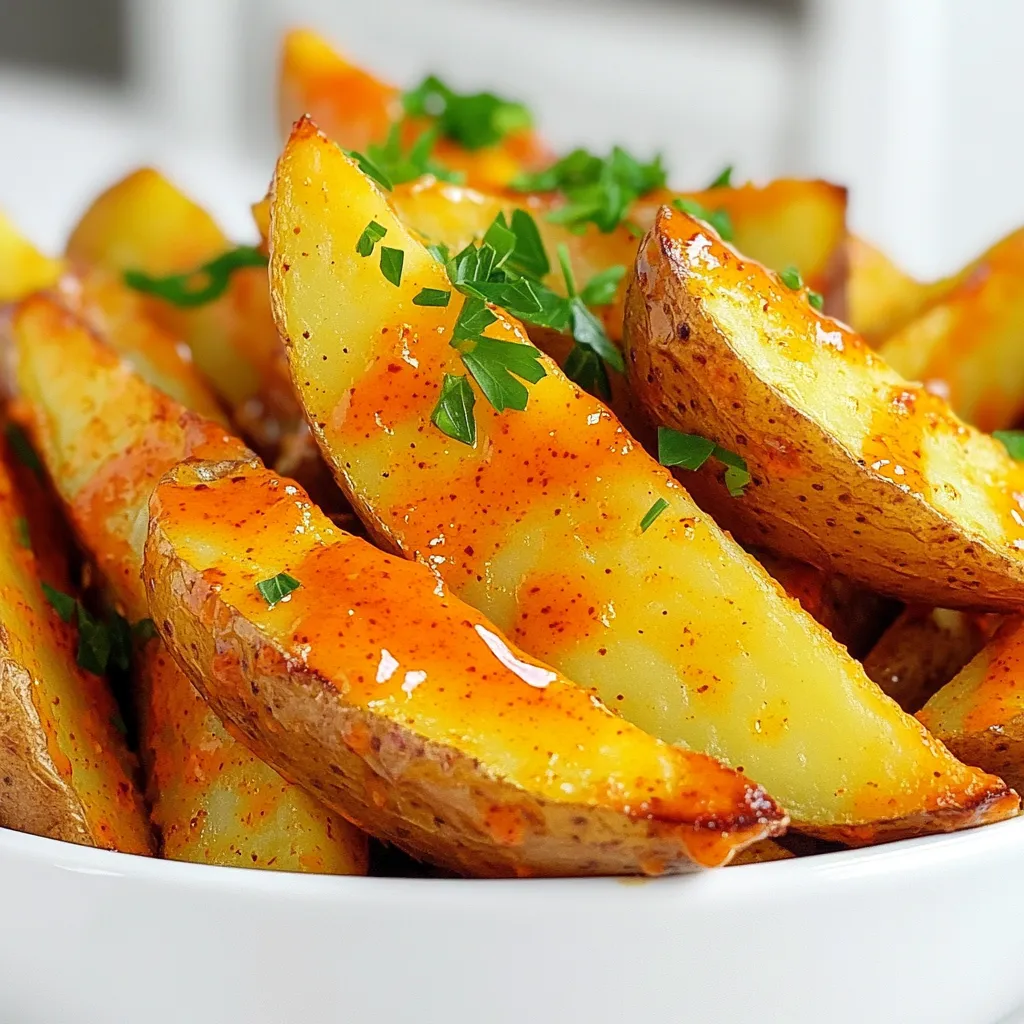
If you’re craving a spicy, crispy snack without the guilt, you’re in the right place! In this guide, I’ll walk
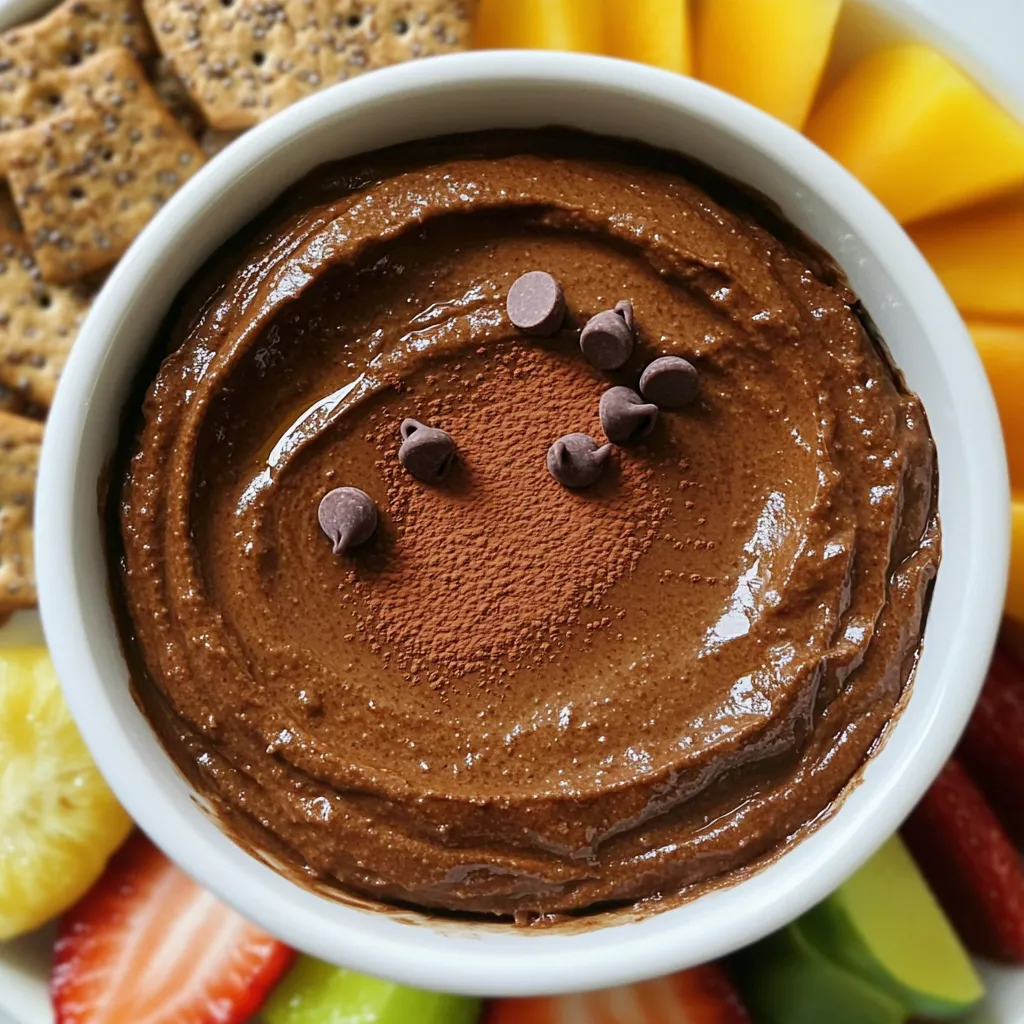
Craving something sweet but still want to stick to your goals? Let me introduce you to my Brownie Batter Protein
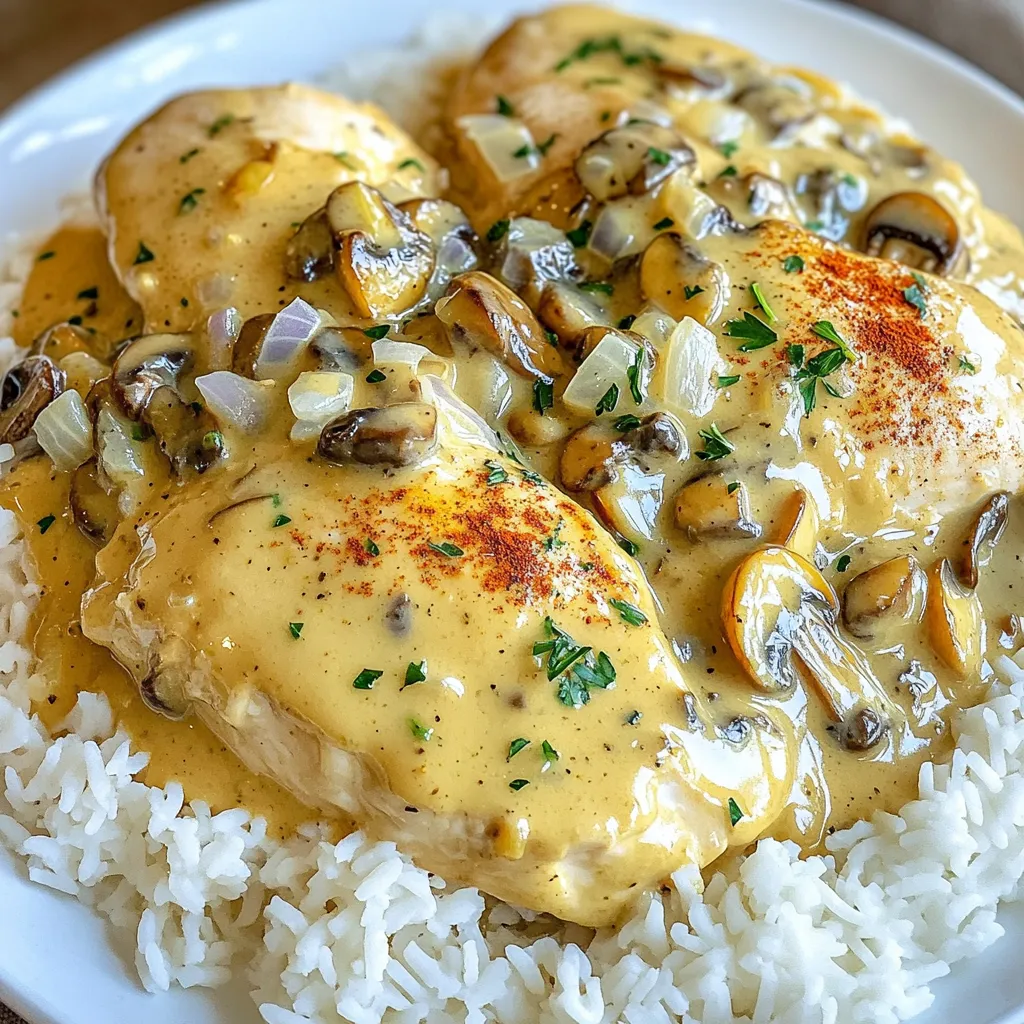
Are you ready to make dinner easier and tastier? The Slow Cooker Creamy Mushroom Chicken is your answer! This dish
