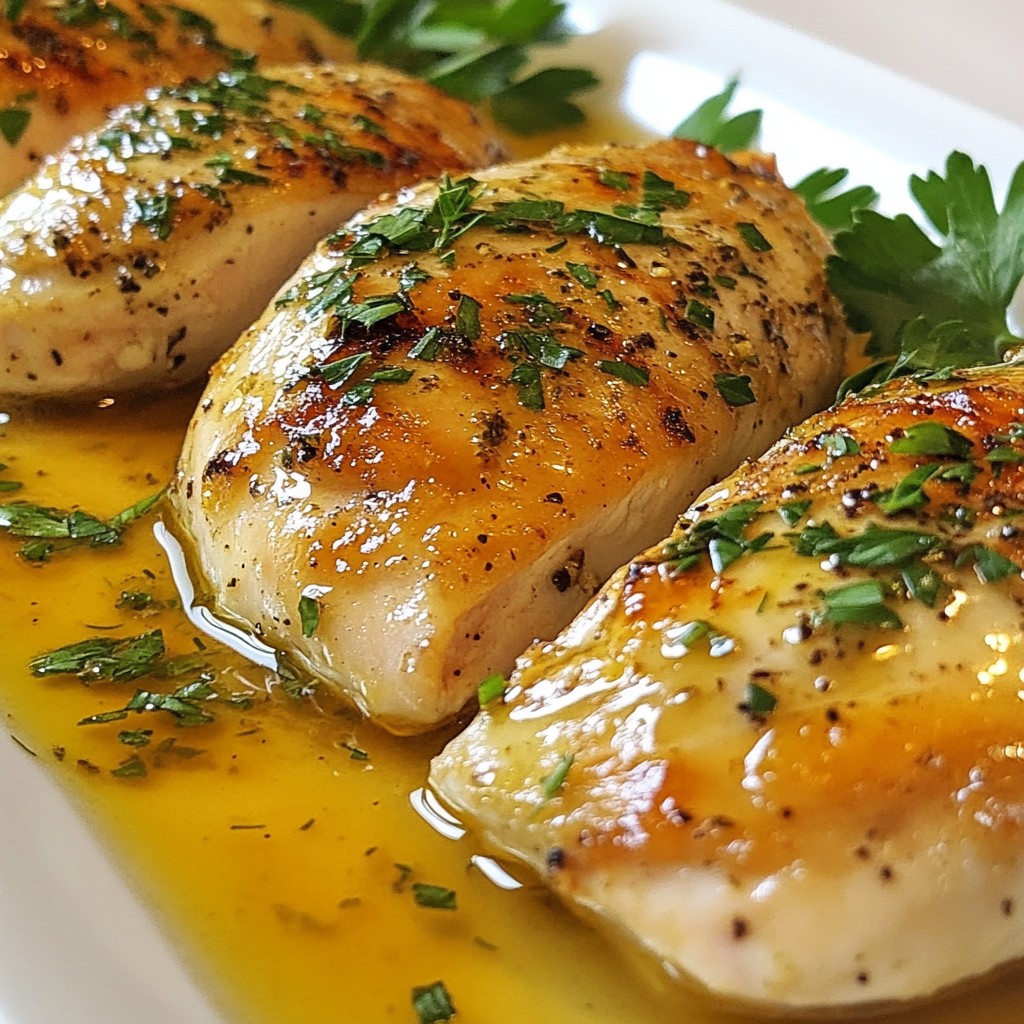
Looking for a juicy, flavorful dinner idea? You’ve hit the jackpot with this Instant Pot Herb Roasted Chicken Breast recipe! This dish is not only easy to make, but it also keeps the chicken tender and full of herbs’ goodness. You’ll learn how to season, cook, and garnish your chicken to perfection. Get ready to impress your family with a meal that even the busiest cook can master! Let's dive in!
Why I Love This Recipe
- Flavorful Herbs: The combination of garlic, thyme, rosemary, and oregano adds a delicious depth of flavor to the chicken, making every bite savory and satisfying.
- Juicy and Tender: Cooking the chicken breasts in the Instant Pot ensures they remain juicy and tender, thanks to the pressure cooking method that locks in moisture.
- Quick and Easy: This recipe takes only 30 minutes from start to finish, making it perfect for busy weeknights or last-minute dinners.
- Beautiful Presentation: Garnishing with fresh herbs not only enhances the visual appeal but also adds a fresh burst of flavor that elevates the dish.
Ingredients
Main Ingredients
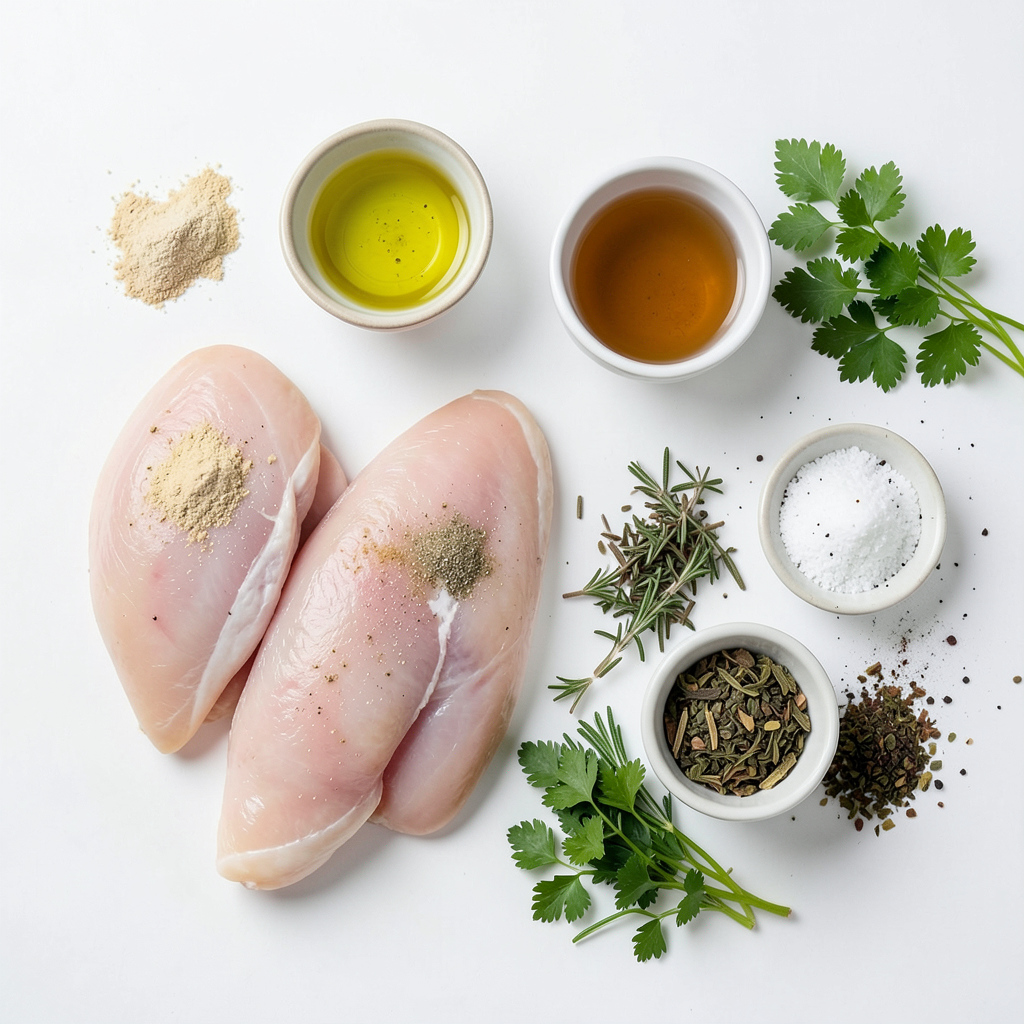
- 2 large chicken breasts (bone-in, skin-on for extra juiciness)
- 1 tablespoon olive oil
- 1 teaspoon garlic powder
- 1 teaspoon onion powder
- 1 teaspoon dried thyme
- 1 teaspoon dried rosemary
- 1 teaspoon dried oregano
- Salt and pepper to taste
- 1 cup chicken broth
The main ingredients create a rich flavor. Bone-in, skin-on chicken breasts give the best results. They stay moist and tender as they cook. Olive oil adds a nice crisp when searing. Garlic and onion powders enhance the taste. Thyme, rosemary, and oregano bring warmth and earthiness to the dish. Lastly, salt and pepper round it all off.
Optional Garnishes
- Fresh herbs (like parsley or basil)
Fresh herbs add color and brightness. Parsley or basil works well. They make the dish look appealing and fresh. You can sprinkle them just before serving. This small step makes a big difference!
Step-by-Step Instructions
Preparation Steps
1. Patting chicken dry
Start by drying the chicken breasts with paper towels. This helps make the skin crispy when cooked. Moisture on the skin can lead to steaming, not roasting.
2. Seasoning the chicken
In a small bowl, mix olive oil, garlic powder, onion powder, thyme, rosemary, oregano, salt, and pepper. Rub this blend all over the chicken. Be sure to get under the skin for the best taste.
Cooking Process in Instant Pot
1. Sautéing the chicken
Set the Instant Pot to 'Sauté.' When hot, add the chicken breasts skin side down. Sear for 3-4 minutes until the skin turns golden brown. Flip the chicken and cook the other side for 3 minutes.
2. Adding chicken broth
Pour in the chicken broth. Use a wooden spoon to scrape up any bits stuck on the bottom. This adds flavor and helps avoid the burn warning.
3. Pressure cooking instructions
Close the lid and select 'Manual' or 'Pressure Cook' on high for 8 minutes. Ensure the valve is set to sealing. After cooking, let the pressure release naturally for 5 minutes, then do a quick release.
Final Steps
1. Checking for doneness
Once the pressure is gone, carefully open the lid. Use a meat thermometer to check that the chicken's internal temperature is 165°F (75°C). If it isn’t, seal the pot and cook for 2 more minutes.
2. Resting the chicken
Take the chicken out of the pot and let it rest for 5 minutes. This allows the juices to settle, making the meat more juicy when sliced.
Tips & Tricks
Achieving Crispy Skin
To get that tasty crispy skin, start by drying the chicken. Use paper towels to pat it dry. Moisture makes it hard to crisp up. Next, sear the chicken in the Instant Pot. Set it to 'Sauté' mode, and let it get hot. Place the chicken skin side down. Sear for 3-4 minutes until it turns golden brown. Flip it over and sear for another 3 minutes. This step locks in flavor and gives you that perfect crunch.
Flavor Enhancements
You can play with herbs and spices to change the flavor. Try using fresh herbs like thyme, rosemary, or parsley. You can also add spices like paprika or cumin for a kick. For more depth, use homemade chicken broth. It adds rich flavor compared to store-bought options. If you don’t have broth, water works too, but the taste won't be as deep.
Making Ahead
If you want to save time, consider pre-seasoning your chicken. You can rub the spices on the chicken a few hours before cooking. This lets the flavors soak in. You can also freeze the seasoned chicken. Just thaw it in the fridge overnight before cooking. This makes it easy to enjoy a delicious meal even on busy days.
Pro Tips
- Pat the Chicken Dry: Ensuring the chicken breasts are dry before seasoning helps achieve a crispy skin during the sautéing process.
- Use Fresh Herbs: While dried herbs work well, using fresh herbs for garnishing adds a burst of flavor and enhances presentation.
- Natural Pressure Release: Allowing the Instant Pot to naturally release pressure for a few minutes helps keep the chicken tender and juicy.
- Let It Rest: Resting the chicken for a few minutes after cooking allows the juices to redistribute, ensuring each slice is moist and flavorful.
Variations
Different Flavor Profiles
For a fresh twist, try the lemon herb variation. Add zest and juice from one lemon to the seasoning mix. This gives your chicken a bright, zesty flavor that pairs well with the herbs.
If you crave heat, consider making spicy herb chicken. Mix in cayenne pepper or chili flakes with the seasonings. This adds a fiery kick that wakes up your taste buds.
Cooking Method Alternatives
You can also use a slow cooker for this recipe. Just season the chicken as usual and place it in the slow cooker with the broth. Cook on low for 6-8 hours. This method gives you tender chicken that falls off the bone.
If you prefer oven-roasting, preheat your oven to 425°F (220°C). Sear the chicken on the stove first, then transfer it to a baking dish. Roast for 25-30 minutes until the internal temperature reaches 165°F (75°C). This method gives you a crispy skin and juicy meat.
Storage Info
Storing Leftovers
To keep your chicken fresh, store leftovers in the fridge. Place the chicken in an airtight container. It stays good for up to three days. For longer storage, freeze the chicken. Wrap it tightly in plastic wrap, then place it in a freezer bag. It can last for about three months in the freezer.
Reheating Techniques
When it’s time to enjoy your leftovers, you have two main options: the microwave or the oven.
- Microwave: This is quick and easy. Place the chicken on a microwave-safe plate. Cover it with a damp paper towel. Heat on medium power for 1-2 minutes, checking often. This keeps the chicken moist.
- Oven: For a better texture, use the oven. Preheat it to 350°F (175°C). Place the chicken in a baking dish and add a splash of chicken broth. Cover with foil and heat for about 15-20 minutes. This keeps the chicken juicy and warm.
FAQs
Common Questions
How long does it take to cook chicken in the Instant Pot? It takes about 8 minutes to cook chicken in the Instant Pot. After cooking, let the pressure release naturally for 5 minutes. This keeps the chicken juicy.
Can I make this recipe with boneless chicken breasts? Yes, you can use boneless chicken breasts. They will cook faster, about 6 minutes under pressure. Just be careful not to overcook them.
Recipe Adjustments
Can I adjust the herb quantities? Yes, you can adjust the herbs to fit your taste. If you love rosemary, add more! Feel free to experiment with your favorite herbs.
What if I don’t have an Instant Pot? If you don’t have an Instant Pot, you can use a slow cooker. Cook on low for 4-6 hours or until the chicken reaches 165°F. You can also roast it in the oven at 375°F for about 25-30 minutes.
This blog covered how to make tender, juicy chicken in the Instant Pot. We talked about key ingredients, like chicken breasts and seasonings. I shared step-by-step cooking tips, including how to get crispy skin. Remember, you can customize flavors or try different cooking methods. Storing leftovers is easy, too. My final advice? Experiment with herbs and spices for unique tastes. Enjoy your cooking!