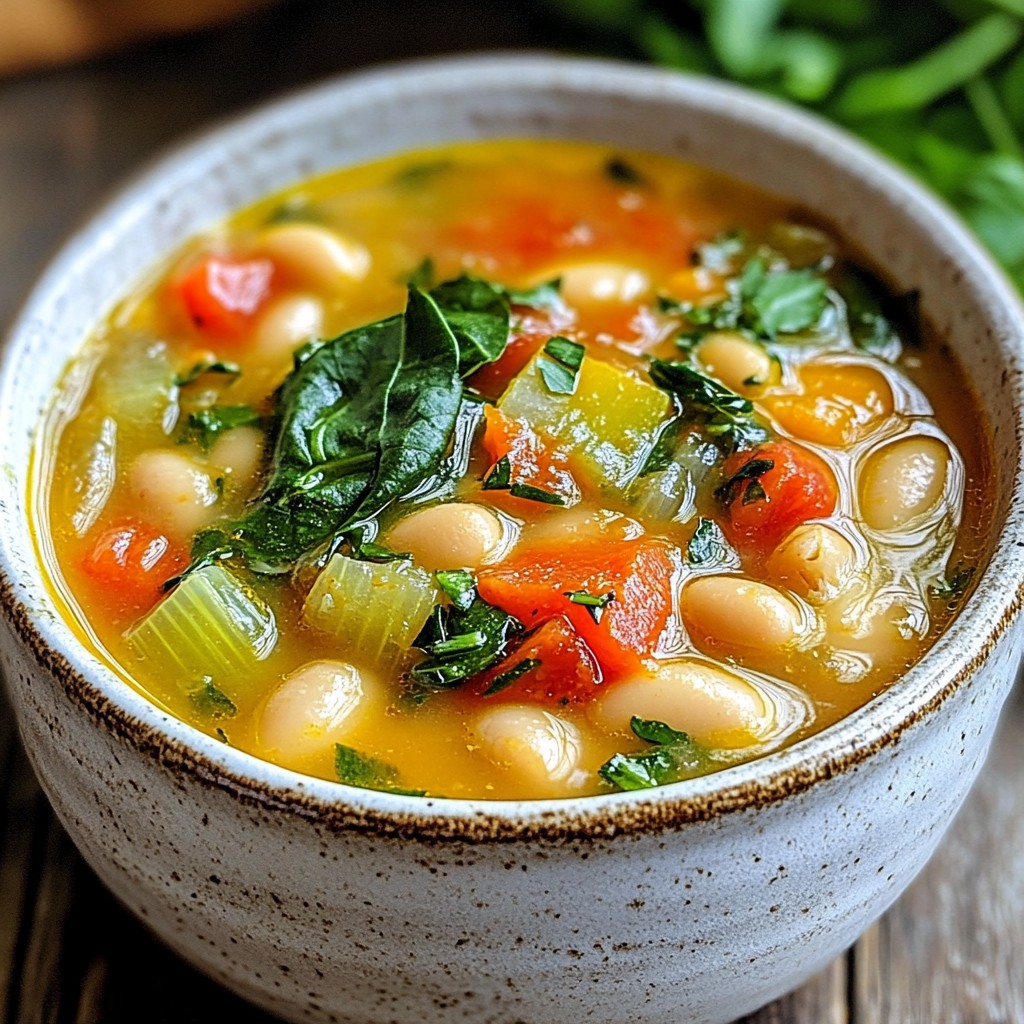
Get ready to warm your soul with my Rustic Instant Pot Tuscan White Bean Soup! This simple yet delightful recipe bursts with rich flavors from fresh herbs, tender beans, and vibrant vegetables. You'll notice how easy it is to create a comforting bowl of soup right at home. Ready to savor a taste of Tuscany? Let's dive into a world of hearty goodness together!
Why I Love This Recipe
- Comforting and Hearty: This soup is the perfect blend of flavors and textures, offering a warm and satisfying meal that feels like a hug in a bowl.
- Easy to Prepare: With the Instant Pot, this recipe simplifies the cooking process, allowing you to have a delicious homemade soup ready in no time.
- Nutritious Ingredients: Packed with protein-rich beans and fresh greens, this soup is not only tasty but also a healthy choice for any meal.
- Customizable: Feel free to add your favorite vegetables or spices, making this recipe versatile and adaptable to your personal taste preferences.
Ingredients
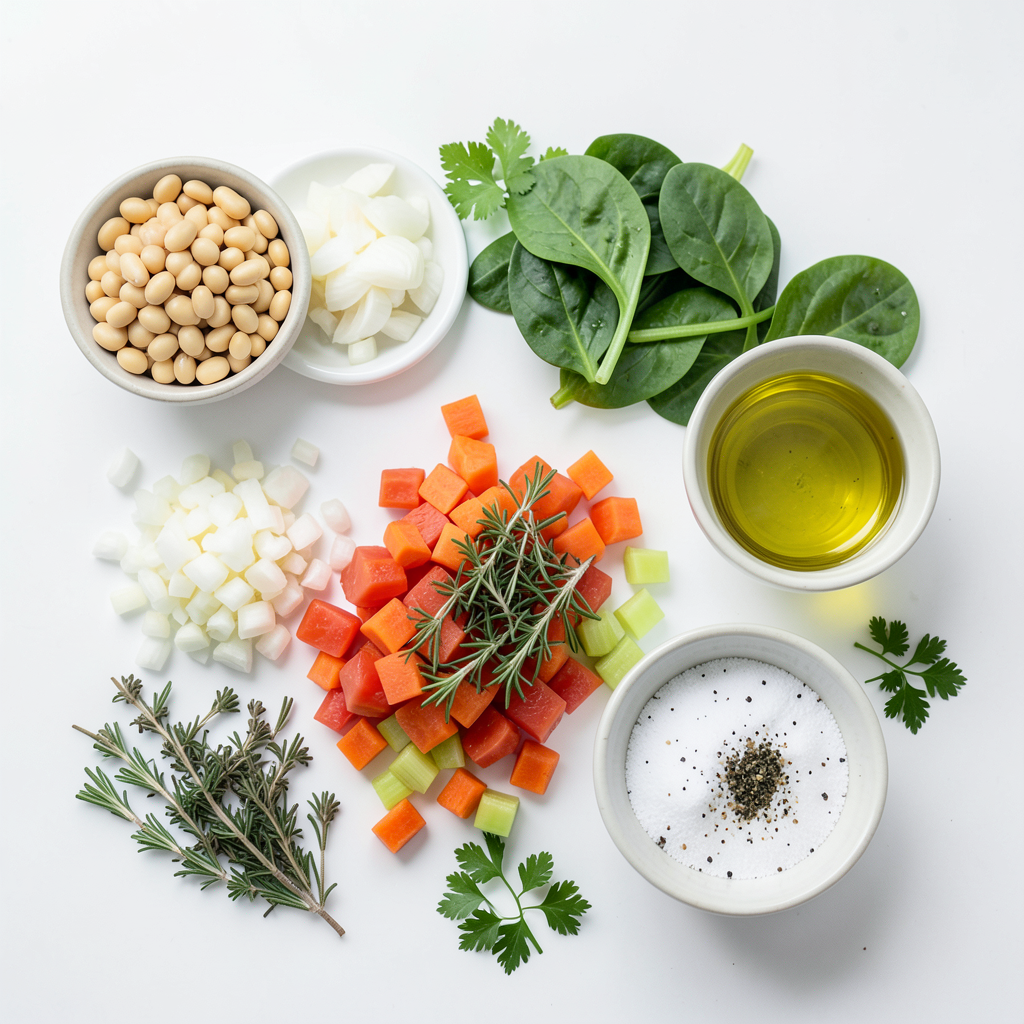
Main ingredients for Rustic Instant Pot Tuscan White Bean Soup
- Cannellini beans: You can use 2 cups of dried beans or 4 cups of canned beans. Dried beans give a richer flavor, but canned beans save time.
- Aromatics: This soup needs 1 medium diced onion, 3 minced garlic cloves, 2 diced carrots, and 2 diced celery stalks. These add a great base flavor.
- Broth and tomatoes: Use 4 cups of vegetable broth and 1 can (14 oz) of diced tomatoes with juices. The broth adds depth, while tomatoes bring acidity.
- Herbs and greens: You will want 1 teaspoon each of dried thyme and rosemary. For greens, add 2 cups of fresh spinach or kale for nutrition and color.
- Seasoning and garnish: Use 2 tablespoons of olive oil, plus salt and pepper to taste. Fresh parsley adds a bright finish on top.
These ingredients form the heart of the soup. Each plays a key role in building flavor and texture. The balance of beans and greens gives you protein and vitamins. The herbs add warmth and aroma, making each bowl comforting and satisfying.
Step-by-Step Instructions
Initial preparation and sautéing
To start, I turn on my Instant Pot and select the sauté function. I add two tablespoons of olive oil and let it heat. Then, I toss in one medium diced onion, two diced carrots, and two diced celery stalks. I sauté these for about five minutes. I watch for the onions to turn soft and translucent. Next, I add three minced garlic cloves. The garlic cooks for an extra minute. This step builds a great base of flavor.
Cooking the soup
Now, it’s time to add the main ingredients. If you use dried cannellini beans, add two cups to the pot now. If you prefer canned beans, set them aside for later. I also add one can of diced tomatoes with their juices. Next, I pour in four cups of vegetable broth. I sprinkle in one teaspoon each of dried thyme and dried rosemary. A pinch of salt and pepper adds depth. After mixing well, I close the lid and set the valve to sealing. I cook on high pressure for 35 minutes if using dried beans. If using canned beans, I cook for just ten minutes.
Final steps and serving
After cooking, I let the pressure release naturally for about ten minutes. Then, I switch to quick release for any remaining pressure. Carefully, I open the lid. If I used dried beans, I stir in two cups of fresh spinach. I wait until the greens wilt down. If I used canned beans, I stir them in now for a few more minutes. Next, I taste the soup and adjust the seasoning if needed. Finally, I ladle the soup into bowls and garnish with fresh parsley. It’s ready to enjoy!
Tips & Tricks
Best practices for using the Instant Pot
- Sauté function vs. pressure cooking: The sauté function is great for building flavor. Start by sautéing onion, garlic, carrots, and celery. This step adds depth to your soup. After that, switch to pressure cooking to cook the beans and other ingredients quickly.
- Importance of natural pressure release vs. quick release: Natural pressure release lets the soup finish cooking gently. It helps flavors meld together. For this soup, let it sit for ten minutes before quick releasing any remaining pressure. This method ensures tender beans.
- Preventing the "burn" notice during cooking: Always add enough liquid to the pot. If using dried beans, make sure to cover them with broth. Stir the mixture well before sealing the pot. This prevents food from sticking to the bottom.
Flavor enhancement suggestions
- Suggested herb combinations for more flavor: You can mix thyme and rosemary for a classic taste. For a twist, try adding fresh basil or oregano. They pair beautifully with the beans and tomatoes.
- Alternative seasonings to try: Consider adding a pinch of red pepper flakes for heat. Smoked paprika can give a nice depth. Experimenting with lemon zest can add brightness to the soup.
- Additional toppings or accompaniments: Serve your soup with crusty bread or a sprinkle of grated Parmesan. Fresh parsley on top adds color and freshness. For a creamy touch, try a dollop of sour cream or Greek yogurt.
Pro Tips
- Soak Your Beans: For dried cannellini beans, soak them overnight to reduce cooking time and improve texture.
- Add More Flavor: Enhance the soup's flavor by adding a splash of balsamic vinegar or a squeeze of lemon juice before serving.
- Customize Your Greens: Feel free to substitute spinach with other greens like Swiss chard or collard greens for a different taste and nutrition.
- Storage Tips: This soup freezes well! Store leftovers in airtight containers for up to 3 months for a quick meal later.
Variations
Bean and vegetable alternatives
You can swap out cannellini beans for other beans. Try great northern or navy beans. Each will give a new taste. You can also mix beans for more flavor. Adding seasonal vegetables makes the soup unique. In spring, use fresh peas or asparagus. In fall, add diced butternut squash or sweet potatoes.
Dietary adaptations
To make this soup vegan, skip the chicken broth. Use vegetable broth instead. You can also add more vegetables to keep it hearty. If you want to make it vegetarian, add cheese as a topping. For gluten-free options, always check your broth label. Most vegetable broths are gluten-free, but it’s good to confirm.
International twists
You can infuse flavors from other cuisines. Add some smoked paprika for a Spanish touch. Or, stir in coconut milk for a creamy Thai vibe. For Italian-inspired variations, try adding a splash of balsamic vinegar. You can also top with fresh basil or a sprinkle of Parmigiano-Reggiano cheese. These small changes can make a big difference!
Storage Info
How to store leftover soup
To keep your soup fresh, use airtight containers. Glass containers work great. They won’t stain and are easy to clean. For smaller portions, use plastic containers. Make sure they are food-safe. Store the soup in the fridge if you plan to eat it soon. Let the soup cool before sealing the container.
For longer storage, freeze the soup. Use freezer-safe containers or heavy-duty bags. Leave some space in the containers. Soup expands when it freezes. Label each container with the date. This way, you know how long it has been stored.
Reheating instructions
When you are ready to eat your soup, reheating it is easy. The best way is on the stove. Pour the soup into a pot and heat over medium. Stir often to prevent it from sticking. Heat until it's warm but not boiling.
You can also use the microwave. Place soup in a microwave-safe bowl. Cover it with a microwave-safe lid or wrap. Heat in short bursts, stirring in between. This helps the soup heat evenly.
If the soup is frozen, thaw it in the fridge overnight. Then follow the reheating steps above. If you need to heat it quickly, use the microwave. Just add a bit of water to help with moisture.
Shelf life and quality
Stored soup lasts about 3 to 5 days in the fridge. If you freeze it, it can last for up to 3 months. After that, the flavor may fade.
Check for signs of spoilage before eating. If the soup smells off or has mold, throw it away. If the texture looks strange or slimy, do not eat it. Always trust your senses; they will help keep you safe.
FAQs
Can I use canned beans instead of dried?
Yes, you can use canned beans. They save time and are easy to use. If you choose canned beans, reduce the cooking time to 10 minutes. Dried beans cook longer, about 35 minutes. Canned beans are softer and less chewy. This change affects the soup’s texture. You may miss the hearty feel of dried beans.
How do I make this soup even creamier?
To thicken your soup, mash some of the beans. You can also blend a portion of the soup. Return it to the pot for a smoother texture. Add a splash of cream or milk for extra creaminess. Stir in a bit of cream cheese or sour cream as well. These ingredients enhance richness and make every bite delightful.
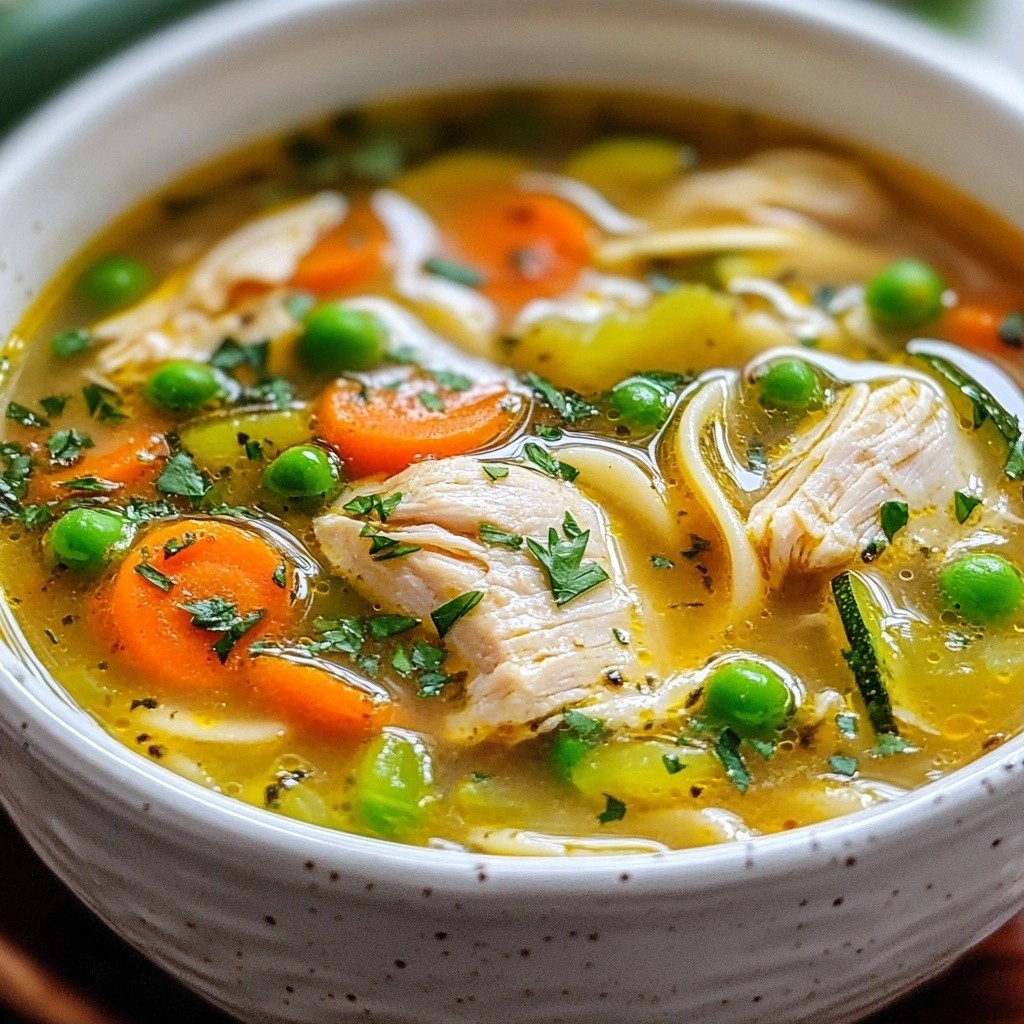
Can I add meat to this soup?
You can add sausage or chicken for a hearty twist. Cook sliced sausage in the pot before adding the other ingredients. For chicken, use cooked, shredded chicken. Adjust cooking time based on the meat you choose. If using raw chicken, add it with the other ingredients and ensure it cooks fully. Meat adds flavor and protein to the soup.
Rustic Instant Pot Tuscan White Bean Soup combines simple ingredients in a flavorful way. You learned about combining beans, aromatics, and herbs for a rich taste. We explored step-by-step instructions for a perfect soup and valuable tips for using your Instant Pot.
Remember, variations keep this dish exciting; try different beans or seasonal veggies. Proper storage ensures freshness, and reheating methods maintain flavor. Enjoy this cozy soup your way, and share it with loved ones. Trust me, it will become a favorite in no time.