-min.png)
-min.png)
-min.png)
-min.png)
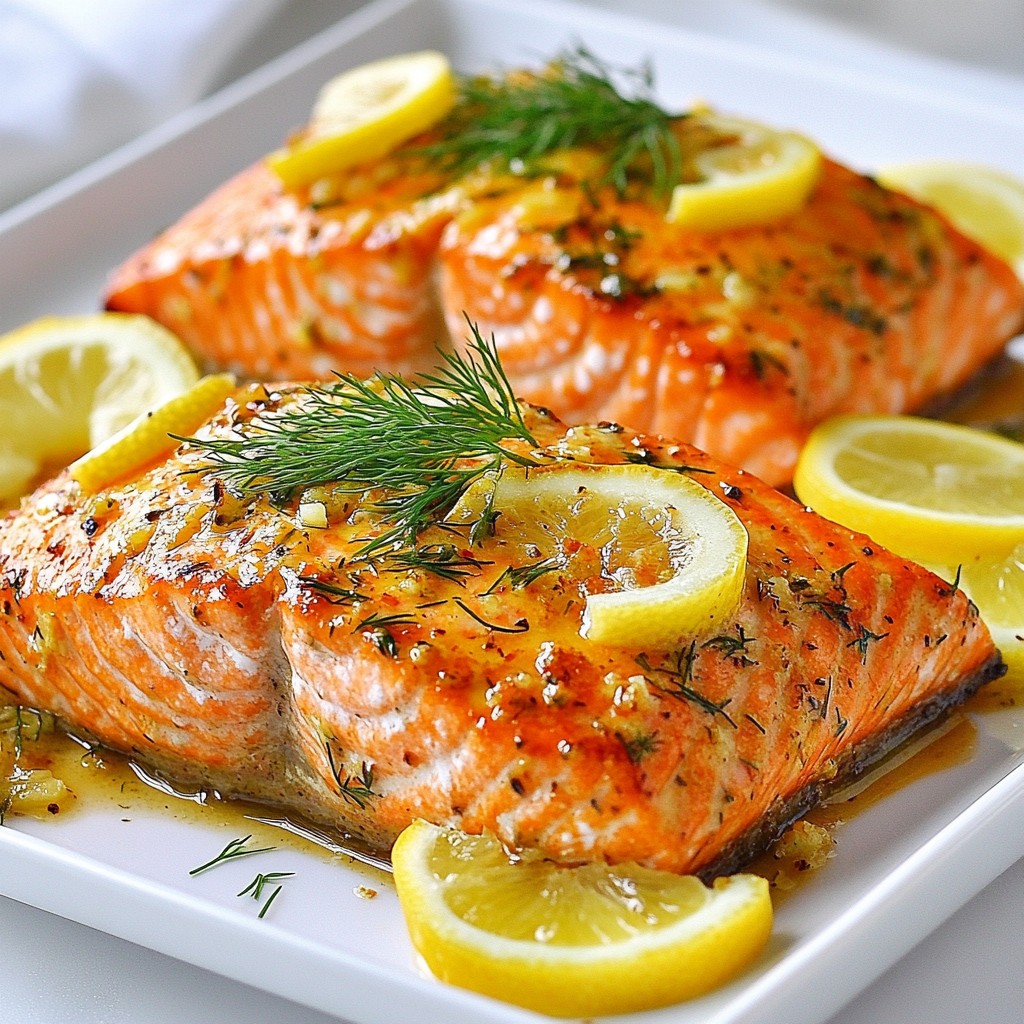
Garlic Lemon Dill Salmon Simple and Tasty Dinner
A flavorful salmon dish marinated with garlic, lemon, and dill, then baked to perfection.
A flavorful salmon dish marinated with garlic, lemon, and dill, then baked to perfection.
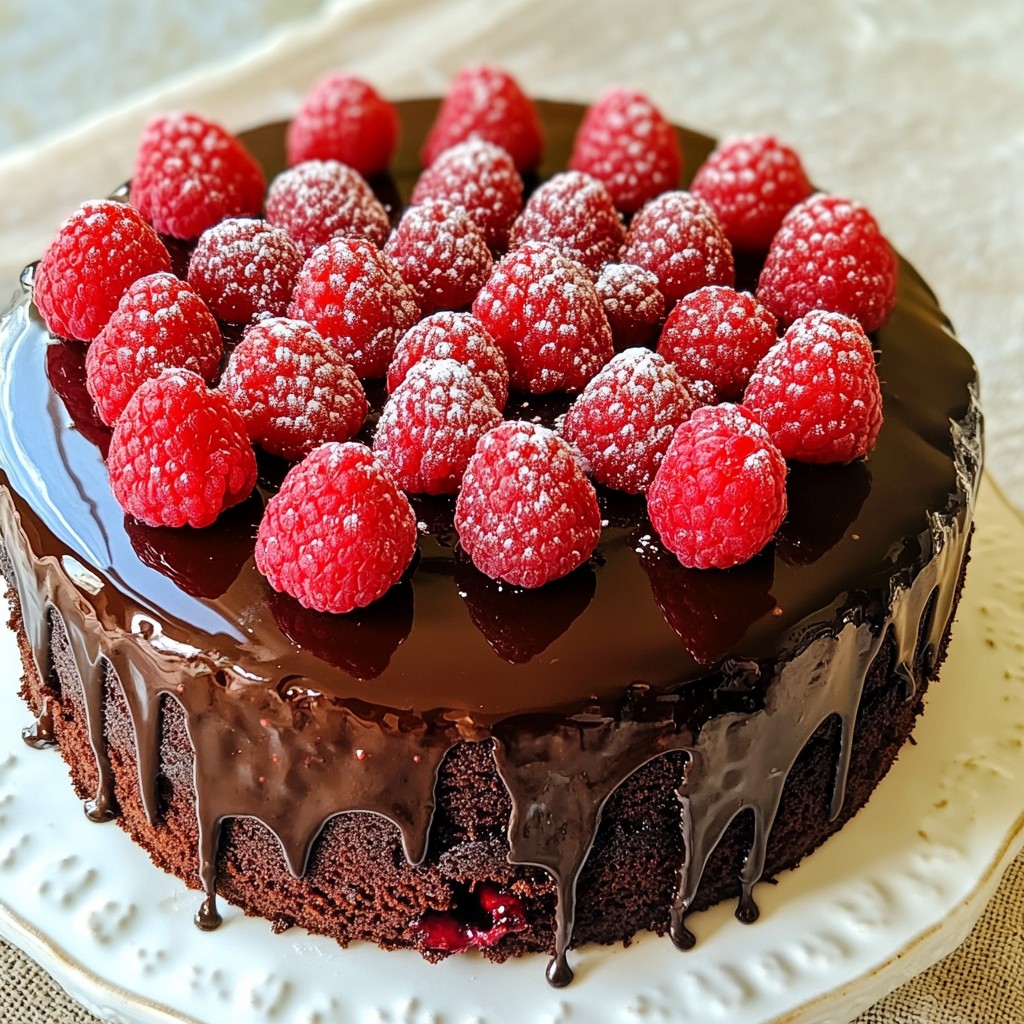
Indulge in our collection of irresistible dessert recipes! From decadent chocolate treats to light and fruity delights, discover sweet creations that will satisfy every craving and make every occasion special!
More Desserts


Discover recipes organized by type - find exactly what you're craving
Discover delicious dinner recipes that bring joy to your table! From quick weeknight meals to impressive family feasts, explore our collection of savory dishes that make every dinner time memorable!
More Dinners 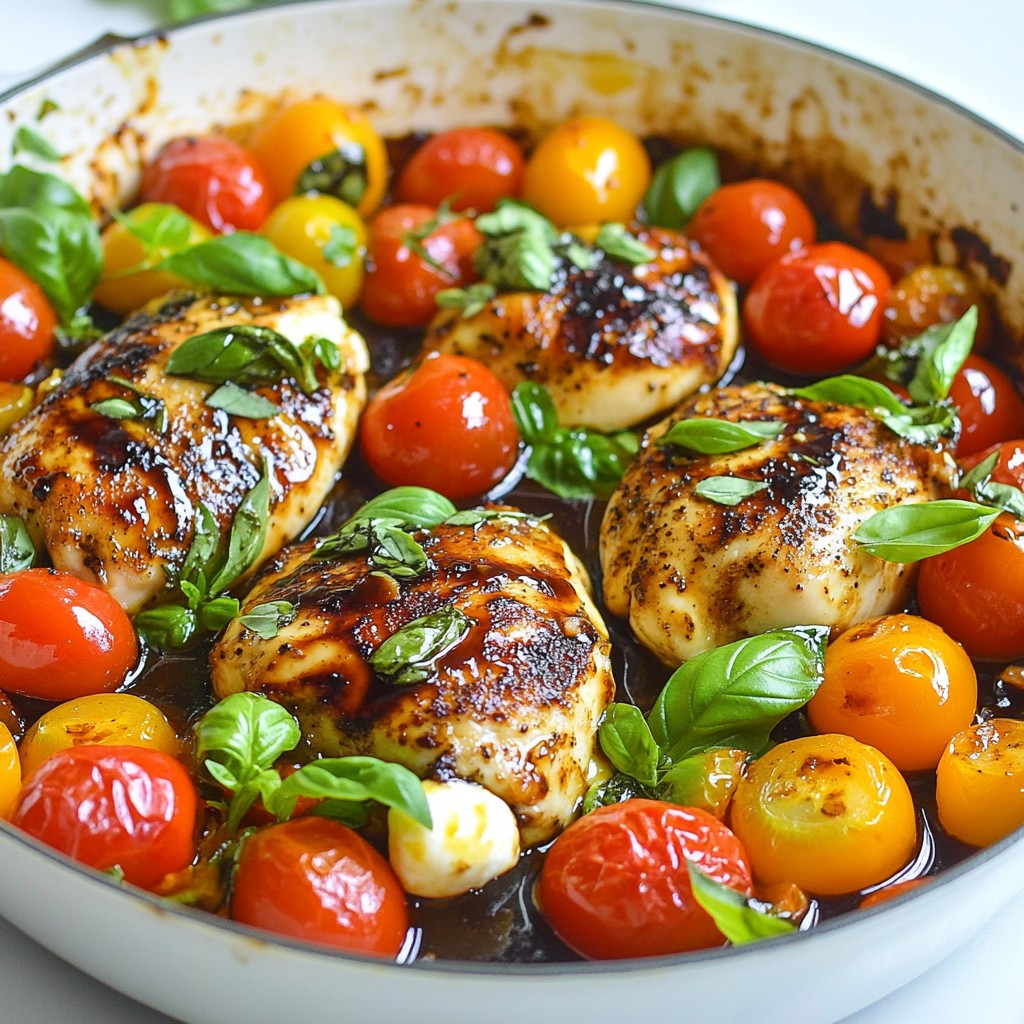


Elena Müller, Founder & Recipe Developer, created pagosarecipes to share innovative recipes and culinary expertise.
Looking for something specific? Find your next favorite recipe.
Check out our newest additions - tried, tested, and absolutely delicious!
A flavorful salmon dish marinated with garlic, lemon, and dill, then baked to perfection.
A delicious and refreshing overnight oats recipe featuring mango and coconut.
A delicious skillet dish featuring chicken breasts cooked with cherry tomatoes, mozzarella, and fres...
A creamy and indulgent dip that tastes just like chocolate chip cookie dough, perfect for dipping.
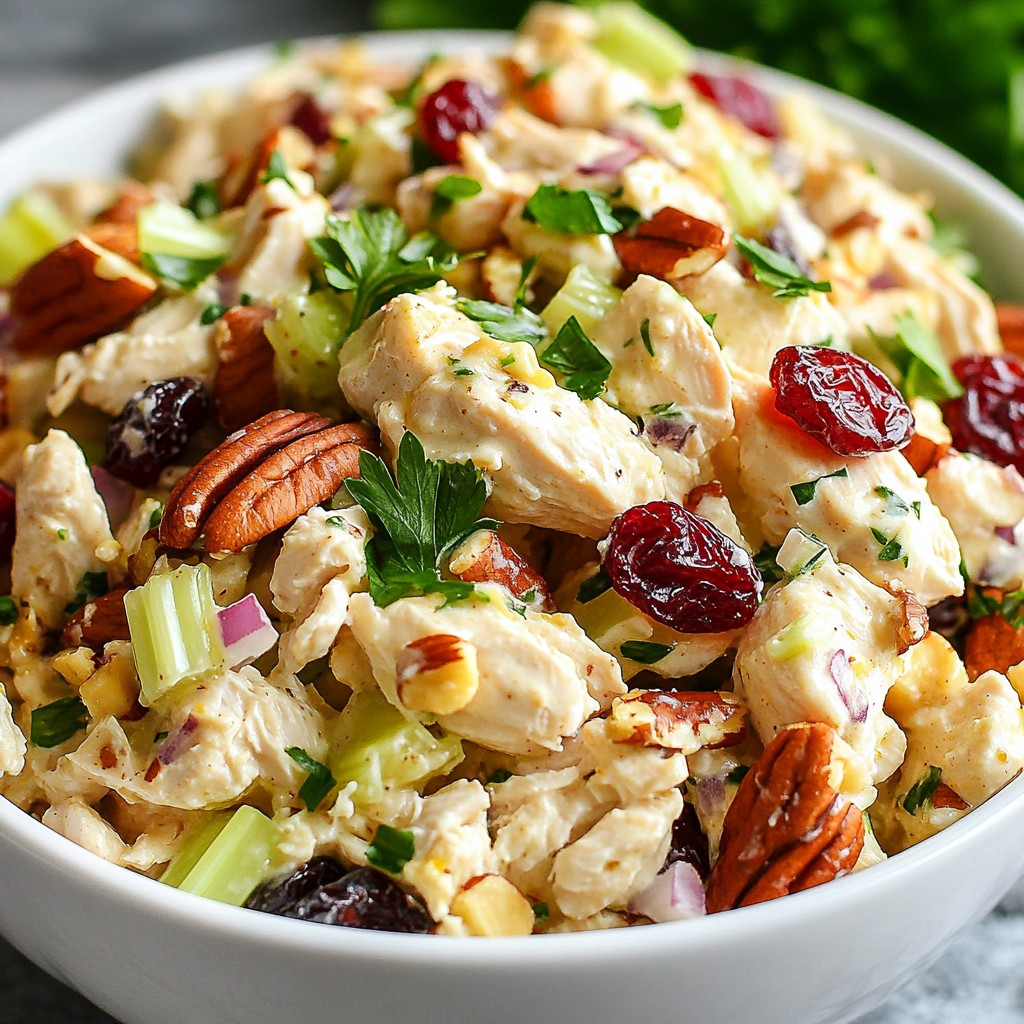
A delicious and refreshing chicken salad with cranberries and pecans.
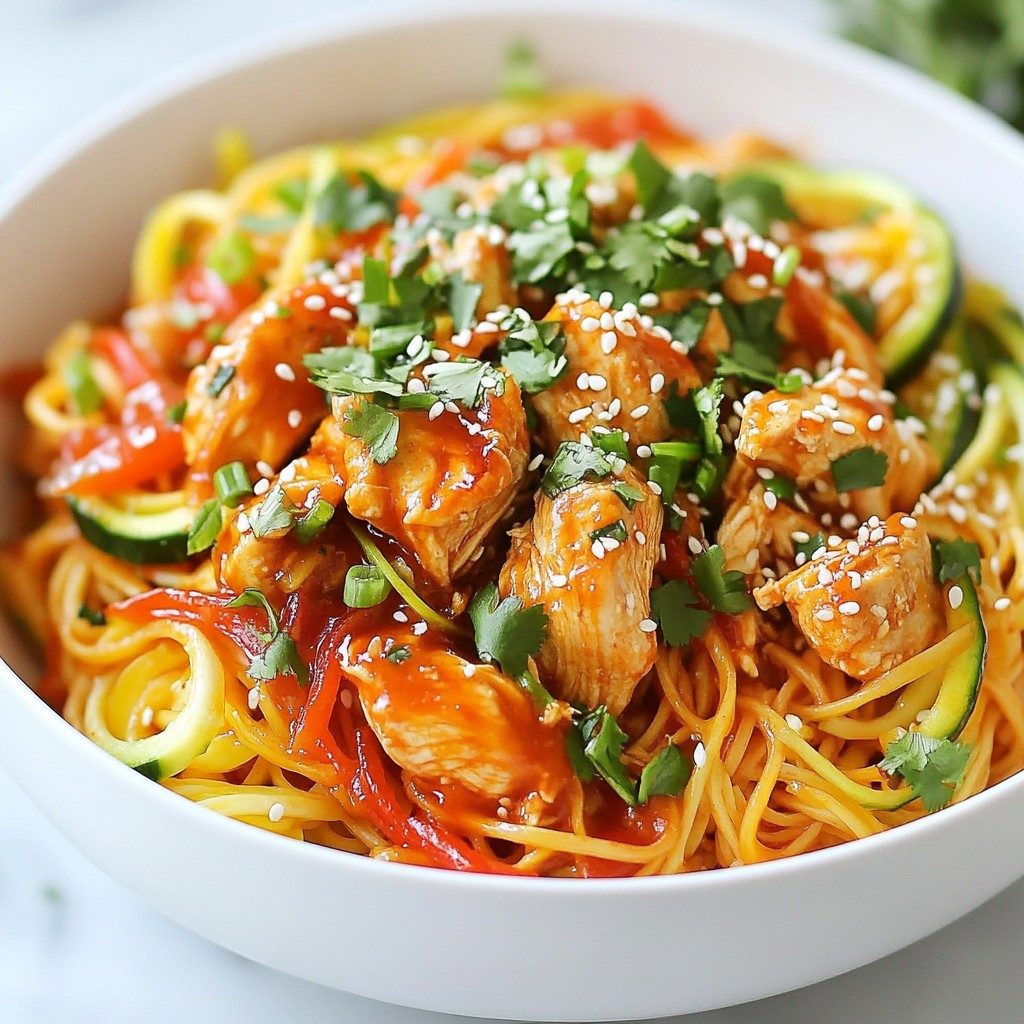
A flavorful dish featuring rice noodles stir-fried with spicy Sriracha chicken and fresh vegetables.