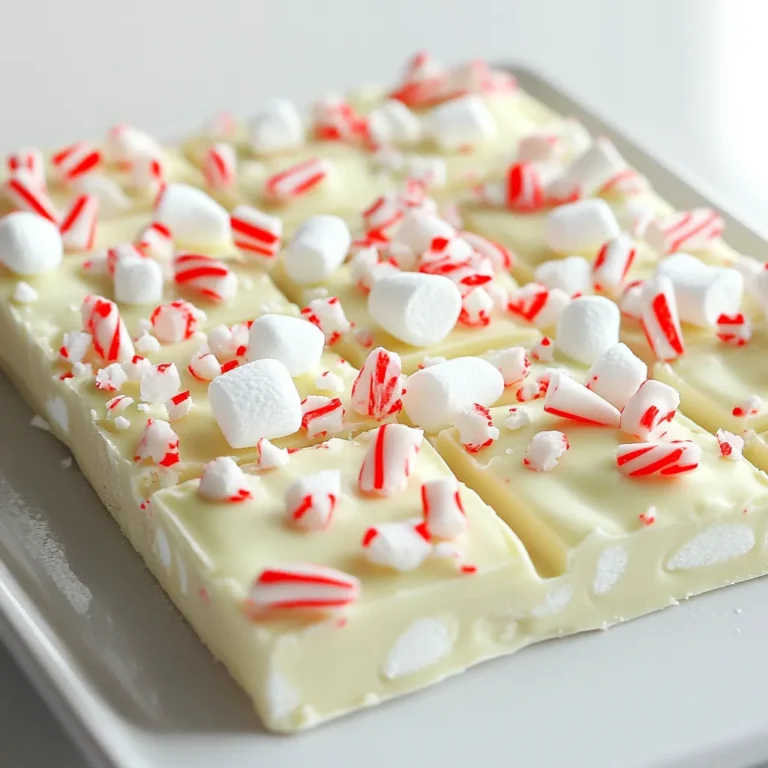
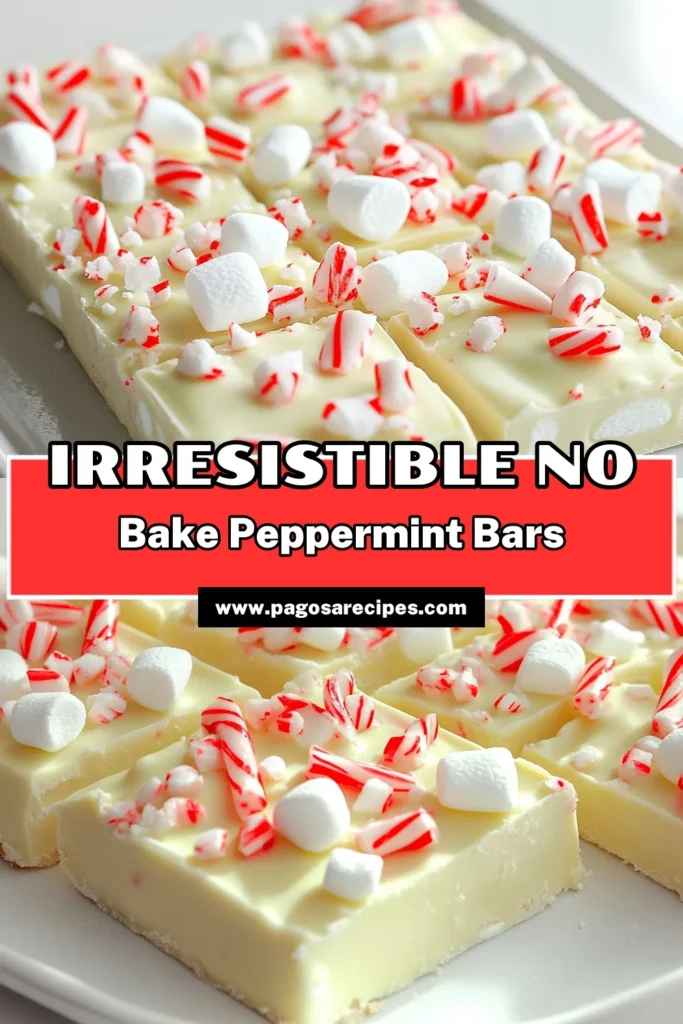
Get ready to treat yourself! These No-Bake White Chocolate Peppermint Bark Bars are simple, tasty, and perfect for any holiday. You don’t need fancy skills to whip them up. Just a few ingredients and some chill time in the fridge, and you’re set. In this post, I’ll share everything you need to know. Let’s get started on creating this festive delight!
Ingredients
List of ingredients for the No-Bake Bars
- 2 cups white chocolate chips
- 1/4 cup coconut oil
- 1/2 teaspoon peppermint extract
- 1 cup crushed candy canes (plus extra for topping)
- 1/2 cup graham cracker crumbs
- 1/2 cup mini marshmallows (optional for a fluffy texture)
You will need simple ingredients to make these bars. The white chocolate chips give a sweet base. The coconut oil adds a nice shine and helps with texture. The peppermint extract gives that fresh mint flavor we love. Crushed candy canes add a fun crunch and festive look. Graham cracker crumbs provide a nice base and a bit of sweetness. If you want extra fluff, add mini marshmallows.
Optional ingredients for customization
- Nuts like almonds or walnuts
- Dried fruits like cranberries or cherries
- Different extracts like vanilla or almond
You can change up the bars with these additions. Nuts will add a crunch and healthy fats. Dried fruits give a chewy texture and extra sweetness. Using other extracts can change the flavor profile. Vanilla will give a warm note, while almond adds a unique twist.
Recommended brands for white chocolate and coconut oil
- White chocolate: Guittard, Ghirardelli, or Nestlé
- Coconut oil: Nutiva, Spectrum, or LouAna
For white chocolate, I recommend Guittard or Ghirardelli. They melt well and have great flavor. Nestlé is also a solid choice. For coconut oil, Nutiva and Spectrum are high-quality options. LouAna is great for baking. Using good brands makes a big difference in taste and texture.
Step-by-Step Instructions
Preparation of the baking dish
First, take an 8×8 inch baking dish. Line it with parchment paper. Make sure the paper hangs over the edges. This will help you lift the bars out later. This step is easy but very important. A clean dish makes for easy removal.
Melting the white chocolate mixture
Next, grab a microwave-safe bowl. Put in 2 cups of white chocolate chips. Add 1/4 cup of coconut oil. Heat this mixture in the microwave. Use 30-second bursts and stir in between. Keep heating until it is completely melted and smooth. This may take about 1-2 minutes in total.
Incorporating the ingredients and pouring the mixture
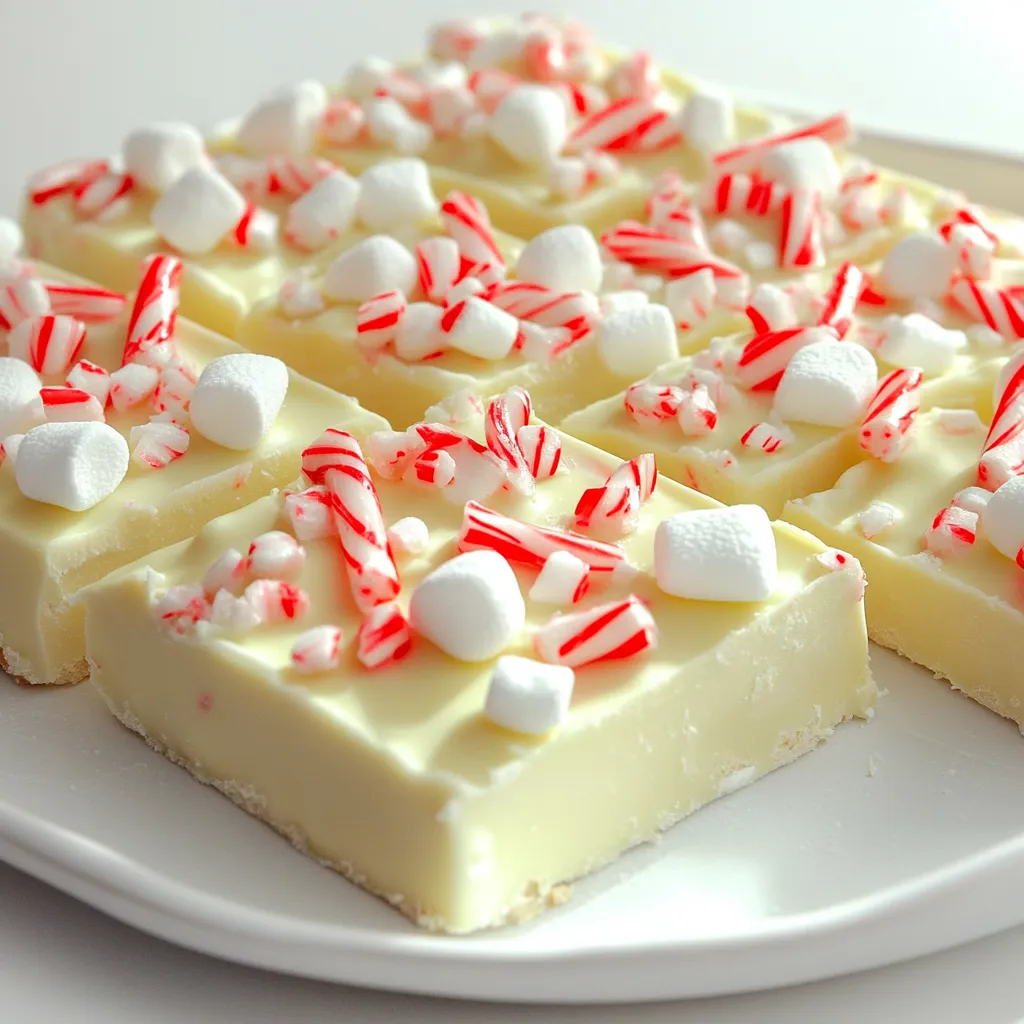
Once melted, stir in 1/2 teaspoon of peppermint extract. Mix well to combine the flavors. Then, add in 1 cup of crushed candy canes and 1/2 cup of graham cracker crumbs. Stir until everything is fully mixed. If you want a fluffier texture, gently fold in 1/2 cup of mini marshmallows. Finally, pour the mixture into the lined baking dish. Spread it evenly with a spatula. Don’t forget to sprinkle extra crushed candy canes on top for a nice crunch!
Tips & Tricks
Best practices for melting chocolate
To melt white chocolate, use a microwave-safe bowl. Combine the white chocolate chips and coconut oil. Heat in 30-second bursts. Stir between each burst to avoid burning. White chocolate can scorch easily, so keep an eye on it. Remove when it’s smooth and creamy.
Tips for mixing ingredients without clumping
After melting, add the peppermint extract directly to the mix. Next, fold in the crushed candy canes and graham cracker crumbs. Stir gently with a spatula. If you use mini marshmallows, fold them in carefully to keep them fluffy. This way, you avoid clumping.
How to properly set the bars in the refrigerator
After pouring the mixture into the prepared dish, spread it evenly. Sprinkle extra crushed candy canes on top. Refrigerate the bars for at least two hours. This time helps them set properly. They will be firm and easy to cut when ready.
Variations
Possible ingredient swaps
You can easily switch out white chocolate chips. Try using dark chocolate instead. This will add a rich taste. You can also swap out the peppermint extract. Use vanilla or almond extract for a twist. These small changes can make a big difference.
Adding nuts or dried fruits for extra texture
To add crunch, consider adding nuts. Chopped almonds or pecans work great. You can also add dried fruits, like cranberries or cherries. These ingredients give your bars extra flavor and texture. Just mix them in with the other ingredients.
Creating layered versions with different chocolates
Layering chocolates can make your bars look fancy. Start with a layer of white chocolate. Let it set before adding a layer of dark chocolate. This creates a stunning look and a mix of tastes. You can even add different flavors to each layer for more fun.
Storage Info
Best storage methods for keeping bars fresh
To keep your No-Bake White Chocolate Peppermint Bark Bars fresh, store them in an airtight container. This prevents moisture from making the bars soggy. Ensure the container is completely sealed to keep out air. If you have extra bars, separate layers with parchment paper. This keeps them from sticking together.
Recommended containers for long-lasting freshness
I recommend using glass or plastic containers with tight lids. Glass containers help maintain the bar’s flavor. If you prefer plastic, choose BPA-free options for safety. Make sure the containers are clean and dry before placing the bars inside. You can also wrap individual bars in plastic wrap for extra protection.
How long the bars last in the fridge or freezer
In the fridge, your bars can last up to two weeks. Just keep them in an airtight container. If you want to store them longer, place them in the freezer. They can last up to three months when frozen. Just remember to thaw them in the fridge before enjoying them again.
FAQs
Can I use regular chocolate instead of white chocolate?
Yes, you can use regular chocolate. Dark or milk chocolate works great. Just remember, the taste will change. Regular chocolate is richer and less sweet than white chocolate. This change can add a nice twist to your bars.
How do I make the bars dairy-free?
To make these bars dairy-free, swap the white chocolate for dairy-free chocolate chips. Use coconut oil as your fat source. Check the labels to ensure they are dairy-free. This way, everyone can enjoy your delicious creation.
What is the best way to cut the bars for serving?
The best way to cut the bars is to use a sharp knife. First, chill the bars completely in the fridge. Then, lift them out using the parchment paper. Cut them into squares or rectangles for easy serving.
Can I make these bars ahead of time for a party?
Absolutely! These bars are perfect for making ahead. You can prepare them up to two weeks in advance. Just store them in an airtight container in the fridge. This way, you have a tasty treat ready for your guests.
These no-bake bars are easy to make and tasty. We covered key ingredients and gave great options for customization. You learned step-by-step how to prepare, melt, and mix. I shared tips for melting chocolate and setting the bars perfectly. Plus, I listed fun ingredient swaps and storage methods.
Now, you can enjoy delicious treats or share them with friends. With these simple steps, you can create your own favorite no-bake bars!

