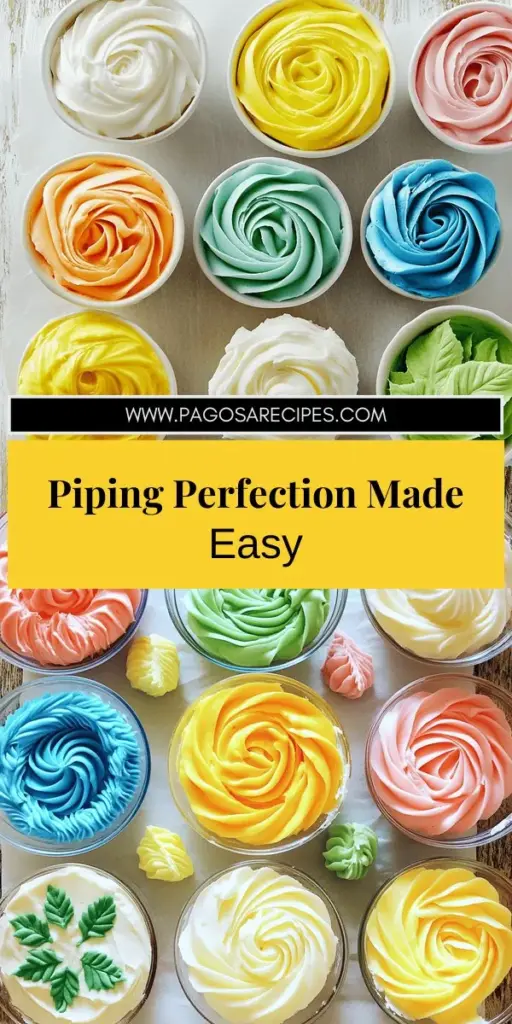
Ready to elevate your cake decorating skills? In Cake Decor Piping Tips for Stunning Results, I’ll share simple yet effective techniques that will help you create beautiful designs. From essential ingredients to must-have piping tips, I’ve got you covered. Whether you’re a novice or looking to refine your skills, these tips will guide you to perfect your buttercream piping. Let’s get started on your path to cake decoration mastery!
Ingredients for Whimsical Buttercream Piping
List of Essential Ingredients
To create fun and tasty piping, you need key ingredients. Here’s what you’ll need:
- 2 cups unsalted butter, softened
- 4 cups powdered sugar
- 1/4 cup heavy cream
- 2 teaspoons vanilla extract
- Food coloring (various colors)
These ingredients form the base of your buttercream. The butter gives it a rich taste. Powdered sugar adds sweetness and thickens the mix. Heavy cream makes it light and fluffy, while vanilla gives a lovely flavor.
Recommended Piping Tips
Choosing the right piping tips makes a big difference. Here are some tips to consider:
- Star tip: Great for swirls and rosettes
- Round tip: Perfect for writing or dots
- Leaf tip: Ideal for creating leaves
Each tip creates a unique look. Start with a star tip for fun designs. A round tip is best for simple writing.
Optional Tools for Piping
Having the right tools can make your piping easier. Here are some optional tools to help:
- Parchment or wax paper for practice
- Squeeze bottles for controlled designs
Practice on parchment paper before piping on your cake. Squeeze bottles help you control the flow of frosting for precise designs.
Step-by-Step Instructions
Preparing the Buttercream
To make the best buttercream, start with soft butter. I use 2 cups of unsalted butter. Beat it in a large bowl with an electric mixer. Mix on medium speed for about 2-3 minutes. The butter should be creamy and smooth. Next, slowly add 4 cups of powdered sugar. Mix on low speed to avoid a sugar cloud. Once mixed well, add 1/4 cup of heavy cream. Also, add 2 teaspoons of vanilla extract. Increase the speed to medium-high. Beat for another 3-4 minutes. The frosting should be light and fluffy.
Coloring the Frosting
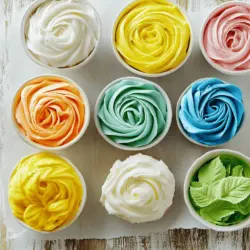
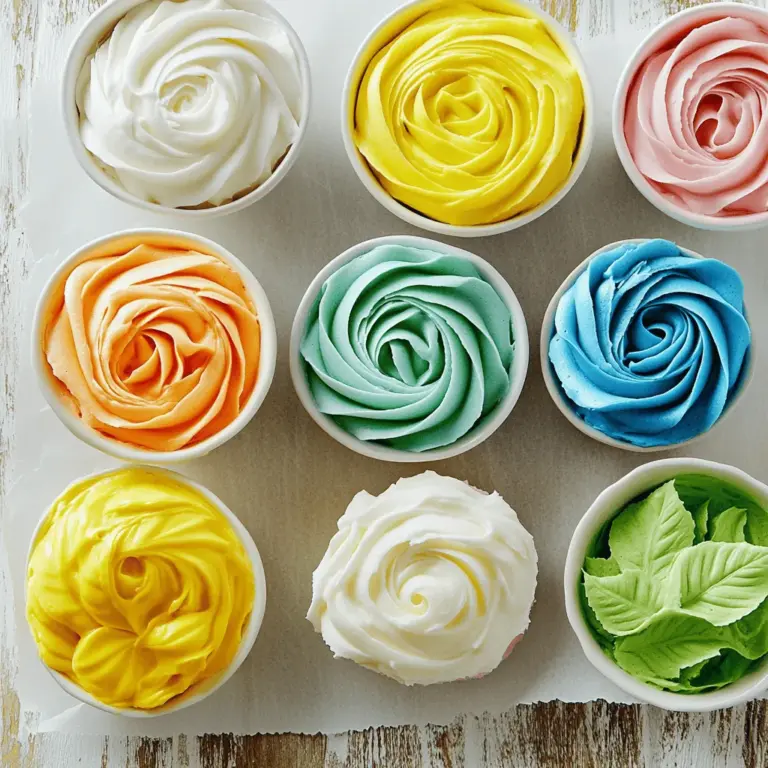
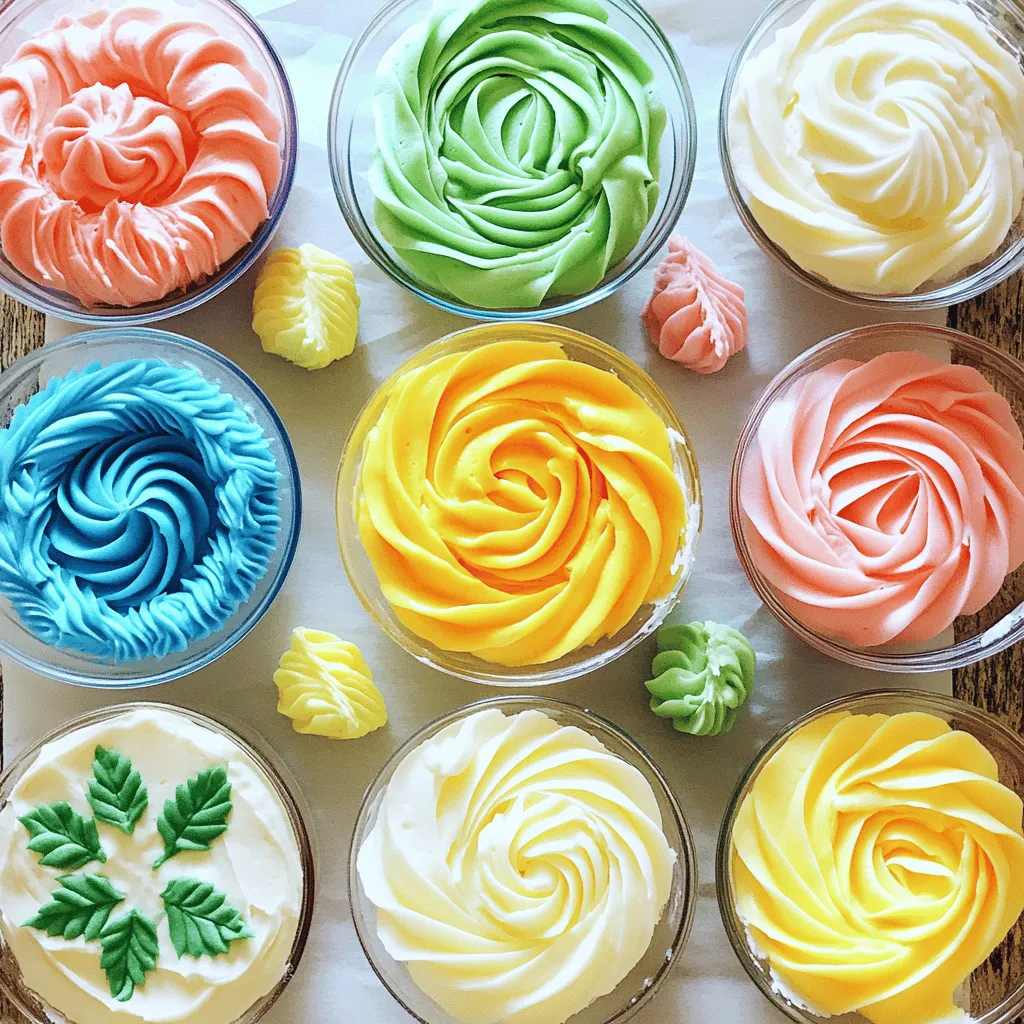
Once the buttercream is ready, it’s time to color it. Divide the frosting into bowls. Use as many bowls as you want colors. Add a few drops of food coloring to each bowl. Stir well until you get your desired shades. This is where the fun starts! Mix bright colors or pastels. You can even swirl colors together for a unique look.
Piping Techniques Overview
Now, let’s talk about piping. Fit your piping bags with your chosen piping tips. I like to use star, round, and leaf tips for different designs. Fill each bag with your colored buttercream. Press the frosting down towards the tips. Use parchment or wax paper to practice. Start with simple shapes like swirls and rosettes. Once you feel ready, pipe your designs on cakes or cupcakes. Use different colors for a bright look. Remember, practice makes perfect!
Tips & Tricks for Perfect Piping
Best Practices for Using Piping Tips
Using piping tips can seem tricky, but it’s fun! Start with the right tip for your design. For flowers, I love the star tip. It makes lovely petals. For smooth lines, a round tip works best. Always hold the bag at a 45-degree angle. This gives you great control. Apply even pressure as you squeeze. If you want to practice, use parchment paper. It helps you refine your skills without stress.
Common Mistakes to Avoid
One common mistake is overfilling the piping bag. Overfilling makes it hard to squeeze. I suggest filling it halfway. If your frosting is too soft, it can slide. For best results, chill your buttercream for a bit. Always remember to keep your tips clean. Dried frosting can clog them. Another mistake is not practicing enough. Take time to practice before working on your cake. You will see great results!
How to Achieve Professional Results
To pipe like a pro, focus on your technique. Start slow and build speed as you gain confidence. Use a light touch, and don’t rush. Layer colors to create depth in your designs. Try mixing shades for a unique look. Use a toothpick for tiny details or touch-ups. Lastly, don’t be afraid to experiment! Mix and match your tips to create fun designs.
Piping Designs and Techniques
Piping is where your creativity shines. You can make simple or fancy designs. Start with basic techniques and then move to advanced designs.
Basic Techniques: Swirls and Rosettes
To create swirls, use a star tip. Hold your piping bag at a 90-degree angle. Start in the center and pipe outwards in a circular motion. For rosettes, begin at the center, make a swirl, and pull up slightly. Practice these techniques on parchment paper first. This way, you can perfect your moves before decorating cakes.
Advanced Designs: Leaves and Flowers
Once you master basic shapes, try leaves and flowers. For leaves, use a leaf tip. Hold your bag at an angle. Squeeze gently, then pull down to make a point. For flowers, use a petal tip. Pipe two to three petals around a center point to form a bloom. These designs can add elegance to your treats.
Practice Ideas Using Parchment Paper
Using parchment paper is key for practice. Cut pieces of paper and tape them to your counter. Pipe your designs onto the paper to see how they look. This helps you learn without wasting frosting. You can even reuse the paper after practicing. Just let the designs dry and peel them off. This way, you can keep practicing until you’re ready for the cake!
Storage Info for Leftover Buttercream
Short-Term Storage in the Fridge
You can store your leftover buttercream in the fridge. Use an airtight container to keep it fresh. It will last for up to one week. Before use, let it sit at room temperature for 20-30 minutes. This helps it soften. Stir it gently to restore its creamy texture.
Long-Term Storage in the Freezer
For longer storage, freeze your buttercream. Use a freezer-safe container or a zip-top bag. Remove as much air as you can to avoid freezer burn. Your buttercream can last for up to three months in the freezer. Label the container with the date for easy tracking.
How to Thaw and Reuse Frozen Buttercream
To thaw frozen buttercream, move it to the fridge for 6-8 hours. If you’re in a hurry, you can leave it at room temperature for about 2-3 hours. Once thawed, beat it again with a mixer. This helps restore the fluffy texture. You can then use it for your next piping project, like the whimsical buttercream piping adventure.
FAQs on Cake Decor Piping Tips
What are the best piping tips for beginners?
For beginners, I recommend starting with a few basic tips. The star tip is great for making rosettes and borders. A round tip works well for writing and dots. The leaf tip lets you create simple leaves and flowers. You don’t need a lot of tips to start. Focus on mastering these three first. As you gain skills, you can explore more complex designs.
How do I clean my piping tips properly?
Cleaning your piping tips is easy. First, remove the tip from the bag after use. Rinse it under warm water to remove any frosting. Use a small brush or cloth to scrub inside. Make sure to get rid of any leftover frosting. After cleaning, let them air dry. Avoid using harsh chemicals, as they can damage the tips. Regular cleaning keeps your tips in great shape for future use.
Can I use store-bought frosting for piping?
Yes, you can use store-bought frosting for piping! It’s a quick and easy option. Just ensure it’s thick enough to hold its shape. If it’s too soft, add a little powdered sugar to thicken it. This will improve your piping results. Store-bought frosting can save time, but homemade frosting often tastes better. Try both to see which you prefer. For a fun adventure, make the whimsical buttercream piping recipe and enjoy!
Whimsical buttercream piping can transform your cakes into art. We covered the key ingredients, essential tools, and step-by-step instructions to make piping fun and easy. Remember to practice basic techniques like swirls and rosettes before moving to more complex designs. Store any leftover buttercream correctly to enjoy later. With these tips and insights, you can achieve professional-looking results at home. Enjoy decorating your creations and let your imagination run wild!