
Creamy Sausage and Kale Pasta One Pot Delight
Craving a cozy, one-pot meal that’s both rich and healthful? You’re in for a treat with my Creamy Sausage and

Craving a cozy, one-pot meal that’s both rich and healthful? You’re in for a treat with my Creamy Sausage and

Get ready to savor the crunch of homemade Parmesan Garlic Potato Chips! Using your air fryer, you can whip up
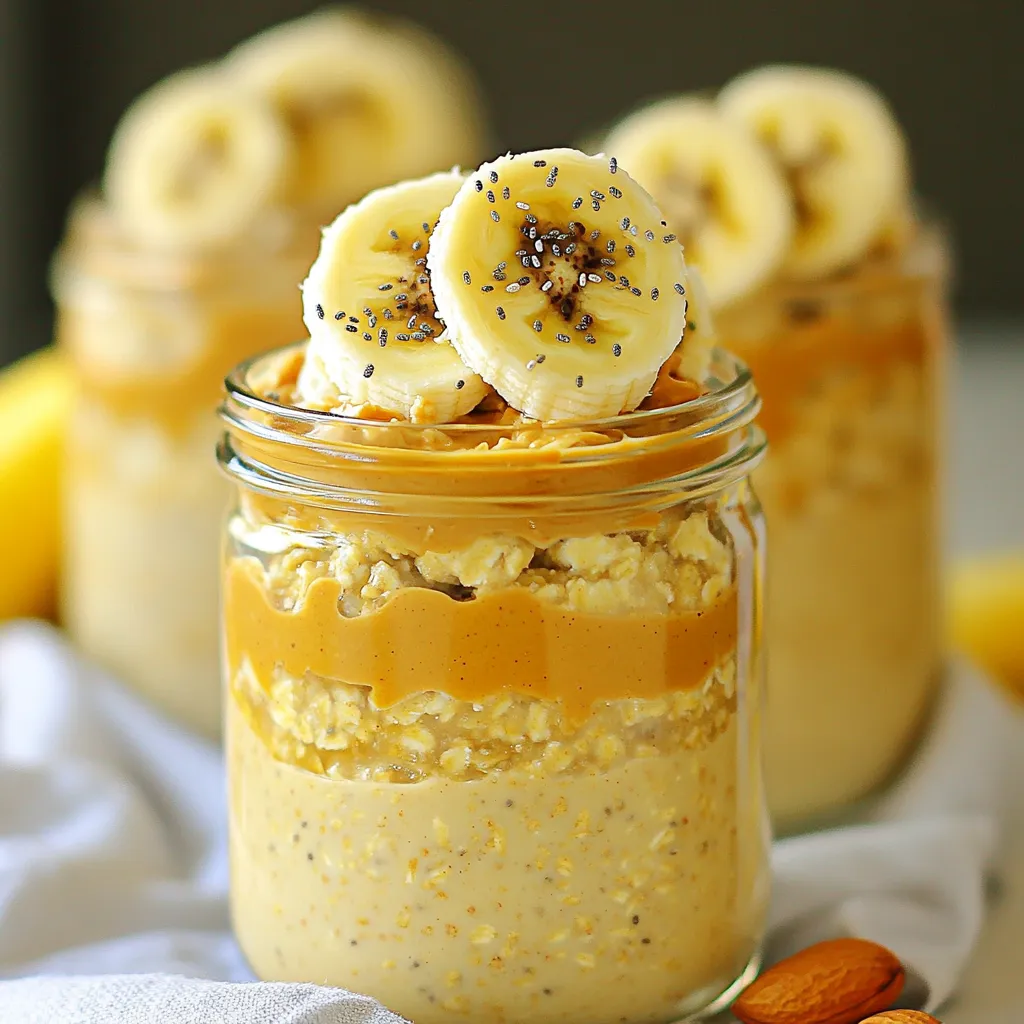
Looking for a delicious and healthy breakfast? Try my Peanut Butter Banana Overnight Oats! This high-protein treat is perfect for

Ready to elevate your weeknight meals? In this post, I’ll show you how to make Honey Mustard Chicken Drumsticks Sheet
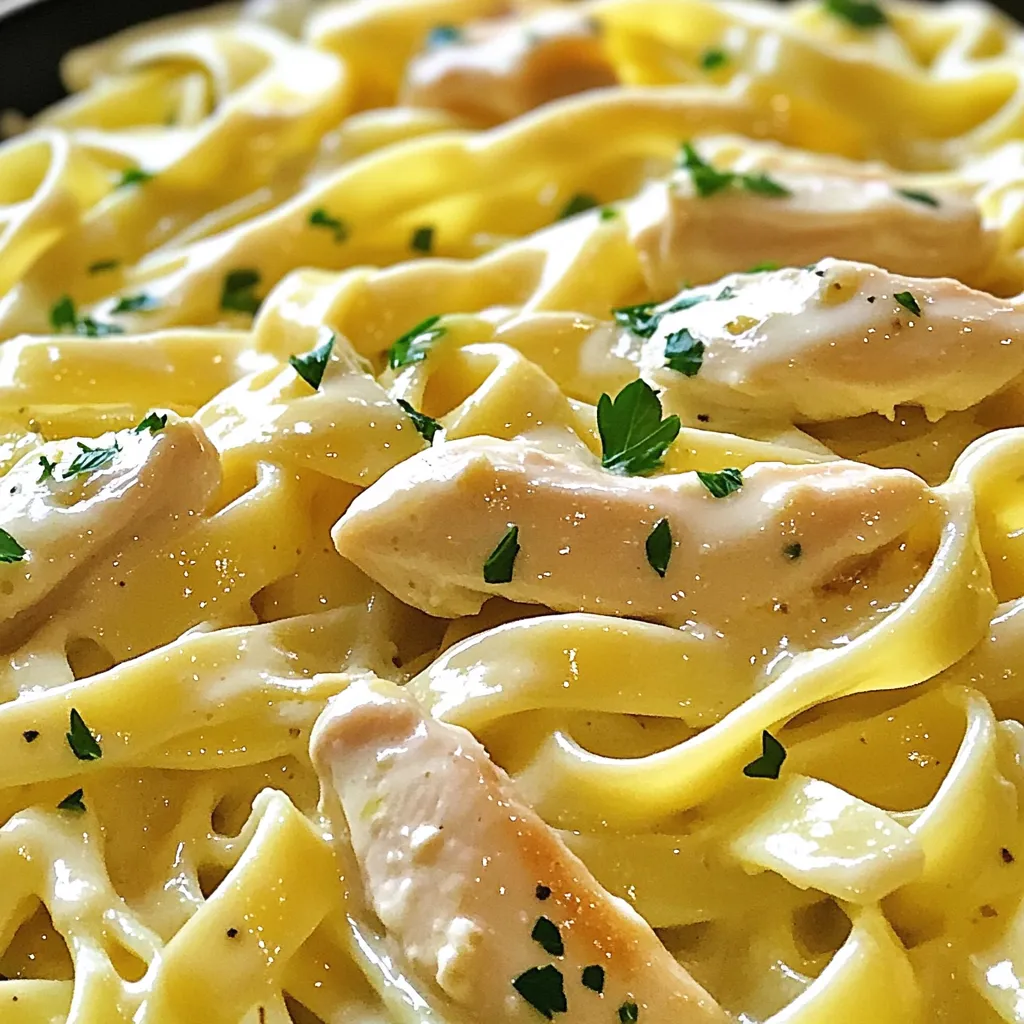
Are you short on time but craving something rich and savory? This Garlic Butter Chicken Alfredo takes just 15 minutes
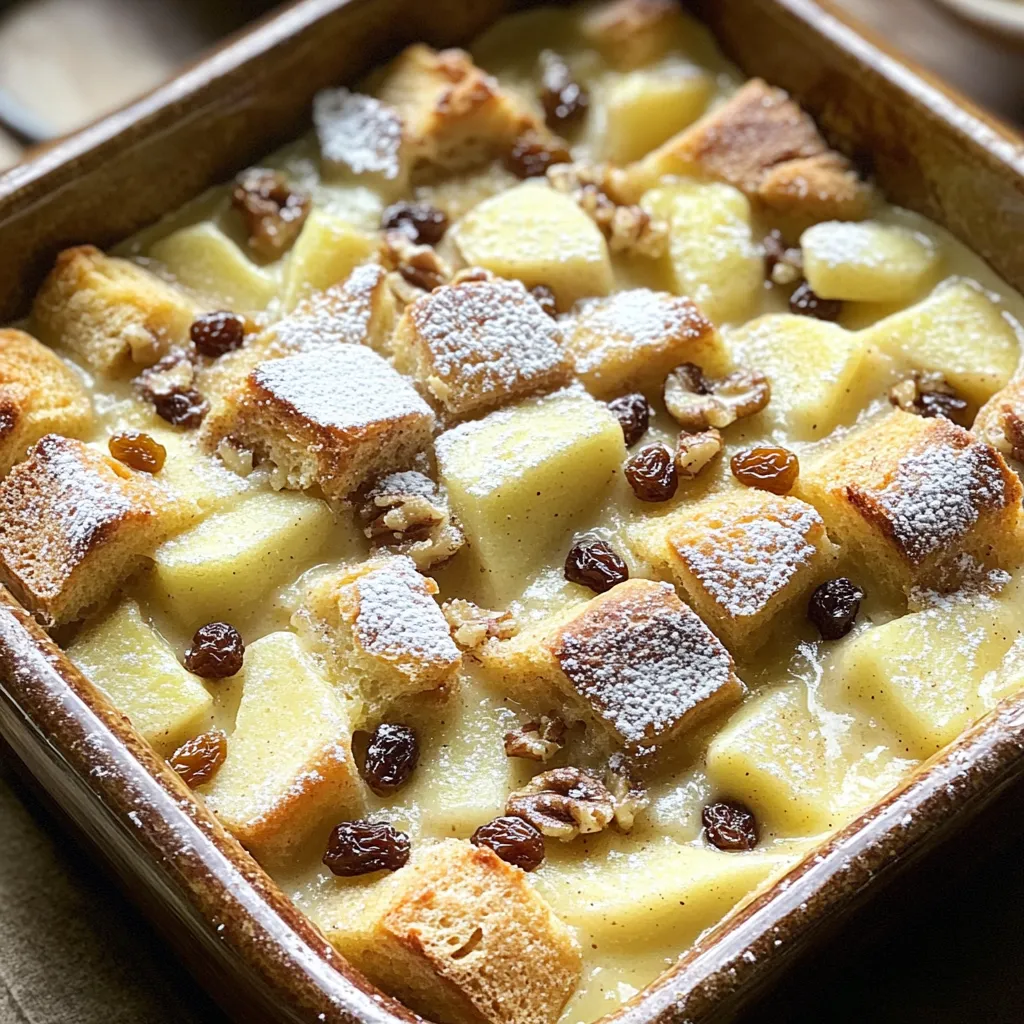
Have you ever craved a warm, comforting dessert? Cozy Apple Cinnamon Bread Pudding is your answer! This delightful dish combines
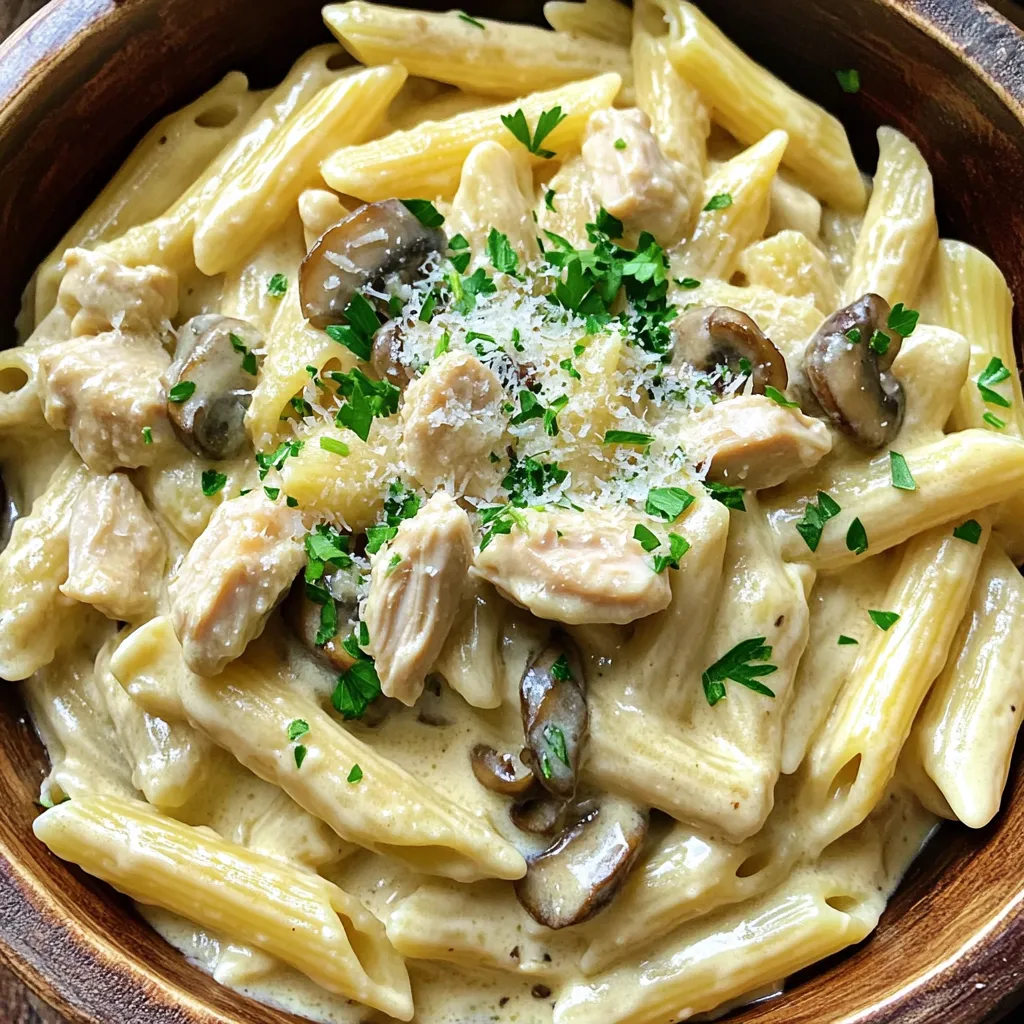
Looking for a dinner that’s both rich and easy? This Creamy Chicken Marsala Pasta One Pot Delight is just the
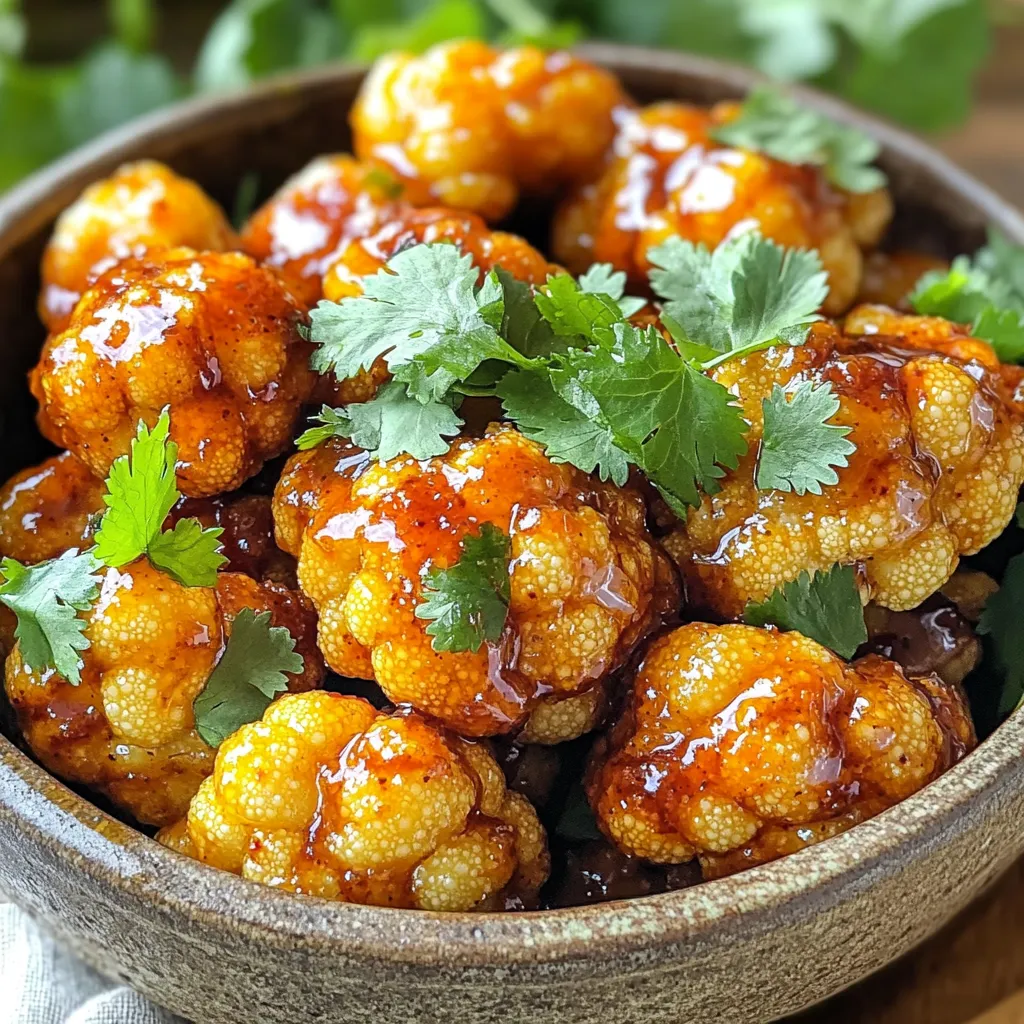
Welcome to a flavor adventure! If you love bold, sweet, and spicy dishes, you’ll adore Air Fryer Sweet Chili Cauliflower.

Get ready to delight your taste buds with my Pumpkin Swirl White Chocolate Fudge! This treat blends rich white chocolate
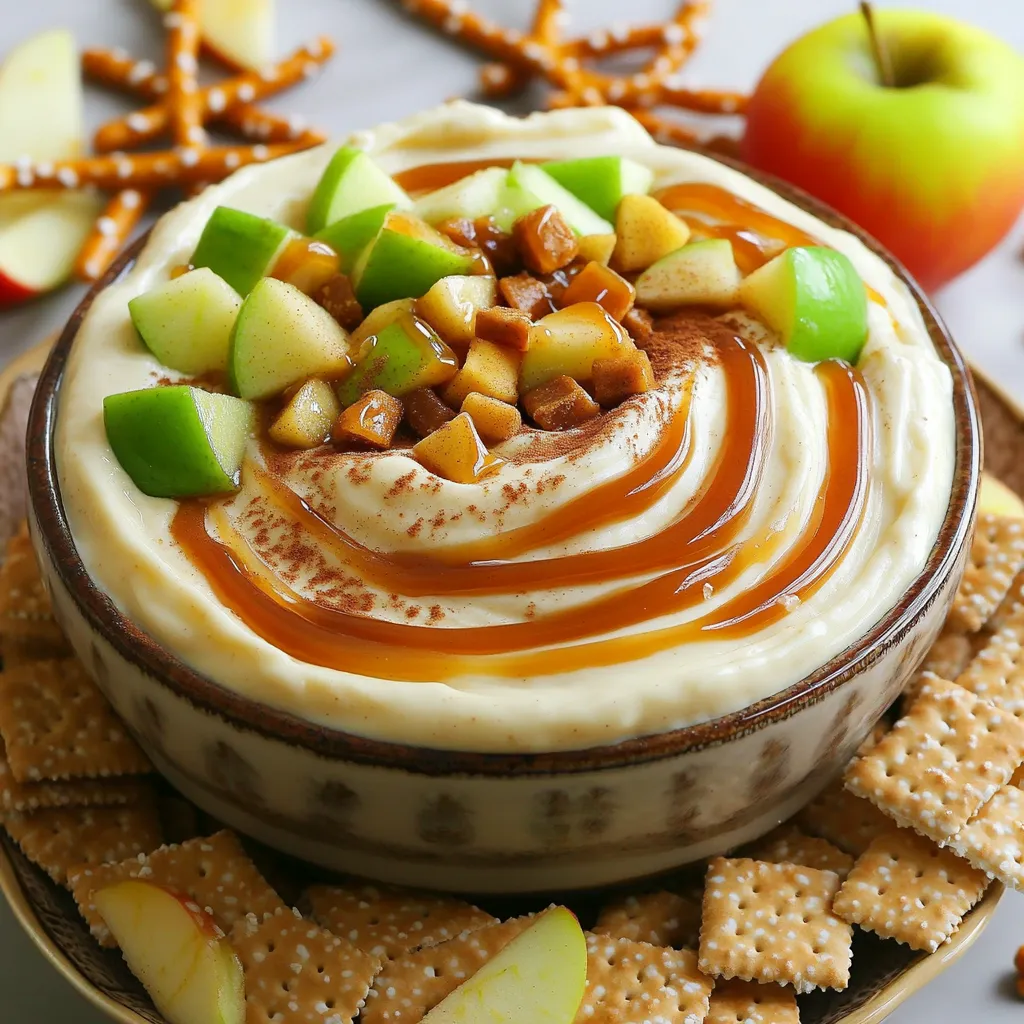
Ready to treat your taste buds? This Caramel Apple Cheesecake Dip is a tasty and easy delight! I’ll show you
