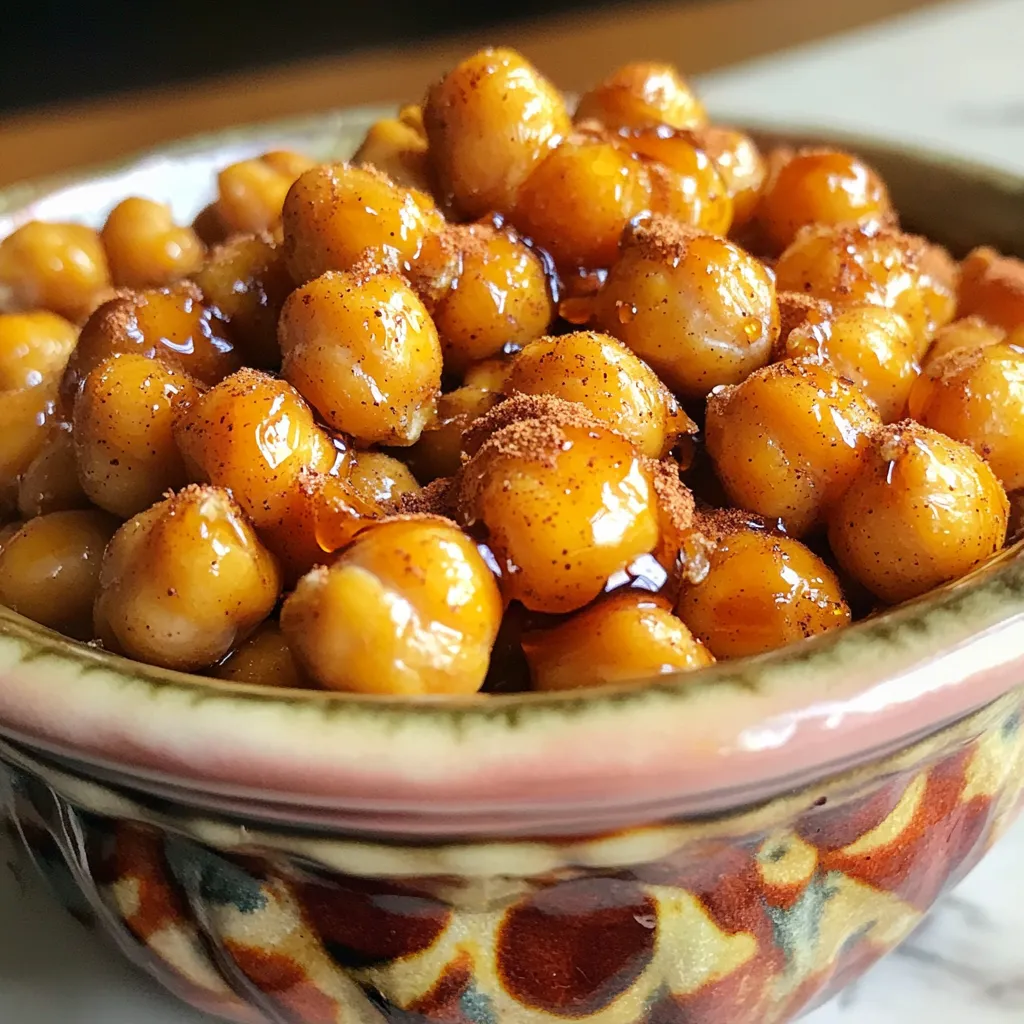
Maple Cinnamon Roasted Chickpeas Crunchy and Sweet Snack
Looking for a tasty snack that’s both crunchy and sweet? Maple cinnamon roasted chickpeas are your answer! This easy recipe

Looking for a tasty snack that’s both crunchy and sweet? Maple cinnamon roasted chickpeas are your answer! This easy recipe

Craving a sweet treat that’s simple and delicious? Let me introduce you to No-Bake Salted Caramel Oreo Truffles. These rich,
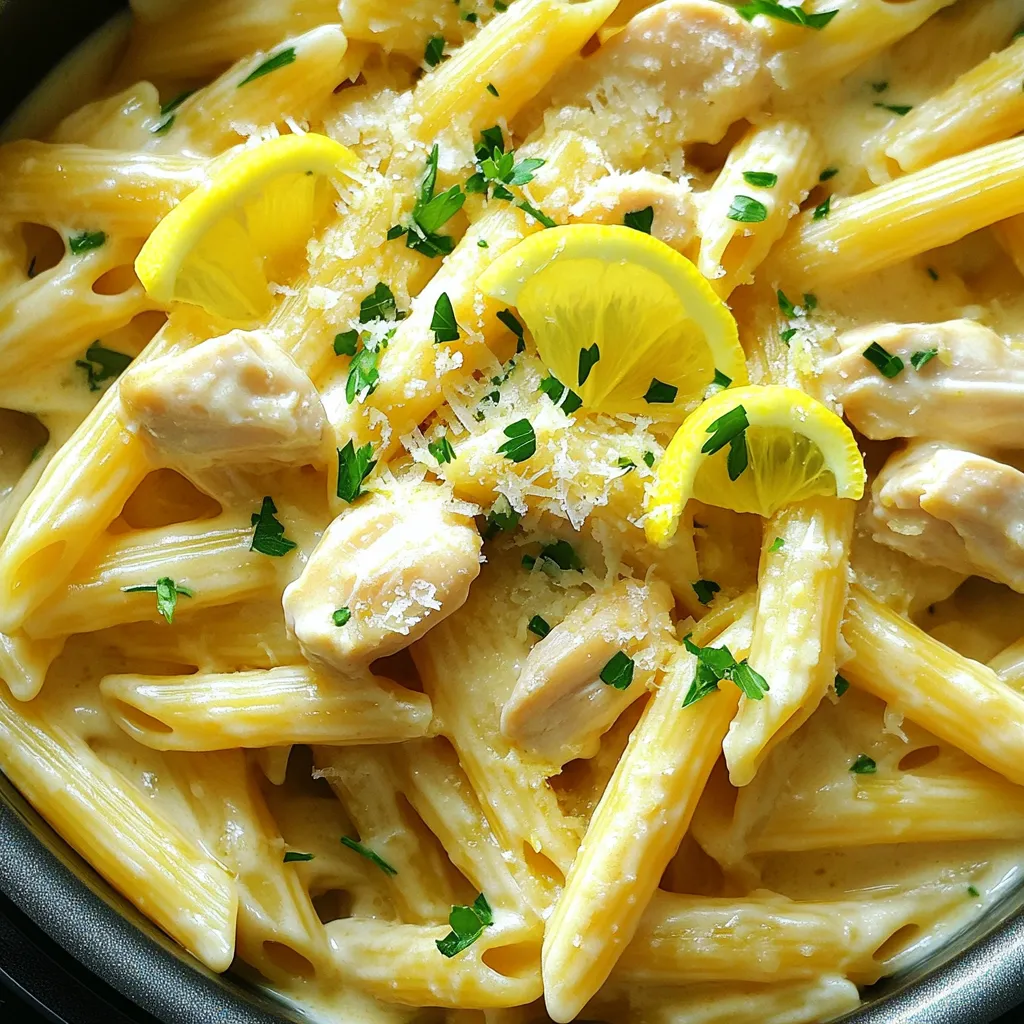
Are you ready to elevate your dinner game? This Instant Pot Creamy Lemon Chicken Pasta is the perfect dish for
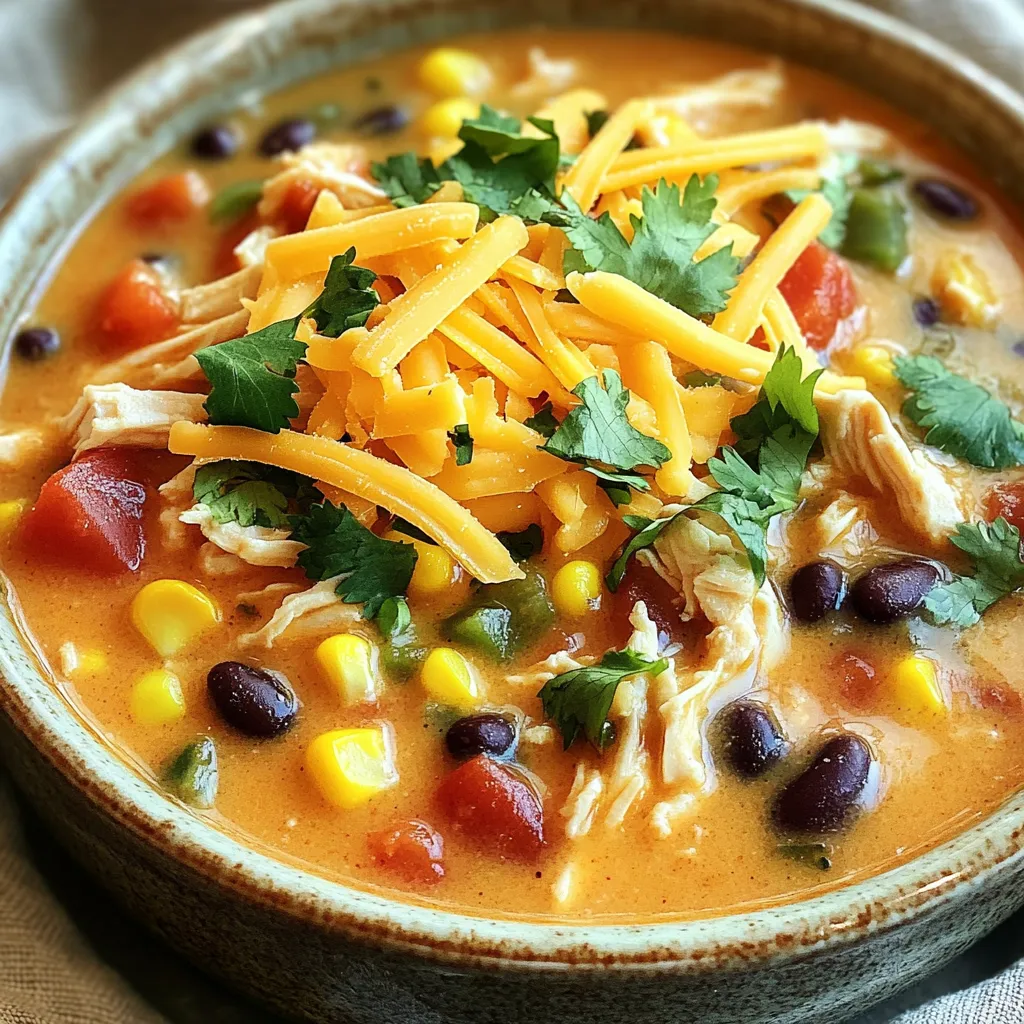
Looking for a warm and tasty meal? This Slow Cooker Creamy Chicken Enchilada Soup is just what you need! Packed
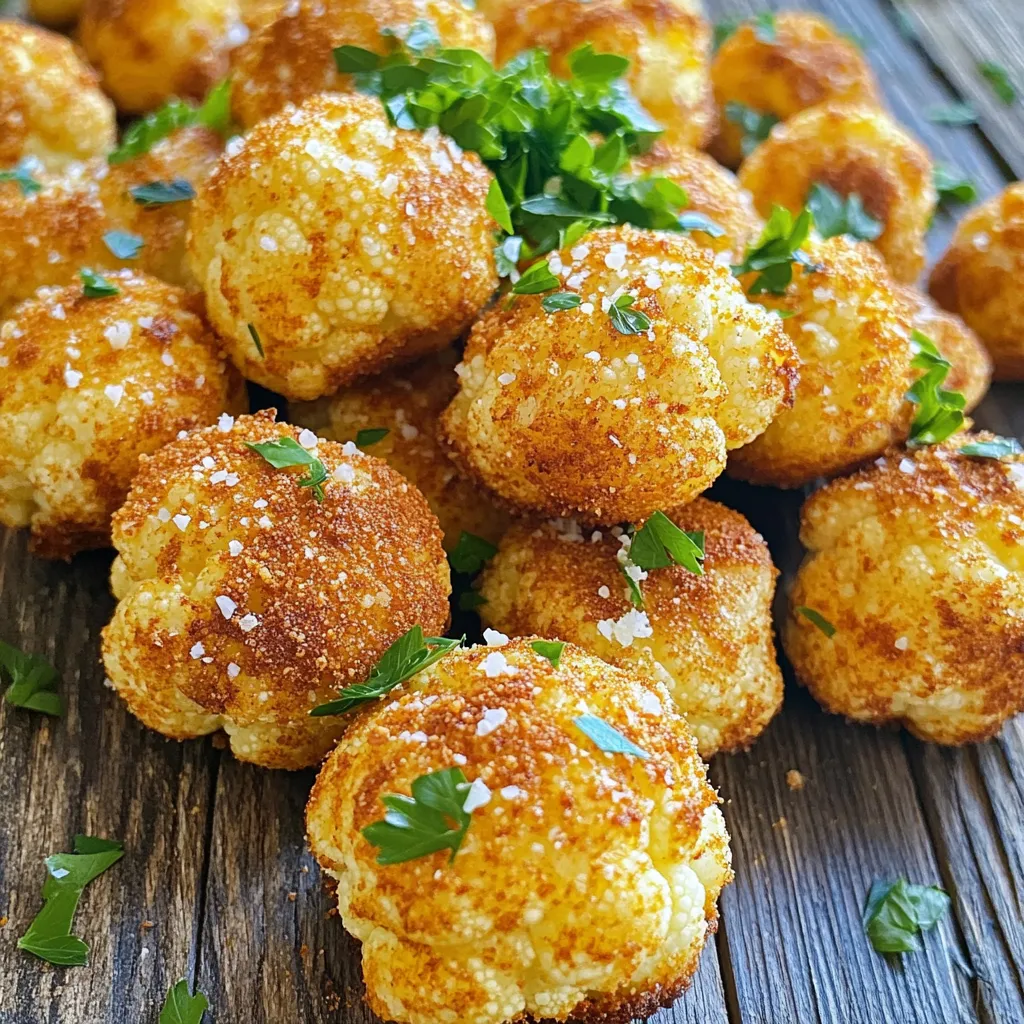
If you crave a tasty snack, these Air Fryer Parmesan Cauliflower Bites are for you! They’re easy to make, healthy,
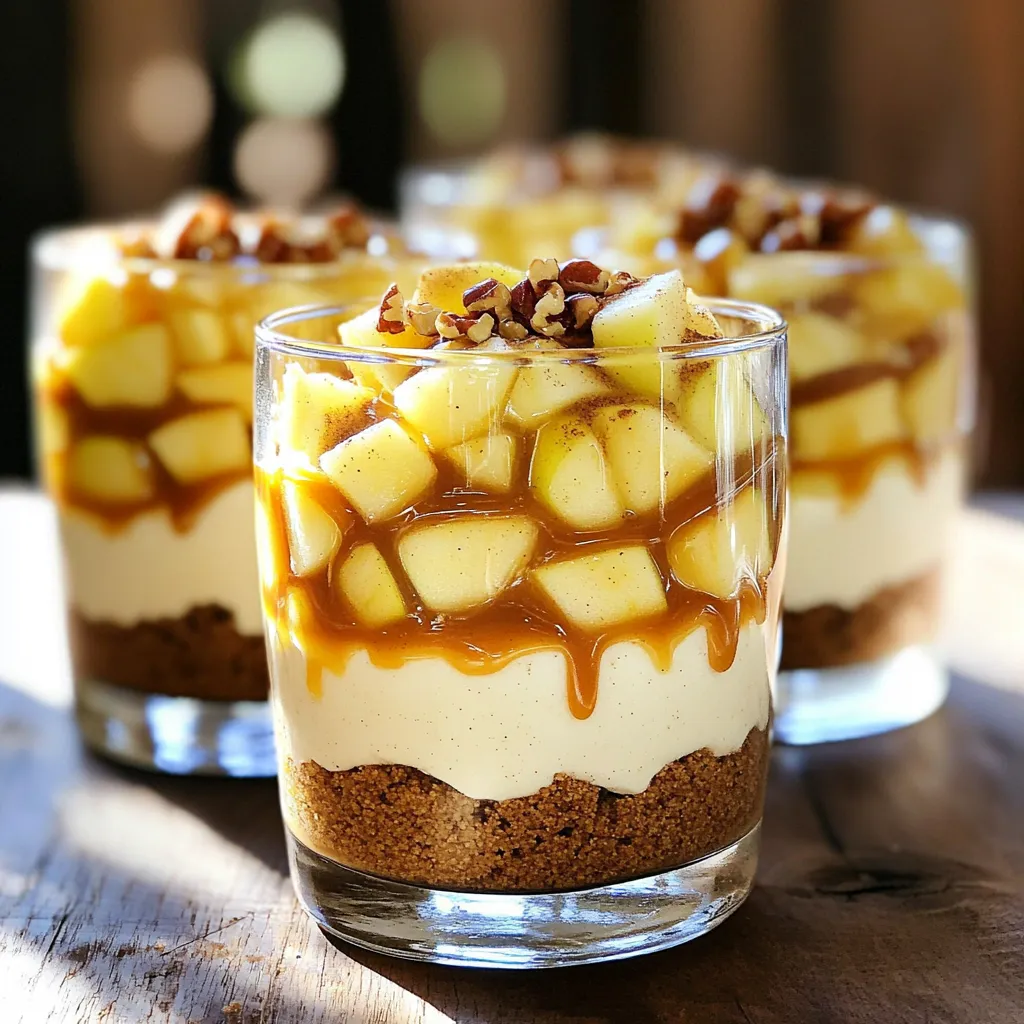
Looking for a dessert that’s both tasty and easy to make? Let me introduce you to Caramel Apple Cheesecake Trifles—a
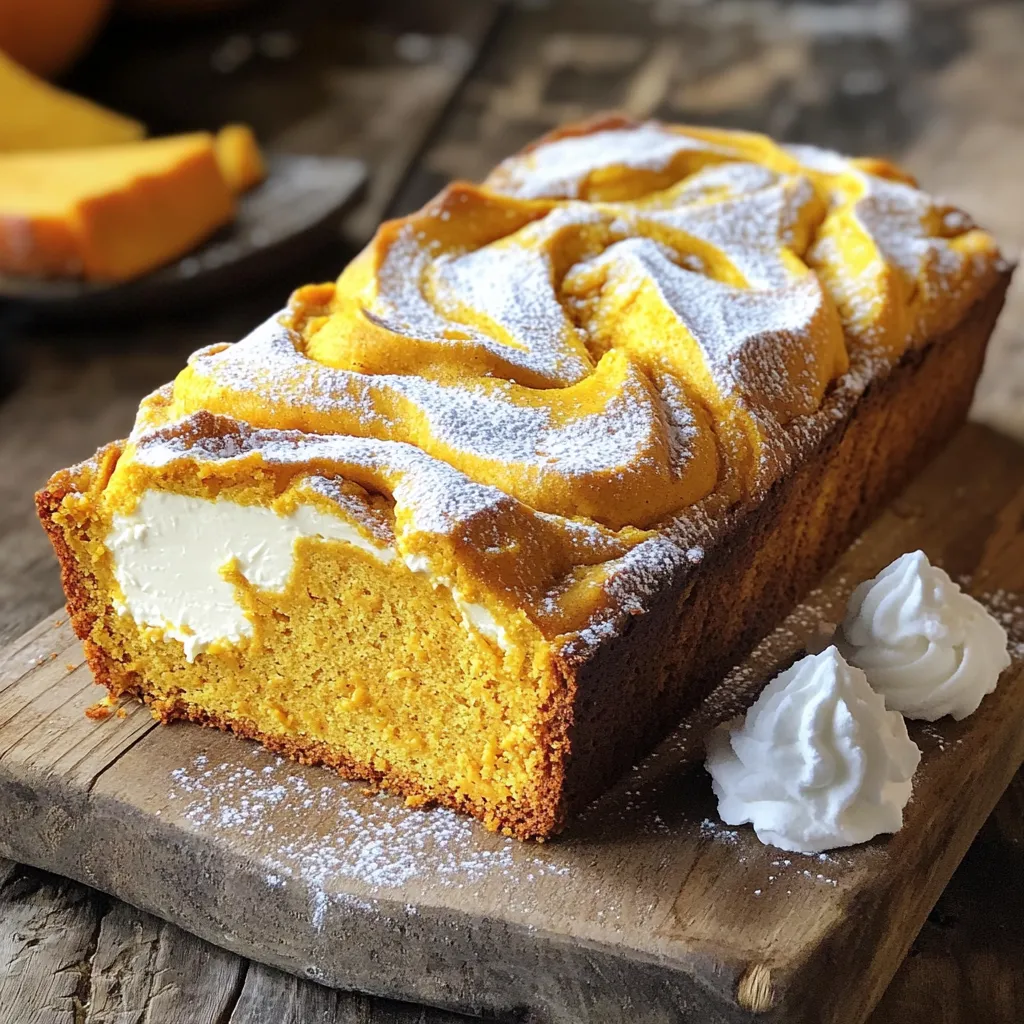
Are you craving a delicious fall treat? This Pumpkin Cream Cheese Loaf is the answer! It combines the warm flavors
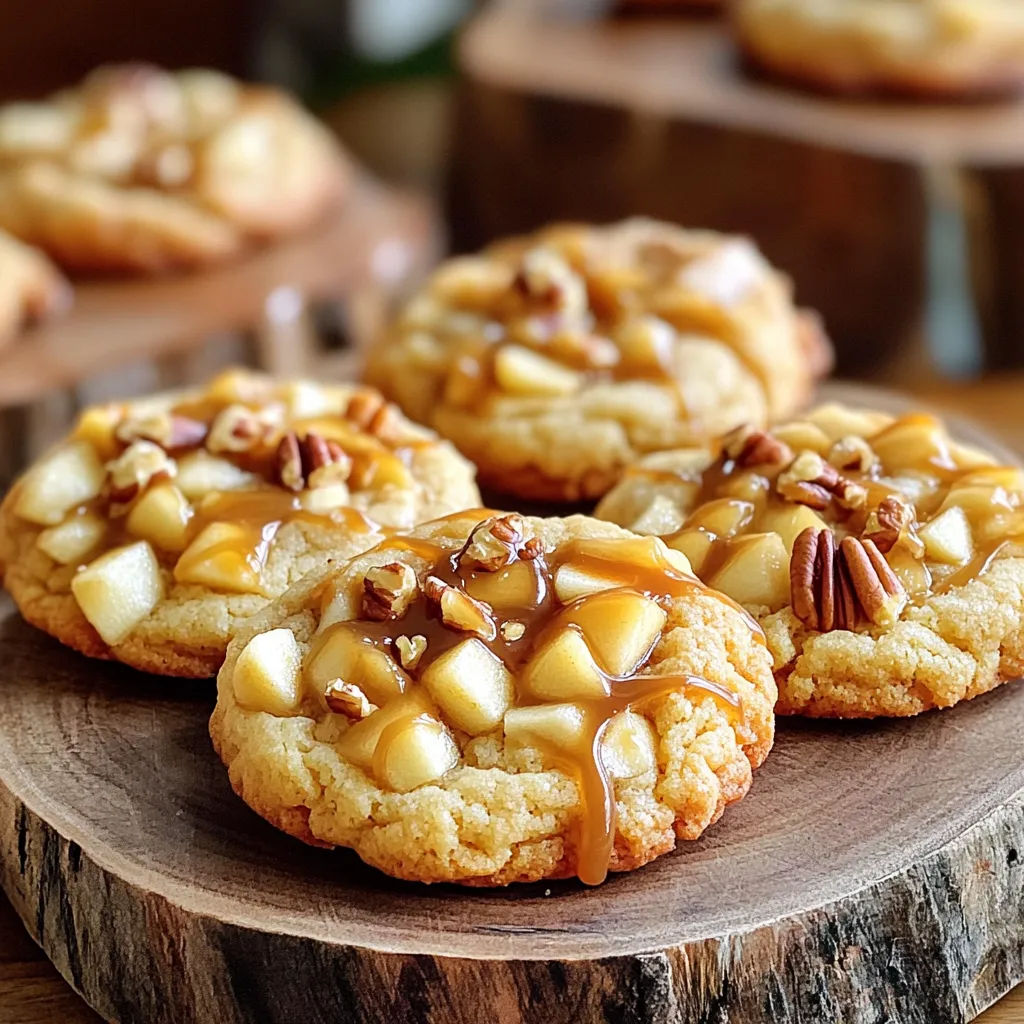
Are you ready to bake something delicious? Caramel Apple Cheesecake Cookies bring together sweet caramel, creamy cheesecake, and the crunch
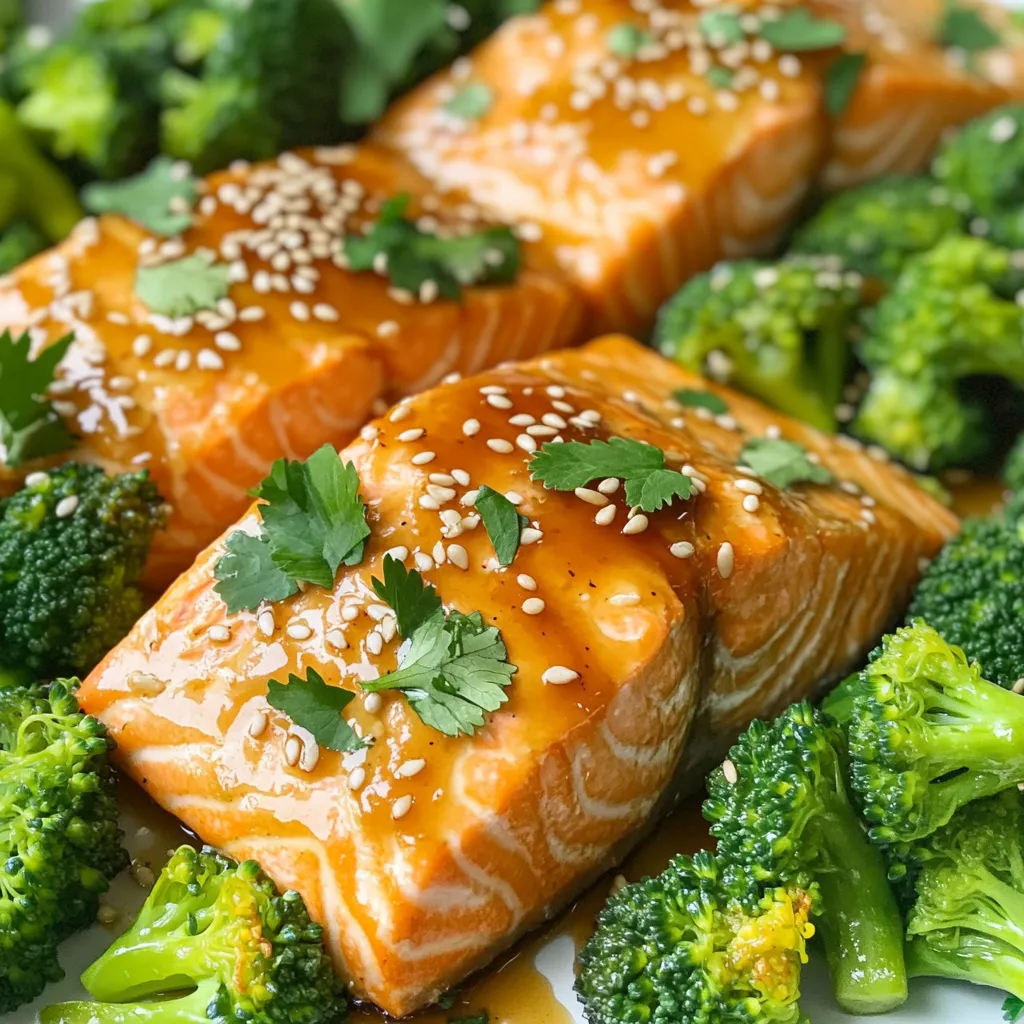
Looking for a quick, tasty dinner? Try my Honey Garlic Salmon & Broccoli Sheet-Pan Delight! This dish is not only
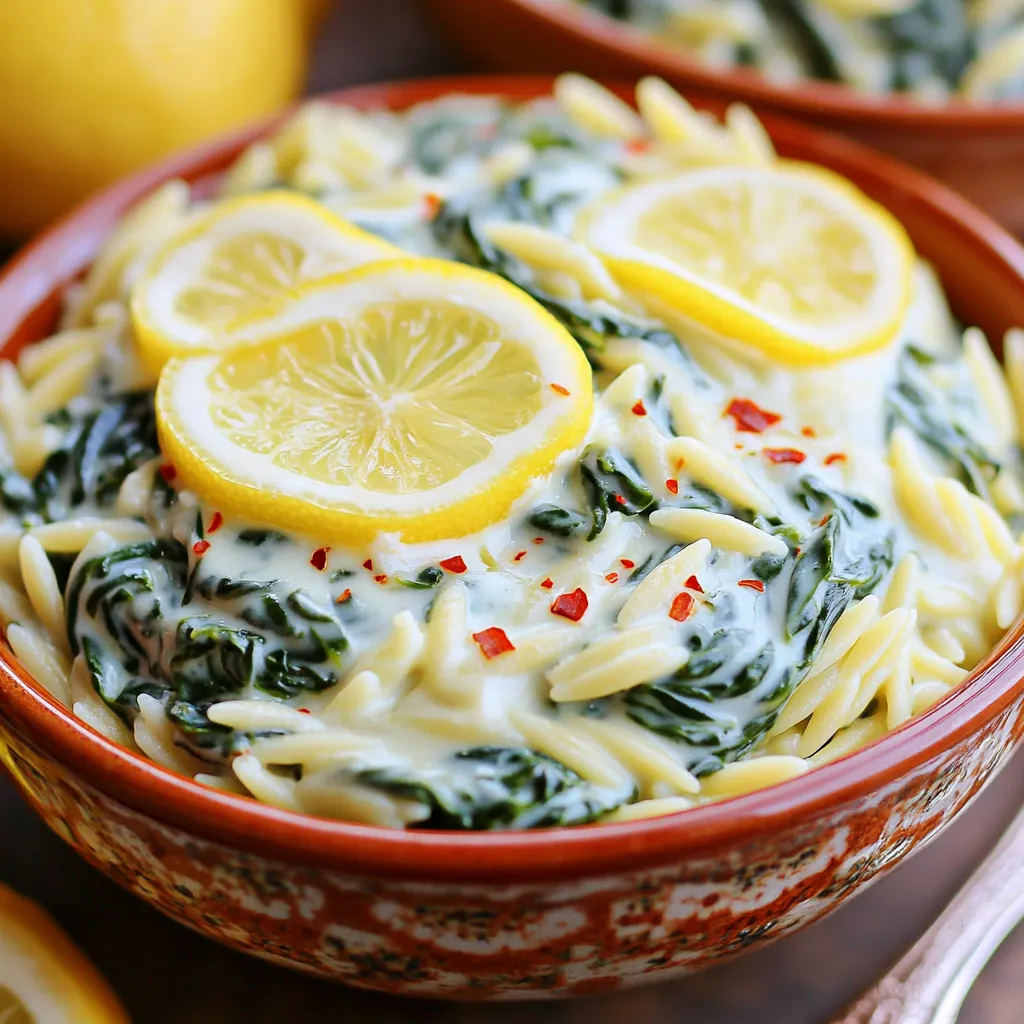
Craving a comforting dish that’s both simple and delicious? You’ve found it! This Creamy Spinach Parmesan Orzo is easy to
