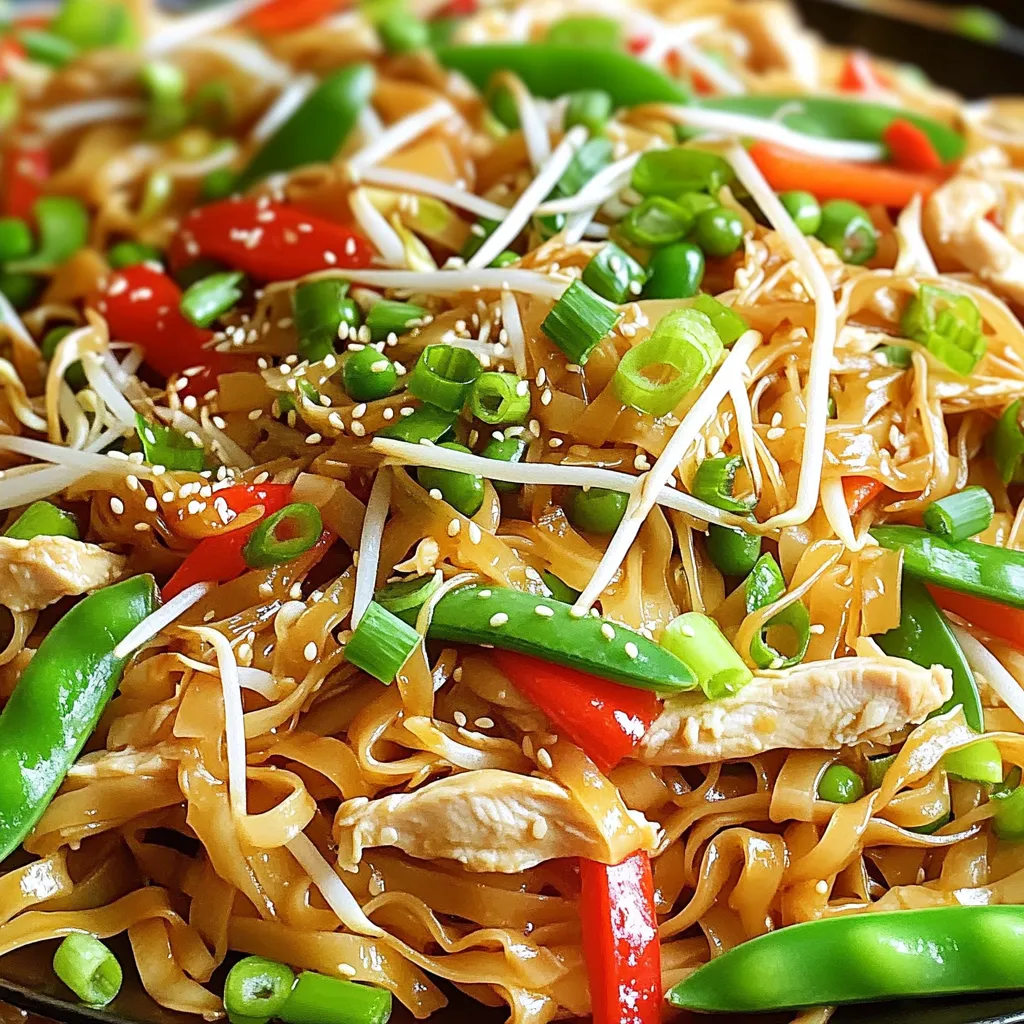
Chicken Chow Fun Flavorful Dish for Easy Meal Prep
If you’re looking for a quick and tasty meal, Chicken Chow Fun is your go-to dish! This flat rice noodle

If you’re looking for a quick and tasty meal, Chicken Chow Fun is your go-to dish! This flat rice noodle
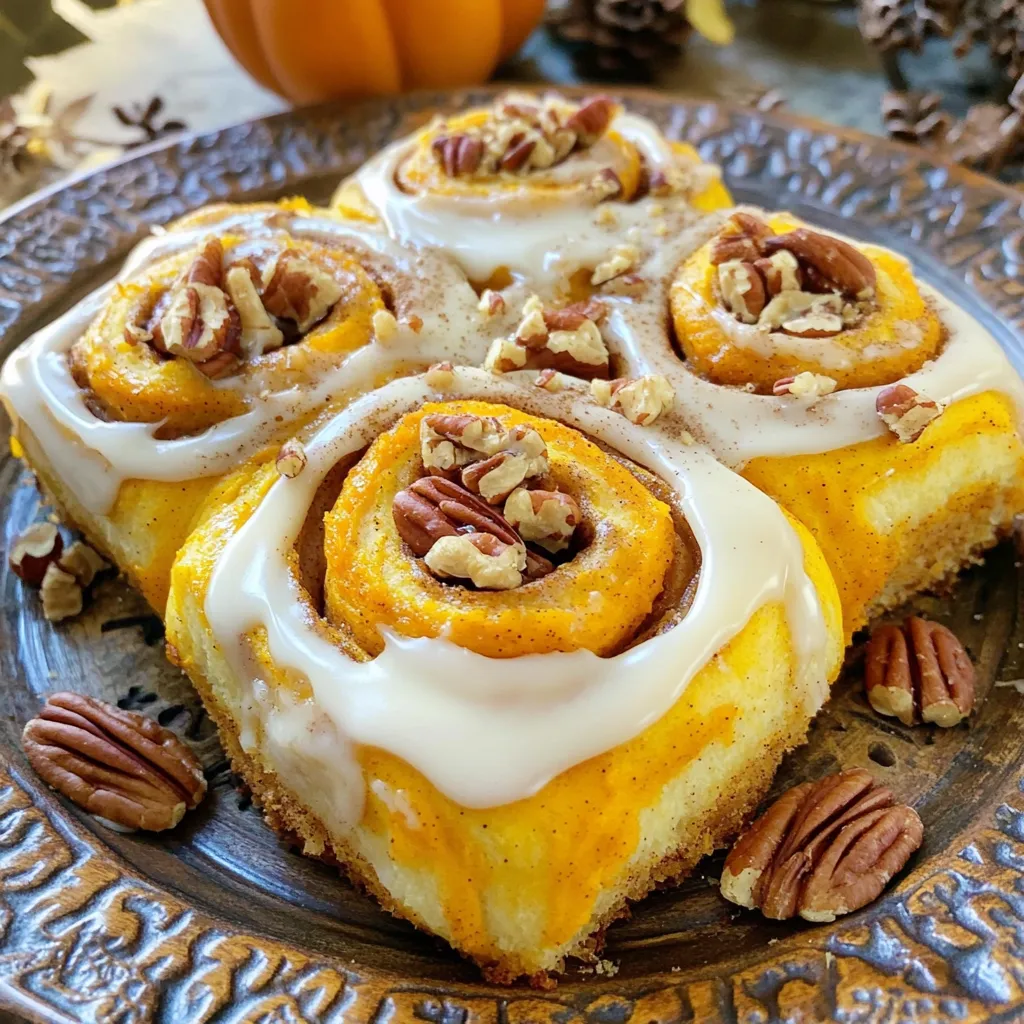
Fall is here, and that means it’s time to make Pumpkin Pecan Cinnamon Rolls! These rolls are warm, fluffy, and
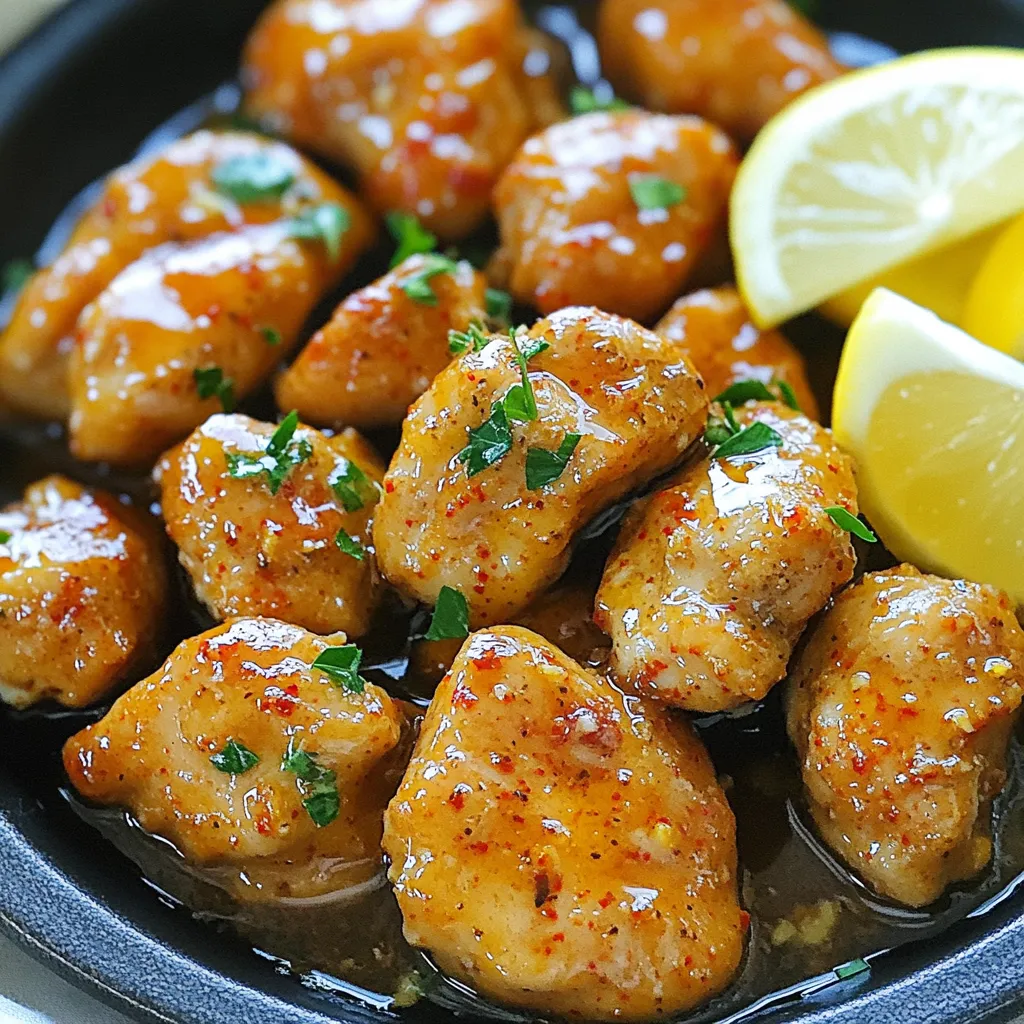
If you love quick, tasty meals, you’re in for a treat! Garlic Butter Chicken Bites are simple to make and
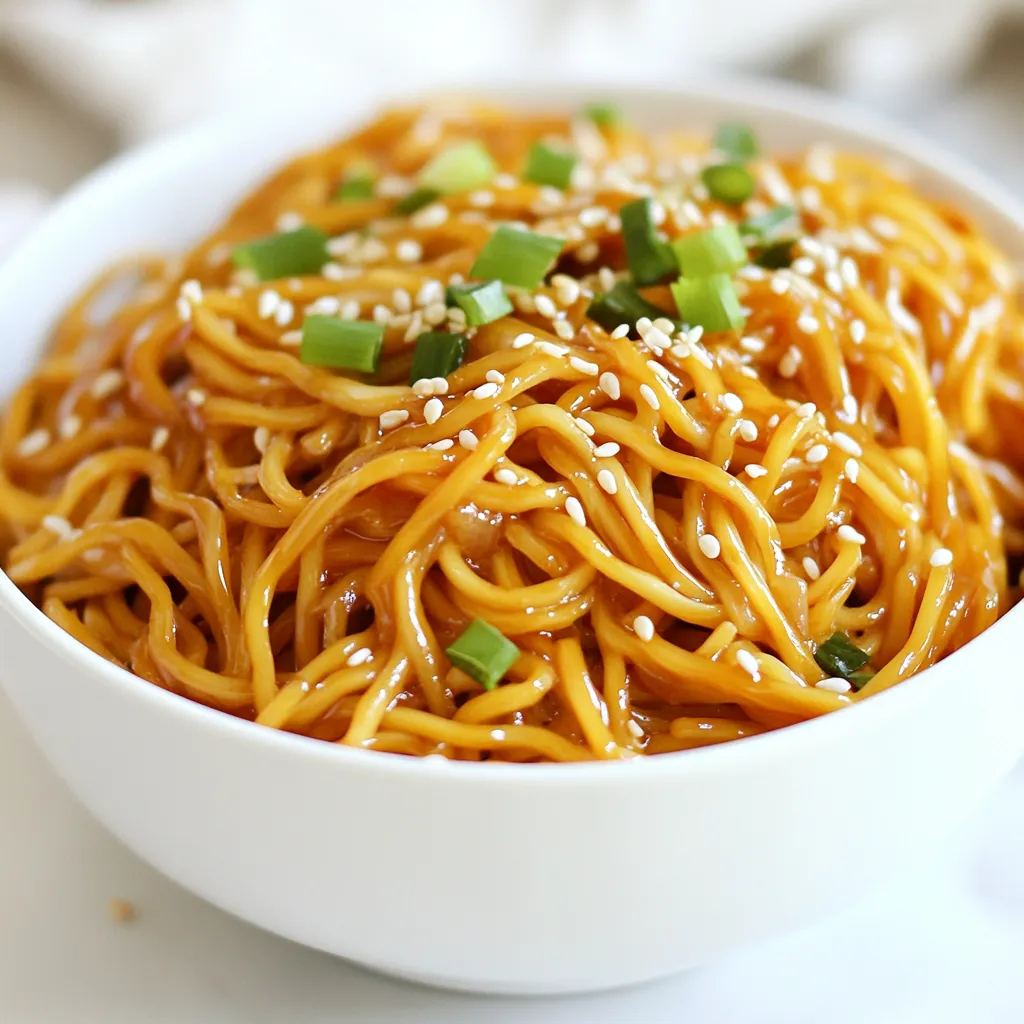
Get ready to spice up your dinner with my easy recipe for Spicy Garlic Sesame Noodles! This dish combines simple
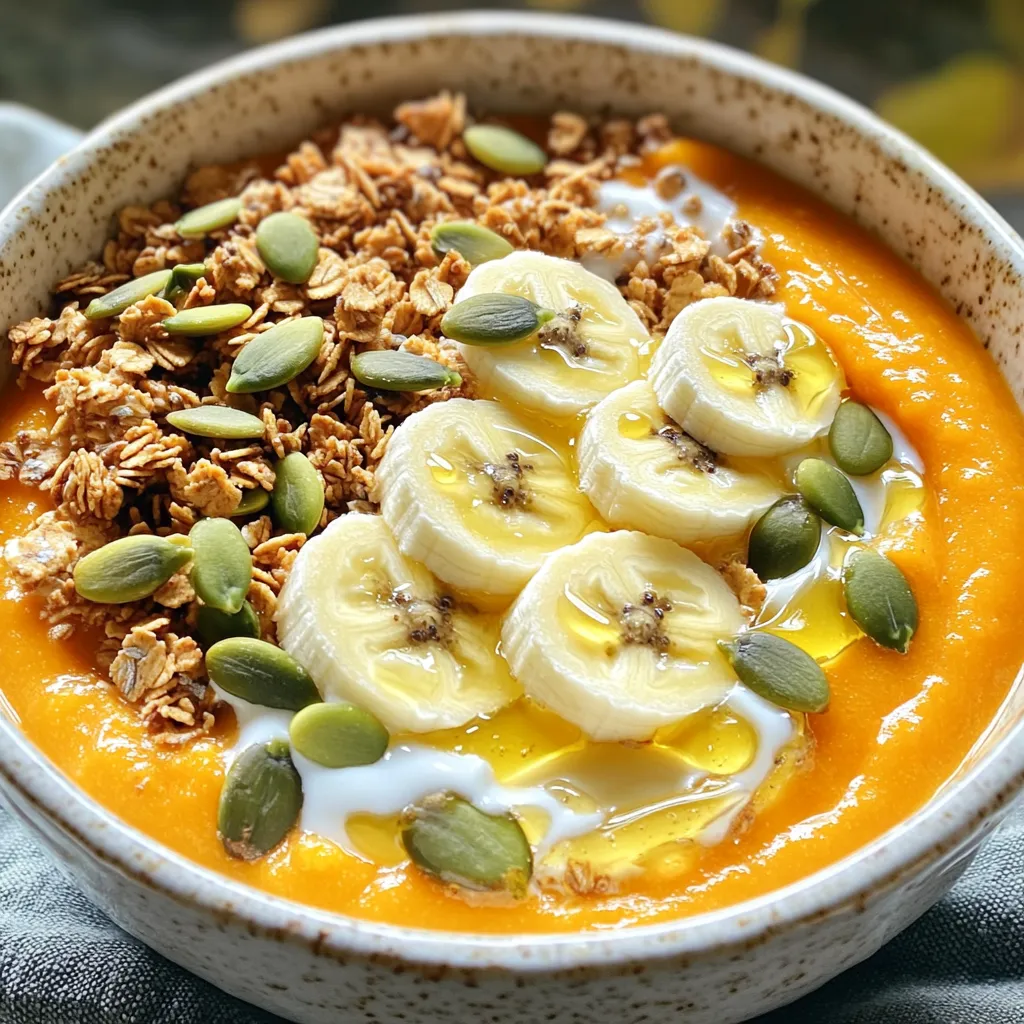
Looking for a delicious way to boost your health? Try my Pumpkin Protein Smoothie Bowl! This tasty treat packs in
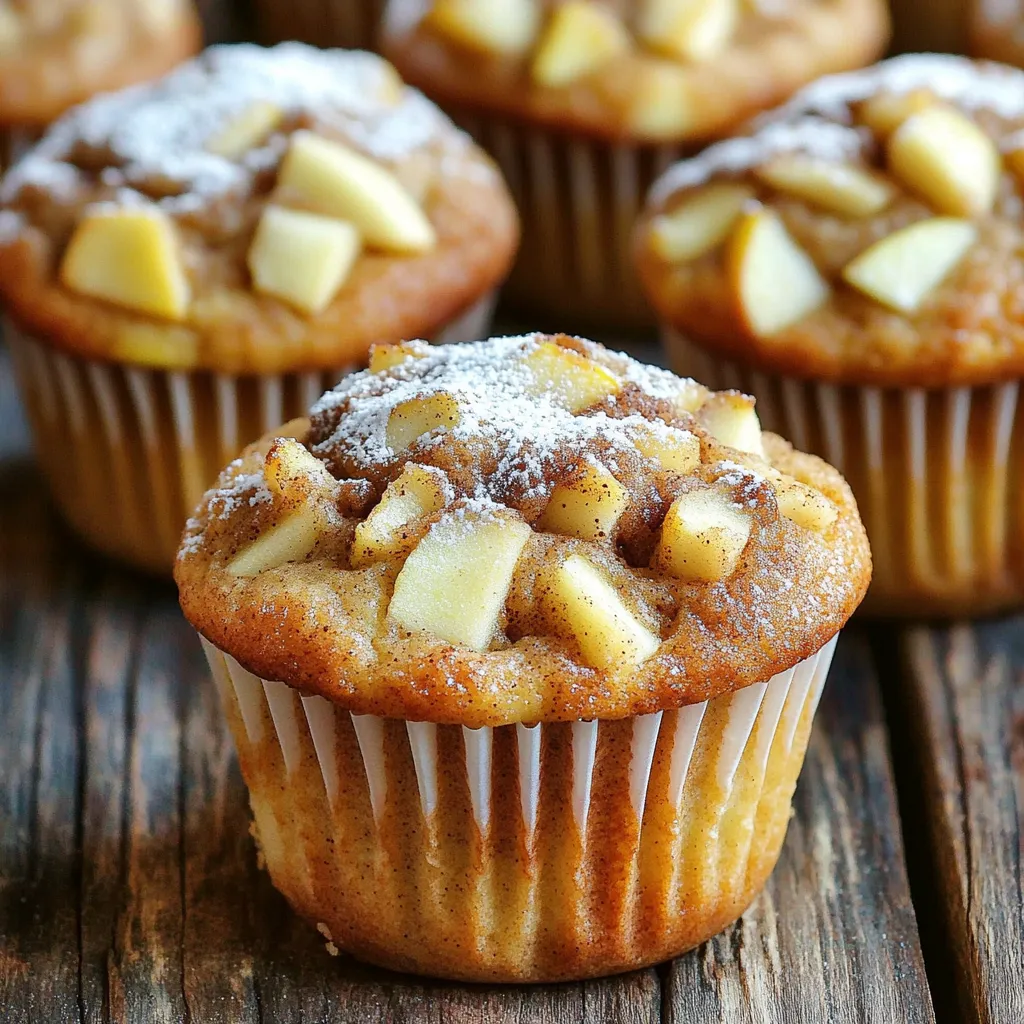
Do you want to make mouthwatering cinnamon apple muffins that are easy and quick? Look no further! I’ll guide you
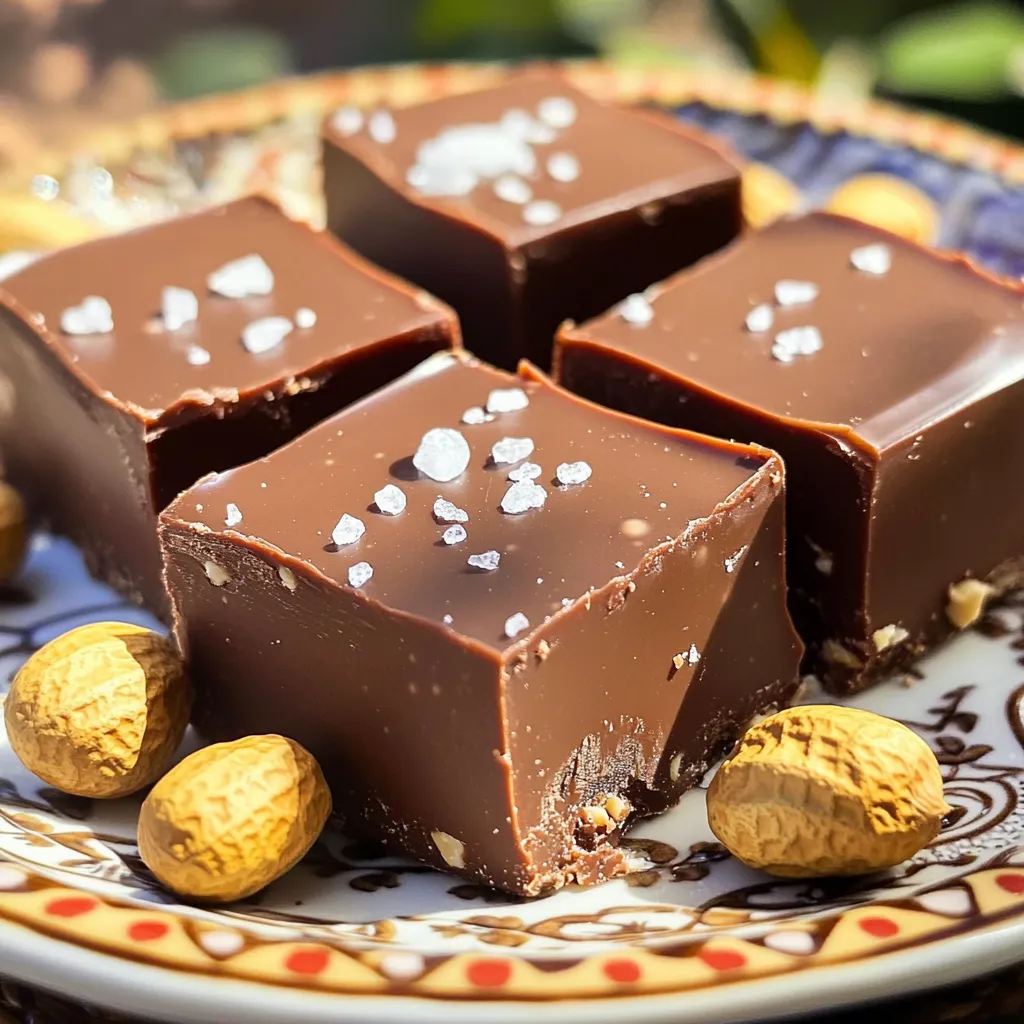
Are you ready to indulge in something truly delightful? This No-Bake Chocolate Peanut Butter Fudge combines rich chocolate and creamy
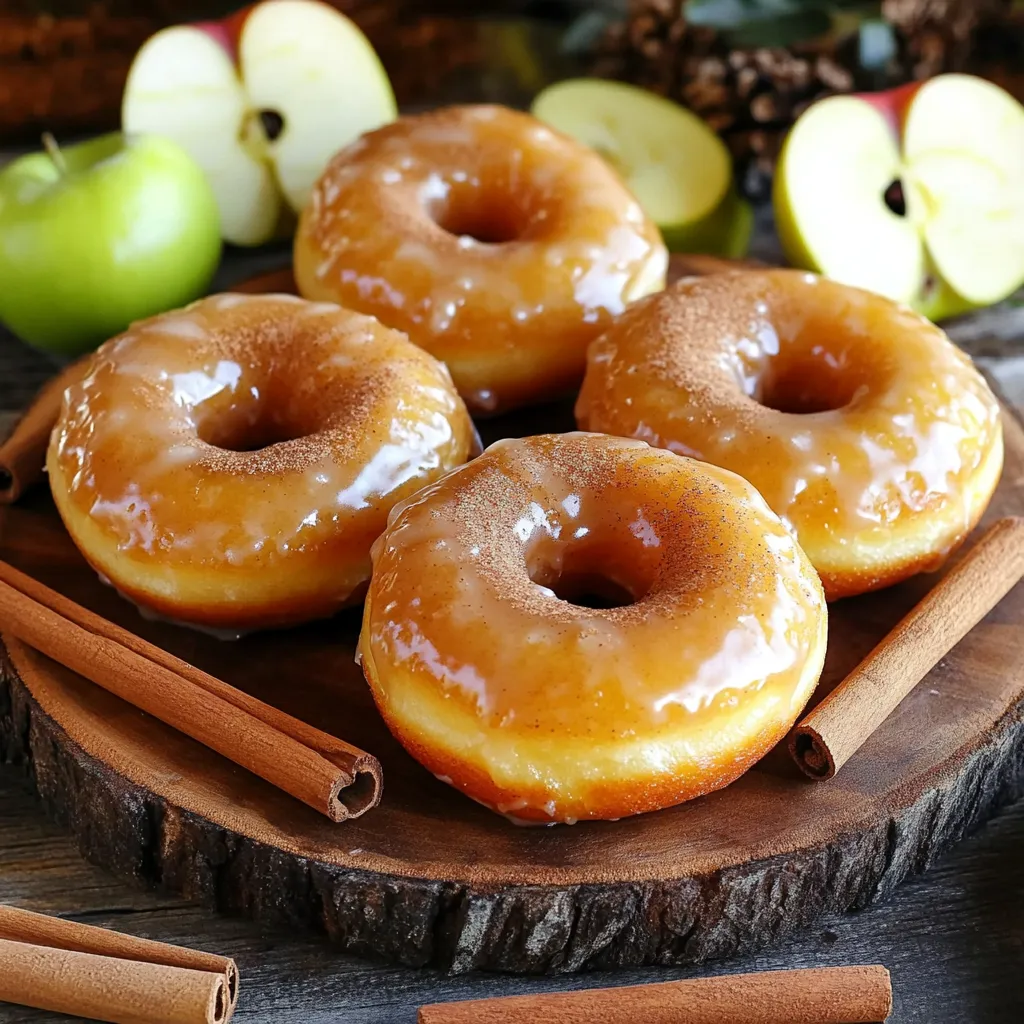
Craving a sweet treat that bursts with fall flavor? Look no further! My easy and delicious Apple Cider Glazed Donuts
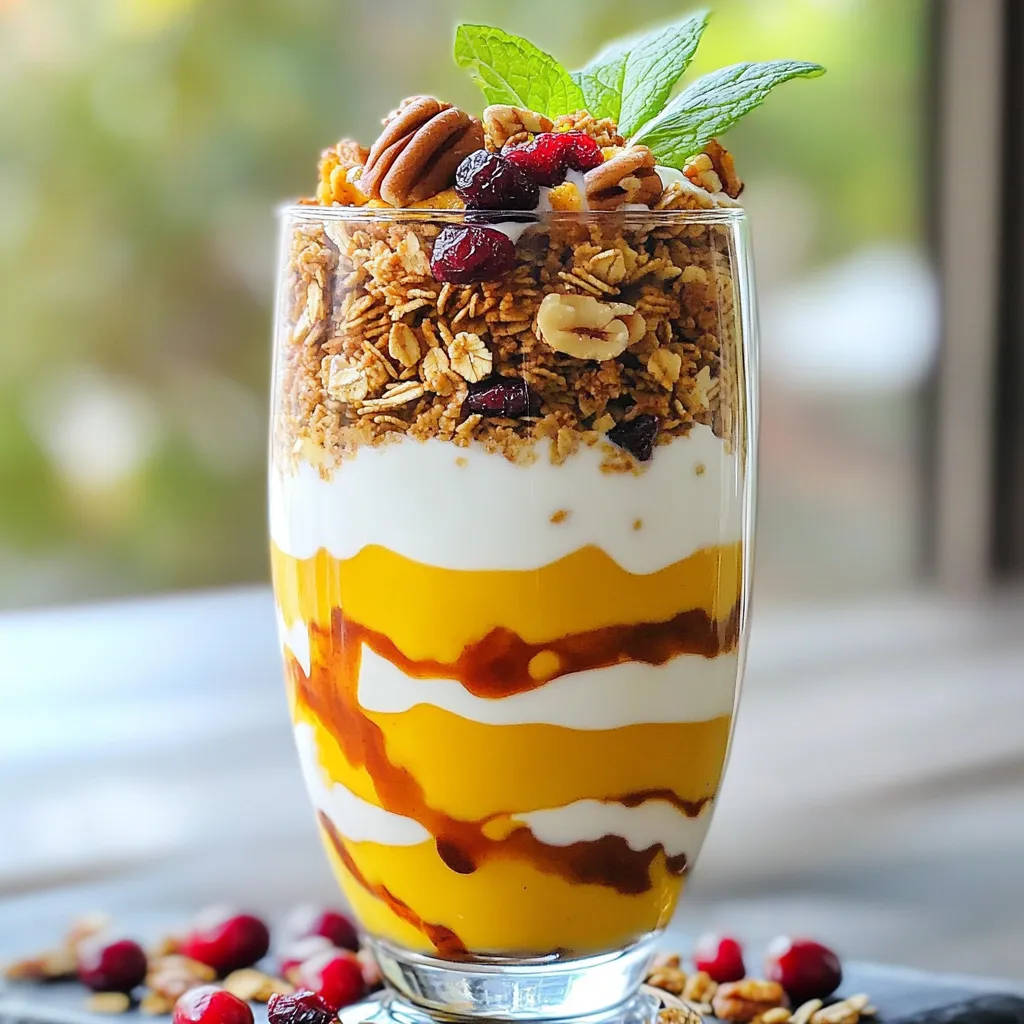
Fall flavors are calling, and there’s no better way to celebrate than with a Pumpkin Yogurt Parfait! This simple recipe
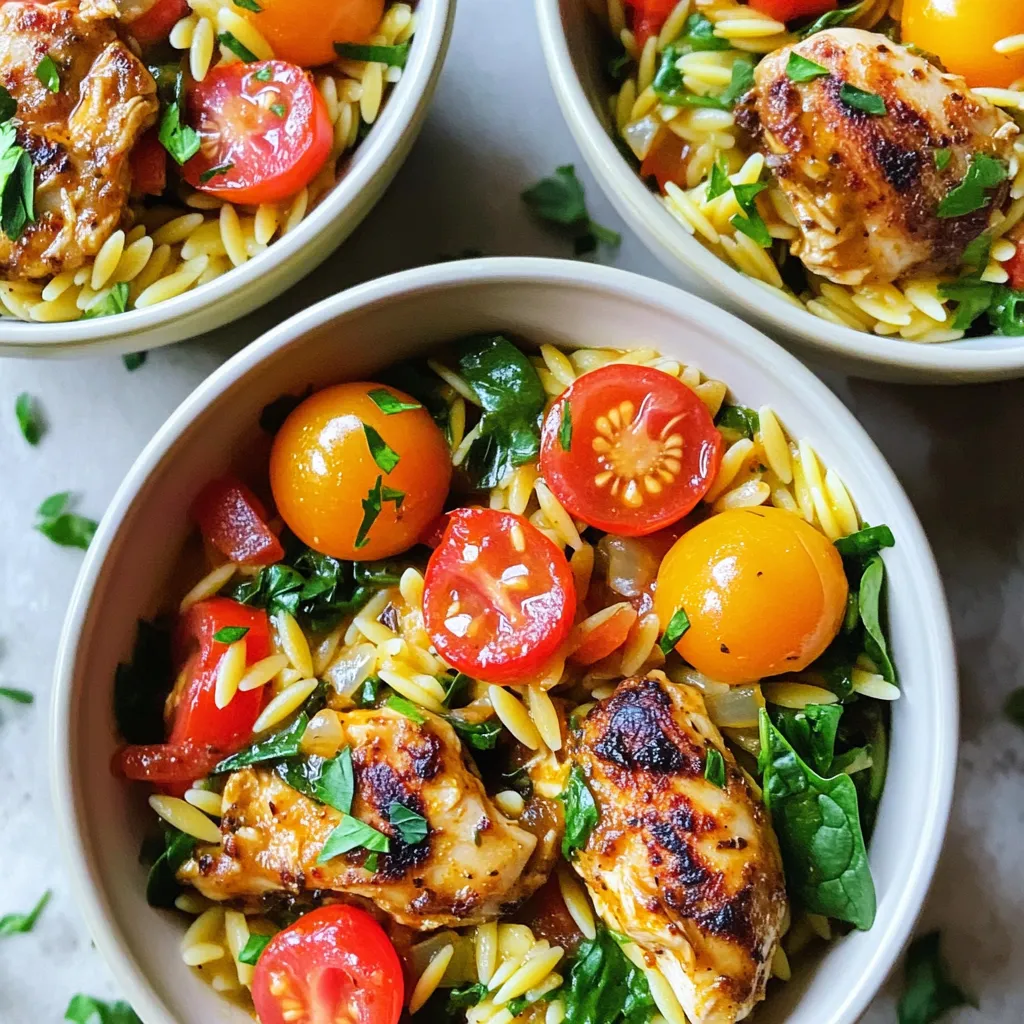
If you’re craving a comforting, zesty meal, look no further than One Pot Cajun Chicken Orzo. This easy recipe packs
