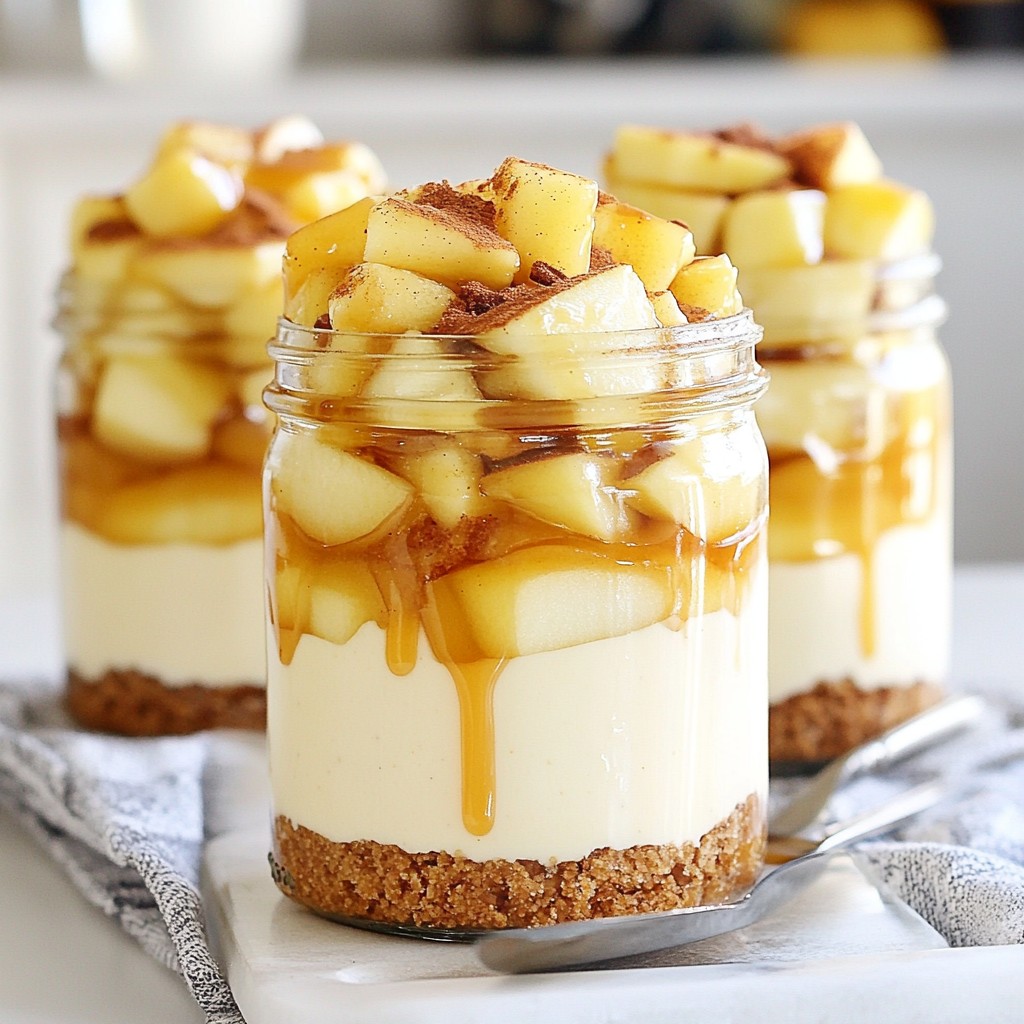
Are you ready to impress your friends with a sweet treat that’s packed with flavor? My no-bake Caramel Apple Cheesecake Jars offer the perfect blend of creamy cheesecake, tart apples, and rich caramel. In just a few simple steps, you’ll create individual delights that will give any dessert table a wow factor. Let’s dive into these scrumptious layers of goodness you can whip up with ease!
Why I Love This Recipe
- Delicious Flavor Combination: The blend of creamy cheesecake, tart apples, and sweet caramel creates a rich and satisfying dessert experience.
- Easy to Assemble: Layering the ingredients in jars makes this dessert simple to prepare and serve, perfect for gatherings or a cozy night in.
- Perfect Portion Control: Serving in jars ensures that everyone gets their own portion, making it easy to enjoy without the fuss of slicing a larger dessert.
- Chill Time Enhances Flavors: Refrigerating the jars for a couple of hours allows the flavors to meld beautifully, creating a more delicious treat.
Ingredients
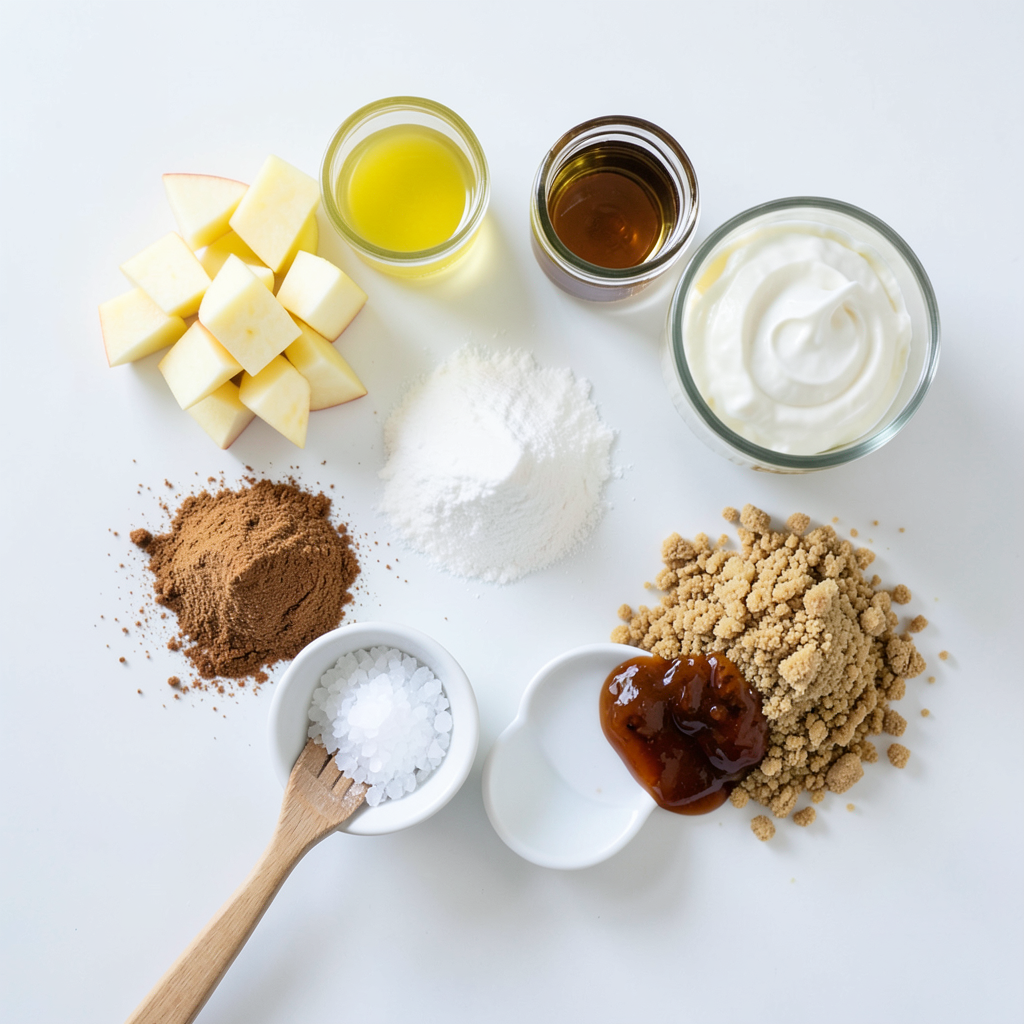
Here’s what you need for Caramel Apple Cheesecake Jars. Gather these simple ingredients to create a delightful treat.
- 2 medium apples, peeled and diced
- 1 tablespoon lemon juice
- 1 teaspoon cinnamon
- 2 tablespoons brown sugar
- 8 oz cream cheese, softened
- 1/2 cup powdered sugar
- 1 teaspoon vanilla extract
- 1 cup heavy whipping cream
- 1 cup graham cracker crumbs
- 1/4 cup unsalted butter, melted
- 1/2 cup caramel sauce (store-bought or homemade)
- A pinch of sea salt for garnish
These ingredients blend together to create layers of flavor that are rich and tasty. The apples give a fresh crunch, while the cream cheese adds a creamy base. The graham cracker crumbs provide a nice crust. Don’t forget the caramel sauce! That sweet touch brings it all together. Each bite will be a mix of sweet, salty, and creamy goodness.
Step-by-Step Instructions
Prepare the Apples
Start by peeling and dicing two medium apples. In a medium bowl, combine the apples with one tablespoon of lemon juice, one teaspoon of cinnamon, and two tablespoons of brown sugar. Toss everything together until the apples are evenly coated. This step helps enhance the flavor. Let the apples marinate for about 15 minutes.
Make the Cheesecake Mixture
Next, take eight ounces of softened cream cheese and place it in a large mixing bowl. Beat it with an electric mixer until it is smooth and creamy. Gradually add in half a cup of powdered sugar and one teaspoon of vanilla extract. Mix until everything is fully combined.
Whip the Cream and Combine
In another bowl, pour in one cup of heavy whipping cream. Whip it until stiff peaks form. This means the cream should hold its shape well. Gently fold the whipped cream into the cheesecake mixture. Be careful not to deflate the cream; you want it light and airy.
Prepare the Crust
In a small bowl, mix one cup of graham cracker crumbs with a quarter cup of melted unsalted butter. Stir until the mixture looks like wet sand. This will be your crust.
Assemble the Jars
Grab your serving jars. Start by adding two tablespoons of the graham cracker crust at the bottom. Press it down lightly. Next, add about a quarter cup of the cheesecake mixture. Then, layer in two tablespoons of the marinated apples. Drizzle one tablespoon of caramel sauce over the apples.
Chill and Serve
Cover the jars with lids or plastic wrap. Refrigerate them for at least two hours. This lets the flavors meld and helps the cheesecake set. Just before serving, sprinkle a tiny pinch of sea salt on top of the caramel. This adds a nice sweet and salty touch to your dessert.
Tips & Tricks
Selecting the Right Apples
When making caramel apple cheesecake jars, the type of apple matters. I recommend using tart apples like Granny Smith or Honeycrisp. These apples hold their shape well and add a nice crunch. Their tartness balances the sweetness of the caramel. You can also try Fuji or Gala apples for a sweeter option. Just make sure your apples are fresh and firm for the best texture.
Achieving the Perfect Cheesecake Consistency
To get a smooth and creamy filling, start with softened cream cheese. Cold cream cheese can lead to lumps. Mix the cream cheese well before adding sugar. Gradually add powdered sugar and vanilla extract. This helps blend everything evenly. When you whip the heavy cream, aim for stiff peaks. Gently fold the whipped cream into the mixture. This keeps the filling light and airy. Avoid over-mixing, as it can make the cheesecake dense.
Drizzling Caramel Sauce
For a beautiful presentation, drizzle caramel sauce carefully. You can use a spoon or a squeeze bottle for more control. Start from the top and let it flow down the sides of the jar. This adds a lovely look to your jars. If you prefer, heat the caramel slightly to make it easier to drizzle. Just be careful to not make it too hot. A tiny pinch of sea salt on top adds a nice touch, enhancing the flavor.
Pro Tips
- Fresh Apples: Choose firm, tart apples like Granny Smith for a balanced flavor that complements the sweetness of the cheesecake and caramel.
- Room Temperature Ingredients: Ensure the cream cheese is at room temperature before mixing to achieve a smooth and creamy texture without lumps.
- Whipping Cream: Be careful not to overwhip the heavy cream; it should be thick but still smooth to maintain a light and airy cheesecake mixture.
- Chilling Time: Allow the jars to chill longer than 2 hours if possible; this helps the flavors meld together beautifully for a more delicious dessert.
Variations
Add-ins for Cheesecake Mixture
You can change the flavor of your cheesecake. Try adding chocolate chips for a sweet twist. You can also mix in a teaspoon of nutmeg or ginger for warmth. Want a richer flavor? Add a tablespoon of cocoa powder. This change makes it taste like chocolate cheesecake. Another fun idea is to stir in a bit of peanut butter. It will give a nice creaminess.
Alternative Toppings
Let’s talk toppings! You can top your jars with chopped nuts. Walnuts or pecans add a nice crunch. For a sweeter touch, sprinkle mini chocolate chips on top. Crushed toffee bits also make a yummy addition. If you like fruit, try adding fresh berries. They give a nice color and taste. You can also drizzle extra caramel on top for a decadent finish.
Gluten-Free Options
If you need a gluten-free version, use gluten-free graham crackers. You can find them in most stores. Another option is to use crushed nuts as the base. Almonds or pecans work great. Just mix them with melted butter. This makes a tasty and crunchy crust. You won’t miss the graham crackers at all!
Storage Info
How to Store Leftover Jars
Store your leftover caramel apple cheesecake jars in the fridge. Use airtight containers or cover them tightly with plastic wrap. This keeps the jars fresh for about 3 to 5 days. Make sure to keep the jars away from strong-smelling foods. This helps keep their sweet flavor intact.
Freezing Options
You can freeze these cheesecake jars if you need to save them longer. Let the jars cool completely first. Then, cover them tightly with plastic wrap and aluminum foil. This prevents freezer burn. You can freeze the jars for up to 1 month. Just remember, the texture might change a bit after thawing.
Reheating Recommendations
To thaw frozen jars, place them in the fridge overnight. This keeps the texture nice. Avoid using a microwave, as it can make the cheesecake too soft. After thawing, give the jars a gentle stir before serving. This helps mix the flavors back together. If you need to, drizzle some extra caramel sauce on top for added flavor.
FAQs
Can I use different fruits instead of apples?
Yes, you can swap apples for other fruits. Try pears, berries, or peaches. Each fruit adds a unique taste. For berries, chop them if needed. For pears, use firm ones for good texture. You can mix fruits too, like apples and berries for a fun twist.
How long can I keep these cheesecake jars?
These jars stay fresh for about 4 days in the fridge. Store them in an airtight container. If you see any changes in color or smell, it’s best to throw them away. To enjoy them longer, do not add caramel until you’re ready to serve.
Can I make these jars ahead of time?
Yes, you can prepare these jars a day in advance. Just assemble the layers and cover them. Chilling overnight helps the flavors blend well. If you make them early, add the caramel and sea salt right before serving. This keeps everything fresh and tasty.
This blog post guides you through making delicious cheesecake jars. You learned about key ingredients like apples, cream cheese, and caramel sauce. We outlined each step, from preparing the apples to layering the jars. I shared tips to select the best apples and achieve a creamy texture. You can explore fun variations and find storage solutions for leftovers. Enjoy crafting these treats and let your creativity shine. With practice, you’ll impress family and friends with your cheesecake jars. Happy creating!


