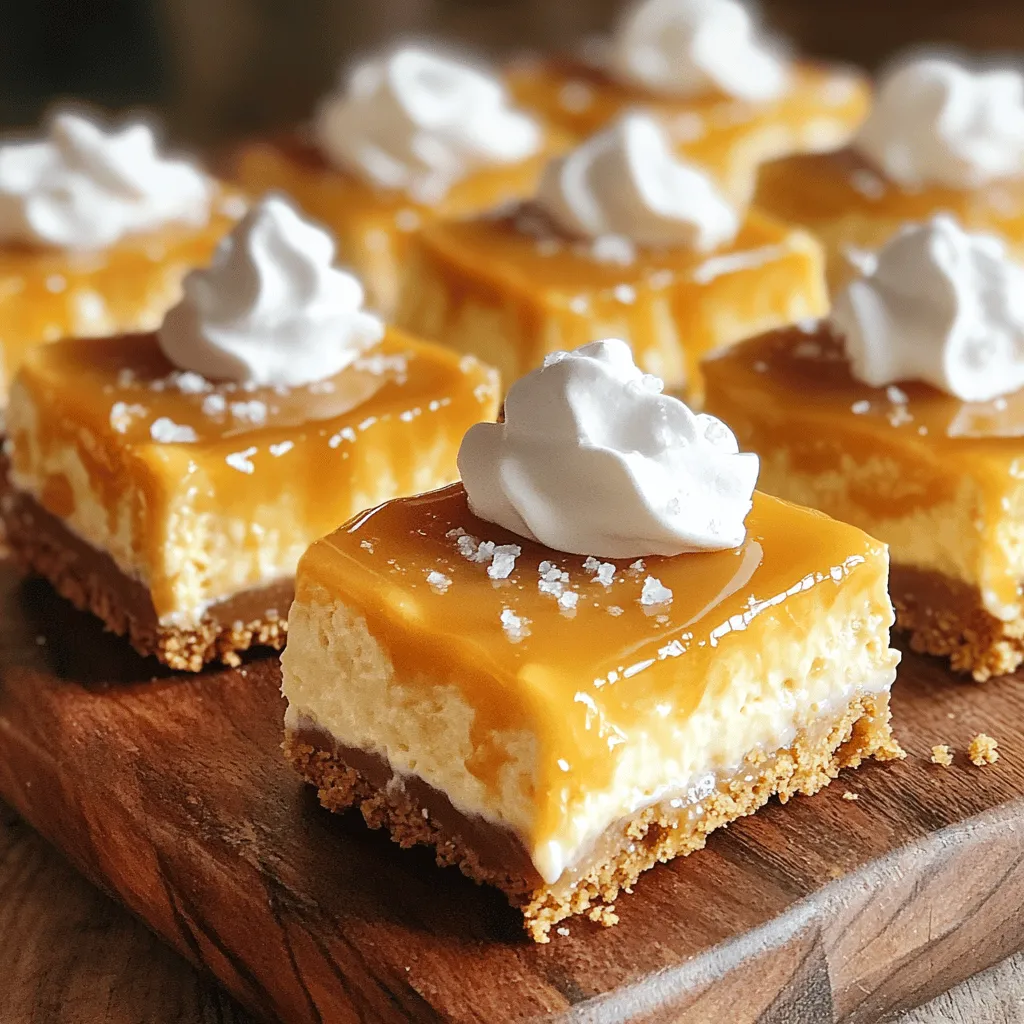
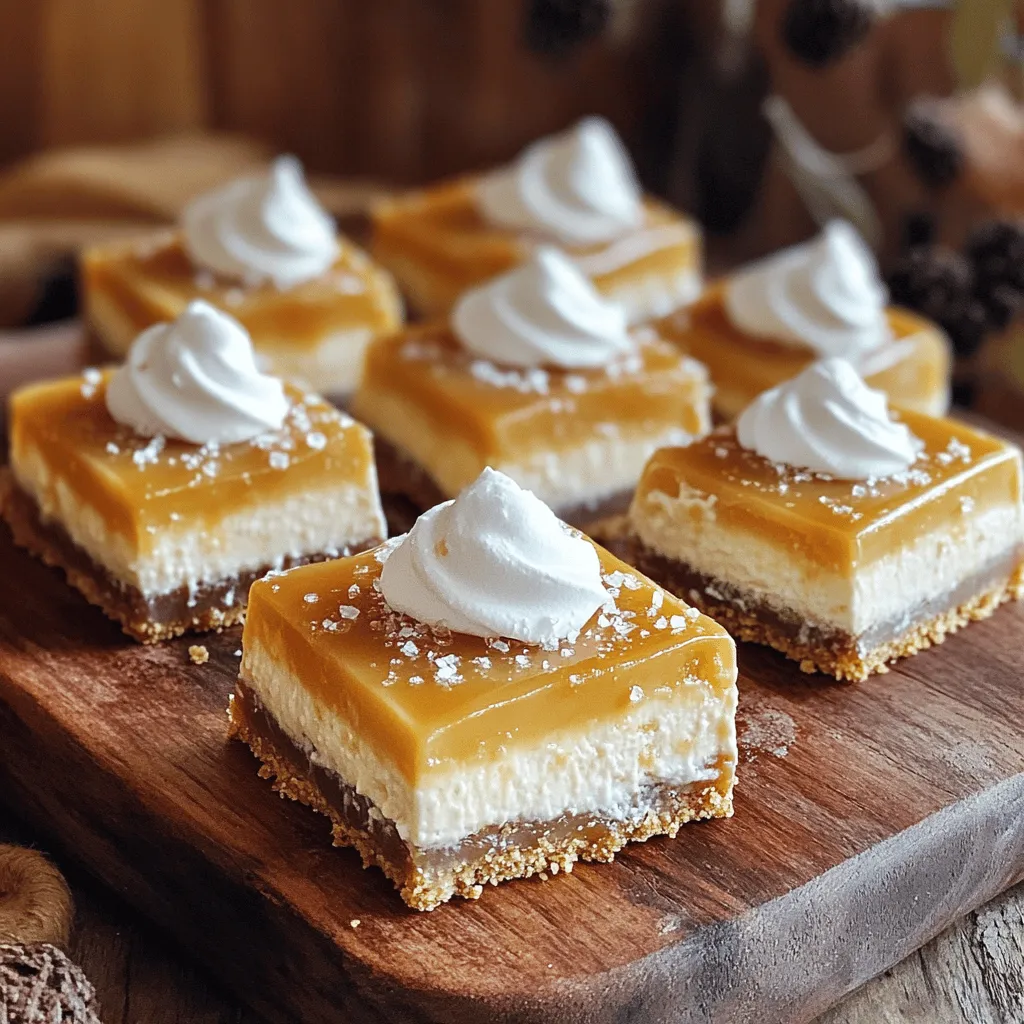
Indulge in a sweet world of flavors with my Caramel Cheesecake Bars! This easy recipe brings together a tasty crust, creamy filling, and rich caramel topping. Whether you’re a cheesecake fan or just love desserts, these bars are for you. Trust me, once you try them, you won’t be able to resist. Let’s dive into this delicious treat and explore the simple steps to make it perfect!Each part of the recipe has its own set of items, making it easy to follow. Here’s what you need for each layer.
Required Ingredients for Crust
For the crust, gather these items:
– 1 ½ cups graham cracker crumbs
– ½ cup unsalted butter, melted
– 2 tablespoons sugar
These ingredients come together to form a crunchy base. The melted butter helps bind the crumbs and sugar, creating a solid crust.
Required Ingredients for Cheesecake Filling
For the cheesecake filling, you will need:
– 16 oz cream cheese, softened
– ½ cup granulated sugar
– 2 large eggs
– 1 teaspoon vanilla extract
– ½ cup sour cream
This filling is rich and creamy. The cream cheese gives it that classic cheesecake taste, while sour cream adds a nice tang.
Required Ingredients for Caramel Layer
For the caramel layer, use:
– 1 cup caramel sauce (store-bought or homemade)
– 1 teaspoon sea salt (optional, for salted caramel)
– Whipped cream (for garnish)
The caramel sauce is the star of the show. It adds sweetness and a lovely finish to the bars. If you like a salty touch, add sea salt for a twist.
Step-by-Step Instructions
Preparation of the Crust
First, I preheat the oven to 325°F (160°C). This helps create a perfect crust. In a medium bowl, I mix 1 ½ cups of graham cracker crumbs, ½ cup of melted unsalted butter, and 2 tablespoons of sugar. I stir until everything combines. Then, I press this mixture firmly into a 9×9-inch baking pan lined with parchment paper. This forms the base. I bake it for 10 minutes and set it aside to cool slightly.
Making the Cheesecake Filling
Next, I prepare the cheesecake filling. I take a large mixing bowl and beat 16 oz of softened cream cheese with an electric mixer. I mix until it becomes smooth and creamy, which takes about 2-3 minutes. Slowly, I add ½ cup of granulated sugar and blend it well. Then, I add 2 large eggs, one at a time, mixing well after each addition. I stir in 1 teaspoon of vanilla extract and ½ cup of sour cream until it’s just combined.
Combining Layers and Baking
Now, I pour the cheesecake filling over the cooled crust. I smooth it out evenly with a spatula. I bake it for 30-35 minutes. I want the edges to set but the center to have a slight jiggle. After baking, I turn off the oven and let the cheesecake cool in the oven with the door cracked open for about 30 minutes.
Drizzling the Caramel Layer
Once the cheesecake cools to room temperature, I drizzle 1 cup of caramel sauce evenly on top. If I want a salted twist, I sprinkle 1 teaspoon of sea salt over the caramel. This enhances the flavor and makes it extra special.
Chilling and Setting
Finally, I refrigerate the cheesecake bars for at least 4 hours. For the best results, I leave them overnight. Once chilled, I lift out the bars using the parchment paper. I cut them into squares or rectangles. Now, they are ready to serve and enjoy! For a fun touch, I top each bar with whipped cream and an extra drizzle of caramel.
Tips & Tricks
Achieving the Perfect Cheesecake Texture
To get a creamy texture, use room-temperature cream cheese. Cold cream cheese can create lumps. Beat it well for 2-3 minutes until smooth. Add eggs one at a time and mix until just blended. Overmixing can make the cheesecake dense. Bake it until the edges are set but the center jiggles slightly. This ensures a soft, creamy filling.
Suggestions for Serving and Presentation
For a stunning presentation, cut the bars into even squares. Place them on a pretty platter. A dollop of whipped cream on each bar adds charm. Drizzle extra caramel sauce on top for a touch of elegance. You can also sprinkle fresh berries or chocolate shavings around the bars. This adds color and richness to your dessert.
Common Mistakes to Avoid
One common mistake is overbaking the cheesecake. Keep an eye on the baking time. If the edges are firm but the center jiggles, it’s ready. Another mistake is not chilling the bars long enough. Four hours in the fridge is a must. Lastly, avoid rushing the cooling process. Letting it cool in the oven helps prevent cracks. Follow these tips for perfect Caramel Cheesecake Bars every time!
Variations
No-Bake Caramel Cheesecake Bars
You can make no-bake caramel cheesecake bars for a quick dessert. This method skips baking. For the crust, mix graham cracker crumbs, melted butter, and sugar. Press that mix into your pan like before. For the filling, blend cream cheese, sugar, vanilla, and whipped cream. Pour this on the crust and chill until firm. Top it with caramel before serving.
Gluten-Free Adaptation
To make gluten-free caramel cheesecake bars, swap regular graham crackers for gluten-free ones. You can find these at many stores. Use the same amounts for the crust. The filling stays the same since cream cheese is naturally gluten-free. This way, everyone can enjoy them.
Flavor Variations
Add twists to your caramel cheesecake bars to keep things fun. Here are some ideas:
– Chocolate: Mix cocoa powder into the cheesecake filling for a rich taste.
– Pumpkin: Add pumpkin puree and spices like cinnamon and nutmeg for a fall flavor.
– Peanut Butter: Swirl in creamy peanut butter into the filling for a nutty touch.
Each variation offers a unique taste while keeping the essence of the original recipe.
Storage Info
Best Practices for Storing
To keep your caramel cheesecake bars fresh, store them in the fridge. Use an airtight container. This keeps moisture out and flavor in. If you cut the bars, wrap them individually. This prevents them from drying out. Keep them away from strong-smelling foods. Cheesecake can easily absorb unwanted odors.
Freezing Instructions
You can freeze these bars for later enjoyment. First, let them cool completely. Once cooled, cut them into squares. Wrap each square in plastic wrap. Then, place them in a freezer-safe bag or container. Label the bag with the date. You can freeze these bars for up to three months.
Shelf Life of Caramel Cheesecake Bars
When stored properly, caramel cheesecake bars last about a week in the fridge. If you freeze them, they can last for three months. Always check for signs of spoilage before eating. If they smell off or look weird, it’s best to throw them away. Enjoy your cheesecake bars while they are fresh for the best taste!
FAQs
Can I make Caramel Cheesecake Bars ahead of time?
Yes, you can make these bars ahead of time. They taste even better after chilling. Make them a day before your event. Just store them in the fridge. This way, the flavors meld nicely.
What can I substitute for cream cheese?
You can use ricotta or mascarpone cheese. They give a smooth texture. For a dairy-free option, try cashew cream. Blend soaked cashews with a bit of lemon juice. It works well and tastes great too.
How to fix a cracked cheesecake?
To fix a cracked cheesecake, let it cool slowly. Rapid changes in temperature can cause cracks. If it cracks while baking, you can cover it with caramel sauce. The caramel will hide the cracks and add flavor.
Is it possible to use homemade caramel?
Absolutely! Homemade caramel adds a personal touch. Just ensure it’s thick enough to hold its shape. Pour it over the cheesecake layer once it cools. This will enhance the dish and impress your guests.
Can I make these bars dairy-free?
Yes, you can! Use dairy-free cream cheese. There are many good brands available. Substitute sour cream with coconut cream for a creamy texture. This way, everyone can enjoy these tasty bars.
You learned how to make delicious caramel cheesecake bars. We covered the key ingredients and detailed steps to create the crust, filling, and caramel. I shared tips for the best cheesecake texture and simple variations to try. Remember to store these bars correctly for freshness. Whether you enjoy them right away or share with friends, these treats are sure to impress. Now, it’s time to bake and enjoy your caramel cheesecake bars!


