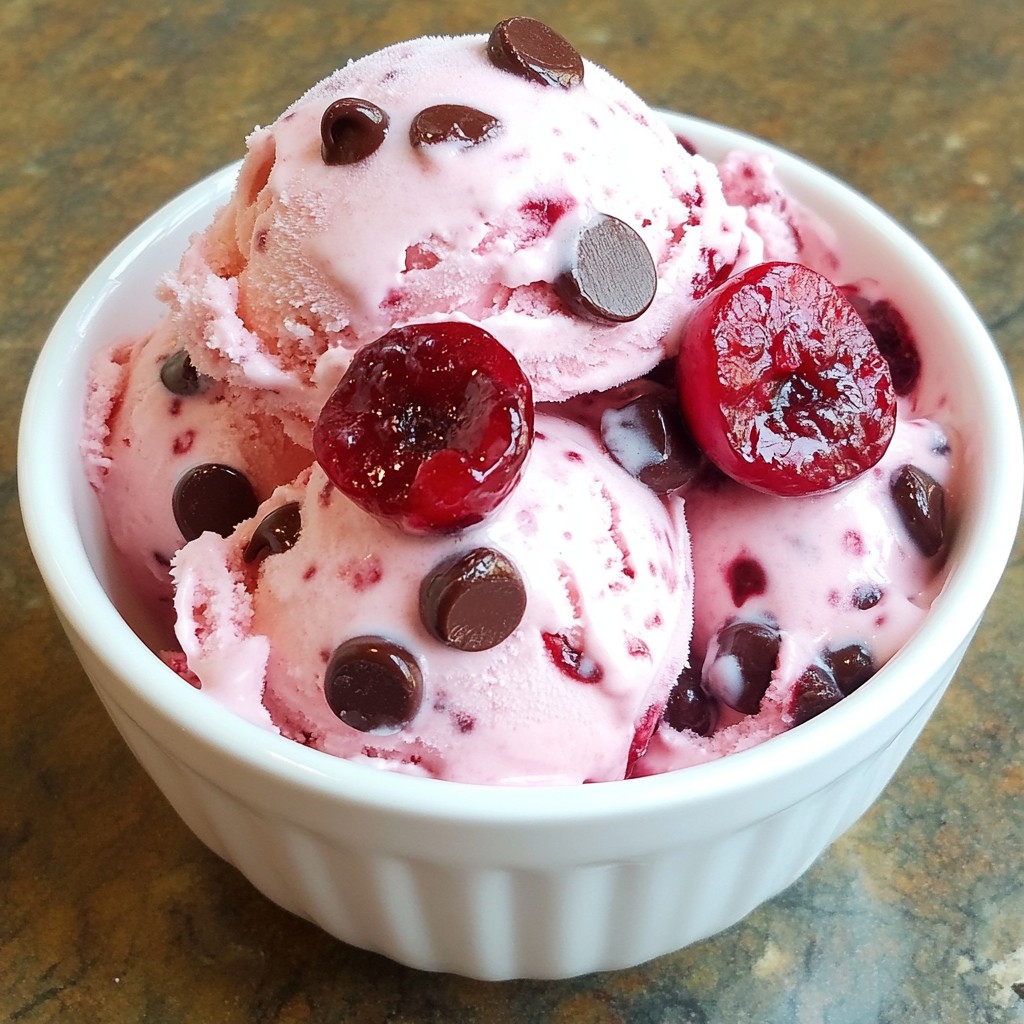
Welcome to the world of Cherry Chocolate Chip Ice Cream, an irresistible treat! In this blog, I’ll guide you through making this delightful dessert from scratch. You’ll discover easy steps, tips, and variations to customize your ice cream. Whether you crave creamy indulgence or fruity flair, this recipe will satisfy your sweet tooth. Let’s get started on crafting the perfect scoop that you, your family, and friends will love!
Why I Love This Recipe
- Freshness of Cherries: This recipe uses fresh cherries, which bring a burst of flavor and natural sweetness to the ice cream, making each scoop a delightful experience.
- Easy to Make: With simple ingredients and straightforward steps, this ice cream can be whipped up in no time, perfect for a quick summer treat.
- Chocolate Indulgence: The addition of mini chocolate chips elevates the dessert, providing a rich contrast to the fruity cherries that chocolate lovers will adore.
- Perfect for Sharing: This recipe yields 4-6 servings, making it a great choice for gatherings, ensuring everyone can enjoy a scoop of this delicious ice cream.
Cherry Chocolate Chip Ice Cream Recipe
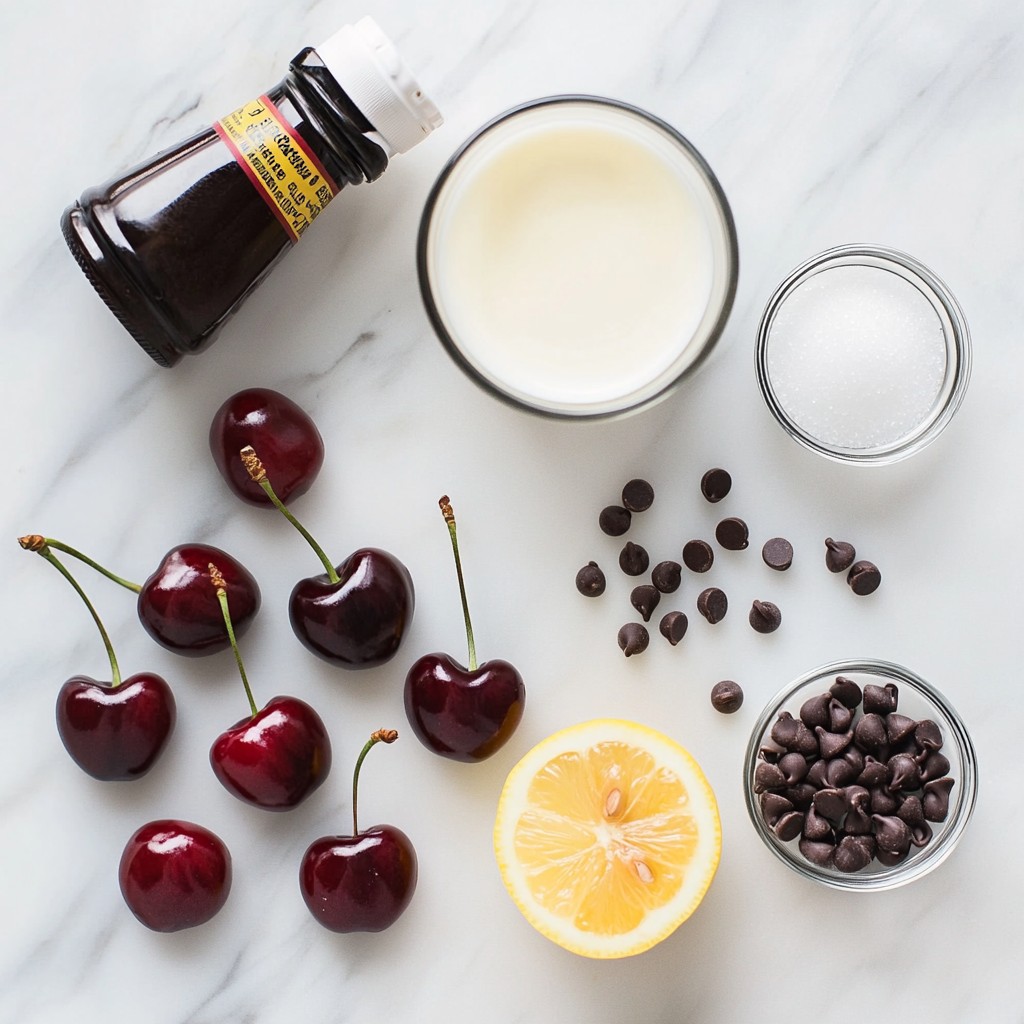
Ingredients for Cherry Chocolate Chip Ice Cream
- 2 cups fresh cherries, pitted and halved
- 1 cup heavy cream
- 1 cup whole milk
- 3/4 cup granulated sugar
- 1 teaspoon vanilla extract
- 1/2 cup mini chocolate chips
- 1/4 teaspoon salt
- 1 tablespoon lemon juice
Preparation Time and Serving Size
This Cherry Chocolate Chip Ice Cream takes about 15 minutes to prep. You will need at least 6 hours to freeze it. This recipe serves 4 to 6 people, making it perfect for a small gathering.
Nutritional Information per Serving
Each serving contains about:
- Calories: 320
- Total Fat: 18g
- Saturated Fat: 10g
- Cholesterol: 80mg
- Sodium: 60mg
- Total Carbohydrates: 38g
- Sugars: 28g
- Protein: 4g
This ice cream is a tasty treat, and the cherries add bright flavor. It is rich, sweet, and perfect for warm days.
Step-by-Step Instructions
Preparing the Cherries
First, gather your fresh cherries. You will need 2 cups of them. Take the time to pit and halve each cherry. This step is key for flavor. In a mixing bowl, combine the halved cherries with 1 tablespoon of lemon juice. Let them sit for about 10 minutes. This helps the cherries taste even sweeter and brighter.
Blending the Ice Cream Base
Next, grab a large mixing bowl. Here, you will whisk together 1 cup of heavy cream, 1 cup of whole milk, and 3/4 cup of granulated sugar. Add 1 teaspoon of vanilla extract and 1/4 teaspoon of salt. Make sure the sugar dissolves fully. This base is what makes your ice cream creamy and rich.
Churning and Freezing the Ice Cream
Now it’s time to combine the flavors. Carefully fold the prepared cherries and their juice into the cream mixture. Make sure they mix evenly. Cover the bowl with plastic wrap and chill it in the fridge for at least 2 hours. After chilling, pour the mixture into your ice cream maker. Churn it for about 20-25 minutes, or until it thickens.
In the last 5 minutes, add 1/2 cup of mini chocolate chips. They will mix in nicely. Once done, transfer the ice cream to an airtight container. Freeze it for at least 4 hours or until it is firm. Now, your Cherry Chocolate Chip Ice Cream is ready to scoop and enjoy!
Tips & Tricks for the Best Cherry Chocolate Chip Ice Cream
Choosing the Right Cherries
Select fresh, ripe cherries for the best flavor. Look for deep red or dark purple cherries. These colors show they are sweet and juicy. Avoid cherries with blemishes or soft spots. If fresh cherries are not available, frozen cherries work, but ensure they are pitted. Thaw and drain them to remove excess water.
How to Achieve Creamy Texture
To make your ice cream creamy, use heavy cream and whole milk. These have the right fat content for a rich texture. Whisk the cream and milk until the sugar dissolves completely. Chilling the mixture for at least two hours helps. Cold ingredients churn better and create a smoother ice cream.
Common Mistakes to Avoid
Don’t skip the chilling step. It might seem unnecessary, but it is key for great flavor. Also, be gentle when folding in cherries. Overmixing can break them down and create a mushy texture. Finally, keep an eye on the churning time. If you churn too long, the ice cream can become icy instead of creamy.
Pro Tips
- Use Fresh Cherries: For the best flavor, use ripe, fresh cherries in season. They will give your ice cream a vibrant taste and natural sweetness.
- Chill Your Base: Make sure to chill the mixture for at least 2 hours. This step helps enhance the flavors and results in a creamier texture.
- Experiment with Chocolate: You can try using dark chocolate chips or even swirls of chocolate syrup for a richer flavor profile.
- Storage Tips: When storing ice cream, place a piece of parchment paper directly on the surface before sealing the container to prevent ice crystals from forming.
Variations and Substitutions
Dairy-Free Options
If you want a dairy-free version, swap heavy cream and milk with coconut cream and almond milk. Both give a rich taste and creamy texture. The coconut flavor pairs well with cherries, making it a fun choice.
Alternative Sweeteners
You can use honey or maple syrup instead of granulated sugar. These will add a unique flavor to the ice cream. Use about 1/2 cup of honey or maple syrup. Remember, they can make the mix sweeter, so taste as you go!
Flavor Twists to Try
Get creative by adding spices or different extracts. A pinch of cinnamon can give warmth. Almond extract can enhance the cherry flavor. You can even add a splash of bourbon for a grown-up twist! Mix in nuts or other fruits too, like raspberries or strawberries, for more fun flavors.
Storage Information
Best Practices for Storing Ice Cream
To keep your Cherry Chocolate Chip Ice Cream fresh, use an airtight container. This helps prevent ice crystals from forming. Always scoop out what you need before closing the lid. Avoid leaving the container open for long. Store it in the back of the freezer, where the temperature is more stable.
How Long Does Homemade Ice Cream Last?
Homemade ice cream can last up to two weeks in the freezer. After that, it may start to lose flavor and texture. For the best taste, enjoy it within the first week. If you see any ice crystals forming, it’s time to finish it up.
Signs Ice Cream Has Gone Bad
Check for a few signs to see if your ice cream is still good. If it has an off smell, that’s a red flag. Also, look for a grainy texture. If it looks very icy or has changed color, it’s best to toss it. Always trust your taste buds!
FAQs about Cherry Chocolate Chip Ice Cream
Can I use frozen cherries instead?
Yes, you can use frozen cherries. They work well in this recipe. Just make sure to thaw them first. Drain any excess juice before adding them to the mix. This helps keep the ice cream from becoming too watery.
What can I substitute for heavy cream?
If you need a substitute for heavy cream, try full-fat coconut milk. It adds a rich taste. Another option is to use half-and-half. This will give you a creamy texture but with less fat.
How do I make this recipe without an ice cream maker?
You can still make this ice cream without an ice cream maker. Just follow these steps:
- After mixing your ingredients, pour the mixture into a shallow dish.
- Place it in the freezer.
- Every 30 minutes, stir the mixture with a fork.
- Continue this for about 4 hours until it’s firm and creamy.
This method gives you a tasty treat without special equipment.
In this post, I covered how to make cherry chocolate chip ice cream. You learned about the ingredients, preparation time, and serving sizes. I shared tips for a creamy texture and common mistakes to avoid. You also discovered variations for dairy-free options and delicious flavor twists. Proper storage advice helps keep your ice cream fresh. Enjoy making this treat, and don’t hesitate to get creative! This ice cream is a fun way to beat the heat and impress your friends and family. Happy scooping!


