Want to treat yourself to a simple dessert that’s both fun and chewy? You’re in the right place! My Chewy Rice Krispies Treats recipe is quick to make and deliciously satisfying. With just a few basic ingredients and easy steps, you can create a perfect snack. Plus, I’ll share tips for adding your own flair. Let’s get started on making these delightful treats that everyone will love!
Ingredients
Complete List of Ingredients
To make your Chewy Rice Krispies Treats, gather these simple items:
– 6 cups Rice Krispies cereal
– 4 cups mini marshmallows
– 3 tablespoons unsalted butter
– 1 teaspoon vanilla extract
– ½ teaspoon sea salt
– ½ cup creamy peanut butter
– ½ cup chocolate chips (optional)
– ¼ cup colorful sprinkles (optional)
Ingredient Notes for Chewiness
To ensure your treats have the perfect chewiness, use fresh mini marshmallows. Older marshmallows can harden. The peanut butter also adds a nice texture and flavor. If you want your treats softer, use less Rice Krispies cereal. This makes the mix thicker, giving a gooey bite. A pinch of sea salt balances the sweetness.
Suggested Ingredient Swaps
If you want to mix it up, here are some fun swaps:
– Use brown rice cereal for a different flavor.
– Swap creamy peanut butter for almond or cashew butter for a nutty twist.
– Try adding dried fruits like raisins or cranberries for a chewy surprise.
– Replace chocolate chips with butterscotch or white chocolate for variety.
Feel free to experiment with these swaps to find your favorite!
Step-by-Step Instructions
Detailed Cooking Steps
1. Start by gathering all your ingredients. This helps keep you organized.
2. In a large saucepan, melt the butter over low heat. Make sure not to burn it.
3. Once the butter is melted, add in the mini marshmallows. Stir them until they melt smooth.
4. Remove the pan from heat. Quickly mix in the vanilla extract and sea salt.
5. Next, add the creamy peanut butter. Stir until it blends well into the mixture.
6. Gradually add the Rice Krispies cereal. Stir gently so every piece gets coated.
7. If you want, fold in the chocolate chips and sprinkles. This adds fun flavors and colors.
8. Lightly grease a 9×13 inch baking dish or use parchment paper. This helps with easy removal.
9. Pour the mixture into the dish. Press down firmly to make an even layer.
10. Allow the treats to cool for about 30 minutes. Then, cut them into squares or bars.
Visual Guide for Each Step (Optional)
Using a visual guide can make cooking easier. Consider taking photos at each step. This helps you see how the texture changes. It also keeps you engaged.
Troubleshooting Common Issues
– Too Hard: If the treats are hard, you may have used too many marshmallows. Next time, stick to the recipe.
– Too Sticky: If they stick to your hands, your hands may need a light grease. Try using cooking spray.
– Uneven Texture: Make sure to stir evenly when mixing. This ensures all pieces are coated well.
– Mix Sticking: If your mixture sticks to the pan, let it cool longer. This helps it set properly.
These steps guide you toward making perfect chewy Rice Krispies treats. Enjoy the fun of creating your very own!
Tips & Tricks
How to Achieve Chewiness in Rice Krispies Treats
To make your Rice Krispies treats chewy, use a good amount of marshmallows. I like to add extra marshmallows for that soft texture. The creamy peanut butter also helps with chewiness. It adds richness and keeps the treats moist. Mixing the ingredients gently is key. Over-mixing can make them tough. Press the mixture firmly but not too hard into the pan. This method helps them hold their shape while staying chewy.
Essential Equipment for Preparation
You don’t need fancy tools for this recipe. Here’s what I use:
– Large saucepan
– Wooden spoon or spatula
– 9×13 inch baking dish
– Cooking spray or parchment paper
– Measuring cups and spoons
These tools will help you create the perfect treats. The saucepan should be big enough to melt all the marshmallows at once. A spatula helps mix the ingredients smoothly. Greasing the baking dish makes it easy to lift out the treats later.
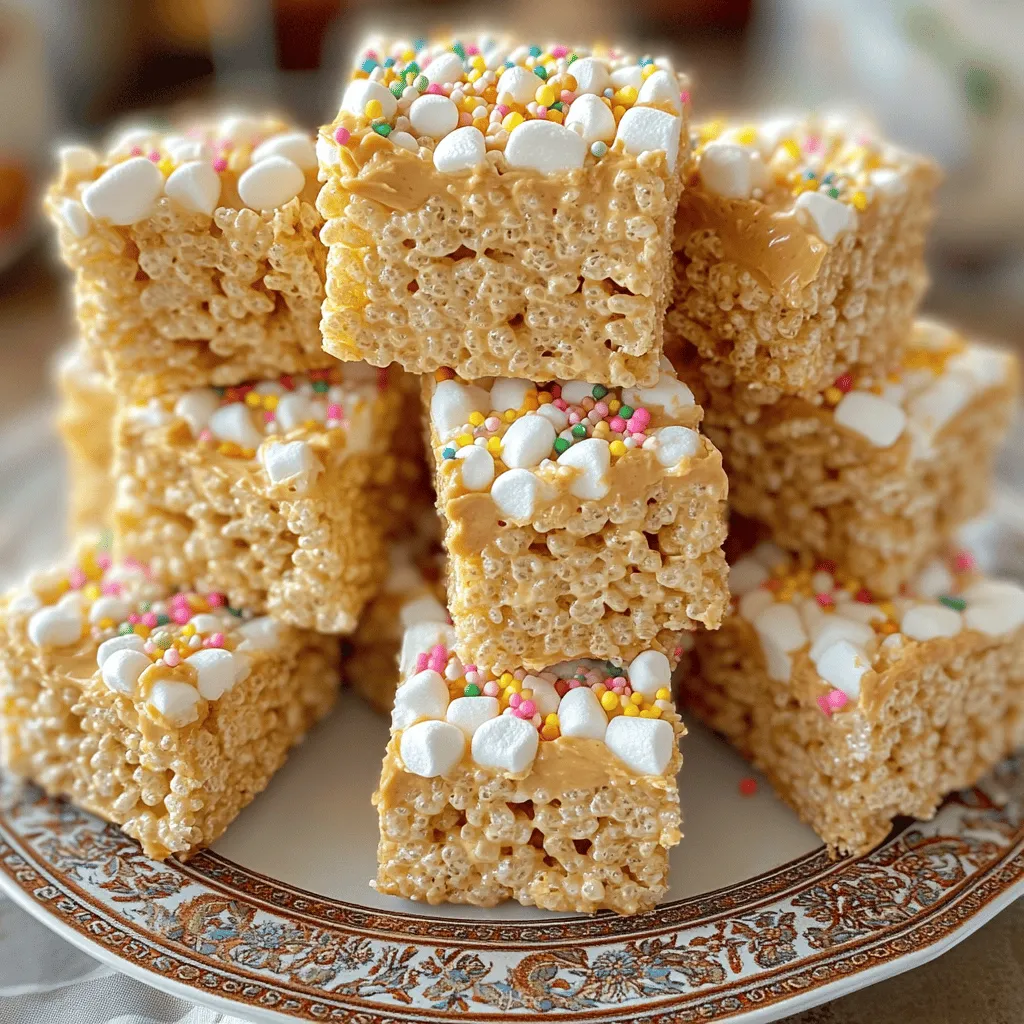
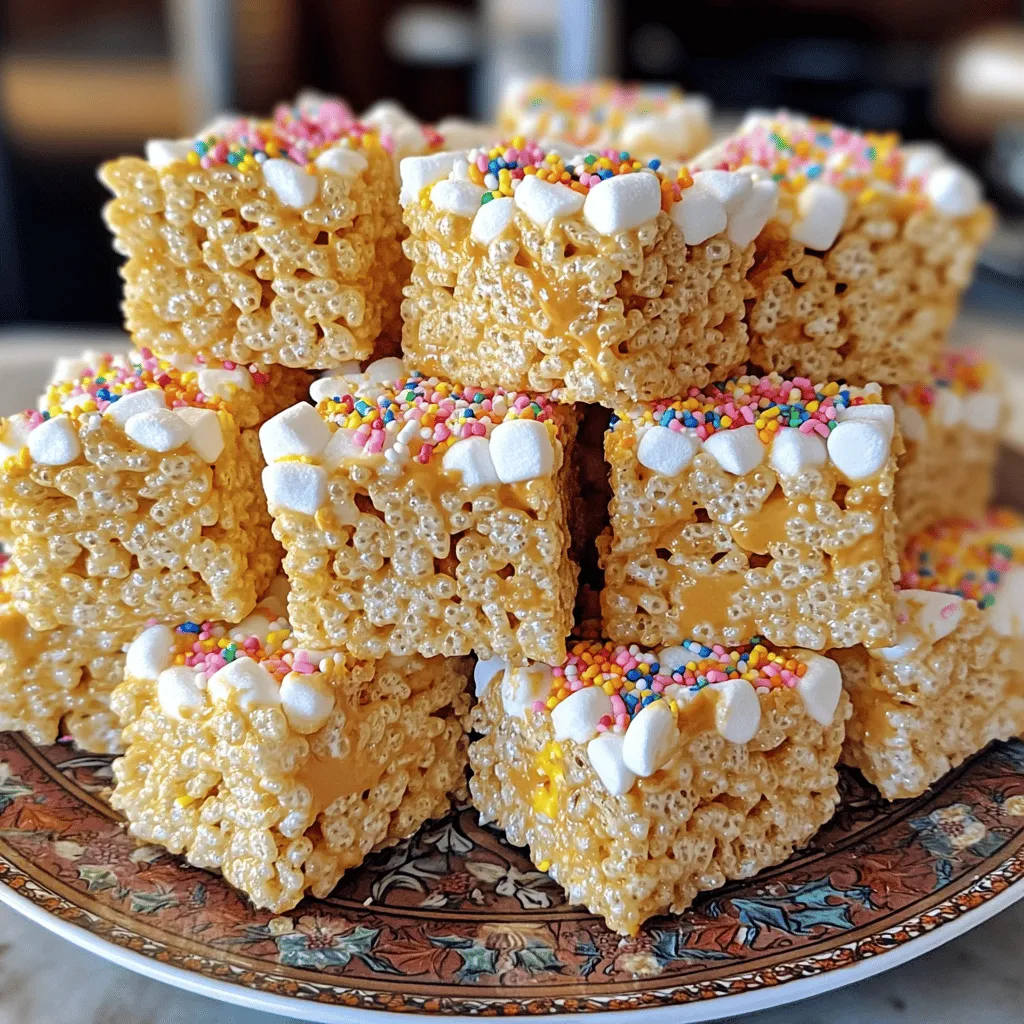
Serving Suggestions and Presentation Tips
For serving, cut your treats into squares or bars. I love stacking them on a decorative plate. Add extra sprinkles on top for a fun touch. For gifts, wrap each treat in cellophane. Tie them with a ribbon for a cute look. You can also serve them with a scoop of ice cream on the side. This adds a nice twist and makes them even more fun. Enjoy the colorful and tasty treats with friends and family!
Variations
Flavor Variations (Chocolate, Peanut Butter, etc.)
You can easily change the flavor of your Chewy Rice Krispies Treats. Adding chocolate or peanut butter gives them a new twist. To make chocolate treats, mix in ½ cup of chocolate chips when the marshmallows melt. For a peanut butter version, add ½ cup of creamy peanut butter to the melted marshmallows. You can also use other flavors like butterscotch or white chocolate.
Dietary Adjustments (Gluten-Free, Vegan, etc.)
If you need gluten-free treats, use gluten-free Rice Krispies cereal. For vegan treats, swap the butter for coconut oil and use vegan marshmallows. This way, everyone can enjoy these yummy snacks. You can also look for dairy-free chocolate chips to keep it all vegan.
Seasonal or Themed Additions
You can add fun touches for different seasons or holidays. For Halloween, mix in some candy corn or use orange and black sprinkles. For Christmas, try adding crushed peppermint candies or red and green sprinkles. You can even shape the treats into hearts for Valentine’s Day. Let your creativity shine!
Storage Info
Best Practices for Storing Chewy Treats
To keep your Chewy Rice Krispies Treats fresh, store them in an airtight container. Make sure the container is dry before adding the treats. This helps prevent any moisture from making them hard. Place a piece of parchment paper between layers if you stack them. This stops them from sticking together.
How to Maintain Freshness and Chewiness
To keep the treats chewy, avoid exposing them to air. If they do get hard, you can soften them. Place a slice of bread in the container with the treats. The bread adds moisture, which will help bring back that chewy texture. Change the bread slice every few days to keep it fresh.
Packaging Ideas for Gifts or Parties
If you want to gift these treats, wrap them in colorful cellophane. Tie with a ribbon for a cute touch. You can also place them in a clear jar. This looks festive and shows off the sprinkles. For parties, stack the treats on a plate and add a few more sprinkles on top. This makes them fun and inviting.
FAQs
How can I make my Rice Krispies treats softer?
To make your Rice Krispies treats softer, use more marshmallows. You can try adding an extra cup of mini marshmallows to your mix. The more marshmallows you use, the gooier they will be. Another tip is to reduce the heat while melting the butter and marshmallows. If you melt them slowly, they stay softer. You can also add a bit more peanut butter for creaminess. This gives a nice chew and richness to each bite.
Can I freeze Chewy Rice Krispies Treats?
Yes, you can freeze Chewy Rice Krispies Treats! First, let them cool completely. Wrap them in plastic wrap or foil tightly. Then, place them in a freezer-safe bag or container. When you want to enjoy them, simply take them out and let them thaw at room temperature. They will taste fresh after freezing, but the texture might change slightly.
What’s the best way to cut Rice Krispies treats?
Cutting Rice Krispies treats can be tricky. First, let the treats cool in the baking dish. Use a sharp knife or a pizza cutter for the best results. To make cutting easier, spray the knife with cooking spray. This helps prevent sticking. Start by cutting the treats into squares or rectangles. For uniform pieces, measure with a ruler. This way, all your treats will look great and be easy to share.
We’ve covered a lot about making the perfect chewy Rice Krispies treats. You learned about essential ingredients, cooking steps, and tips to enhance chewiness. Flavor variations offer exciting options, while storage tips ensure freshness. Always remember, treating yourself doesn’t have to be complicated. With these insights, you can create delicious treats to share with friends and family. Enjoy making and devouring your perfect chewy creations!


