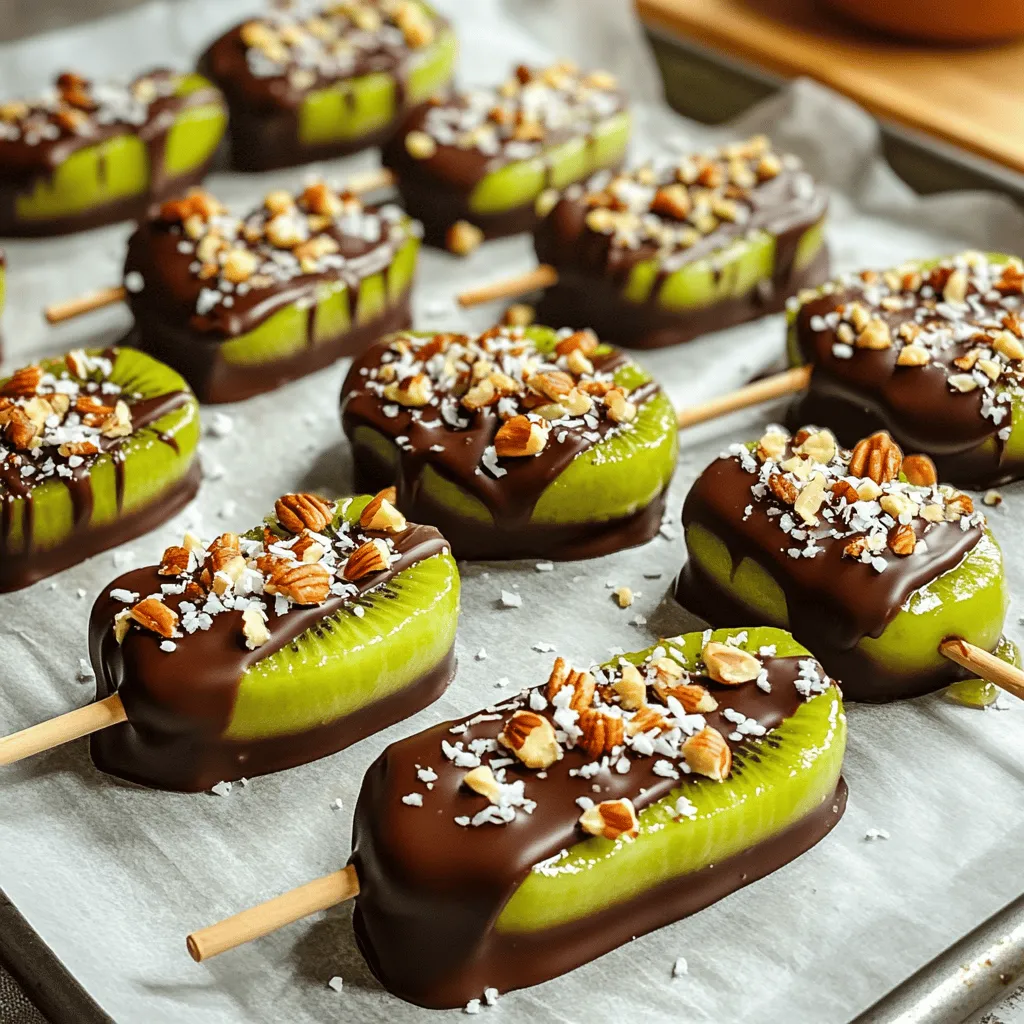
Are you ready to impress your friends and family with a fun and delicious treat? Chocolate covered kiwi pops are not only easy to make, but they also bring a burst of flavor and color to any occasion. Imagine biting into sweet kiwi wrapped in rich chocolate, with a satisfying crunch from nuts. Follow my step-by-step guide to create this delightful snack that everyone will love—no special skills required! Let’s dive in!
Why I Love This Recipe
- Refreshing Flavor: The combination of sweet kiwi and rich chocolate creates a delightful contrast that is both refreshing and indulgent.
- Easy to Make: This recipe requires minimal ingredients and can be prepared in just a few simple steps, making it a great choice for quick treats.
- Customizable: Feel free to experiment with various toppings like different nuts or sprinkles to suit your taste preferences.
- Fun Presentation: The pops are visually appealing and make for a fun dessert option at parties or gatherings.
Ingredients
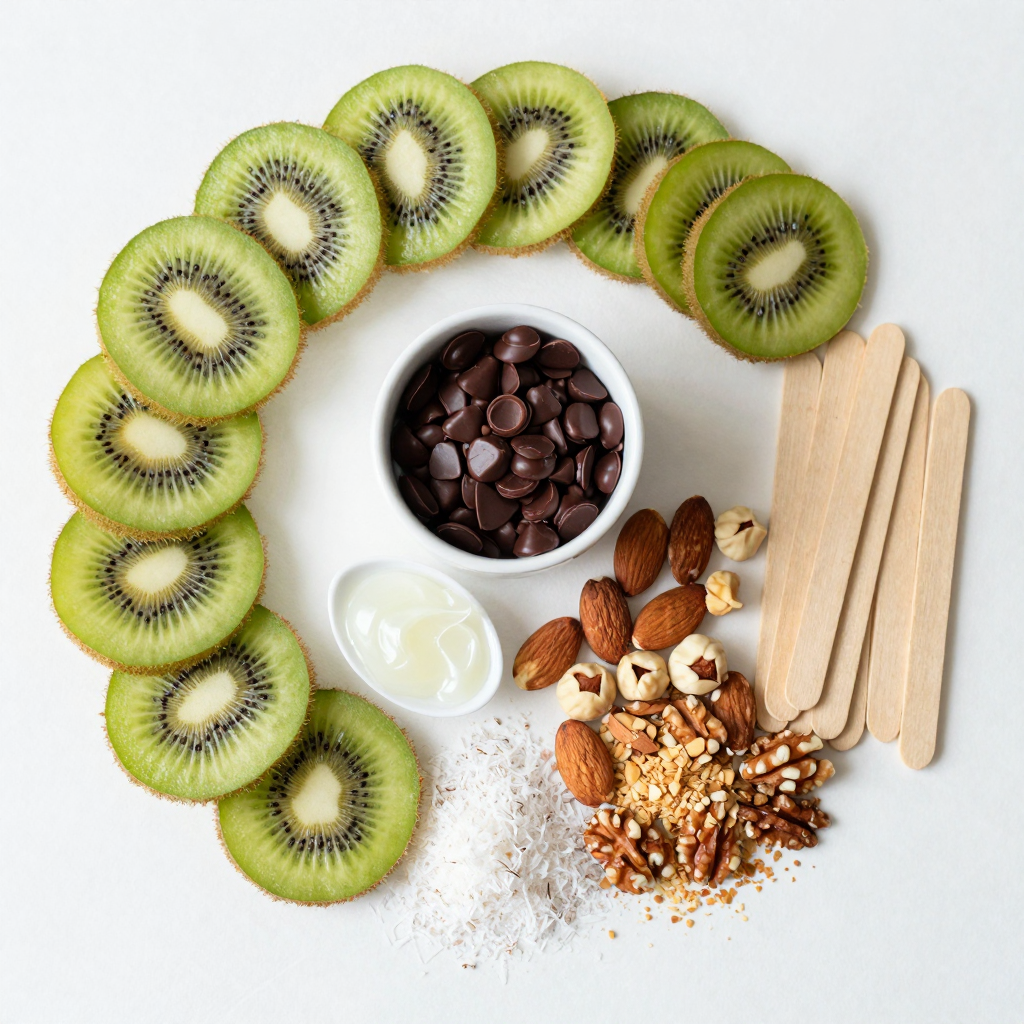
List of Ingredients
– 3 ripe kiwis, peeled and cut into thick slices
– 1 cup dark chocolate chips (or semi-sweet for a sweeter option)
– 1 tablespoon coconut oil
– 1/2 cup crushed nuts (almonds, hazelnuts, or walnuts)
– 1/4 cup desiccated coconut (optional)
– 10 wooden popsicle sticks
These ingredients are easy to find. I like using ripe kiwis for their sweet taste. They give a nice contrast to the rich chocolate. You can use dark chocolate for a bold flavor or semi-sweet for a sweeter bite.
The coconut oil makes the chocolate smooth and shiny. The crushed nuts add a delightful crunch. If you like, sprinkle some desiccated coconut on top for extra texture and flavor.
Gather these items before starting. Having everything ready makes the process smoother.
Step-by-Step Instructions
Preparation of Kiwi
To start, we need to prep the kiwi. First, peel the kiwis with a sharp knife. Cut them into thick slices about one inch wide. This size helps them hold the chocolate better. After slicing, pat the kiwi pieces dry using a paper towel. This step is key! Removing moisture helps the chocolate stick well. If the kiwi is wet, the chocolate may slide off.
Melting the Chocolate
Next, let’s melt the chocolate. I recommend using a microwave-safe bowl. Combine the dark chocolate chips and coconut oil in the bowl. Heat the mixture in the microwave in 30-second bursts. Stir between each interval. This method keeps the chocolate from burning. If you don’t have a microwave, you can use a double boiler. Just fill a pot with water and place a heat-safe bowl on top. Stir until the chocolate melts smoothly.
Dipping and Coating
Now comes the fun part: dipping! Grab a kiwi slice by the stick and dip it into the melted chocolate. Make sure to coat it fully. Let any excess chocolate drip back into the bowl. If you want to add toppings, do this right after dipping. Roll the chocolate-covered kiwi in crushed nuts or sprinkle it with desiccated coconut. For best results, work quickly! Place the pops on a parchment-lined baking sheet after coating. Once you have dipped all the kiwi slices, pop the baking sheet into the fridge. Chill for about 30 minutes, or until the chocolate is set.
This process makes it easy to enjoy a tasty treat.
Pro Tips
- Choose Ripe Kiwis: Ensure your kiwis are ripe for the best flavor and texture. They should yield slightly to pressure when gently squeezed.
- Use Quality Chocolate: Opt for high-quality dark or semi-sweet chocolate for a richer taste. Avoid chocolate chips with additives for a smoother melt.
- Keep Pops Cool: If the chocolate starts to thicken while dipping, return it to the microwave for a few seconds to re-melt it to the right consistency.
- Experiment with Toppings: Try different toppings like sprinkles, or sea salt for a unique flavor twist. Mix nuts for a variety of textures.
Tips & Tricks
Success Tips for Perfect Chocolate Coating
To ensure an even coating on your kiwi pops, make sure to dip them fully into the melted chocolate. Hold the kiwi pop by the stick and swirl it gently. This helps the chocolate cover all sides without leaving gaps.
If you find the chocolate too thick, you can adjust it by adding a bit more coconut oil. This will make the chocolate smoother and easier to work with. Just remember, too much oil can make it too runny.
Presentation Ideas
Arranging your chocolate-covered kiwi pops nicely makes them even more appealing. You can place them upright in a tall glass. This keeps them from touching each other and ruining the chocolate.
For a fun touch, drizzle some extra melted chocolate over the top of the pops. You can also add fresh mint leaves around the base. This adds color and freshness to your display.
Experiment with garnishes to make your pops pop! You can sprinkle crushed nuts or desiccated coconut over them while the chocolate is still warm. This adds texture and flavor to your treat.
Variations
Chocolate Options
When making chocolate-covered kiwi pops, the choice of chocolate matters. Dark chocolate has a rich and bold taste. It pairs well with the sweet kiwi. Milk chocolate tastes sweeter and creamier. It’s great for those who love a sweeter treat. White chocolate, while technically not chocolate, has a sweet and buttery flavor. It can add a fun twist to your pops.
You can also try flavored chocolate. Mint chocolate adds a refreshing kick. Orange chocolate brings a bright and zesty taste. Both options make your kiwi pops stand out.
Topping Alternatives
Toppings can change the whole look and taste of your pops. Nuts are a great choice. You can use almonds, hazelnuts, or walnuts. Each nut adds a different crunch and flavor. You can also mix nuts for added texture.
Fun toppings like sprinkles or shredded chocolate make your pops festive. They add color and excitement. You can even use crushed cookies for a unique twist.
Other Fruit Options
Kiwi isn’t the only fruit you can use. Strawberries are popular for chocolate dipping. They have a sweet and juicy flavor. Bananas work well too; they become creamy when dipped. Pineapple chunks offer a tropical flair.
Each fruit brings its own taste and texture. Kiwi has a unique balance of sweet and tart. Experiment with different fruits to find your favorite combination.
Storage Info
How to Store Chocolate Covered Kiwi Pops
To keep your chocolate covered kiwi pops fresh, store them in the fridge. Place them in an airtight container. This helps prevent moisture from ruining their taste. If you want to keep them longer, you can freeze them. Wrap each pop in plastic wrap and then place them in a freezer bag. This keeps out air and ice crystals.
Shelf Life
These tasty treats can last about a week in the fridge. After that, they may lose their crunch and flavor. In the freezer, they can last up to three months. Look for signs of spoilage like discoloration or an off smell. If you notice these, it’s best to toss them. Enjoy your chocolate covered kiwi pops while they are fresh for the best taste!
FAQs
Can I use frozen kiwis for this recipe?
You can use frozen kiwis, but they change the texture. Frozen fruit tends to become mushy when thawed. This means your pops might not have that crisp bite. If you choose this option, let the kiwis thaw completely before slicing. Drain any extra water to keep your pops nice and dry.
What if I don’t have coconut oil?
If you don’t have coconut oil, don’t worry! You can use other fats. Butter works well and gives a rich taste. You can also use vegetable oil or shortening. The key is to keep the chocolate shiny and smooth. Just remember, keep the amount the same as the recipe suggests.
Are chocolate-covered kiwi pops healthy?
Yes, they can be healthy! Kiwis are packed with vitamins and fiber. They help boost your immune system. Dark chocolate has antioxidants, too. It can be good for your heart when eaten in moderation. When you enjoy these pops, you get a tasty treat and some nutrition.
Where can I buy pre-made chocolate-covered kiwi pops?
You can find pre-made chocolate-covered kiwi pops at some grocery stores. Look in the frozen fruit section or the snack aisle. Some brands sell them online too. Check out retailers like Amazon or specialty food sites. If you’re lucky, local shops might have them fresh!
In this post, we covered how to make delicious chocolate-covered kiwi pops. You learned about the right ingredients, step-by-step instructions, and neat tips for success. There are fun variations to try with different chocolates and toppings. Storing your pops properly keeps them fresh longer. These treats are fun, tasty, and easy to make. Try them out and enjoy a sweet, healthy snack!


