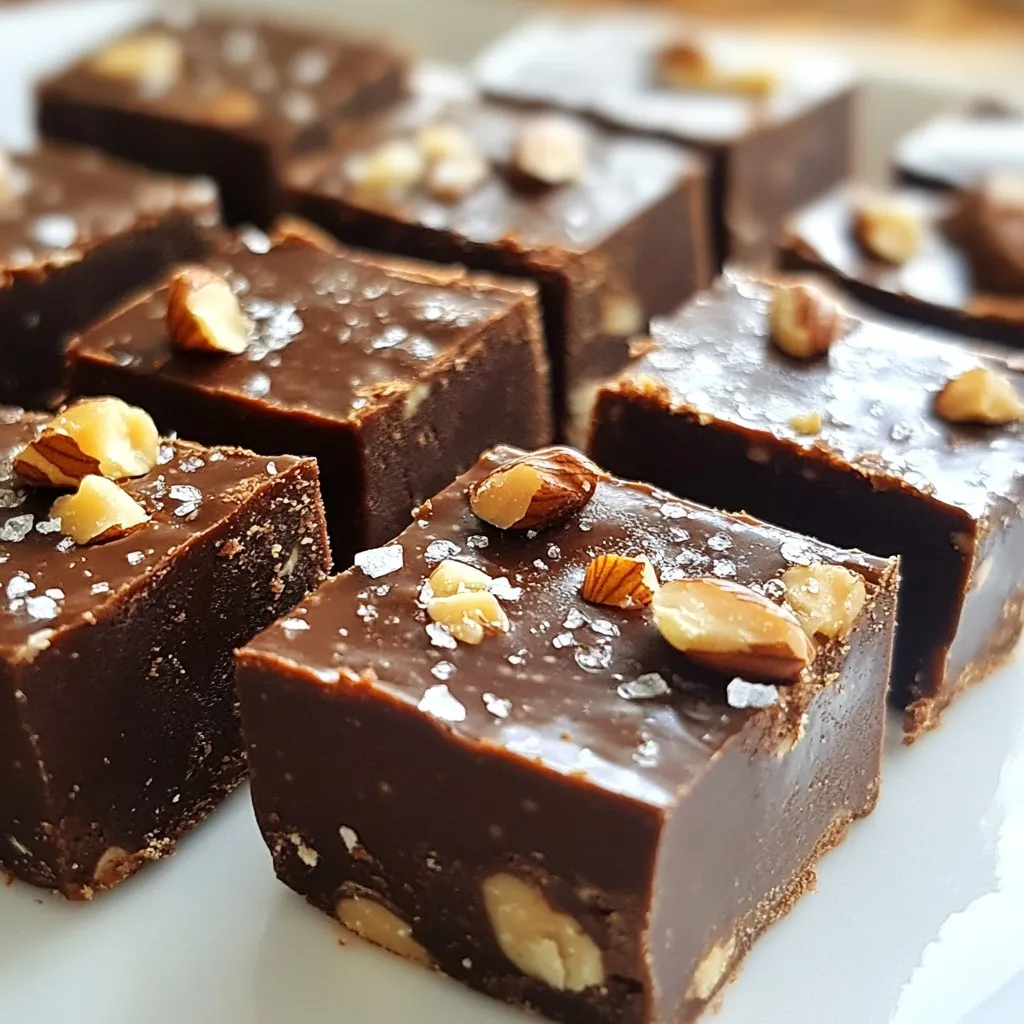
Are you ready to indulge in a treat that combines rich chocolate with crunchy hazelnuts? In this blog post, I’ll guide you through making a mouthwatering Chocolate Hazelnut Fudge that’s simple and rewards you with every bite. With a few basic ingredients and easy steps, you can create a decadent dessert that’s perfect for sharing—or keeping all to yourself! Let’s get started!
Why I Love This Recipe
- Decadent Flavor: This fudge offers a rich and indulgent chocolate experience that perfectly balances sweetness and bitterness.
- Easy Preparation: With just a few simple steps, this recipe is perfect for both beginner and experienced bakers alike.
- Nutty Crunch: The toasted hazelnuts add a delightful crunch and a nutty flavor that complements the smooth fudge beautifully.
- Versatile Treat: Enjoy it as a dessert, a party treat, or a thoughtful homemade gift for friends and family.
Ingredients
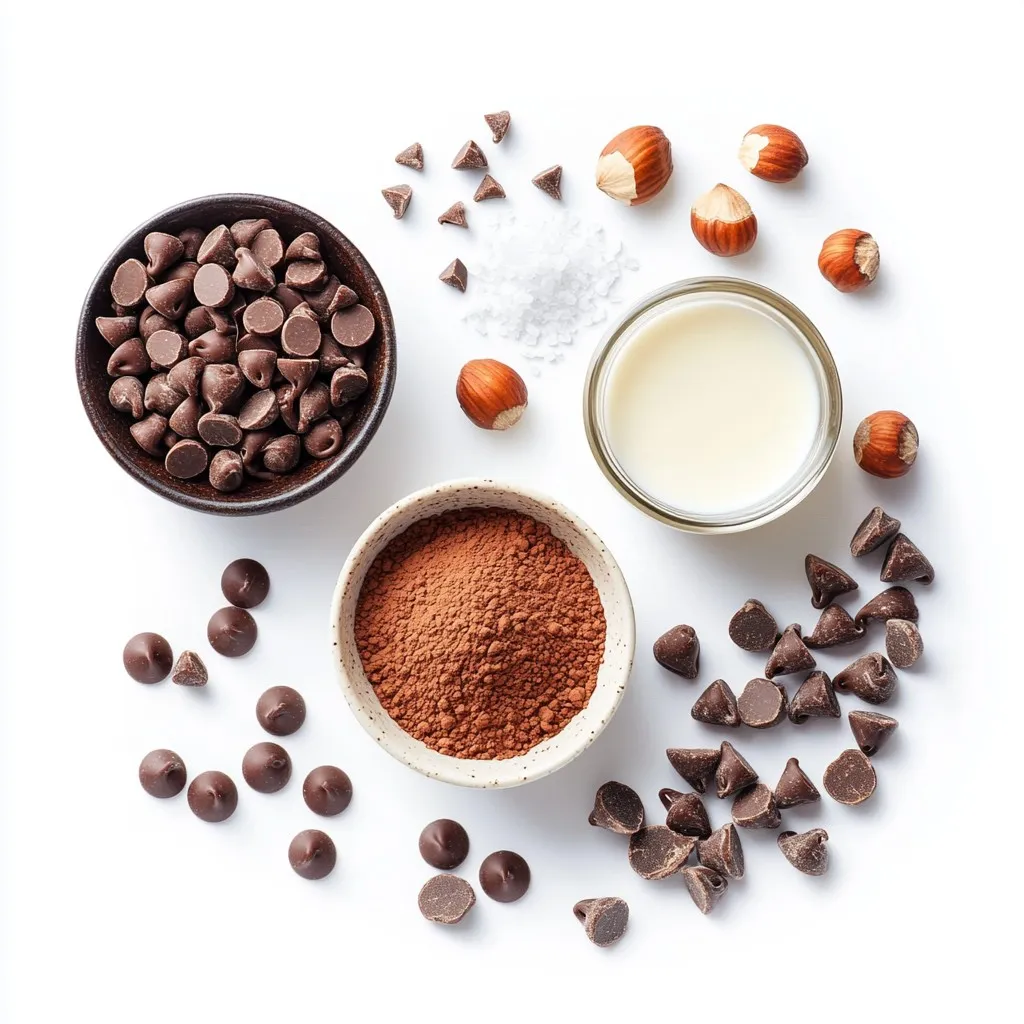
To make this rich and decadent chocolate hazelnut fudge, you need a few key ingredients. Each one adds to the amazing taste and texture. Here’s what you’ll need:
– 1 cup dark chocolate chips (at least 70% cocoa)
– 1/2 cup sweetened condensed milk
– 1/4 cup unsweetened cocoa powder
– 1/2 cup hazelnuts, toasted and roughly chopped
– 1 teaspoon vanilla extract
– 1/4 teaspoon sea salt
– Additional chopped hazelnuts for topping
Each ingredient plays its part. The dark chocolate chips provide that deep chocolate flavor. Sweetened condensed milk adds creaminess and sweetness. Unsweetened cocoa powder boosts the chocolate taste, making it richer.
Toasted hazelnuts give a nice crunch, while vanilla extract adds warmth. A pinch of sea salt balances the sweetness, making each bite perfect. Finally, topping with extra chopped hazelnuts makes it look great and taste even better.
Using quality ingredients is key to success. Choose chocolate chips that you enjoy eating. Fresh hazelnuts will enhance the flavor. Remember, this fudge is all about rich, bold tastes. Enjoy these ingredients as you create your delicious treat!
Step-by-Step Instructions
Prepare the Pan
First, grab an 8×8 inch baking dish. Line it with parchment paper. Make sure the paper hangs over the sides. This helps you lift the fudge out later.
Melt the Chocolate
Next, take a medium saucepan. Over low heat, mix dark chocolate chips and sweetened condensed milk. Stir it until the mixture is smooth and melted. This step is key for a creamy fudge.
Mix in Dry Ingredients
Once melted, remove the saucepan from heat. Sift in unsweetened cocoa powder. Stir well to blend everything. This gives the fudge a rich chocolate flavor.
Add Flavor and Texture
Now, stir in the vanilla extract and sea salt. Then, fold in the toasted hazelnuts. Make sure they are evenly mixed in. This adds a nice crunch to your fudge.
Set the Fudge
Pour the chocolate mixture into your prepared baking dish. Use a spatula to spread it out evenly. Smooth the top for a nice finish.
Top with Hazelnuts
Sprinkle some additional chopped hazelnuts on top. This adds texture and makes the fudge look great.
Chill
Cover the dish with plastic wrap. Place it in the refrigerator for at least 2 hours. This helps the fudge set and become firm.
Slice and Serve
After chilling, lift the fudge out using the parchment paper. Cut it into squares or rectangles. Serve it on a nice board, maybe with whole hazelnuts for decoration. Enjoy your rich and decadent treat!
Tips & Tricks
How to Melt Chocolate Smoothly
To melt chocolate smoothly, use low heat. Place dark chocolate chips and sweetened condensed milk in a medium saucepan. Stir often to prevent burning. Watch closely; it can seize quickly. Once it’s smooth, remove it from the heat right away. This keeps the chocolate rich and creamy.
Ensuring the Right Consistency
The right consistency is key for fudge. When you mix in the cocoa powder, it should blend well. If it feels too thick, add a touch more sweetened condensed milk. This keeps it soft and fudgy. After adding hazelnuts, make sure they are evenly spread. This ensures each bite has a nice crunch.
Presentation Tips for Serving
For serving, use a wooden or marble board. This gives a nice touch. Garnish the fudge with whole hazelnuts. A drizzle of melted dark chocolate adds flair. Cut the fudge into squares for easy serving. Keep it neat for a professional look. Your guests will love the beautiful presentation!
Pro Tips
- Quality Chocolate Matters: Always use high-quality dark chocolate for the best flavor and texture in your fudge. Look for chocolate with at least 70% cocoa content for a rich taste.
- Toast Your Hazelnuts: Toasting hazelnuts enhances their flavor and adds a delightful crunch to the fudge. Simply spread them on a baking sheet and roast in a preheated oven at 350°F (175°C) for about 10 minutes.
- Don’t Skip the Sea Salt: A sprinkle of sea salt on top of your fudge not only adds a beautiful finish but also balances the sweetness, making each bite more satisfying.
- Let it Chill: For the best texture, allow the fudge to chill for at least 2 hours. This helps it set properly, making it easier to cut into perfect squares.
Variations
Nut-Free Option
You can make this fudge nut-free. Simply skip the hazelnuts. Instead, add a crunchy treat like crushed pretzels or rice cereal. This gives a nice texture without nuts. If you want a bit of flavor, try adding a sprinkle of sea salt on top.
Adding Other Flavorings
Want to make your fudge unique? You can add other flavors! A splash of espresso gives a nice coffee taste. If you love citrus, try adding orange zest. This brightens the flavor and adds freshness. Mix in these extras right before you pour the fudge into your pan.
Swapping Chocolate Types
You don’t have to stick with dark chocolate. Milk chocolate works well too. It makes the fudge sweeter and creamier. If you love dark chocolate, stick with it for a rich taste. You can also mix dark and milk chocolates for a balanced flavor. Just keep the total amount the same as the original recipe.
Storage Information
How to Store Chocolate Hazelnut Fudge
To keep your fudge fresh, store it in an airtight container. Lay a piece of parchment paper between layers of fudge. This helps prevent sticking. Make sure the fudge is cool before you cover it. This stops moisture from building up.
Freezing Fudge for Later Use
You can freeze fudge if you want to save it for later. Cut the fudge into squares before freezing. Wrap each piece in plastic wrap, then place them in a freezer-safe bag. This way, you can enjoy a piece whenever you crave a treat.
Shelf Life of Fudge
When stored properly, your fudge can last up to two weeks at room temperature. If you freeze it, it can last for up to three months. Always check for any signs of spoilage, like changes in smell or texture, before eating. Enjoy your rich, decadent fudge anytime!
FAQs
What can I substitute for sweetened condensed milk?
You can use evaporated milk as a substitute. It has less sugar, so add some sugar to balance. Coconut milk is another option for a dairy-free alternative. It adds a nice flavor, too.
Can I use milk chocolate instead of dark chocolate?
Yes, you can use milk chocolate. It will make the fudge sweeter and creamier. Just remember, the fudge might lack some of that rich taste from dark chocolate.
How do I know when the fudge is set?
The fudge is set when it feels firm to touch and does not stick. If you press lightly, it should hold its shape. Chilling it in the fridge for at least 2 hours gives the best results.
Can I add other toppings to the fudge?
Absolutely! You can add crushed cookies, sprinkles, or even sea salt. Get creative with your favorite toppings. They can make your fudge look even more appealing!
This blog post covered a simple and delicious chocolate hazelnut fudge. You learned about the key ingredients, like dark chocolate chips and toasted hazelnuts. I shared easy steps for preparing and chilling the fudge. You also found useful tips for melting chocolate and serving it well.
Think of this fudge as a blank canvas. You can add your favorite flavors and toppings. Enjoy making this treat for yourself or to share. Happy fudge-makin


