If you love chocolate and peanut butter, you’re in for a treat! This no-bake Chocolate Peanut Butter Fudge is quick, easy, and downright delicious. You can whip it up in no time and impress everyone with your cooking skills—including yourself! I’ll guide you through each step, from choosing the best ingredients to perfecting that rich, creamy texture. Ready to indulge in this sweet delight? Let’s get started!
Why I Love This Recipe
- Simple Ingredients: This fudge requires minimal ingredients that are likely already in your pantry, making it easy to whip up anytime.
- Decadent Flavor: The combination of chocolate and peanut butter creates a rich, indulgent treat that satisfies any sweet tooth.
- Quick to Make: With just 15 minutes of prep time, you can have this delicious fudge ready to chill in no time!
- Perfect for Sharing: This recipe yields 16 squares, making it a great treat to share at parties or gatherings.
Ingredients
List of Ingredients
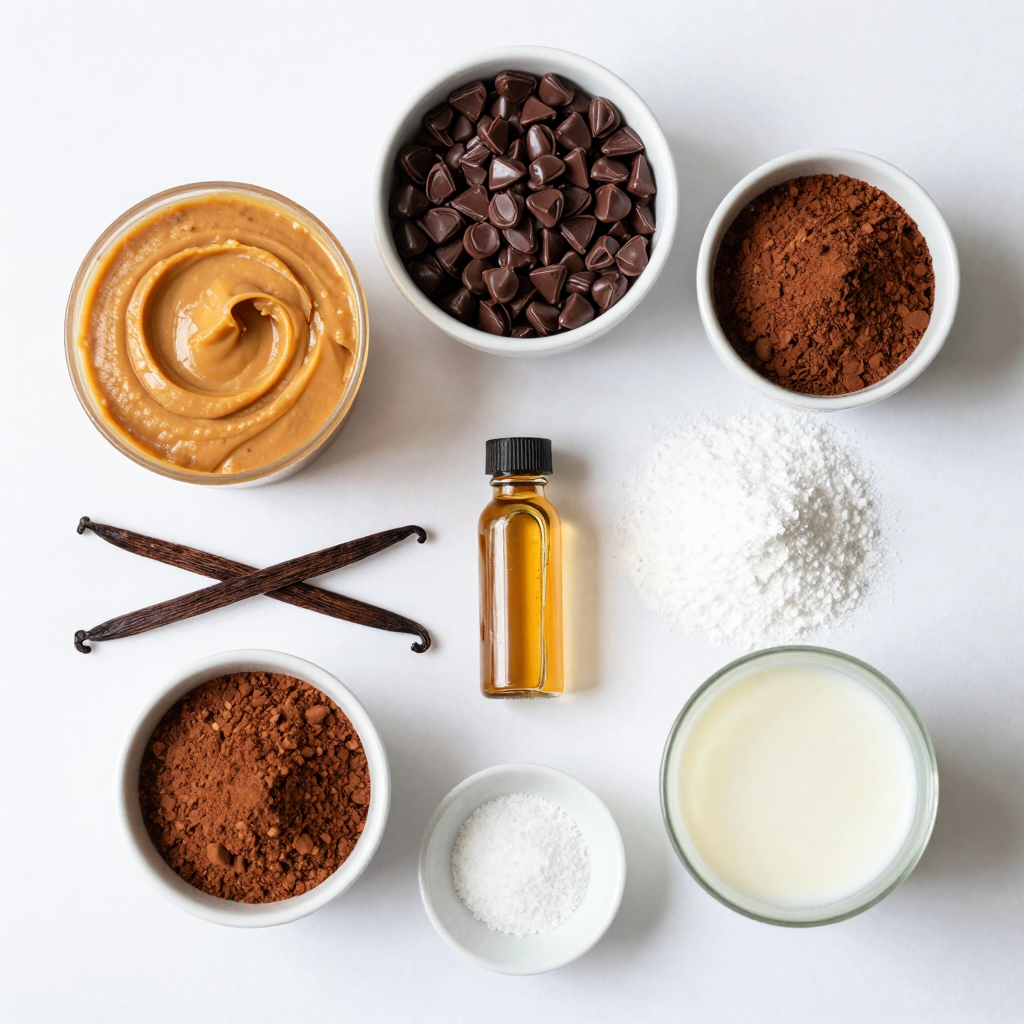
To make this delicious chocolate peanut butter fudge, you need:
– 1 cup creamy peanut butter
– 1 cup semi-sweet chocolate chips
– 1/2 cup unsweetened cocoa powder
– 1 cup powdered sugar
– 1 teaspoon vanilla extract
– 1/4 cup milk (dairy or non-dairy)
– A pinch of salt
Importance of Ingredient Quality
Using high-quality ingredients makes a big difference in your fudge. Fresh, creamy peanut butter adds rich flavor. Choose semi-sweet chocolate chips that melt well. They should have a smooth texture and a good taste. Unsweetened cocoa powder should be fresh for a deep chocolate flavor. When you use quality ingredients, your fudge will taste like a gourmet treat.
Suggested Ingredient Substitutions
If you need to change some ingredients, here are some great swaps:
– For peanut butter, try almond butter or sun butter.
– Use dark chocolate chips for a richer taste.
– Swap powdered sugar with coconut sugar for a different sweetness.
– If you want a nut-free version, use sunflower seed butter.
– For a dairy-free option, choose almond or oat milk.
These substitutions keep the fudge tasty while catering to various diets and preferences.
Step-by-Step Instructions
Preparation Setup
First, gather all your ingredients. You will need:
– 1 cup creamy peanut butter
– 1 cup semi-sweet chocolate chips
– 1/2 cup unsweetened cocoa powder
– 1 cup powdered sugar
– 1 teaspoon vanilla extract
– 1/4 cup milk (dairy or non-dairy)
– A pinch of salt
Next, line an 8×8 inch baking dish with parchment paper. Leave some paper hanging over the edges. This will help you lift the fudge out later.
Detailed Cooking Process
Now, let’s cook! In a medium saucepan, combine the peanut butter, chocolate chips, and milk. Set the heat to low. Stir the mix constantly. Keep stirring until the chocolate melts and the mix is smooth.
After that, take the saucepan off the heat. Now, add the vanilla extract, cocoa powder, powdered sugar, and a pinch of salt. Mix it well until there are no lumps. The blend should look thick and creamy.
Pour the fudge mix into the lined baking dish. Spread it evenly into the corners. Use a spatula for a smooth top. It helps make the fudge look nice.
Finishing Touches
Refrigerate the fudge for at least 2 hours. This step is key. It helps the fudge set up nicely.
Once it’s firm, lift the fudge out using the parchment paper overhang. Place it on a cutting board. Cut it into squares or rectangles.
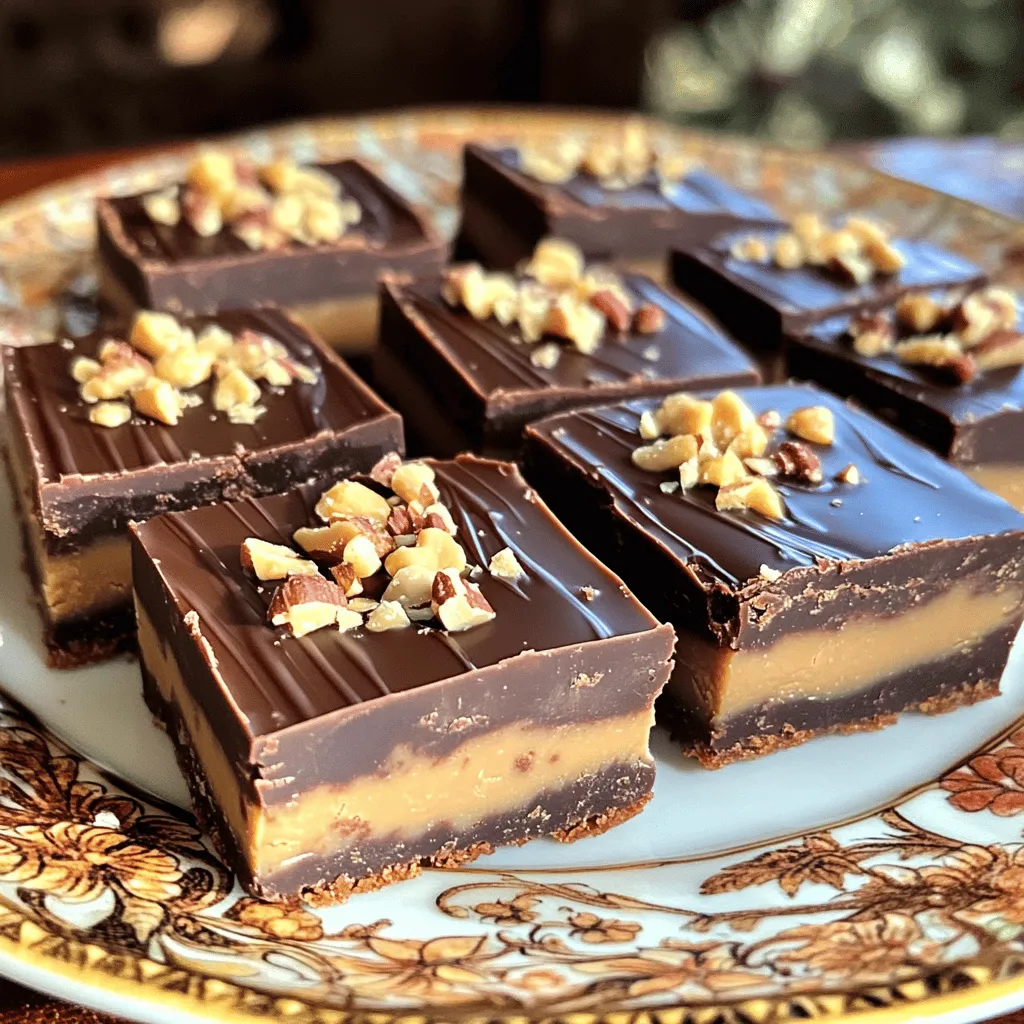
For a fun twist, arrange the fudge on a nice plate. You can sprinkle it with chopped nuts or drizzle with more melted chocolate. This makes it look extra special!
Pro Tips
- Use High-Quality Chocolate: Opt for high-quality semi-sweet chocolate chips for a richer flavor and smoother texture in your fudge.
- Experiment with Nut Butters: Feel free to substitute creamy peanut butter with almond butter or cashew butter for a different taste profile.
- Let It Cool Gradually: Allow the fudge to cool at room temperature before refrigerating to prevent condensation, which can affect the texture.
- Decorate Creatively: Enhance presentation by topping the fudge with sea salt, crushed nuts, or a sprinkle of cocoa powder before serving.
Tips & Tricks
Achieving the Perfect Texture
To get that nice, smooth fudge, keep these tips in mind:
– Use creamy peanut butter for a silky finish.
– Melt chocolate slowly over low heat to avoid burning.
– Stir the mixture well to combine all ingredients.
– Make sure the fudge cools completely in the fridge before cutting.
These steps help create a fudge that is creamy and not too crumbly.
Common Mistakes to Avoid
Some common slip-ups can ruin your fudge:
– Don’t skip the salt; it boosts flavor.
– Avoid using old or stale ingredients; freshness matters.
– Don’t rush the cooling process; let it set properly.
– Make sure to measure ingredients accurately for the best results.
These mistakes can lead to a fudge that lacks taste or texture.
How to Enhance Flavor
You can add fun flavors to your fudge:
– Stir in some chopped nuts for crunch.
– Try adding a swirl of caramel or marshmallow.
– Use flavored extracts, like almond or mint, for a twist.
– Top with sea salt for a sweet and salty combo.
These enhancements take your fudge from good to great!
Variations
Nutty Additions
Adding nuts gives your fudge a tasty crunch. You can use chopped walnuts, almonds, or pecans. Just mix in about 1/2 cup after you combine the other ingredients. This adds texture and makes the fudge even more fun to eat. You can also sprinkle some on top for a nice look.
Different Chocolate Options
You can switch up the chocolate for your fudge. Try using dark chocolate for a richer taste. Or, go for milk chocolate for a sweeter treat. If you want something unique, use white chocolate. Each type changes the flavor, so feel free to experiment until you find your favorite.
Flavor Infusions (Mint, Espresso, etc.)
Want to kick up the flavor? Add a few drops of mint extract for a fresh taste. If you love coffee, mix in espresso powder. Just a teaspoon will do! You can also try other flavors like orange zest or coconut. These small changes can make your fudge extra special.
Storage Info
Best Storage Practices
To keep your fudge fresh, store it in an airtight container. Use a container that fits snugly so the fudge does not move around. Place a piece of parchment paper between layers if stacking. This will help prevent sticking. Always keep the fudge in the fridge. This keeps it firm and tasty.
Shelf Life and Signs of Spoilage
When stored properly, your fudge will last about two weeks in the fridge. If you notice any changes in color, smell, or texture, it might be time to toss it. Fudge should feel firm and look shiny. If it gets too soft or crumbly, that’s a sign it’s starting to spoil.
Freezing and Thawing Methods
You can freeze fudge for longer storage. Cut it into squares and wrap each piece in plastic wrap. Then, put all the wrapped pieces in a freezer bag. This helps keep it fresh for up to three months. When you want to eat it, take out the fudge and let it thaw in the fridge overnight. Avoid thawing at room temperature. This keeps the texture just right.
FAQs
How long does Chocolate Peanut Butter Fudge last?
Chocolate peanut butter fudge can last up to two weeks in the fridge. Store it in an airtight container. This helps keep the fudge fresh and tasty. If you leave it out, it may dry out or get too soft. You can also freeze it for longer storage. Just wrap it well in plastic wrap and foil. It can stay good for about three months in the freezer.
Can I make this fudge dairy-free?
Yes, you can make this fudge dairy-free! Use non-dairy milk like almond, soy, or oat milk. Make sure the chocolate chips are dairy-free as well. Many brands offer vegan or dairy-free options. The taste will still be rich and delicious. Everyone can enjoy this treat, no matter their diet.
What is the best way to cut fudge?
To cut fudge, first, let it set completely in the fridge. When it is firm, lift it out using the parchment paper. Place it on a cutting board. Use a sharp knife for clean cuts. For neat squares, wipe the knife with a towel between cuts. This keeps the edges tidy. You can also warm the knife slightly for easier cutting.
In this post, we explored the key ingredients for chocolate peanut butter fudge, their quality, and possible substitutions. I shared step-by-step instructions to ensure a smooth cooking process and finishing touches. We discussed tips to achieve perfect texture and avoid common mistakes. I also offered variations to try different flavors. Finally, we covered the best storage practices to keep your fudge fresh. Remember, quality ingredients and attention to detail make for the best fudge. Enjoy making it your own!


