Are you ready to treat yourself to something sweet? In this post, we’re diving into the world of Chocolate Peanut Butter Fudge—a rich and creamy delight you can’t resist! With just a few simple ingredients, you'll create a dessert that combines the best of chocolate and peanut butter. Perfect for any occasion, this fudge is sure to impress. Let’s get started on this tasty journey together!
Why I Love This Recipe
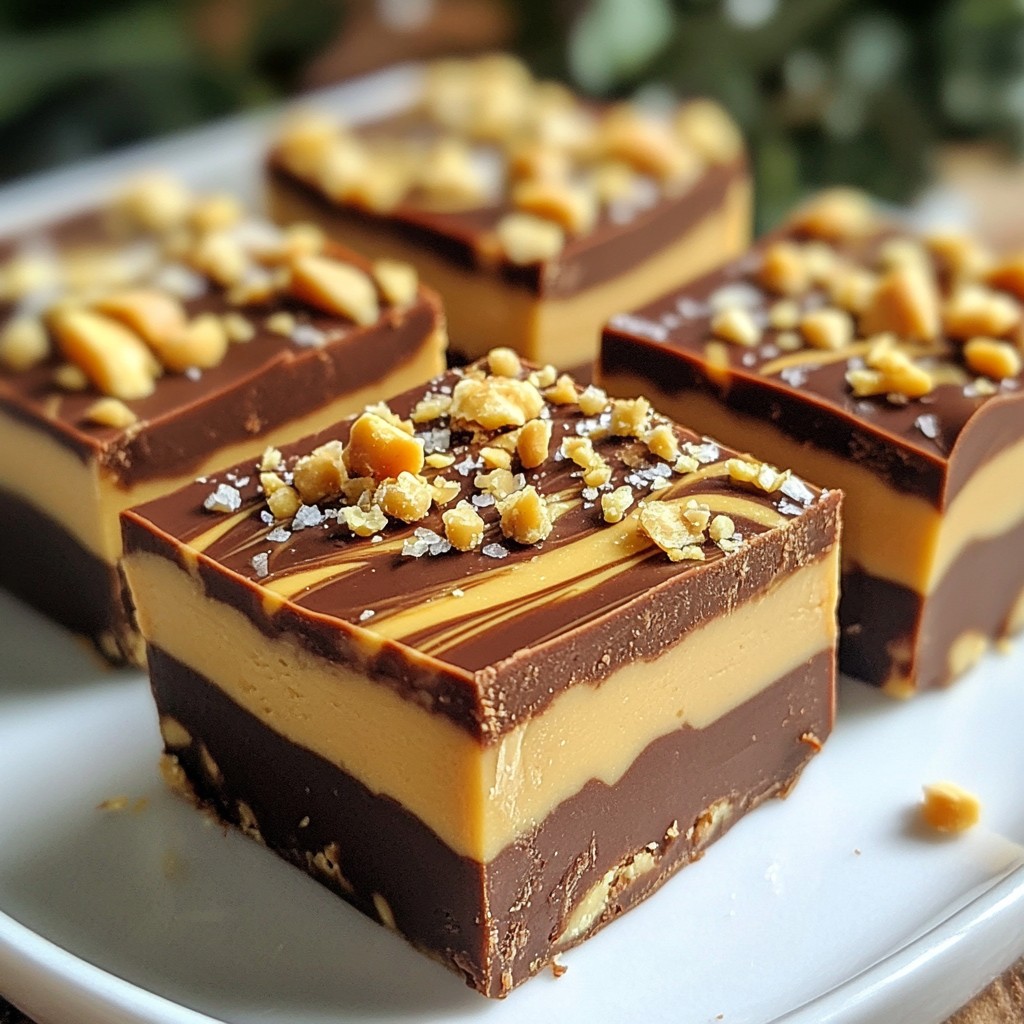
- Indulgent Flavor: This fudge combines rich chocolate and creamy peanut butter for a decadent treat that satisfies any sweet tooth.
- Simple Ingredients: With just a few pantry staples, this recipe is easy to whip up, making it perfect for last-minute cravings.
- Customizable Toppings: Add your favorite toppings like crushed peanuts or sea salt to elevate the flavor and presentation.
- Perfect for Sharing: This recipe yields 16 squares, making it an ideal dessert to share at parties or gatherings.
Ingredients
Main Ingredients
- 1 cup creamy peanut butter
- 1 cup semi-sweet chocolate chips
- 1/2 cup sweetened condensed milk
- 1 teaspoon vanilla extract
- 1/4 teaspoon salt
I love using creamy peanut butter for this fudge. It mixes in well and adds smoothness. Semi-sweet chocolate chips bring a rich flavor that pairs perfectly with the peanut butter. Sweetened condensed milk gives the fudge its creamy texture and sweetness. The vanilla extract adds a nice warm note, while a little salt balances all the flavors.
Optional Toppings
- Crushed peanuts
- Sea salt flakes
- Mini chocolate chips
Adding toppings makes the fudge even better. Crushed peanuts give a nice crunch. Sea salt flakes add a hint of savory that enhances the sweetness. Mini chocolate chips can make each bite even more chocolatey. Feel free to mix and match these toppings to make your fudge unique!

Step-by-Step Instructions
Preparation Steps
- Prepare the Pan: Start by lining an 8-inch square baking dish with parchment paper. Make sure to leave some paper hanging over the edges. This helps you lift the fudge out easily later.
- Melt the Chocolate and Peanut Butter: In a medium saucepan, combine 1 cup of creamy peanut butter, 1 cup of semi-sweet chocolate chips, and 1/2 cup of sweetened condensed milk. Place the saucepan on low heat and stir the mixture constantly. Keep stirring until everything melts together into a smooth and glossy mix. This should take about 5 to 7 minutes.
Combining Flavors
- Add Flavorings: After the mixture is melted, take the saucepan off the heat. Stir in 1 teaspoon of vanilla extract and 1/4 teaspoon of salt. Mix well until everything is fully combined.
- Pour into Pan: Carefully pour the warm fudge mixture into your lined baking dish. Use a spatula to spread it evenly across the pan.
Finalizing the Fudge
- Add Optional Toppings: If you want to make it even more special, sprinkle some crushed peanuts, sea salt flakes, or mini chocolate chips on top. This adds great flavor and texture.
- Chill the Fudge: Let the fudge cool at room temperature for about 10 minutes. Then move it to the refrigerator. Chill it for at least 2 hours or until it is firm.
- Slice and Serve: Once the fudge is set, lift it out of the pan by pulling on the parchment paper edges. Cut it into squares and enjoy your rich and creamy delight!
Tips & Tricks
Perfect Your Fudge
Ensuring the Right Consistency Getting the right texture is key to great fudge. You want it to be smooth and creamy, not grainy. Make sure to melt the peanut butter and chocolate chips slowly. Stir constantly to mix everything well. If your fudge is too soft, it may need more time in the fridge. If it’s too hard, you can try adding a little milk next time.
Troubleshooting Common Issues If your fudge doesn't set, it may have too much liquid. Ensure the sweetened condensed milk is measured correctly. If it is too sticky, it could be undercooked. Always cook until it’s fully melted and glossy. Don’t be afraid to taste along the way!
Serving Suggestions
Presentation Tips Serving your fudge nicely can impress anyone. Use a decorative platter or a simple white plate. Garnish with extra crushed peanuts or a sprinkle of sea salt. This adds a nice touch and makes it look fancy. You can cut the fudge into fun shapes too!
Pairing Ideas with Beverages Pair your fudge with drinks for a fun dessert. A nice glass of milk complements the rich flavors well. You can also enjoy it with hot cocoa or coffee. For a twist, try it with a fruity tea. The flavors mix well and make each bite even better!
Pro Tips
- Use Quality Ingredients: High-quality chocolate chips and peanut butter will make your fudge taste even better. Opt for brands that you love!
- Don’t Overheat: Melt the mixture over low heat to prevent burning. Stir continuously to ensure even melting and a smooth texture.
- Set Properly: Allow the fudge to chill in the refrigerator for a minimum of 2 hours to achieve the perfect firm consistency for slicing.
- Experiment with Toppings: Feel free to customize your fudge with different toppings like coconut flakes, crushed pretzels, or even drizzle with caramel for a unique twist!
Variations
Dietary-Friendly Options
You can easily make vegan chocolate peanut butter fudge. Just swap regular sweetened condensed milk for coconut cream. Use dairy-free chocolate chips too. This way, you keep the rich taste without any animal products.
For gluten-free options, check your chocolate chips. Most chips are gluten-free, but always read the label. This fudge satisfies everyone’s sweet tooth, even those with gluten issues.
Flavor Combinations
Want to change the flavor? You can add extracts for a twist. A teaspoon of almond or coconut extract brightens the taste. Just mix it in after melting your ingredients.
You can also swap chocolate types. Use dark chocolate for a richer taste or milk chocolate for a sweeter treat. Each choice changes the fudge’s personality, so feel free to experiment!
Storage Info
Best Storage Practices
Short-term Storage in the Refrigerator I recommend storing your fudge in the fridge. Place it in an airtight container. This keeps it fresh for about one week. You can also wrap it tightly in plastic wrap. Just make sure to cover every bit. This helps prevent it from drying out.
Long-term Freezing Instructions If you want to keep it longer, freezing works well! Cut the fudge into squares. Wrap each piece in plastic wrap. Then, place them in a freezer-safe bag or container. You can freeze the fudge for up to three months. Just remember to label the bag with the date.
Shelf Life
How Long Does It Last? In the fridge, your fudge lasts about a week. In the freezer, it can stay good for about three months. After that, the taste and texture might change.
Signs of Spoilage Look for changes in color or texture. If the fudge feels hard or dry, it may not be fresh. If you see any mold or an off smell, it’s best to throw it out. Always trust your senses!
FAQs
Can I use natural peanut butter?
Yes, you can use natural peanut butter. Just know it may change the texture. Natural peanut butter has oil on top that might make the fudge a bit thinner. Stir the oil back in before using. If the fudge is too soft, chill it longer to help it set.
How do I know when the fudge is set?
You will know the fudge is set when it feels firm to the touch. After chilling for at least 2 hours, it should hold its shape well. You can also check by gently pressing the edge with your finger. If it holds, it is ready to slice.
What can I use instead of sweetened condensed milk?
If you need a substitute for sweetened condensed milk, try mixing milk and sugar. Combine 1/2 cup of milk with 1/2 cup of sugar. Heat on low until the sugar dissolves. This will give you a similar sweetness and creaminess.
Can I make this fudge without chocolate chips?
Yes, you can make fudge without chocolate chips. You can use cocoa powder instead. Mix 1/2 cup of cocoa powder with the peanut butter and sweetened condensed milk. This will create a chocolate flavor without using chips. Adjust the sweetness to your taste.
This blog post covered all you need to make rich peanut butter fudge. You learned about key ingredients and optional toppings to personalize your treat. The step-by-step guide made it easy to follow along. You now know tips for perfecting your fudge and how to store it. Plus, there are tasty variations to try, like vegan options. Enjoy making this fudge and impressing friends and family with your skills. Happy fudging!


