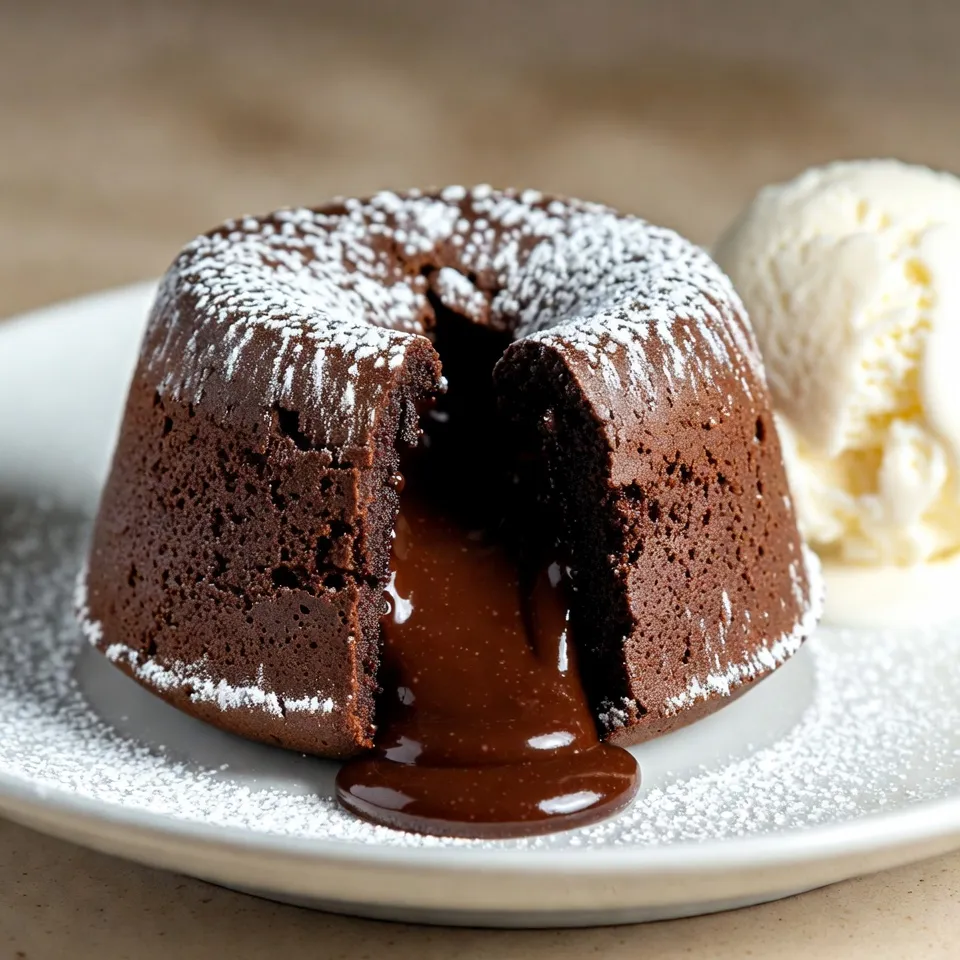
Indulging in a warm, gooey Chocolate Peanut Butter Lava Cake is a true delight. Imagine rich chocolate melting with creamy peanut butter, creating a dessert that’s both heavenly and comforting. In this post, I’ll guide you through each step, from gathering ingredients to baking the perfect cake. If you want to impress your guests or treat yourself, keep reading. This decadent treat awaits you!
Why I Love This Recipe
- Decadent Chocolate Flavor: This lava cake offers a rich, gooey chocolate experience that melts in your mouth, making it a chocolate lover’s dream.
- Surprise Peanut Butter Center: The creamy peanut butter in the center adds a delightful surprise, complementing the chocolate perfectly.
- Quick and Easy: With just 15 minutes of prep time, this dessert can be whipped up in no time, perfect for last-minute gatherings.
- Impressive Presentation: These individual lava cakes not only taste amazing but also look stunning when served with a dusting of powdered sugar and ice cream.
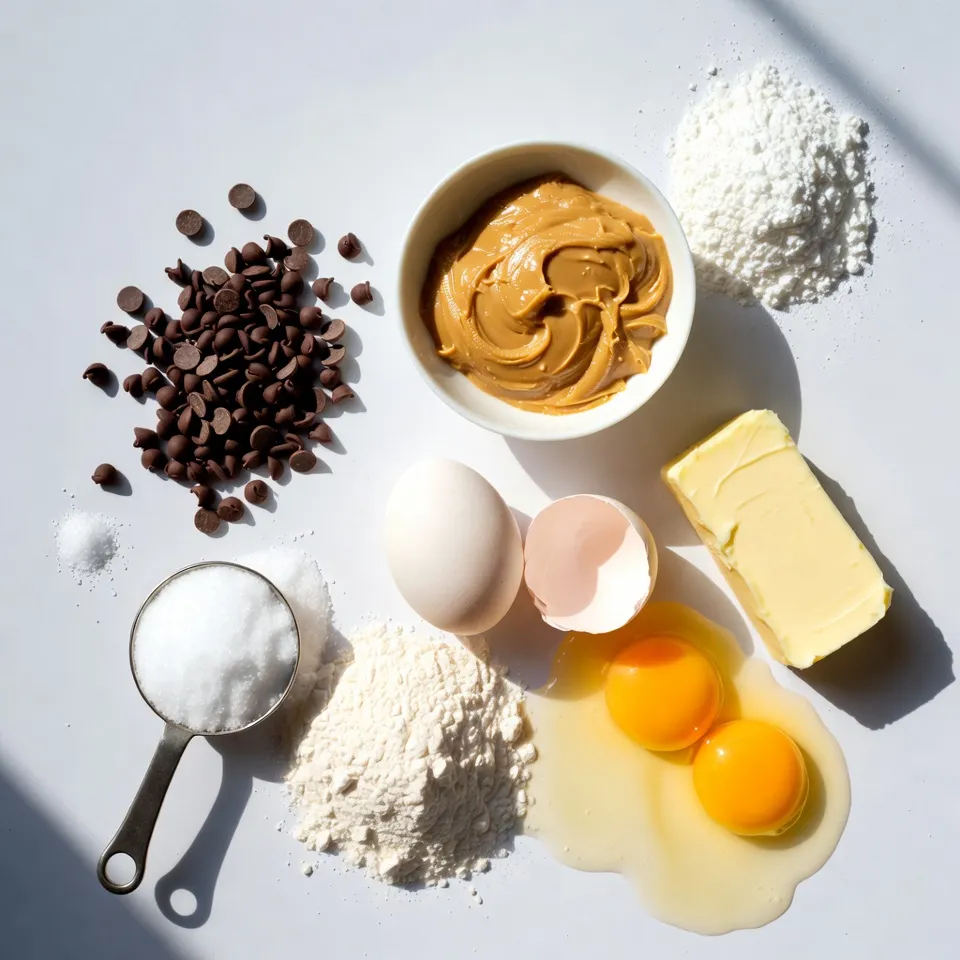
Ingredients
List of Ingredients
– 1/2 cup unsalted butter
– 1 cup semi-sweet chocolate chips
– 2 large eggs
– 2 large egg yolks
– 1/3 cup granulated sugar
– 2 tablespoons all-purpose flour
– 1/4 teaspoon salt
– 1/4 cup creamy peanut butter
– 1 tablespoon powdered sugar (for dusting)
– Optional: Vanilla ice cream for serving
Ingredient Substitutions
If you need to swap some ingredients, here are some ideas:
– Use salted butter instead of unsalted for added flavor.
– Dark chocolate chips can replace semi-sweet chocolate.
– Coconut sugar works well instead of granulated sugar.
– Almond flour or oat flour can replace all-purpose flour for a gluten-free option.
– You can use crunchy peanut butter if you like some texture.
Measurement Conversions
– 1/2 cup = 8 tablespoons
– 1 cup = 16 tablespoons
– 1/3 cup = about 5 tablespoons + 1 teaspoon
– 2 tablespoons = 6 teaspoons
– 1/4 teaspoon = a dash or pinch
These conversions help when you need to adjust the recipe for different servings or ingredients.
Step-by-Step Instructions
Prepping the Ingredients
Start by gathering all your ingredients. You will need butter, chocolate chips, eggs, and more. Measure out 1/2 cup of unsalted butter and 1 cup of semi-sweet chocolate chips. Next, grab 2 large eggs and 2 large egg yolks. You will also need 1/3 cup of granulated sugar, 2 tablespoons of all-purpose flour, and 1/4 teaspoon of salt. Lastly, take out 1/4 cup of creamy peanut butter and 1 tablespoon of powdered sugar for later.
Melting the Chocolate
Take a medium saucepan and set it on low heat. Add the butter and chocolate chips into the pan. Stir them together continuously. You want this mix to melt until it is smooth. Once melted, remove the pan from heat. Let it cool for a few minutes. This cooling step is important so the eggs do not cook when added.
Combining the Mixtures
In a large mixing bowl, whisk the eggs, egg yolks, and granulated sugar. Whisk until the mixture becomes thick and pale. This step adds air, which helps the cake rise. Slowly pour in the melted chocolate mixture while whisking constantly. This helps to combine everything well. Sift in the flour and salt next. Use a spatula to gently fold these in until just combined. Do not overmix; we want the batter to stay light.
Baking the Cakes
Now, prepare your ramekins. Grease them with butter and dust with flour. Place them on a baking tray for easy handling. Pour half of the cake batter into each ramekin. In the center of each, add 1 tablespoon of creamy peanut butter. Spoon the rest of the batter over the peanut butter. Bake in your preheated oven at 425°F for about 12 to 14 minutes. The edges should be firm, but the center should still feel soft.
Serving Suggestions
After baking, let the cakes cool for 1 minute. Carefully run a knife around the edges of each ramekin. Invert them onto plates to release the cakes. Dust with powdered sugar for a nice touch. For an extra treat, serve each cake with a scoop of vanilla ice cream. Drizzle some chocolate sauce on the plate for a beautiful presentation. Enjoy your rich and decadent chocolate peanut butter lava cake!
Tips & Tricks
Achieving Perfect Lava Consistency
To get that gooey center, you must bake the cakes just right. Bake for 12 to 14 minutes. The edges should look set, but the middle should still jiggle. If you bake too long, the lava may not flow. Practice makes perfect. Don’t worry if it takes a few tries!
Common Mistakes to Avoid
One common mistake is overmixing the batter. Mix just until the flour disappears. If you mix too much, the cakes can turn out tough. Also, be careful with the temperature. Too hot can burn the chocolate, while too cool won’t melt it right. Always check your oven’s temp with a thermometer for best results.
Presentation Tips for Serving
Serving is key to impressing your guests. Place the lava cakes on a nice plate. Dust them with powdered sugar for a sweet touch. A scoop of vanilla ice cream on the side adds a creamy contrast. You can even drizzle chocolate sauce over the top for extra flair. Enjoy the smiles!
Pro Tips
- Use Room Temperature Ingredients: Make sure your eggs and butter are at room temperature for better emulsification, resulting in a smoother batter.
- Perfect Baking Time: Keep an eye on the baking time; overbaking will result in a less gooey center. The edges should be firm, while the center remains soft.
- Choosing the Right Ramekins: Use ramekins that are 6 ounces in size. This ensures the cakes cook evenly and have the right gooey center.
- Serve Immediately: These lava cakes are best enjoyed right out of the oven while the center is still molten. Prepare your serving plates in advance!
Variations
Different Types of Chocolate
You can change the type of chocolate in this recipe. Dark chocolate gives a richer taste. Milk chocolate makes it sweeter and creamier. White chocolate can add a fun twist, too! Each type brings a different flavor, so don’t be afraid to try them all. Just remember, the chocolate must still be of good quality. High-quality chocolate melts better and tastes great.
Alternative Nut Butters
While creamy peanut butter is a must, you can switch it up. Almond butter is a delicious choice and has a nice nutty flavor. Cashew butter is smooth and sweet, making it a great option as well. Sunflower seed butter is perfect for nut-free diets. You can even mix nut butters for a unique taste! Experimenting with these can lead to exciting new flavors.
Serving Suggestions
How you serve your lava cake can add a lot. I love to dust mine with powdered sugar. This makes it look fancy and delicious! You can also drizzle chocolate sauce over the top for a chocolate lover’s dream. Adding a scoop of vanilla ice cream next to the cake is a classic choice. The cold ice cream contrasts nicely with the warm cake. Fresh berries on the side can make your plate look colorful and fresh. You can try different combinations to find your favorite!
Storage Info
How to Store Leftovers
To store leftover chocolate peanut butter lava cakes, let them cool first. Place them in an airtight container. Keep them in the fridge for up to three days. Make sure to keep the cakes separate to avoid sticking.
Reheating Instructions
When you’re ready to enjoy your lava cake again, preheat your oven to 350°F (175°C). Place the cakes on a baking tray. Heat for about 10 minutes. This will warm them through without drying them out. You can also microwave them for about 30 seconds. Just be careful not to overheat, as you want that gooey center.
Freezing Options
You can freeze these lava cakes, too! Wrap each cooled cake tightly in plastic wrap. Then, place them in a freezer-safe bag. They can stay frozen for up to two months. When you’re ready to eat, thaw them in the fridge overnight. Reheat them as mentioned above for a warm, delicious treat.
FAQs
Can I make this recipe ahead of time?
Yes, you can prepare the batter ahead. Fill the ramekins and cover them. Place them in the fridge for up to 24 hours. When ready, bake them straight from the fridge. This way, you have a fresh dessert ready in no time!
What can I use instead of ramekins?
If you don’t have ramekins, use oven-safe mugs or small bowls. Just make sure they can handle high heat. Adjust the baking time as needed, since different sizes hold heat differently.
How do I know when the cakes are done?
Check the edges of the cakes. They should be set, while the center remains soft. A good rule of thumb is to bake for 12-14 minutes. After baking, let them cool for a minute. Then, gently run a knife around the edges to help them release.
Can I use a different type of flour?
You can try using gluten-free flour if needed. Almond or coconut flour may also work, but can change the texture. Use a small amount and see how the cake turns out. Each flour has a unique flavor and texture that can add to the cake!
This blog post covered everything you need to create perfect lava cakes. We explored key ingredients, how to prep, and bake your treats. I shared common mistakes and tips to achieve the right texture. You learned about delicious variations and how to store your leftovers.
Now, you have the tools to impress friends and family with your baking skills. Enjoy each step, and don’t worry—practice makes perfect. Happy bakin


