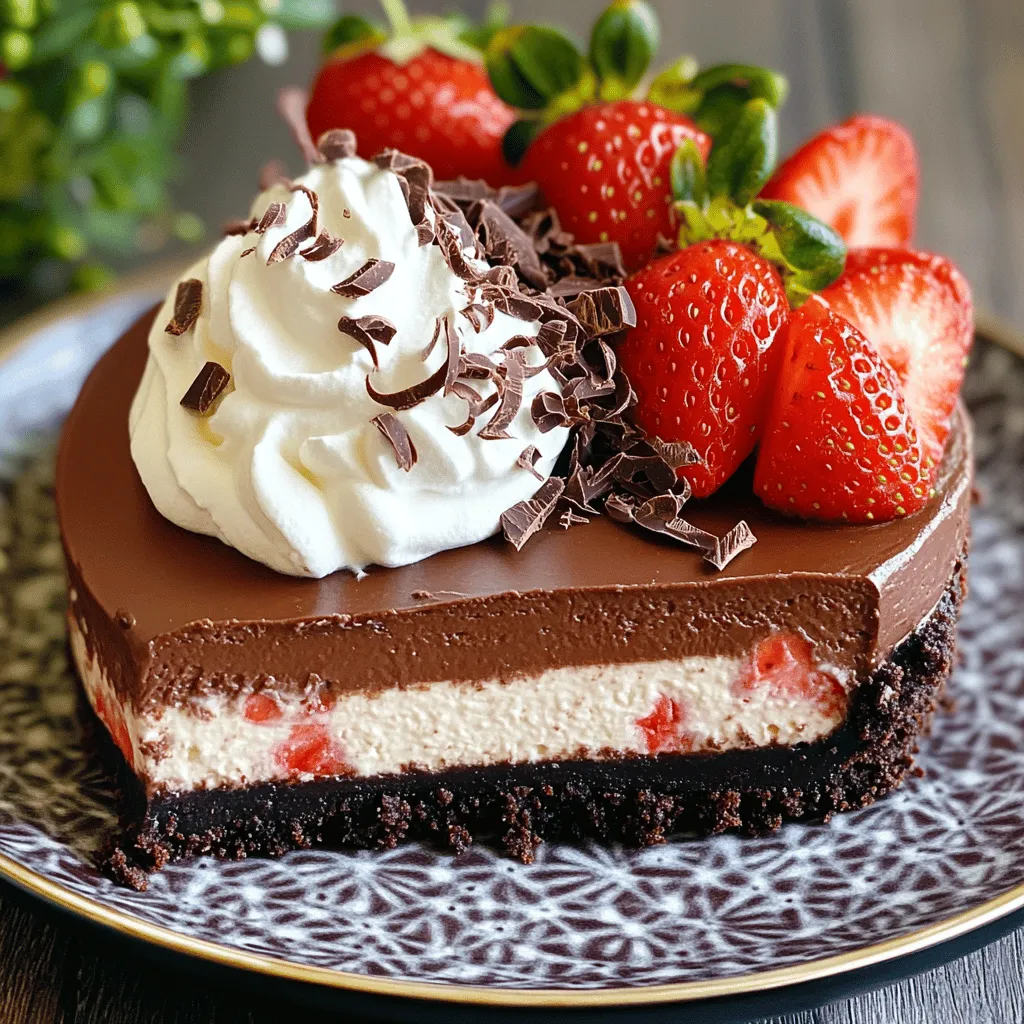
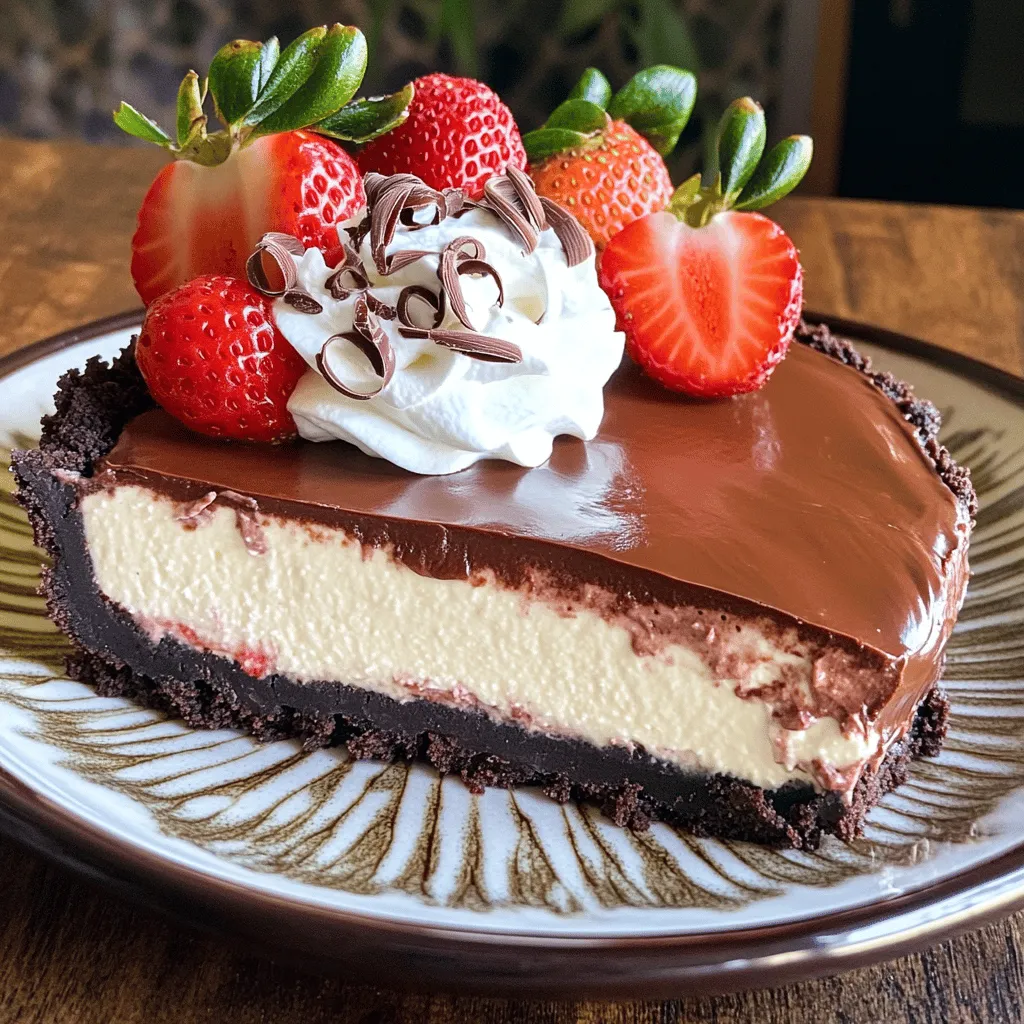
Are you ready to impress your friends and family with a stunning dessert? My Chocolate Strawberry Cheesecake combines the rich taste of chocolate with fresh strawberries for a treat everyone will love. This easy recipe features a creamy filling nestled in a crunchy crust. Whether you’re a baking novice or a pro, I’ll guide you through each step to create a cheesecake that looks and tastes amazing. Let’s dive into this delightful dessert!
Ingredients
Main Ingredients Needed
To make a Chocolate Strawberry Cheesecake, you will need:
– 1 ½ cups chocolate cookie crumbs (like Oreo or chocolate graham crackers)
– ⅓ cup unsalted butter, melted
– 2 cups cream cheese, softened
– 1 cup granulated sugar
– 1 teaspoon vanilla extract
– 3 large eggs
– 1 cup sour cream
– ½ cup cocoa powder
– 1 cup fresh strawberries, hulled and halved, plus extra for garnish
These ingredients create a rich and creamy cheesecake with a delightful chocolate crust and fresh strawberry flavor.
Optional Garnishes
For a touch of elegance and extra flavor, consider these garnishes:
– 1 cup heavy whipping cream
– 2 tablespoons powdered sugar
– Chocolate shavings, for garnish
Using these garnishes enhances the dessert and makes it visually stunning.
Supplies Needed
To prepare this cheesecake, you will need a few kitchen tools:
– 9-inch springform pan
– Mixing bowls and electric mixer
Having the right supplies makes the process easier and more enjoyable.
Step-by-Step Instructions
Preparing the Crust
First, preheat your oven to 325°F (160°C). In a medium bowl, combine 1 ½ cups of chocolate cookie crumbs with ⅓ cup of melted unsalted butter. Mix these together until the crumbs are completely coated. Next, press this mixture into the bottom of a 9-inch springform pan. Make sure it is even and compact. Bake the crust for 10 minutes. After baking, take it out and let it cool.
Making the Filling
Now, let’s make the cheesecake filling. In a large mixing bowl, beat 2 cups of softened cream cheese until smooth. Gradually add 1 cup of granulated sugar and mix until combined. Add in 1 teaspoon of vanilla extract. Then, incorporate 3 large eggs, one at a time, mixing well after each addition. Next, add 1 cup of sour cream and ½ cup of cocoa powder. Blend this mixture until it is smooth and creamy. Finally, gently fold in 1 cup of halved fresh strawberries.
Baking and Cooling
Pour the cheesecake filling over the cooled chocolate crust. Smooth the top with a spatula. Place the springform pan in the oven and bake for 55-65 minutes. The center should be set but still slightly jiggly. Once done, turn off the oven and crack the door open. Let the cheesecake cool in the oven for 1 hour. This helps prevent cracking. After cooling, transfer the cheesecake to the fridge for at least 4 hours, or overnight if you can wait.
Tips & Tricks
Perfecting the Texture
To make your cheesecake smooth, always start with softened cream cheese. Cold cream cheese won’t mix well. Take it out of the fridge at least an hour before mixing. You want it to be creamy and easy to work with.
When preparing the whipped cream topping, whip it until stiff peaks form. This means it should hold its shape well. A good whipped cream adds lightness to your cheesecake.
Avoiding Cracks
To prevent cracks, cooling is key. Once you bake your cheesecake, turn off the oven. Leave the door slightly open. This helps the cheesecake cool slowly and evenly. After an hour, move it to the fridge. Chill for at least four hours or overnight for best results.
Storing Leftovers
Store leftover cheesecake in the fridge. Wrap it tightly with plastic wrap or place it in an airtight container. This keeps it fresh and prevents it from drying out. Enjoy your cheesecake within 5 days for the best taste. If you want to keep it longer, consider freezing it. Just remember to thaw it in the fridge before serving again.
Variations
Flavor Swaps
You can play with flavors in your cheesecake. Try using different fruits like raspberries or blueberries. They add a nice tang and color. You can also use a graham cracker crust instead of chocolate. A nut crust works great too. It adds a crunchy texture that pairs well with the creamy filling.
Dietary Modifications
If you need a gluten-free option, use gluten-free cookies for the crust. There are many brands that taste great. You can also make a sugar-free cheesecake. Use sugar substitutes in the filling. Both options let everyone enjoy this dessert without worry.
Serving Suggestions
For serving, think about pairing this cheesecake with sauces or ice cream. A drizzle of chocolate sauce adds richness. You can also serve it with a scoop of vanilla ice cream. The cold ice cream contrasts nicely with the creamy cheesecake. Enjoy experimenting with these ideas!
Storage Info
How to Store
To keep your leftover cheesecake fresh, store it in the fridge. Place it in an airtight container or cover it tightly with plastic wrap. This helps prevent it from drying out or absorbing other smells. It’s best to enjoy your cheesecake within three to four days for the best taste.
Freezing Tips
You can freeze cheesecake if you have extras. First, let it cool completely. Then, wrap it well in plastic wrap and foil. This prevents freezer burn. When you want to enjoy it again, move it to the fridge to thaw overnight. For a faster method, you can leave it at room temperature for a few hours. Just don’t rush the thawing process to keep the texture nice.
Shelf Life
In the fridge, your cheesecake lasts about five days. If you freeze it, it can stay good for up to three months. Just remember that the longer it stays frozen, the more the texture may change. Always check for any off smells or changes in color before serving. Enjoy your delicious dessert worry-free!
FAQs
Can I use low-fat cream cheese?
Yes, you can use low-fat cream cheese. This choice can change the texture and flavor. Low-fat cream cheese may make the cheesecake less rich and creamy. The cake can be a bit more dense, but it will still taste good. If you want a lighter option, feel free to try it. Just know the cheesecake might not be as smooth.
How can I tell when the cheesecake is done?
To tell if your cheesecake is done, look for a few signs. The edges should be set, but the center will jiggle slightly. This means it is still creamy. You can also insert a toothpick into the center. If it comes out mostly clean, your cheesecake is ready. Keep an eye on it, as overbaking can lead to a dry texture.
What should I do if my cheesecake cracks?
If your cheesecake cracks, don’t worry. There are ways to fix it. First, make sure to cool your cake slowly. Crack the oven door after baking to help it cool evenly. If cracks do happen, you can cover them with whipped cream or chocolate shavings. This will hide any flaws and still look beautiful. Next time, try using a water bath to bake. This will help keep it moist and reduce the chance of cracks.
This blog post covered everything you need for the perfect cheesecake. We explored the main ingredients like cookie crumbs and fresh strawberries. I shared step-by-step instructions for creating a delicious filling and crust. You also learned tips to avoid cracks and how to store your cheesecake.
In the end, baking is all about having fun and making tasty treats. Enjoy experimenting with flavors and variations. Your cheesecake journey has just begun!


