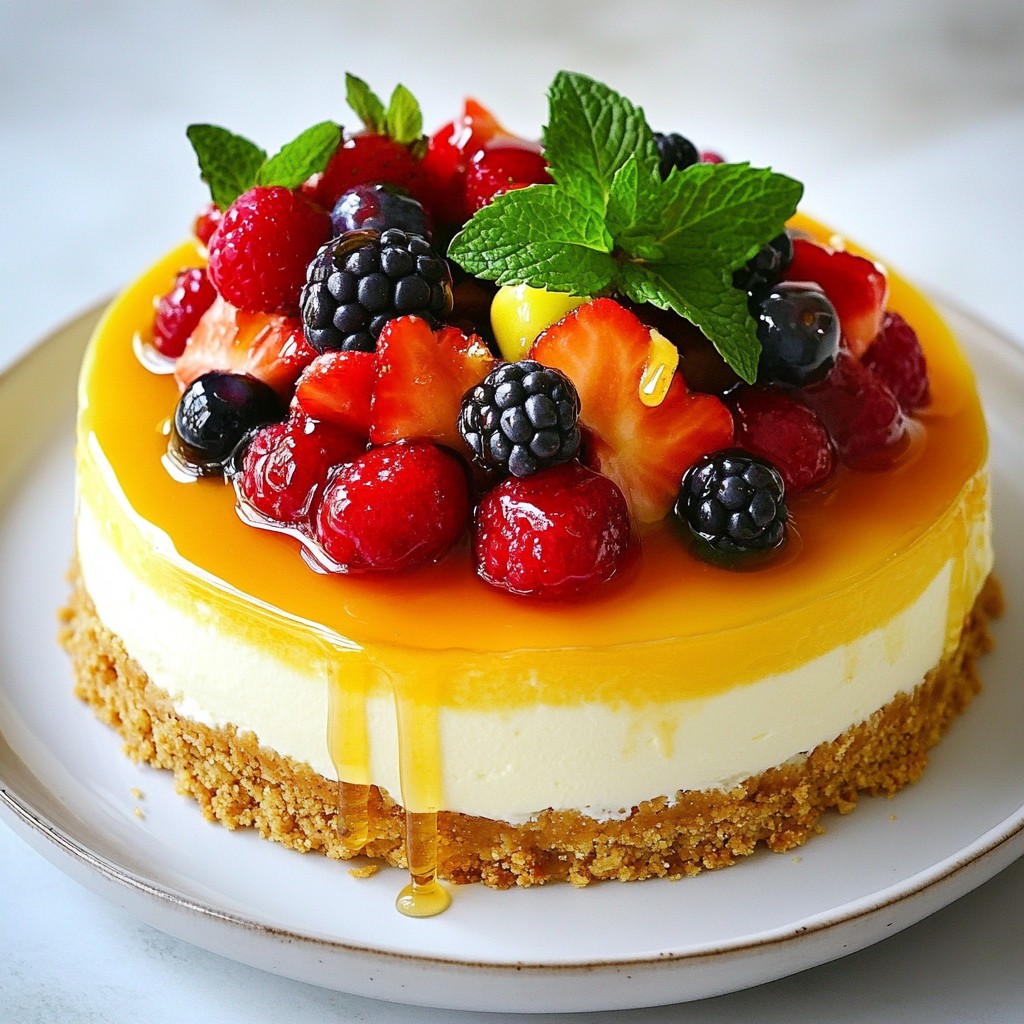
Are you ready to indulge in a lighter dessert that packs a big flavor punch? My Creamy Greek Yogurt Cheesecake is the perfect way to satisfy your sweet tooth without the guilt. Using rich Greek yogurt, this recipe delivers a creamy texture that melts in your mouth. Plus, it's easy to make! Join me as we explore simple steps, ingredient tips, and tasty variations to make this dessert a crowd-pleaser!
Why I Love This Recipe
- Deliciously Creamy: This cheesecake is incredibly rich and creamy, thanks to the combination of Greek yogurt and cream cheese, creating a smooth texture that melts in your mouth.
- Healthier Twist: Using Greek yogurt not only adds protein but also reduces the overall fat content compared to traditional cheesecakes, making it a guilt-free dessert option.
- Simple Ingredients: With just a handful of simple ingredients, this recipe is easy to make, and you likely have most of them in your pantry already.
- Customizable Toppings: Whether you prefer fresh berries, a drizzle of honey, or a sprinkle of nuts, this cheesecake can be personalized to suit your taste, making it perfect for any occasion.
Ingredients
List of Ingredients for Creamy Greek Yogurt Cheesecake
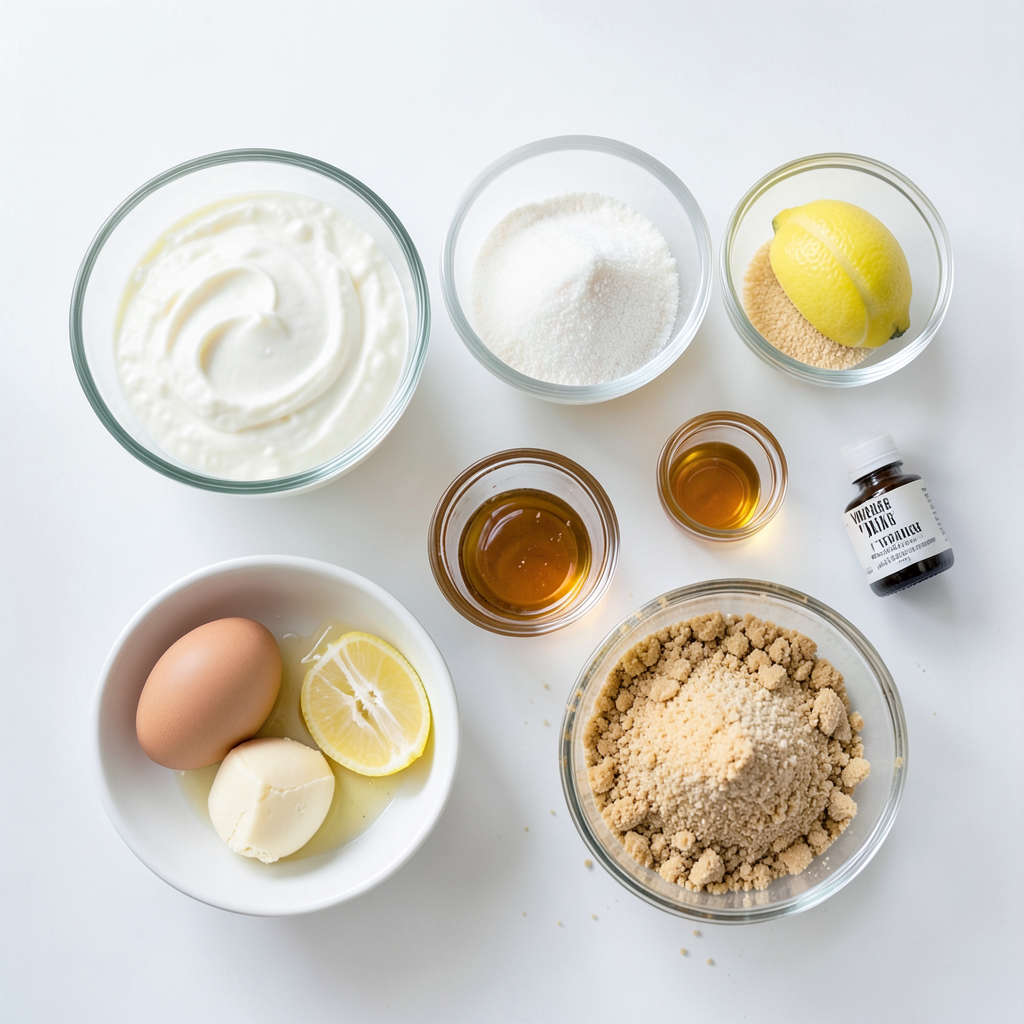
To make this creamy Greek yogurt cheesecake, gather the following ingredients:
- 2 cups Greek yogurt (full-fat for creaminess)
- 1 cup cream cheese, softened
- 1/2 cup granulated sugar
- 1/4 cup honey
- 3 large eggs
- Zest of 1 lemon
- 1 teaspoon vanilla extract
- 1 cup graham cracker crumbs
- 1/4 cup unsalted butter, melted
- Pinch of salt
Notes on Ingredient Quality
Using high-quality ingredients makes a big difference. For the best cheesecake, choose full-fat Greek yogurt. It adds creaminess and rich flavor. Use organic honey for a natural sweetness. If you can, opt for fresh lemons for zest. Fresh ingredients lift the taste and texture of your cheesecake.
Substitutions for Special Diets
If you have dietary needs, don't worry. You can easily make changes. For a dairy-free option, use almond cheese instead of cream cheese. Replace Greek yogurt with a dairy-free yogurt made from coconut or almond milk. For a gluten-free crust, swap graham crackers for gluten-free cookies or nuts. These simple swaps keep the cheesecake delicious for everyone!
Step-by-Step Instructions
Preparing the Crust
First, preheat your oven to 325°F (160°C). I like to grease a 9-inch springform pan with cooking spray. You can also use parchment paper for easier removal. In a medium bowl, combine the graham cracker crumbs, melted butter, and a pinch of salt. Mix these until they look like wet sand. Press the mixture into the bottom of the pan firmly. I find that using the bottom of a glass helps to level it out nicely. Bake the crust for 8-10 minutes. You want it to be lightly golden. Once done, take it out and let it cool while you make the filling.
Making the Cheesecake Filling
In a large mixing bowl, beat the softened cream cheese until it is smooth. This takes about 2 minutes. Next, add the Greek yogurt, granulated sugar, honey, lemon zest, and vanilla extract. Beat everything until it is well combined and smooth. Remember to scrape down the sides of the bowl as needed. Now, add the eggs one by one. Mix on low speed until just incorporated. Be careful not to overmix. Once done, pour the cheesecake filling over the cooled crust. Use a spatula to smooth the top.
Baking and Cooling Process
Place the cheesecake in the oven and bake for 45-50 minutes. The center should be set but still a bit jiggly. When it’s done, turn off the oven and leave the cheesecake inside for an extra hour. This helps it cool slowly. After an hour, take it out of the oven and refrigerate it for at least 4 hours. For the best results, chill it overnight. When you’re ready to serve, run a knife around the edge of the pan to loosen the cheesecake. Then carefully remove the sides of the springform pan. Enjoy!
Tips & Tricks
How to Achieve the Creamiest Texture
To get the creamiest texture, always use full-fat Greek yogurt. This gives your cheesecake a rich and smooth feel. Make sure your cream cheese is softened before mixing. This helps it blend better. Mix all ingredients gently. Overmixing can add air and cause cracks during baking. Use eggs at room temperature for a smoother batter.
Common Mistakes to Avoid
Many home cooks make a few common mistakes. One is not greasing the pan well. This can lead to sticking. Another mistake is skipping the cooling step in the oven. This slow cooling helps prevent cracks. Also, don’t rush the chilling time. The cheesecake needs at least four hours in the fridge to set properly.
Best Tools and Equipment for Success
Having the right tools makes baking easier. A 9-inch springform pan is a must. It allows you to remove the cheesecake easily. A hand mixer or stand mixer is great for mixing. A spatula helps smooth the filling. A glass for pressing the crust helps ensure it’s even. Lastly, a knife is needed for serving.
Pro Tips
- Use Room Temperature Ingredients: Make sure your cream cheese and eggs are at room temperature to create a smoother filling and ensure they incorporate evenly.
- Watch the Baking Time: Every oven is different. Keep an eye on your cheesecake and remove it when the center is slightly jiggly; it will firm up as it cools.
- Chill Overnight: For the best texture and flavor, refrigerate the cheesecake overnight. This allows the flavors to meld and the cheesecake to set perfectly.
- Garnish for Presentation: Top with fresh berries or a fruit compote before serving for a beautiful presentation and a burst of flavor.
Variations
Flavor Variations
You can change the flavor of your cheesecake easily. Want chocolate? Add cocoa powder or melted chocolate to the filling. If you like fruit, mix in pureed berries or citrus zest. You can also top your cheesecake with fresh fruit for a burst of taste. This way, each slice can surprise your taste buds with new flavors.
Crust Alternatives
Not a fan of graham crackers? You can use crushed nuts, like almonds or pecans, for a nutty crust. If you need a gluten-free option, use gluten-free cookies or almond flour instead. These changes keep the crust crunchy while adding unique flavors to the base.
Topping Suggestions
Toppings can make your cheesecake even better. A fruit compote adds sweetness and color. You can also whip cream and dollop it on top for a creamy touch. For a fun twist, drizzle some honey or chocolate sauce. Each topping brings a new layer of flavor to your cheesecake, making it a delightful treat.
Storage Info
Proper Refrigeration Techniques
To store your creamy Greek yogurt cheesecake, first let it cool completely. Once cooled, cover the cheesecake with plastic wrap or foil. This keeps it fresh and prevents odors from other foods in the fridge. Place it on a flat surface to avoid any damage. Make sure your fridge is set to a temperature below 40°F (4°C) for best results.
Freezing Instructions for Long-Term Storage
You can freeze the cheesecake for longer storage. First, let it cool and wrap it tightly in plastic wrap. Then, place it in an airtight container or heavy-duty freezer bag. Label it with a date. It can last up to three months in the freezer. When ready to enjoy, thaw it in the fridge overnight. This helps keep its creamy texture.
How Long It Lasts and Signs of Spoilage
In the fridge, your cheesecake lasts about 5 to 7 days. If it starts to smell sour or has a watery texture, it may be spoiled. Look for any mold or discoloration. If you see any, throw it away. Always trust your senses; if it doesn’t look or smell right, it’s better to be safe.
FAQs
Can I make this cheesecake ahead of time?
Yes, you can make this cheesecake a day in advance. It tastes even better after chilling overnight. This gives the flavors time to blend. Make sure to cover it well in the fridge. Use plastic wrap or a lid for best results.
What should I serve with Greek yogurt cheesecake?
You can serve this cheesecake with fresh berries. Strawberries, blueberries, or raspberries add a nice touch. Drizzling honey on top makes it sweeter. You might also enjoy a dollop of whipped cream or a sprinkle of nuts. Mint leaves add a nice color and taste too.
Is it normal for cheesecake to crack?
Yes, it is normal for cheesecake to crack. It happens due to rapid temperature changes when baking. To avoid this, bake slowly and cool gradually. Leaving it in the oven after baking helps. If it cracks, don’t worry! Cover it with toppings to hide it.
In this post, we explored the making of a creamy Greek yogurt cheesecake. We covered essential ingredients, emphasizing quality and substitutes. The step-by-step instructions clear up the baking process, while tips help avoid common mistakes. Variations offer creative twists, and storage info ensures your cheesecake lasts.
Remember, with the right ingredients and techniques, you'll create a tasty treat. Enjoy your baking adventure!


