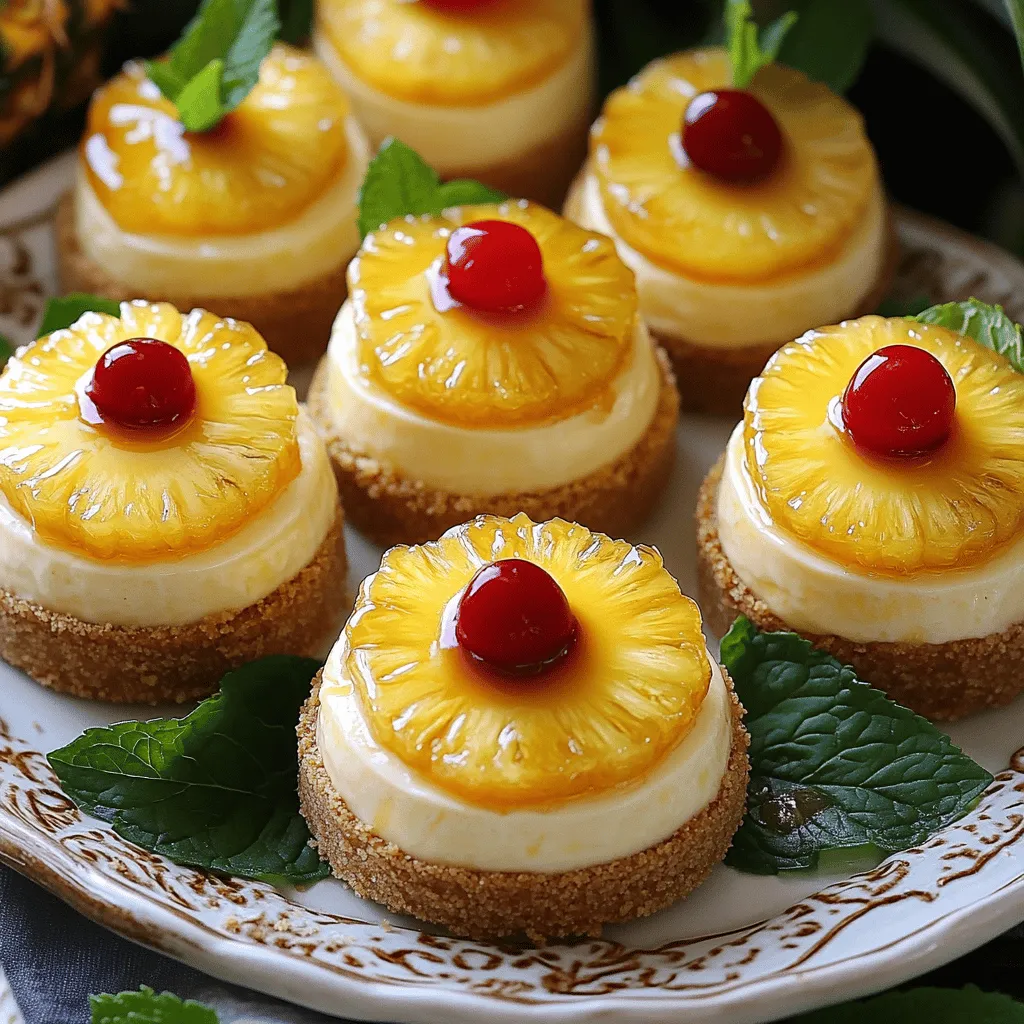
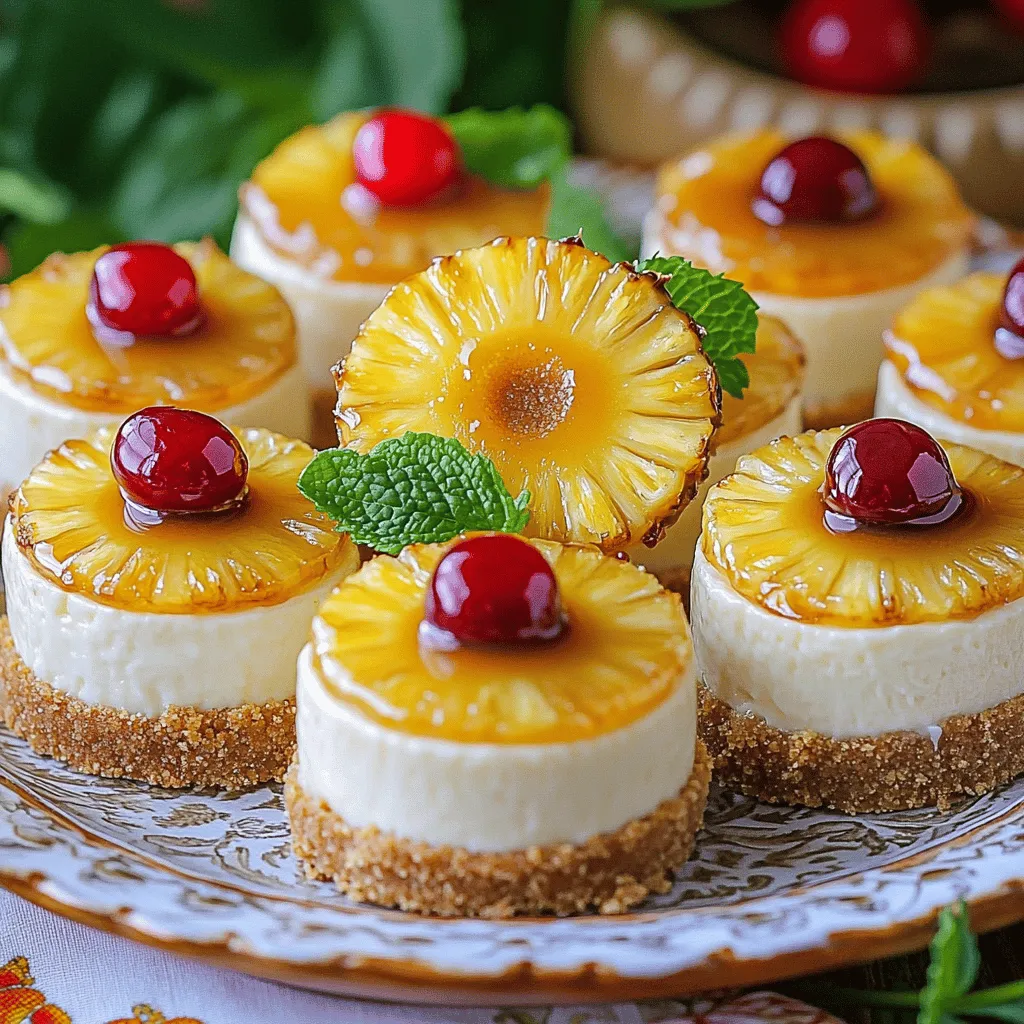
Get ready to impress at your next gathering with my Easy Mini Pineapple Upside-Down Cheesecakes Delight! These bite-sized treats combine rich cream cheese with sweet pineapple and a buttery crust, creating a dessert that’s simple yet decadent. Each mini cheesecake is packed with flavor and perfect for any occasion, whether it’s a party or just a special treat for yourself. Let’s dive into this delightful recipe that everyone will love!
Ingredients
List of Ingredients
– 1 cup crushed graham crackers
– 4 tablespoons unsalted butter, melted
– 16 oz cream cheese, softened
– 1 cup granulated sugar
– 1 teaspoon vanilla extract
– 2 large eggs
– 1 can (20 oz) pineapple slices in juice, drained
– Maraschino cherries for garnish (optional)
– 1/2 cup brown sugar
Ingredient Substitutions
You can swap crushed graham crackers for cookie crumbs or crushed oats. If you want a lighter cheesecake, try low-fat cream cheese. For a sweeter taste, use sugar substitutes like stevia or erythritol. Each swap can change the taste, so feel free to experiment!
Step-by-Step Instructions
Preparation Steps
Preheat the Oven
First, set your oven to 325°F (160°C). This step warms the oven for even baking.
Prepare the Crust
In a medium bowl, mix 1 cup crushed graham crackers with 4 tablespoons unsalted butter, melted. Stir until it looks like wet sand. Then, divide this mix into 12 muffin cups lined with paper liners. Press down firmly to form a crust. Bake for 5-7 minutes and let it cool slightly.
Prepare Pineapple Topping
In a small bowl, combine 1/2 cup brown sugar with a few tablespoons of pineapple juice. Mix until the sugar dissolves. Place a pineapple slice in each muffin cup, on top of the cooled crust. Spoon a bit of the brown sugar mix over each pineapple slice.
Cheesecake Filling
Make the Cheesecake Filling
In a large bowl, beat 16 oz cream cheese, softened with 1 cup granulated sugar and 1 teaspoon vanilla extract. Mix until smooth and creamy. Add 2 large eggs one at a time, mixing each until just combined.
Fill the Cups
Carefully pour the cheesecake filling over the pineapple slices in each muffin cup. Fill each cup almost to the top.
Baking and Cooling
Bake the Mini Cheesecakes
Place your muffin tray in the preheated oven. Bake for 20-25 minutes. The centers should be set but still jiggle slightly.
Cool and Refrigerate
After baking, remove the tray and let the mini cheesecakes cool for about an hour at room temperature. Then, refrigerate them for at least 2 hours or until completely chilled.
Enjoy the process of making Easy Mini Pineapple Upside-Down Cheesecakes!
Tips & Tricks
Common Mistakes to Avoid
– Not cooling the crust properly: A crust that is too warm may not hold its shape. Always let it cool before adding the filling. This ensures each cheesecake stays intact when served.
– Overmixing the cheesecake batter: Mixing too much can add too much air. This can cause cracks in the cheesecake. Mix just until combined for a smooth texture.
Presentation Tips
– Garnishing with cherries: A bright maraschino cherry adds color and charm. Place one on each cheesecake for a festive look. It also brings a sweet burst with each bite.
– Serving suggestions for parties: Serve on a fancy platter with fresh pineapple slices. Add mint leaves for color and freshness. This makes your mini cheesecakes appealing for guests.
Making it Ahead of Time
– Tips for prepping in advance: You can bake these mini cheesecakes a day before your event. Just let them cool and chill in the fridge. This allows the flavors to meld nicely.
– Storing and serving later: Keep them in an airtight container in the fridge. They taste best within a few days. If you want to freeze them, wrap each cheesecake well to avoid freezer burn.
Variations
Flavor Variations
You can add coconut to the cheesecake mix for a tropical twist. This change gives a creamy texture and a sweet taste. Just fold in 1/2 cup of shredded coconut when you mix the cream cheese.
Using different fruits as toppings can also spice things up. Consider using peaches, cherries, or berries. Each fruit adds a unique flavor and color to your mini cheesecakes. Just adjust the sugar based on the fruit’s sweetness.
Dietary Variations
If you want gluten-free options, swap the graham crackers for gluten-free cookies. Use brands that fit your taste. You can still enjoy the same great flavor without gluten.
For vegan alternatives, replace cream cheese with a cashew cream mix. Blend soaked cashews with coconut milk and a bit of lemon juice. This mix gives you a rich and creamy filling without dairy.
Scale Ingredients
You can adjust the recipe for larger or smaller batches. If you want to make more, just double the ingredients. For fewer servings, cut all amounts in half.
When it comes to mini versus standard servings, you can change the size of the cups you use. Use larger cups for bigger cheesecakes or stick with muffin tins for mini treats. Just keep an eye on the baking time. The bigger ones will need more time, while mini ones will bake faster.
Storage Info
Storing Leftovers
Store your mini cheesecakes in the fridge. Place them in an airtight container. This keeps them fresh and tasty. If you want to freeze them, wrap each cheesecake in plastic wrap. Then, place them in a freezer-safe bag. They will stay good for up to three months.
Shelf Life
These mini cheesecakes last about five days in the fridge. Always check for signs of spoilage. Look for any mold or strange smells. If they seem off, throw them away. Your health is more important than wasting food.
Reheating Guidelines
It is safe to reheat these cheesecakes if you want them warm. Use the oven to keep the texture nice. Preheat the oven to 250°F (120°C) and warm them for about 10 minutes. Avoid using the microwave; it can make them soggy. Enjoy your dessert even after storing!
FAQs
What is a pineapple upside-down cheesecake?
A pineapple upside-down cheesecake combines two favorites: cheesecake and pineapple upside-down cake. It has a buttery crust, creamy cheesecake filling, and sweet pineapple slices on top. The result is a sweet, tangy dessert that looks beautiful and tastes amazing. You can impress your family and friends with this treat.
Can I make these mini cheesecakes in advance?
Yes, you can make these mini cheesecakes ahead of time. In fact, they taste even better after chilling for a few hours. Make them the day before your event and store them in the fridge. This allows the flavors to blend nicely. Just remember to add the cherry garnish right before serving for a fresh look.
How can I prevent the crust from getting soggy?
To keep the crust crisp, bake it for a few minutes before adding the filling. This helps set the crust and makes it firm. Also, make sure to drain the pineapple well. Excess juice can make the crust soggy.
What can I use instead of cream cheese?
If you need a substitute for cream cheese, try ricotta cheese or Greek yogurt. Both options create a creamy texture, though the taste may change slightly. You can also use mascarpone for a richer flavor. Keep in mind that the final taste can vary based on your choice.
How do I know when the cheesecakes are done?
The cheesecakes are done when the centers are set but still jiggle slightly. This usually takes about 20 to 25 minutes in the oven. After baking, let them cool at room temperature. Then, chill them in the fridge for at least two hours. This helps them firm up and enhances their flavor.
You’ve learned all about making delicious mini cheesecakes with pineapple. We covered every step, from ingredients to baking tips. Remember the substitutes if you need to adjust the recipe. You can add fun toppings or make it vegan. Storing leftovers is easy, and they taste great even later. With these simple guides, you can impress anyone with your dessert skills. Enjoy your tasty mini cheesecakes and share them with friends!


