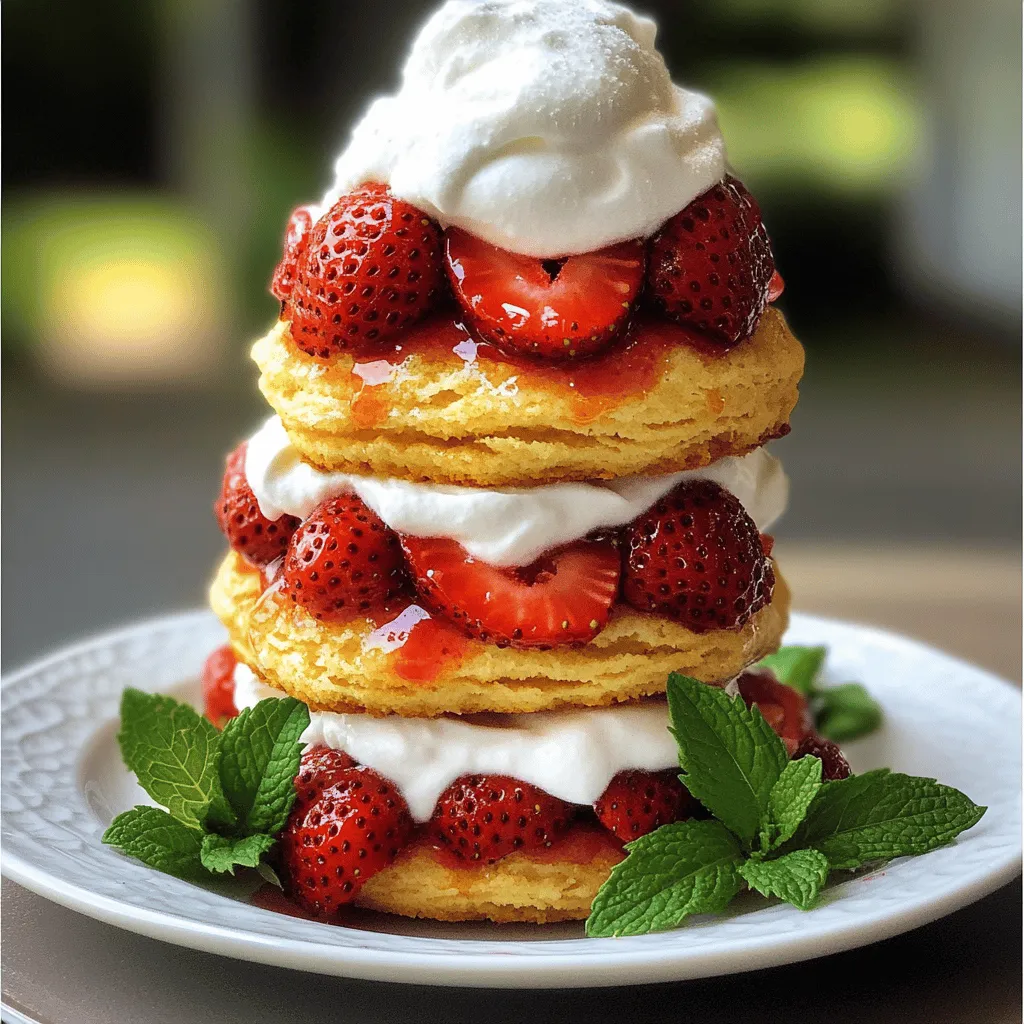
Are you ready to whip up a sweet treat that screams summer? This Easy Strawberry Shortcake recipe will have you and your guests smiling with delight! With fresh strawberries and a light, fluffy cake, it’s the perfect dessert for any occasion. Follow my step-by-step guide, and you’ll impress everyone with your simple yet delicious creation. Let’s dive into the tasty details and get baking!
Ingredients
To make an easy strawberry shortcake, gather these simple ingredients:
– 2 cups fresh strawberries, hulled and sliced
– 1/4 cup granulated sugar
– 2 cups all-purpose flour
– 2 teaspoons baking powder
– 1/2 teaspoon baking soda
– 1/2 teaspoon salt
– 1/4 cup unsalted butter, cold and cubed
– 3/4 cup heavy cream
– 1 teaspoon vanilla extract
– 1 cup whipped cream (store-bought or homemade)
– Fresh mint leaves for garnish (optional)
Using fresh ingredients makes a big difference in flavor. Strawberries should be bright red and sweet. The sugar helps the strawberries release their juices. This mix creates a tasty syrup for the shortcake.
The flour, baking powder, and baking soda are key for a light and fluffy cake. Butter adds richness. Heavy cream and vanilla give a creamy texture and nice flavor. Finally, whipped cream on top makes it extra special.
If you want a bit of color, use fresh mint leaves as garnish. They add a nice touch to your plate.
Step-by-Step Instructions
Preparing the Strawberries
To make the strawberries shine, you need to macerate them. Start by hulling and slicing 2 cups of fresh strawberries. Then, place them in a medium bowl and sprinkle with 1/4 cup of granulated sugar. Toss the strawberries gently to coat them in sugar. This step helps release their natural juices. Let the strawberries sit for at least 30 minutes. This waiting time allows them to become juicy and flavorful.
Making the Shortcake
Now, we need to prepare the shortcake. Preheat your oven to 425°F (220°C). In a large bowl, mix together 2 cups of all-purpose flour, 2 teaspoons of baking powder, 1/2 teaspoon of baking soda, and 1/2 teaspoon of salt. This mixture is the base of your shortcake.
Next, we incorporate the butter. Add 1/4 cup of cold, cubed unsalted butter to the flour mix. Use a pastry cutter or your fingers to work the butter into the flour. Aim for a texture that looks like coarse crumbs. This step adds richness to your shortcake.
Shaping and Baking
It’s time to shape the dough. Pour 3/4 cup of heavy cream and 1 teaspoon of vanilla extract into the flour mixture. Stir gently until just combined. Don’t overmix; a few lumps are fine. Turn the dough out onto a lightly floured surface. Knead it gently just a few times. Pat the dough into a rectangle about 1 inch thick.
Now, use a biscuit cutter or a round glass to cut out the shortcakes. You should get about 8 to 10 shortcakes. Place them on a baking sheet lined with parchment paper. Bake the shortcakes in the preheated oven for about 15 to 18 minutes. They should turn golden brown when done. Let them cool slightly on a wire rack before assembling your delightful strawberry shortcake.
Tips & Tricks
Perfecting Your Shortcake
To make the best strawberry shortcake, avoid these common mistakes:
– Overmixing the Dough: When you mix your wet and dry ingredients, stop as soon as they combine. Lumps are okay. Overmixing makes the cake tough.
– Not Using Cold Butter: Cold butter gives your shortcake a nice, flaky texture. If the butter is warm, your shortcake may turn out dense.
To ensure a fluffy texture, try these tips:
– Use Fresh Ingredients: Fresh flour and baking powder make a big difference. Check dates on your baking powder.
– Don’t Skip the Chill Time: After baking, let your shortcakes cool on a wire rack. This keeps them light and airy.
Serving Suggestions
Get creative when presenting your shortcake. Here are some fun ideas:
– Layer It Up: Instead of stacking, try a parfait style. Layer shortcake, strawberries, and whipped cream in a glass. This looks fancy and tastes amazing!
– Play with Sauces: Drizzle some strawberry syrup from the macerating process over the top. It adds extra flavor and looks pretty.
For flavors and garnishes, consider these pairings:
– Mint Leaves: Fresh mint adds a nice touch. It complements the strawberries well.
– Citrus Zest: A bit of lemon or orange zest on top brings brightness. It enhances the whole dessert.Enjoy making your easy strawberry shortcake!
Variations
Flavor Variations
You can easily add new flavors to your strawberry shortcake. One fun way is to mix in citrus zest. Try using lemon or orange zest in the dough. This gives the shortcake a fresh and bright taste. Just a teaspoon or two will do!
You can also change the fruit toppings. Instead of just strawberries, use blueberries, raspberries, or peaches. Each fruit brings its own unique flavor. You can even mix different fruits for a colorful twist.
Healthy Substitutions
If you’re looking for lighter options, you can use low-fat ingredients. Swap heavy cream for low-fat cream or Greek yogurt. This keeps the taste but cuts down on calories.
For those who need gluten-free options, you can substitute the all-purpose flour with a gluten-free blend. Make sure it has a good rise. This way, everyone can enjoy a delicious shortcake without worry.
Storage Info
Storing Leftovers
To keep your shortcake fresh, store it in an airtight container. Place it in the fridge. The shortcake will stay good for up to two days. If you want to keep the strawberries fresh, store them separately. Place them in a bowl covered with plastic wrap. This will help them stay juicy and sweet.
Freezing Tips
Yes, you can freeze the shortcake! It’s best to freeze it before adding the strawberries and cream. Wrap each shortcake in plastic wrap, then place them in a freezer bag. This helps keep them safe from freezer burn. They can last for up to three months. When you’re ready to enjoy them, thaw in the fridge overnight. Reheat in the oven for a few minutes to restore their warmth.
For the strawberries, you can freeze them too! Just slice them and toss them with a little sugar. Spread them on a baking sheet and freeze until solid. Then, transfer to a freezer bag. This way, you can enjoy strawberry shortcake any time!
FAQs
How do I make strawberry shortcake from scratch?
To make strawberry shortcake from scratch, follow these key steps:
1. Prepare the strawberries by mixing them with sugar. Let them sit to release juices.
2. Mix dry ingredients like flour, baking powder, baking soda, and salt.
3. Add cold butter to the dry mix and blend until crumbly.
4. In another bowl, mix heavy cream and vanilla. Combine with dry ingredients.
5. Shape the dough and cut out rounds.
6. Bake until golden brown.
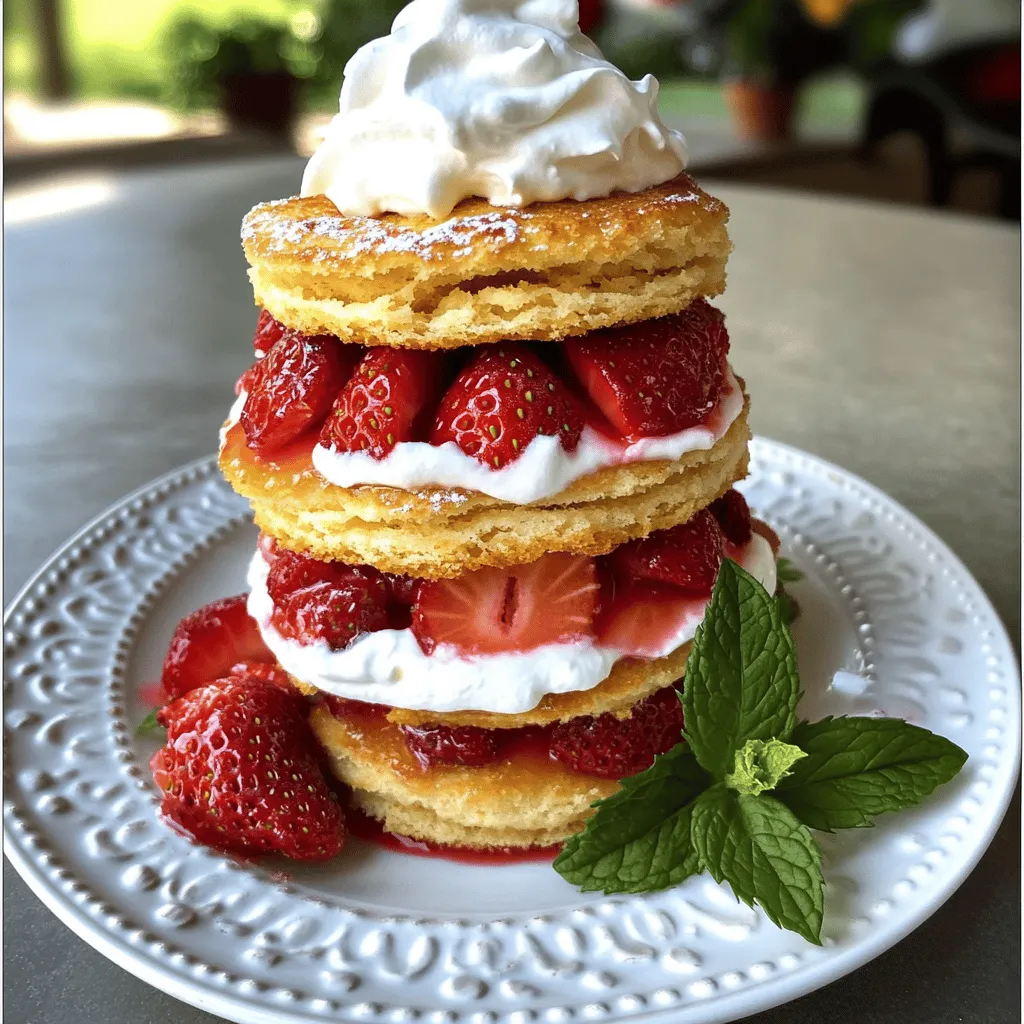
7. Assemble by layering strawberries and whipped cream between shortcake halves.
This process creates a delightful treat.
Can I use frozen strawberries?
Yes, you can use frozen strawberries for your shortcake. Here are some tips:
– Thaw the strawberries first to bring out their juices.
– Drain excess liquid to avoid a soggy shortcake.
– Add a little sugar if they are not sweet enough.
– Use them in the same way as fresh strawberries.
Using frozen berries can still yield tasty results, especially when fresh ones are not available.
What is the best way to serve shortcake?
To serve shortcake beautifully, consider these tips:
– Use elegant plates to enhance presentation.
– Drizzle the strawberry syrup around the shortcake for flair.
– Garnish with fresh mint leaves for a pop of color.
– Serve with extra whipped cream on the side.
These ideas make your strawberry shortcake a feast for the eyes and the taste buds!
You learned how to make a delicious strawberry shortcake. We covered fresh ingredients, simple steps, and tips to perfect it. Remember to avoid common mistakes to ensure a fluffy texture. Enjoy creative ways to serve and store leftovers. Whether you choose sweet or healthy variations, there is always a way to make this dessert your own. Now, gather your ingredients and delight yourself with this treat. Happy baking!


