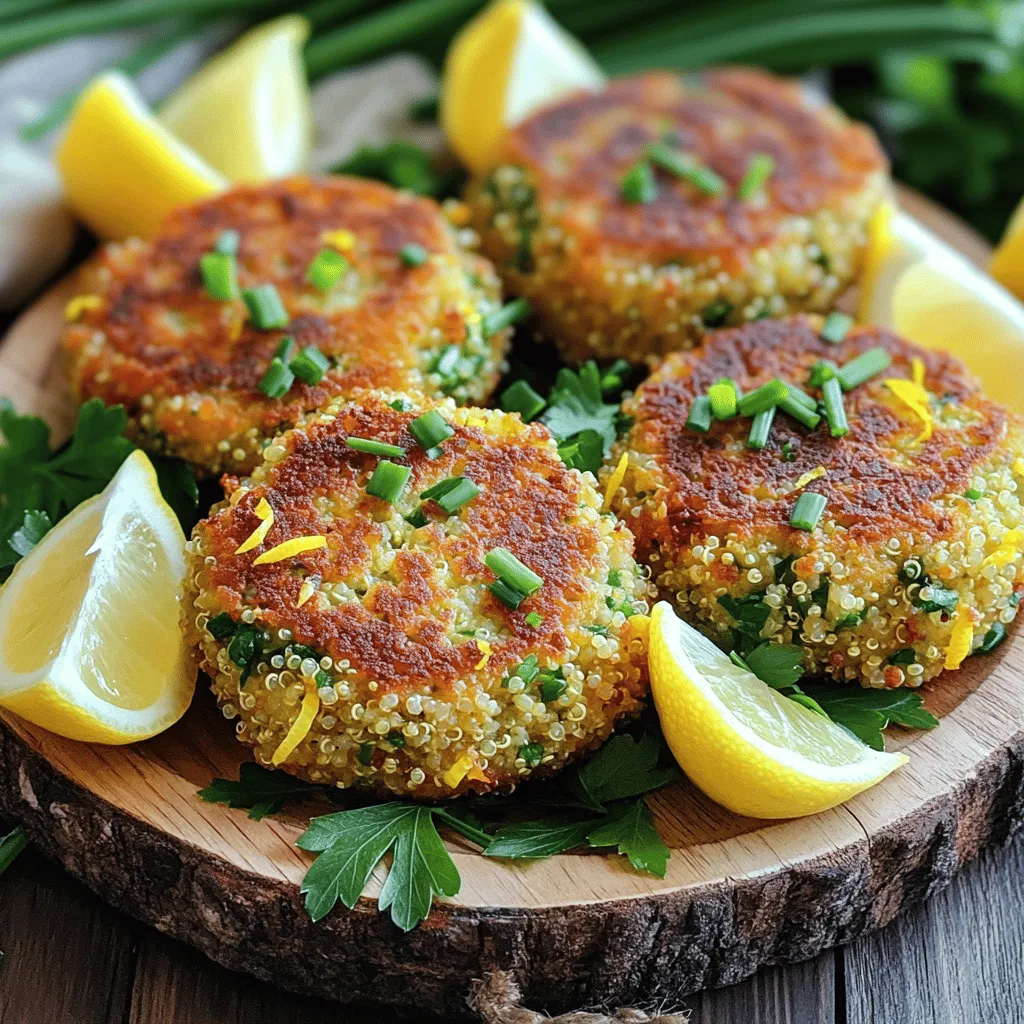
Looking for a delicious and healthy way to enjoy quinoa? These Gluten-Free Lemon Herb Quinoa Cakes are simple to make and bursting with flavor. Perfect for lunch or dinner, they’re packed with fresh herbs, zesty lemon, and cheese. Whether you’re gluten-free or just want a tasty meal, these cakes are a must-try. Let’s dive into the easy steps to whip up this delightful dish!
Why I Love This Recipe
- Healthy and Nutritious: These quinoa cakes are packed with protein, fiber, and essential nutrients, making them a wholesome choice for any meal.
- Versatile Ingredients: The recipe can easily be adapted with different herbs, spices, or vegetables, allowing for endless variations based on what you have on hand.
- Quick and Easy: With a total cooking time of just 25 minutes, these cakes are perfect for a busy weeknight dinner or a quick lunch option.
- Delicious Flavor: The combination of lemon, garlic, and fresh herbs creates a bright and flavorful dish that’s sure to impress family and friends.
Ingredients
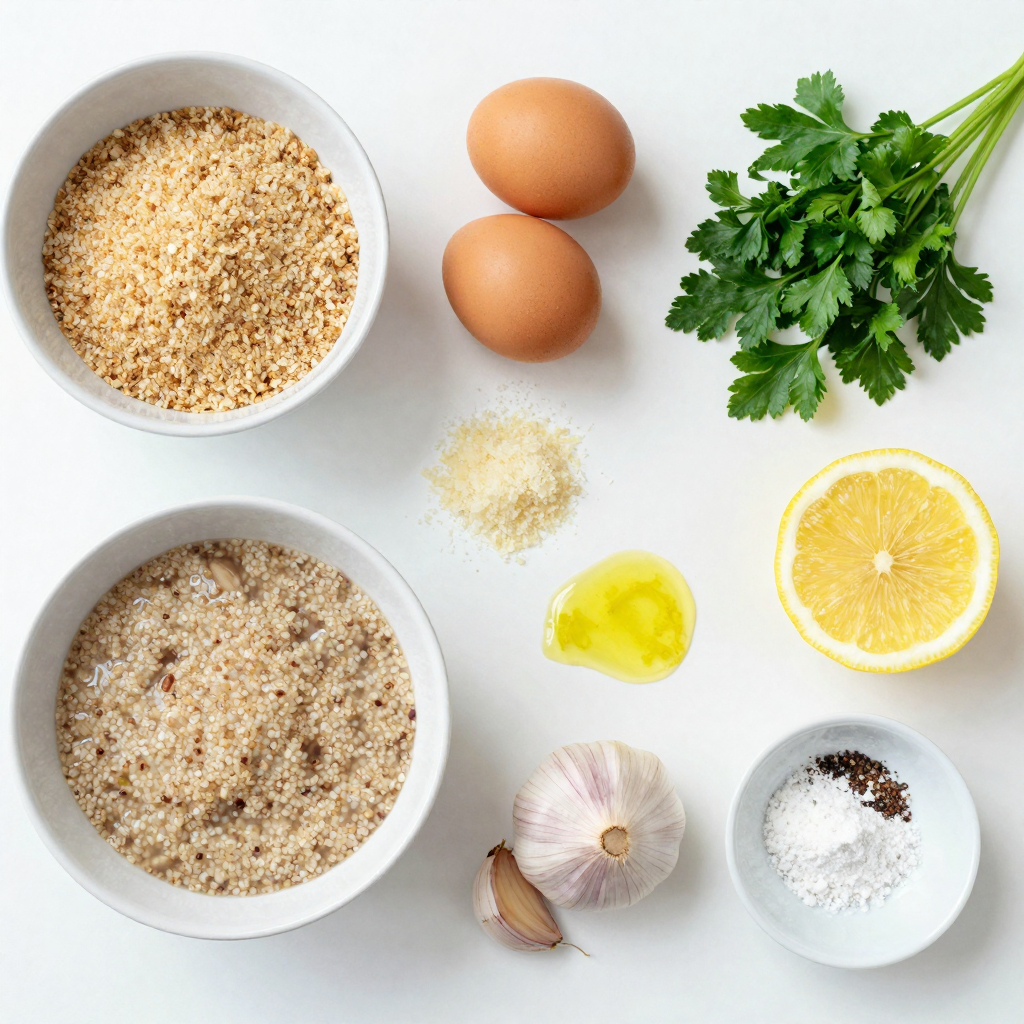
Gathering your ingredients is key to making these gluten-free lemon herb quinoa cakes. Here’s what you need:
– 1 cup cooked quinoa (chilled)
– 1/2 cup gluten-free breadcrumbs
– 2 large eggs
– 1/4 cup grated Parmesan cheese (or nutritional yeast for a vegan option)
– 1/4 cup fresh parsley, chopped
– 2 tablespoons fresh chives, chopped
– 1 tablespoon lemon zest
– 2 tablespoons lemon juice
– 1 clove garlic, minced
– 1 teaspoon baking powder
– Salt and pepper to taste
– Olive oil for frying
Each ingredient plays a role in making these cakes tasty and nutritious. The quinoa offers a light, fluffy base. Gluten-free breadcrumbs help bind everything together. Eggs add moisture and richness. Parmesan cheese gives a nice umami flavor, while nutritional yeast serves as a great vegan option.
Fresh herbs like parsley and chives provide bright, herbal notes. The lemon zest and juice add a zesty kick that brightens each bite. Garlic brings depth and warmth. Baking powder gives the cakes a little lift, ensuring they are light and not dense. A sprinkle of salt and pepper enhances all these flavors nicely.
Step-by-Step Instructions
Preparation of the Mixture
First, gather your ingredients. You need 1 cup of cooked and chilled quinoa, 1/2 cup of gluten-free breadcrumbs, and 1/4 cup of grated Parmesan cheese or nutritional yeast. Place these in a large mixing bowl.
Next, crack 2 large eggs into the bowl. Add 1/4 cup of chopped fresh parsley, 2 tablespoons of chopped fresh chives, 1 tablespoon of lemon zest, and 2 tablespoons of lemon juice. Don’t forget 1 clove of minced garlic, 1 teaspoon of baking powder, and some salt and pepper. Mix everything well. This step is key for great flavor!
If the mixture feels too wet, add a bit more gluten-free breadcrumbs. This helps it hold together better. Aim for a moldable consistency. You want to easily form patties that won’t fall apart.
Forming the Cakes
Now it’s time to shape the cakes. Take a scoop of the mixture and mold it into a patty. Aim for about 2 to 3 inches in diameter. Make sure each cake is compact so it cooks evenly. You can place them on a plate or a cutting board for easy access.
Cooking Instructions
Heat a skillet over medium heat and add a drizzle of olive oil. You want just enough oil to coat the bottom. Once the oil is hot, carefully place the quinoa cakes into the skillet. Cook each side for about 4 to 5 minutes. Look for a golden brown finish. This step gives the cakes a nice crisp texture.
Keep an eye on them as they cook. If they start to brown too quickly, lower the heat. Once they are done, remove the cakes and let them drain on a paper towel. This helps absorb any extra oil.Enjoy your tasty and simple gluten-free lemon herb quinoa cakes!
Pro Tips
- Chill the Quinoa: Letting your cooked quinoa chill in the fridge for a bit will help it firm up, making it easier to shape into patties.
- Adjust Breadcrumbs: If your mixture feels too wet, gradually add more gluten-free breadcrumbs until you reach a moldable consistency for the patties.
- Perfect Frying Temperature: Ensure your skillet is hot enough before adding the cakes; this helps achieve a golden brown and crispy exterior.
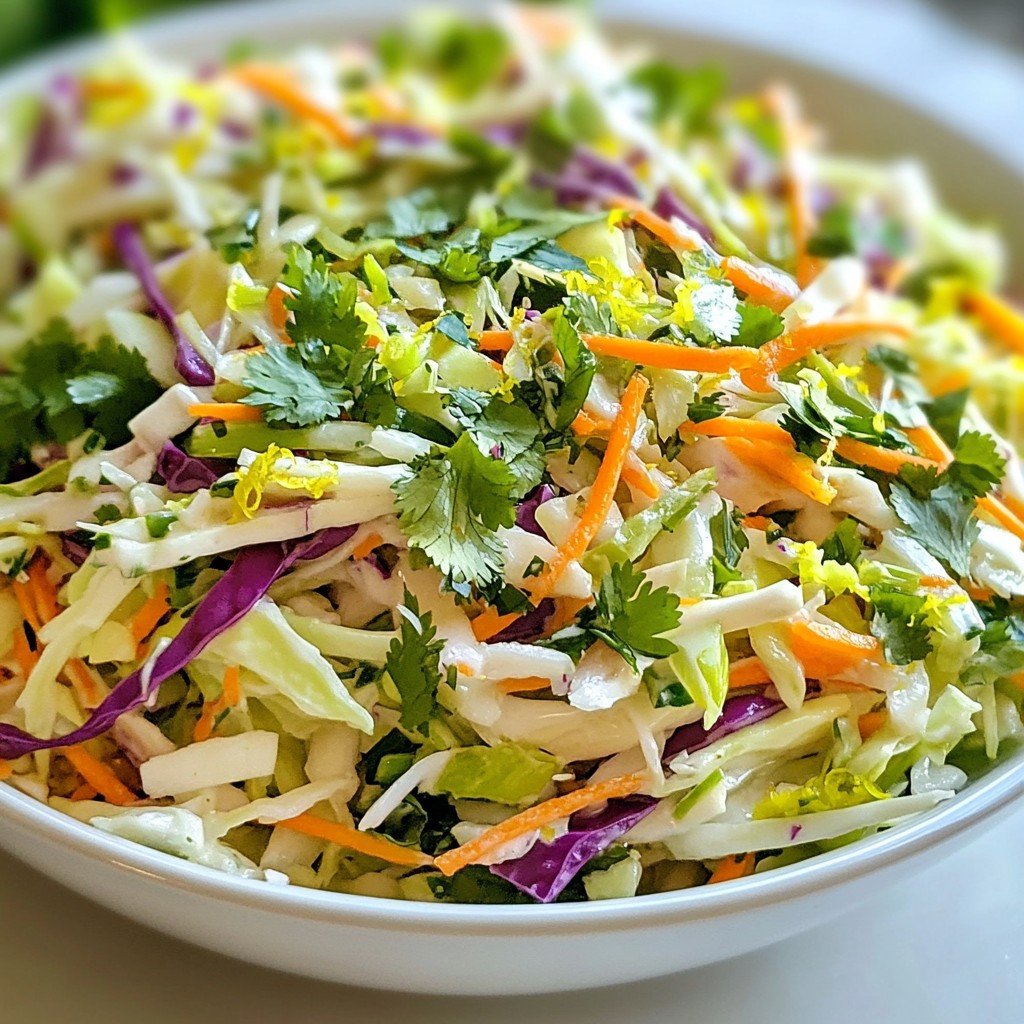
- Serving Suggestions: Pair these quinoa cakes with a fresh salad or a yogurt-based sauce for a delightful contrast in flavors.
Tips & Tricks
Perfecting the Cakes
To make your quinoa cakes perfect, focus on the texture. You want them firm but not dry. If your mix feels too wet, add a bit more gluten-free breadcrumbs. This helps hold the cakes together.
Frying the cakes can be tricky. To avoid sticking, use a non-stick skillet or cast iron pan. Heat the skillet before adding olive oil. Once the oil is hot, place the cakes gently into the skillet. This way, they will cook evenly and get golden brown on both sides.
Serving Suggestions
For a beautiful presentation, serve the quinoa cakes on a nice plate. Add a lemon wedge and fresh herbs on top. This adds color and a fresh look.
Pair the cakes with a light salad. A cucumber and tomato salad works well. The crunch of the salad complements the soft cakes. You can also try a yogurt sauce on the side for extra flavor.
Variations
Flavor Variations
You can easily change the taste of your gluten-free lemon herb quinoa cakes. Try adding fresh herbs like dill or basil. These herbs bring new flavors and aromas to the dish. For a more colorful and healthy cake, mix in some vegetables. Spinach or bell peppers work great. Just chop them finely and add them to the mix. This way, you make the cakes not only tasty but also nutritious.
Dietary Modifications
If you want to make vegan-friendly quinoa cakes, you can swap the eggs. Use flaxseed meal or chia seeds instead. Just mix 1 tablespoon of either with 2.5 tablespoons of water. Let it sit for a few minutes until it gets thick. You can also use nutritional yeast instead of Parmesan cheese. This keeps the dish flavorful while sticking to a vegan diet.
These simple changes make it easy to enjoy quinoa cakes no matter your diet!
Storage Info
Refrigeration Tips
To keep your quinoa cakes fresh, store leftovers in the fridge. Place them in an airtight container. This will help keep them moist and tasty. They can last for about three days. If you want to keep them crisp, use a container with a paper towel. The towel will absorb extra moisture. This also helps maintain their texture.
Freezing Instructions
If you want to save them for later, freezing is a great option. Make sure the cakes are fully cooled before freezing. Wrap each cake in plastic wrap. Then, place them in a freezer-safe bag or container. This protects them from freezer burn. You can freeze them for up to three months.
When you are ready to eat, take out the desired number of cakes. Thaw them in the fridge overnight for the best results. You can also reheat them in a skillet. Heat on low for about five minutes on each side. This helps restore their crispy texture. Enjoy your delicious quinoa cakes anytime!
FAQs
How long do Gluten-Free Lemon Herb Quinoa Cakes last?
Gluten-free lemon herb quinoa cakes last for about three to five days in the fridge. To keep them fresh, store the cakes in an airtight container. This helps maintain their moisture and flavor. If you want to freeze them, wrap each cake tightly in plastic wrap. Then place them in a freezer-safe bag. They can last up to three months in the freezer. When you’re ready to eat, let them thaw in the fridge overnight.
Can I make these cakes ahead of time?
Yes, you can make these cakes ahead of time. Prepare the mixture and shape the patties, then store them in the fridge. This way, they stay fresh until you are ready to cook. You can also cook them ahead of time and reheat them later. Just let them cool completely before storing. Reheat them in a skillet over medium heat until they are warm and crisp.
What can I serve with quinoa cakes?
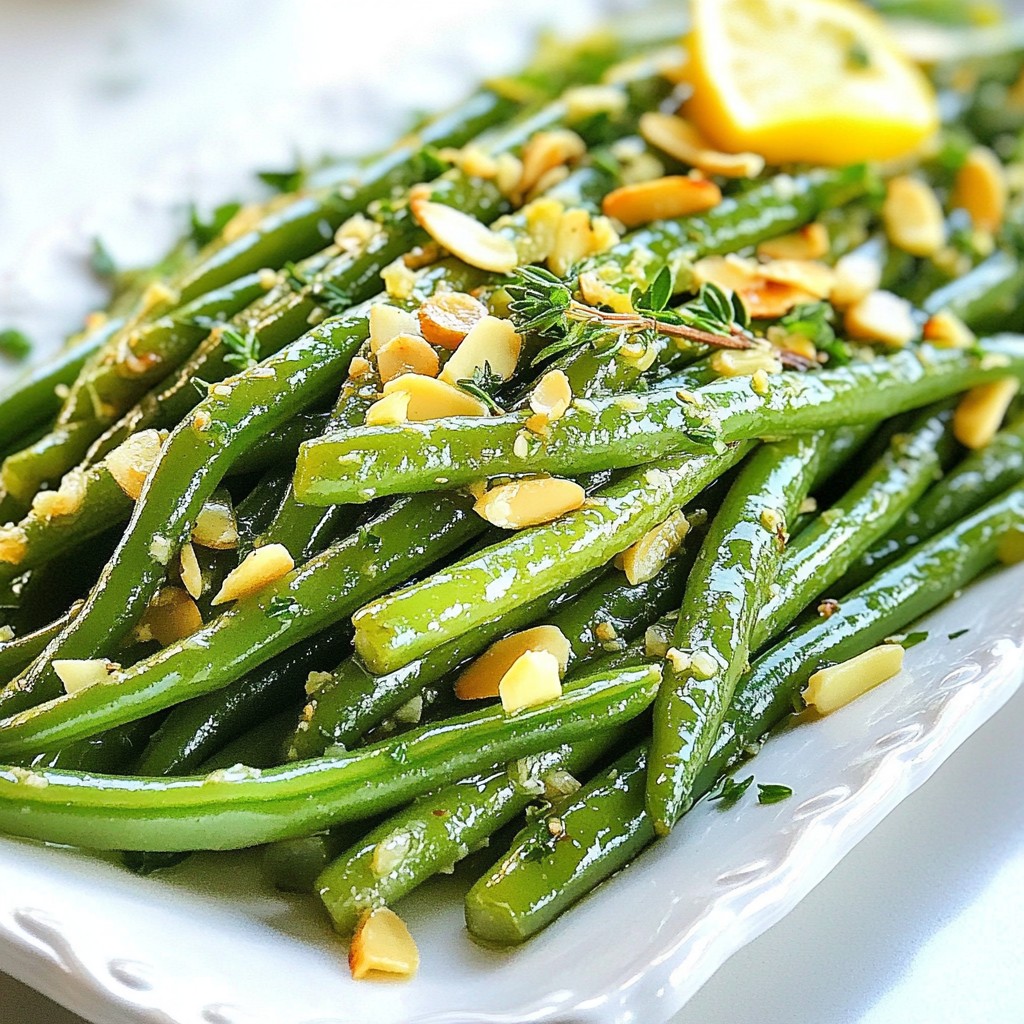
Quinoa cakes pair well with many sides. A light cucumber and tomato salad adds freshness. You can also serve them with a yogurt sauce or a tangy lemon dressing. For extra flavor, try a side of sautéed greens. Grilled or roasted vegetables are great too. These sides enhance the lemon and herb flavors in the cakes.
Are quinoa cakes suitable for meal prep?
Absolutely! Quinoa cakes are great for meal prep. You can cook a big batch at once and store them for the week. They are easy to reheat in the microwave or skillet. Just make sure to keep them in airtight containers. This keeps them from drying out. You can mix and match sides for quick meals, making them perfect for busy days.
In this blog post, you learned how to make tasty gluten-free lemon herb quinoa cakes. We covered key ingredients, step-by-step instructions, and tips for perfecting your cakes. You also found storage info and ways to customize your cakes for different diets.
These cakes are not just good; they’re flexible and fun. You can serve them with many sides or freeze them for later. Enjoy making these delicious cakes and sharing them with others!