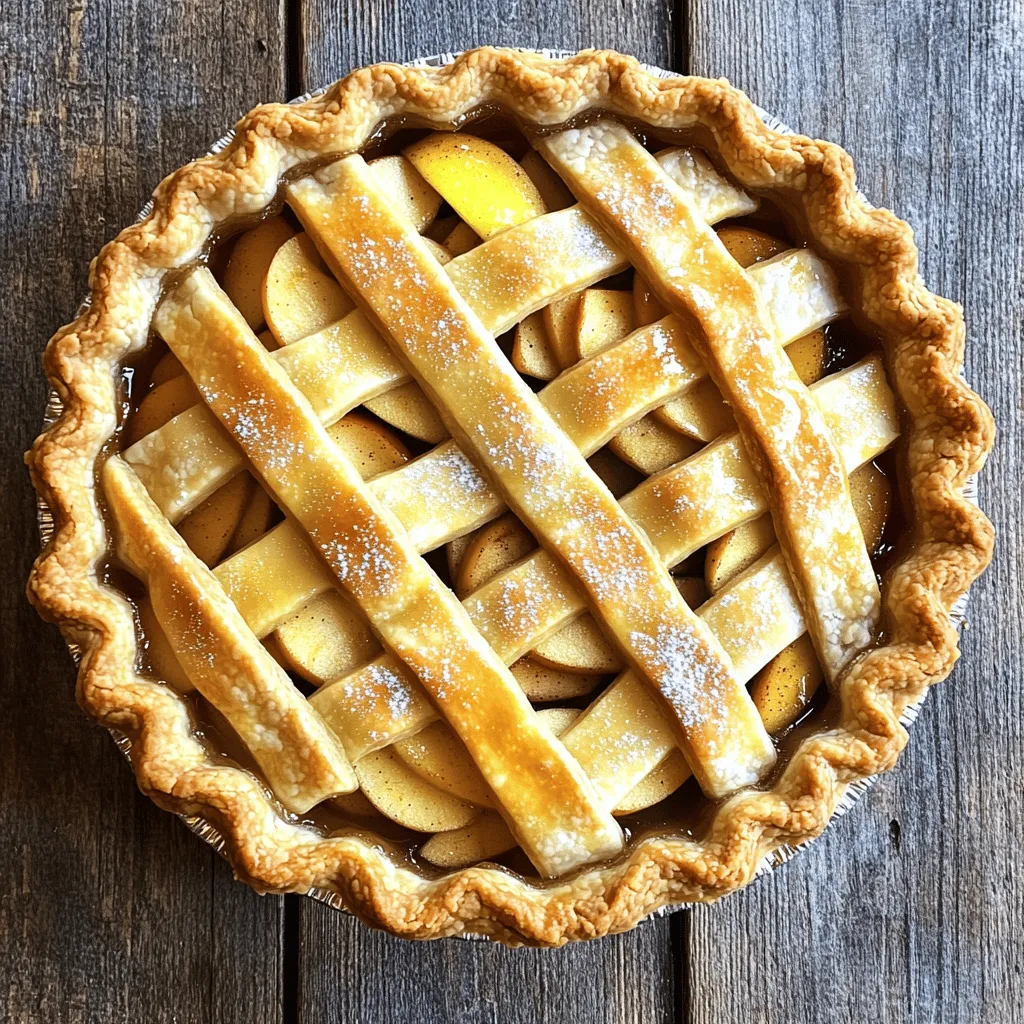
Welcome to your new favorite dessert! Homemade apple pie is easier than you think. With just a few simple ingredients, you can create a warm, delicious treat that fills your home with the sweet smell of cinnamon and baked apples. In this guide, I’ll share my easy and tasty recipe, along with tips for choosing the best apples and variations for any diet. Let’s dive in and bake something special!
Why I Love This Recipe
- Fresh Ingredients: Using a mix of Granny Smith, Honeycrisp, and Fuji apples creates a perfect balance of tartness and sweetness.
- Homemade Goodness: There’s nothing quite like a homemade crust that adds a personal touch and a flaky texture to your pie.
- Perfect for Any Occasion: This apple pie is ideal for holiday gatherings, family dinners, or simply a cozy night in.
- Delicious Aroma: The smell of cinnamon and baked apples wafting through your home will make everyone eager to dig into a slice.
Ingredients
List of Ingredients
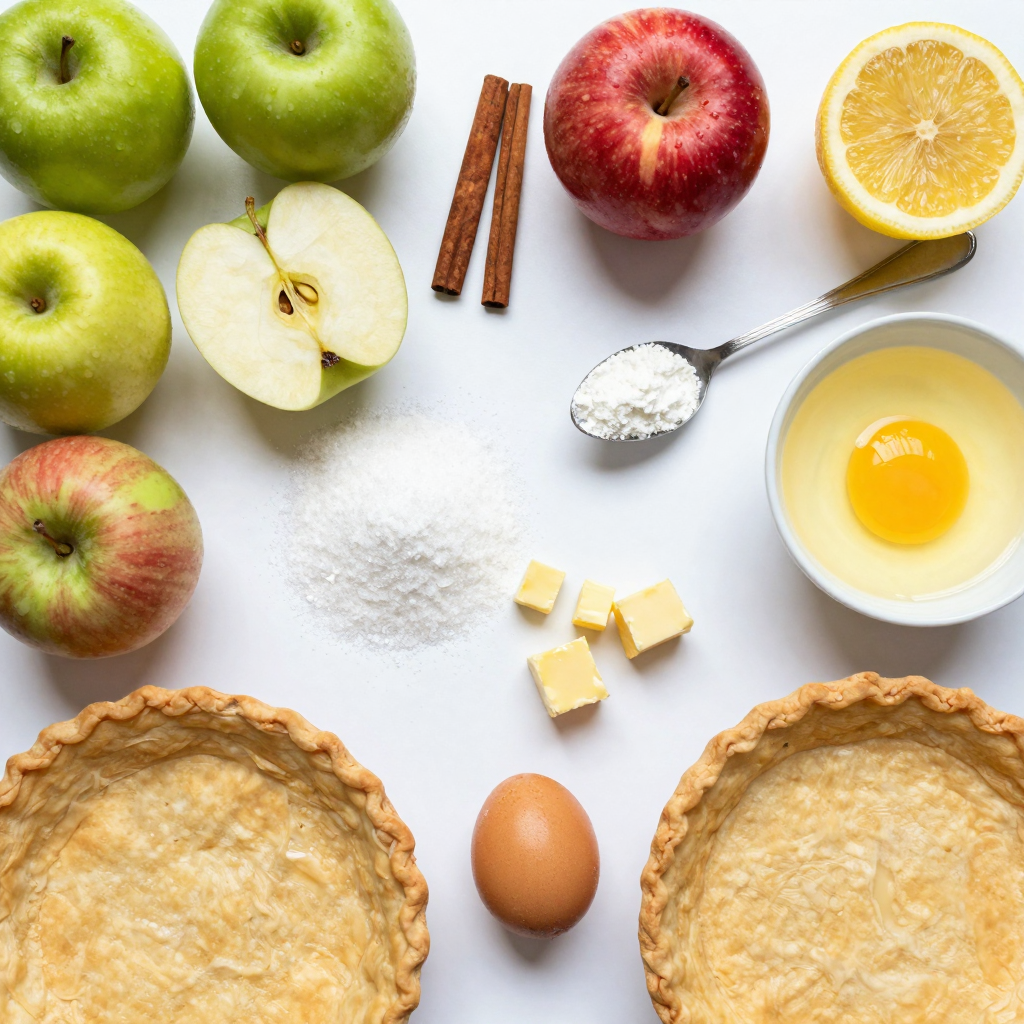
For this delightful apple pie, gather these items:
– 6 cups of mixed apples (Granny Smith, Honeycrisp, and Fuji), peeled, cored, and sliced
– 1 cup granulated sugar
– 1 teaspoon cinnamon
– 1/4 teaspoon nutmeg
– 1 tablespoon lemon juice
– 1 tablespoon cornstarch
– 1 tablespoon unsalted butter, diced
– 1 egg, beaten (for egg wash)
– 2 tablespoons milk (for egg wash)
– 2 pie crusts (homemade or store-bought)
Optional Ingredient Substitutions
You can swap some ingredients if needed. Here are a few ideas:
– Use brown sugar instead of granulated sugar for a deeper flavor.
– Substitute maple syrup for sugar for a unique twist.
– Add a pinch of ginger for extra spice.
– Use a pre-made crust to save time if you’re in a hurry.
Tips for Choosing the Best Apples
Selecting the right apples is key. Here’s how to pick the best ones:
– Mix different types: Blend tart and sweet apples for a balanced flavor.
– Go for firmness: Look for firm apples with smooth skin. Avoid soft spots.
– Freshness matters: Choose apples from local farms or farmers’ markets if possible.
– Seasonal is best: Fall is prime apple season, so stock up during this time.
These tips help ensure your homemade apple pie tastes amazing!
Step-by-Step Instructions
Prepping the Apples
Start by gathering your apples. I like to use a mix of Granny Smith, Honeycrisp, and Fuji apples. Each type adds its own flavor. Peel, core, and slice the apples into thin pieces. This helps them cook evenly. In a large bowl, combine the sliced apples with sugar, cinnamon, nutmeg, lemon juice, and cornstarch. Toss gently until the apples are well coated. Let this sit for about 15 minutes. This allows the flavors to blend nicely.
Assembling the Pie
First, preheat your oven to 425°F (220°C). Roll out one pie crust and fit it into a 9-inch pie plate. Be sure to trim any extra crust around the edges. Pour the apple mixture into the pie crust. Spread it out evenly. Dot the top of the filling with diced butter. This makes the apples even richer in flavor. Now, roll out the second pie crust and place it over the apples. Seal the edges by crimping them with your fingers or using a fork. Cut small slits in the top crust to let steam escape.
Baking Instructions
In a small bowl, whisk together the beaten egg and milk. Brush this mixture over the top crust. This will give your pie a lovely golden color. Bake the pie for 15 minutes in the preheated oven. After that, lower the temperature to 350°F (175°C) and bake for an additional 35-45 minutes. You want the apples to be soft and the crust to be golden brown. Remove the pie from the oven and let it cool for at least 30 minutes before slicing. This cooling time helps the filling set up nicely.
Pro Tips
- Use a Variety of Apples: Combining different types of apples enhances the flavor and texture of your pie, creating a more complex and delicious filling.
- Let the Filling Rest: Allowing the apple mixture to sit for 15 minutes helps the juices to extract, making for a more flavorful and juicy filling.
- Shield the Crust: If the edges of your pie crust are browning too quickly, cover them with foil to prevent burning while the rest of the pie bakes.
- Cool Before Slicing: Let the pie cool for at least 30 minutes after baking. This helps the filling to set up, making it easier to slice and serve.
Tips & Tricks
Achieving the Perfect Crust
To get a great crust, use cold ingredients. Cold butter and water help keep it flaky. Work quickly and handle the dough less. This keeps it tender. Roll the dough gently and don’t stretch it. Make sure you chill the crust for at least 30 minutes before baking. This helps maintain its shape.
How to Prevent a Soggy Bottom
A soggy bottom can ruin your pie. To stop this, use cornstarch in your filling. It thickens the juices from the apples. You can also pre-bake the bottom crust slightly. This helps it stay crisp. Make sure to slice the top crust. This allows steam to escape.
Serving Suggestions for Homemade Apple Pie
Serve your pie warm or at room temperature. I love adding a scoop of vanilla ice cream on top. It melts into the pie and adds a nice creaminess. You can also sprinkle some cinnamon on each slice. For an extra touch, drizzle caramel sauce over the ice cream. These simple ideas can make your pie even better!
Variations
Gluten-Free Apple Pie Options
You can make a gluten-free apple pie easily. Use gluten-free flour for the crust. You can find blends at most stores. Check labels to ensure they are truly gluten-free. Mix the flour with cold butter and water like regular pie crust. This way, you get the same great taste!
Vegan Alternatives for the Pie Crust
For a vegan pie crust, substitute butter with coconut oil or vegan margarine. Mix it with flour and a bit of cold water. This keeps the crust flaky and tasty. You can also use store-bought vegan crusts if you want to save time.
Creative Flavor Add-ins
Try adding new flavors to your pie. Caramel sauce can add a rich sweetness. Just drizzle it on top of the apples before you add the crust. Chopped nuts like walnuts or pecans give a nice crunch. You can also add raisins or dried cranberries for a fruity twist. These small changes make your pie unique and fun!
Storage Info
Best Practices for Storing Apple Pie
To keep your apple pie fresh, store it at room temperature. Cover it with a clean kitchen towel. This will help it breathe while keeping dust away. If you have leftovers, place them in an airtight container. This helps keep the pie moist and tasty. Avoid putting the pie in the fridge unless you need to. Refrigerating can make the crust soggy.
Reheating Tips to Maintain Freshness
When it’s time to enjoy your pie again, you want it warm. Preheat your oven to 350°F (175°C). Place the pie on a baking sheet to catch any drips. Heat it for about 15 to 20 minutes. This will warm the filling and crisp the crust. You can also use a microwave for quick reheating. But, the crust will not be as crisp.
Freezing Apple Pie for Long-Term Storage
If you want to save your pie for later, freezing is a great option. First, let the pie cool completely. Wrap it tightly in plastic wrap, then in aluminum foil. This helps prevent freezer burn. You can freeze the pie for up to three months. When you are ready to eat it, thaw overnight in the fridge. Then, reheat it in the oven for the best taste.
FAQs
How long does it take to bake apple pie?
Baking an apple pie takes about 1 hour. Start with 15 minutes at 425°F, then lower to 350°F for another 35-45 minutes. This method gives you a nice, golden crust and soft apples.
Can I use frozen apples for pie filling?
Yes, you can use frozen apples. Thaw them first and drain excess liquid. This step helps avoid a soggy pie. If you decide to use frozen apples, add a bit more cornstarch to help thicken the filling.
What should I do if my crust cracks?
If your crust cracks, don’t worry! You can patch it up with a small piece of dough. Just wet the edges with a bit of water and press the patch down gently. It will bake together nicely.
How do I know when my apple pie is done?
You’ll know your pie is done when the crust is golden brown and the apples bubble. You can also check the apples with a fork; they should be soft.
This article walked you through making a great apple pie. We covered ingredients, baking steps, and tips for success. You learned how to choose the best apples and avoid a soggy bottom. I shared ways to customize your pie and store it.
Now, you can impress friends and family with your baking skills. Enjoy making your perfect apple pie!


