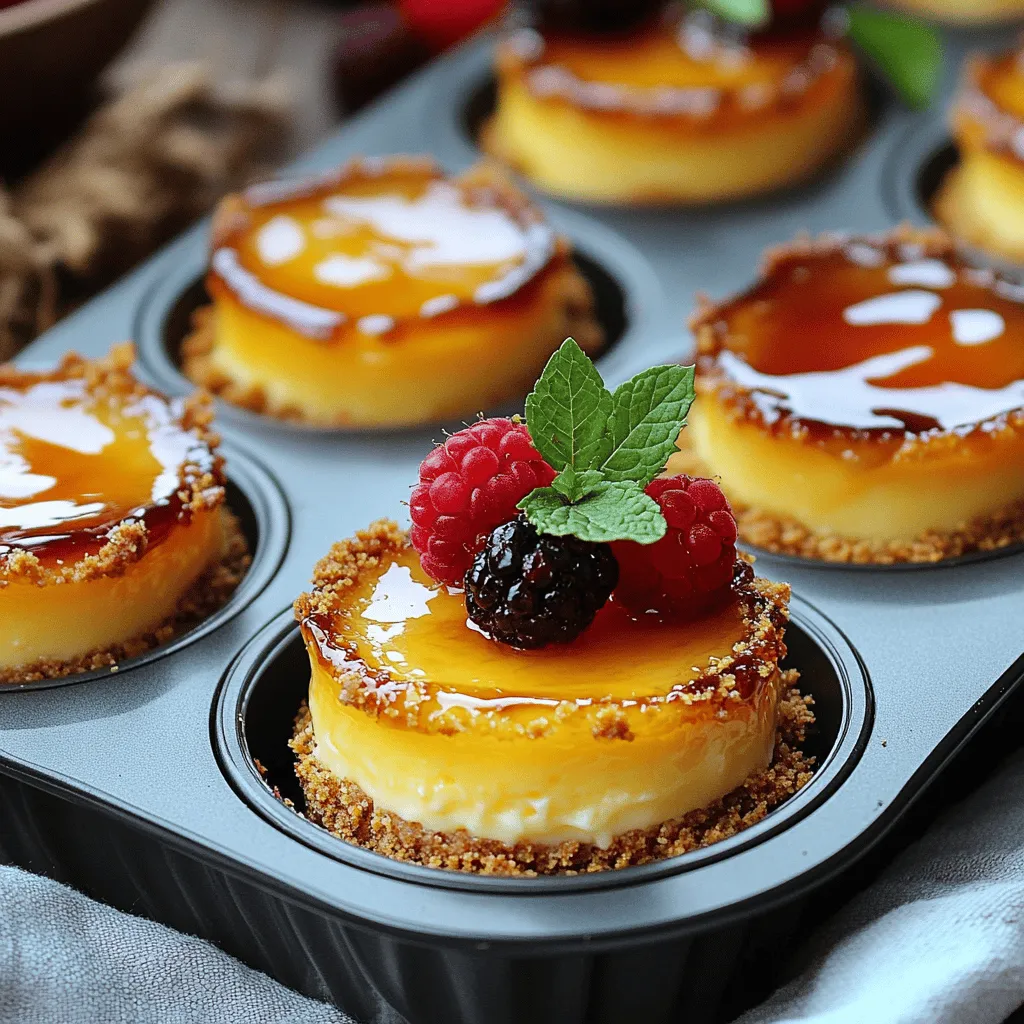
Craving a delightful dessert that impresses and satisfies? Look no further than these Irresistible Mini Crème Brûlée Cheesecakes! This easy treat combines the creamy goodness of cheesecake with a crispy sugar topping. With just a handful of ingredients and simple steps, you can create a dessert that wows your guests or makes any day special. Ready to dive into a world of sweet indulgence? Let’s get started!
Ingredients
List of Ingredients
– 1 cup graham cracker crumbs
– 1/4 cup unsalted butter, melted
– 2 cups cream cheese, softened
– 1 cup granulated sugar
– 1 teaspoon vanilla extract
– 2 large eggs
– 1/4 cup heavy cream
– 2 tablespoons brown sugar (for topping)
– Fresh berries or mint leaves for garnish (optional)
Measuring Tips
How to properly measure ingredients
To get the best results, measure your ingredients correctly. Use dry measuring cups for solid items like graham crackers. Scoop the crumbs into the cup, then level it off with a knife. For liquids, use clear measuring cups with markings. Pour until you reach the desired line.
Best practices for using room temperature ingredients
Room temperature ingredients mix better. For cream cheese, let it sit out for about 30 minutes before use. This helps it blend smoothly into the batter. Eggs should also be at room temperature for even mixing. If you forget to take them out, you can place them in warm water for a few minutes.
The right measurements and room temperature ingredients will help you create these delightful mini crème brûlée cheesecakes.
Step-by-Step Instructions
Preparing for Baking
1. Preheat your oven to 325°F (160°C). Line a muffin tin with cupcake liners. This will help your treats come out easily.
2. Make the crust: In a bowl, mix 1 cup of graham cracker crumbs with 1/4 cup of melted unsalted butter. Stir until the crumbs are well coated.
3. Press the crust: Divide the mixture into the muffin cups. Press it down firmly to form a solid base. Bake for 8-10 minutes until lightly golden. Let them cool afterward.
Making the Cheesecake Batter
1. In a large bowl, beat 2 cups of softened cream cheese with an electric mixer. Mix until smooth. This step is key for a creamy texture.
2. Gradually add 1 cup of granulated sugar while mixing. Blend until well combined.
3. Next, add 1 teaspoon of vanilla extract and 2 large eggs, one at a time. Mix well after each egg.
4. Slowly add 1/4 cup of heavy cream to the batter. This adds a nice richness to the cheesecake.
Baking and Cooling Process
1. Pour the cheesecake batter over the cooled crusts in the muffin tin. Fill each cup almost to the top.
2. Bake in the preheated oven for 18-20 minutes. The centers should be set but still have a slight jiggle.
3. After baking, turn off the oven and crack the door open. Let the cheesecakes cool inside for about 30 minutes. Then, move them to the fridge. Chill for at least 4 hours or overnight for the best texture.
4. Before serving, sprinkle a thin layer of brown sugar on top of each cheesecake. Use a kitchen torch to caramelize the sugar until it melts and forms a crisp crust. If you lack a torch, broil them for a minute, watching closely to avoid burning.
Tips & Tricks
Achieving the Perfect Texture
To get a smooth batter, mix the cream cheese well. Use an electric mixer for best results. Mix until there are no lumps left. This helps your cheesecake stay creamy.
Chilling is key. After baking, let the cheesecakes cool in the oven. Then, refrigerate them for at least four hours. This step makes them set well and taste better.
Caramelizing the Topping
You can use a kitchen torch for the perfect crust. Hold it a few inches above the sugar. This method gives you control over the heat. If you don’t have a torch, use the broiler. Just watch it closely to avoid burning.
To prevent burning the sugar, sprinkle a thin layer. Too much sugar can burn quickly. Make sure to move the torch or pan around to heat evenly.
Presentation Ideas
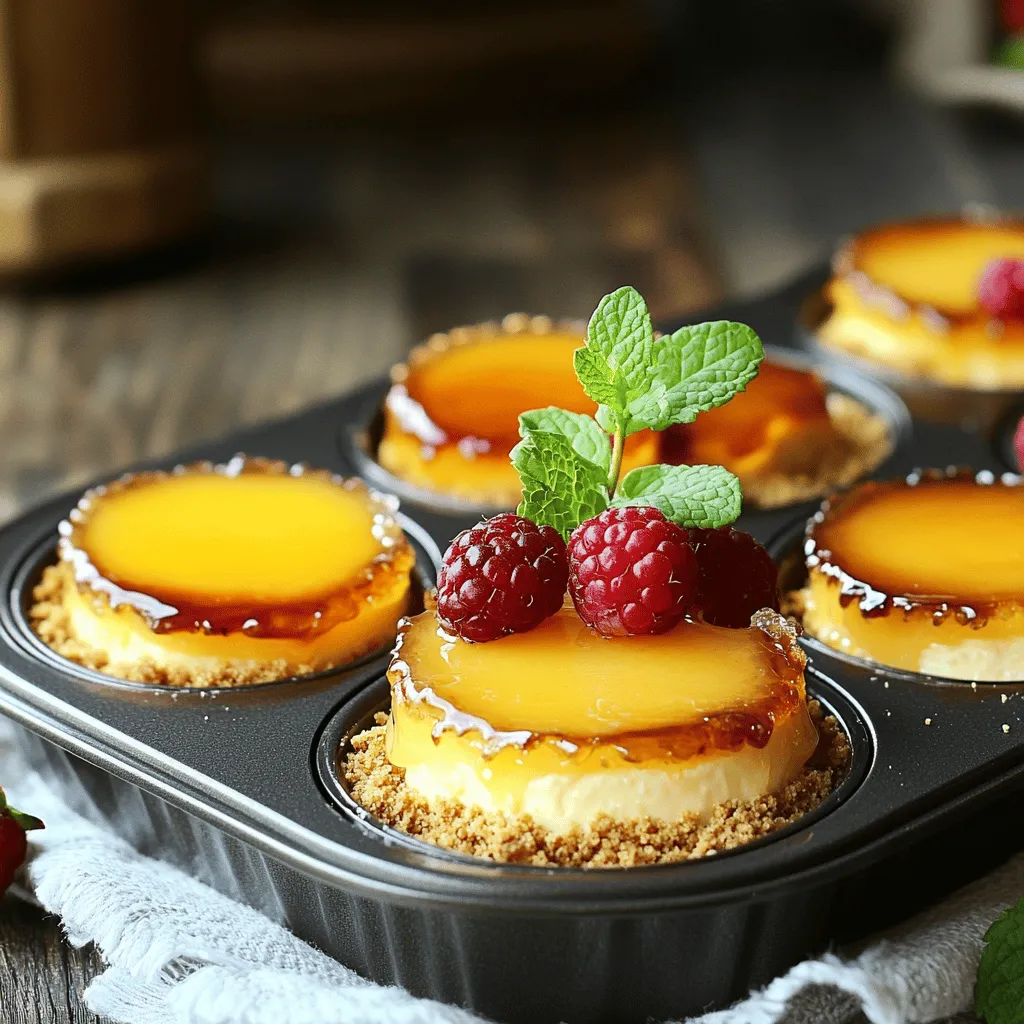
Garnishing adds a nice touch. Fresh berries or mint leaves look pretty on top. They also add a pop of flavor.
For parties, serve these mini cheesecakes on a nice plate. Arrange them in a circle or line. This makes them look festive and inviting.
Variations
Flavor Enhancements
You can easily change the taste of your mini cheesecakes. Adding citrus zest is a fun twist. Just a bit of lemon or orange zest can brighten the flavor. It adds freshness that pairs well with the creamy cheesecake.
You can also try flavor extracts. Almond extract gives a nutty taste. Lemon extract adds a nice zing. Feel free to experiment with different flavors to find what you love best.
Alternative Crust Options
If you want a different base, try using Oreo crumbs. They add a rich chocolate flavor that works great. You can also use graham cracker crumbs if you prefer.
For those needing gluten-free options, use gluten-free cookie crumbs. You can find many choices at stores. Just make sure they fit your taste and needs.
Serving Options
I love serving these mini cheesecakes in jars. They look cute and are easy to grab. Plus, you can layer them with fruit or sauces for extra flavor.
Fresh fruit is a great pairing too. Strawberries, blueberries, or raspberries add color and taste. Drizzling some chocolate or caramel sauce on top is also a fun idea.
Storage Information
How to Store Mini Crème Brûlée Cheesecakes
To keep your mini crème brûlée cheesecakes fresh, store them in the refrigerator. Place them in an airtight container. They will stay good for up to five days. If you want to keep them longer, you can freeze them. Wrap each cheesecake tightly in plastic wrap, then place them in a freezer-safe bag. They can last for about two months in the freezer. To thaw, just move them to the fridge overnight.
Reheating and Serving After Storage
If you want to enjoy your cheesecakes warm, you can reheat them. The best way is to use the microwave. Heat them for about 15-20 seconds. Keep a close eye on them to avoid overheating. When you are ready to serve, make sure to maintain the caramelized sugar crust.
For the best results, caramelize the sugar right before serving. You can use a kitchen torch to melt the sugar on top. If you don’t have a torch, broil them for a minute. Just remember to watch them closely to avoid burning. Enjoy your delicious mini crème brûlée cheesecakes!
FAQs
How do you make Mini Crème Brûlée Cheesecakes from scratch?
To make Mini Crème Brûlée Cheesecakes, start with the crust. You mix graham cracker crumbs with melted butter. Press this into muffin liners, then bake them for about 8-10 minutes. While they cool, prepare the cheesecake batter. Beat softened cream cheese with sugar until smooth. Add eggs, vanilla, and heavy cream slowly. Pour this batter over the cooled crusts and bake for 18-20 minutes. Let them cool in the oven and chill in the fridge for at least 4 hours. Just before serving, caramelize the sugar on top and enjoy!
Can you use low-fat cream cheese for this recipe?
You can use low-fat cream cheese, but it changes the taste and texture. Low-fat cream cheese may make the cheesecakes less rich and creamy. They might feel a bit more dense. If you want a lighter version, it’s a valid choice. Just remember, the flavor might not be as full.
How long can Mini Crème Brûlée Cheesecakes be kept in the fridge?
Mini Crème Brûlée Cheesecakes stay fresh in the fridge for about 5 days. To keep them at their best, cover them tightly. This prevents them from drying out or absorbing other fridge smells. If you want to keep them longer, freezing is an option. Just remember to thaw them in the fridge before serving.
In this post, we explored the delightful world of Mini Crème Brûlée Cheesecakes. We covered each ingredient, from graham cracker crumbs to fresh berries for garnish. You learned how to measure and prepare ingredients for the best results. The step-by-step instructions make baking easy and rewarding. We shared tips for texture, topping, and presentation, along with creative variations. Finally, proper storage and reheating tips keep your cheesecakes fresh. With this guide, you can impress anyone with your baking skills! Enjoy creating delicious treats that everyone will love.


