Get ready to indulge in a sweet, tangy treat with my Lemon-Lime Cherry Pistachio Cheesecake Delight! This dessert combines zesty lemon and lime flavors with juicy cherries, all atop a crunchy pistachio crust. Whether you’re a baking newbie or a seasoned pro, this step-by-step guide will make your cheesecake a hit. Follow me as I share tips, variations, and more to create a dessert that dazzles your guests. Let’s get started!
Ingredients
Crust Ingredients
– 1 ½ cups pistachios, shelled
– 1 cup graham cracker crumbs
– ¼ cup melted butter
– 2 tablespoons sugar
Filling Ingredients
– 16 oz cream cheese, softened
– 1 cup granulated sugar
– 3 large eggs
– 1 teaspoon vanilla extract
– Zest of 1 lemon
– Zest of 1 lime
– ½ cup fresh lemon juice
– ½ cup fresh lime juice
– 1 cup sour cream
– 1 cup cherries, pitted and halved
Topping Ingredients
– ½ cup whipped cream
– Additional cherries and crushed pistachios for garnish
Making Lemon-Lime Cherry Pistachio Cheesecake starts with gathering the right ingredients. For the crust, I use pistachios for a nutty flavor. The graham cracker crumbs add a sweet crunch. The butter and sugar bind everything together, creating a perfect base.
For the filling, cream cheese is key. It makes the cheesecake smooth and rich. I mix in granulated sugar to sweeten it. Eggs help it set, while vanilla extract adds depth. Zest from lemon and lime gives a bright kick. Fresh lemon and lime juice balance the sweetness perfectly. Sour cream adds creaminess and tang. The cherries bring a burst of sweetness, making each bite delightful.
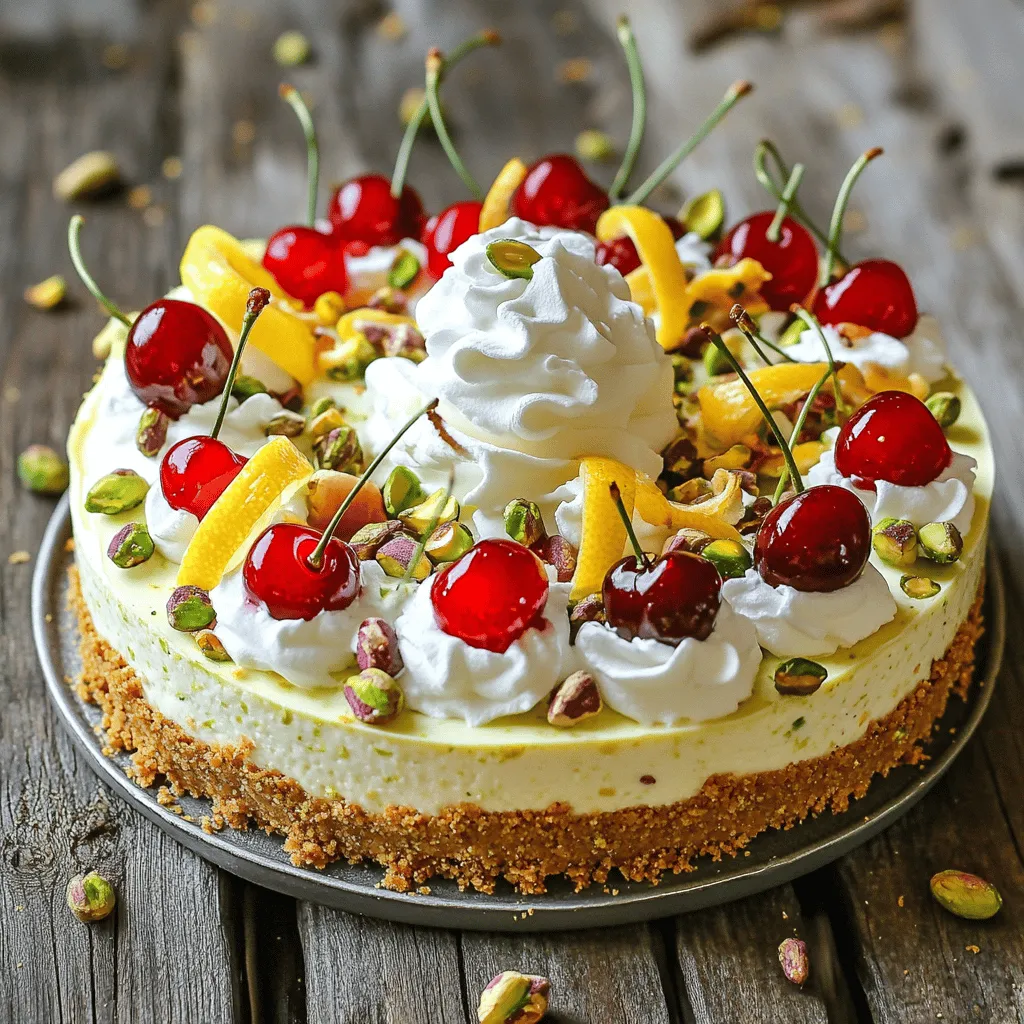
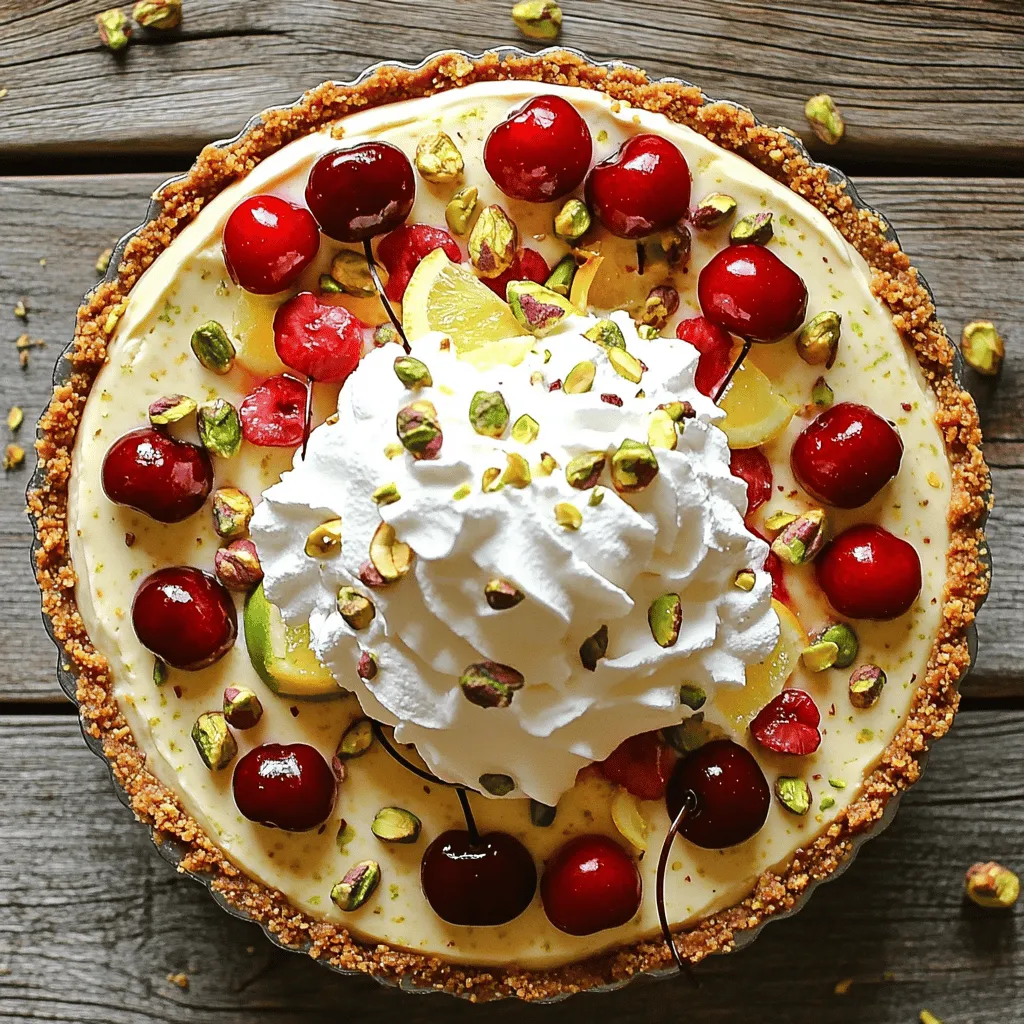
Finally, I top the cheesecake with whipped cream. It adds a light, fluffy texture. I finish with extra cherries and crushed pistachios. This adds color and crunch, making the cheesecake visually stunning.
Step-by-Step Instructions
Preheat and Prepare
– Preheat your oven to 350°F (175°C).
– For the crust, start by processing 1 ½ cups of shelled pistachios in a food processor. You want them finely ground.
– Add in 1 cup of graham cracker crumbs, ¼ cup of melted butter, and 2 tablespoons of sugar.
– Pulse this mixture until it looks like wet sand.
– Press the crust into the bottom of a 9-inch springform pan. Make sure it is even.
– Bake the crust for 10 minutes, then remove it from the oven and let it cool.
Make the Filling
– In a large bowl, beat 16 oz of softened cream cheese with 1 cup of granulated sugar. Keep mixing until it’s smooth.
– Add 3 large eggs, one at a time. Mix well after each egg.
– Next, stir in 1 teaspoon of vanilla extract, the zest of 1 lemon, the zest of 1 lime, ½ cup of fresh lemon juice, and ½ cup of fresh lime juice.
– Finally, add in 1 cup of sour cream. Mix until everything is just combined. Do not over-mix.
– Gently fold in 1 cup of halved cherries using a spatula.
Bake and Cool
– Pour the filling into the cooled crust, spreading it evenly.
– Place it in the preheated oven and bake for 50-60 minutes. The center should be set but still jiggle a bit.
– If the top gets a little brown, that’s okay!
– Once it’s done, turn off the oven and crack the door open. Let the cheesecake cool inside for one hour.
– After cooling, transfer it to the refrigerator. Chill for at least 4 hours, or overnight if you can.Enjoy the process of making this Lemon-Lime Cherry Pistachio Cheesecake!
Tips & Tricks
Achieving the Perfect Cheesecake
To get the best cheesecake, avoid over-mixing the filling. Over-mixing can add too much air, causing cracks. Mix gently until just combined.
To know if your cheesecake is done, look for a slight jiggle in the center. The edges should be set, and the top can be lightly browned.
Presentation Tips
Garnish your cheesecake with whipped cream and fresh cherries. Add crushed pistachios for color and crunch. This adds a fun touch!
For neat slices, use a warm, wet knife. Wipe the knife clean after each cut. This gives you clean edges and a pretty serving.
Troubleshooting Common Issues
If your cheesecake cracks, don’t worry! Let it cool slowly in the oven with the door slightly open. This helps reduce temperature shock.
A soggy crust can happen if the crust gets too wet. To fix this, bake the crust longer before adding the filling. Make sure to cool it completely before pouring in the filling.
Variations
Dietary Adjustments
You can easily make this cheesecake fit your needs. For a gluten-free crust, swap the graham cracker crumbs with almond flour or gluten-free cookie crumbs. This change keeps the crust tasty and crunchy.
If you want a vegan option, use cashew cream or tofu for the filling. Blend soaked cashews with lemon juice and a little maple syrup for sweetness. This will create a creamy texture without dairy.
Flavor Variations
Feel free to play with flavors in this cheesecake. Instead of cherries, try strawberries or blueberries. The vibrant colors and flavors will shine through. You can also mix in some citrus zest like orange or lime for extra zing.
Experiment with flavored extracts too. Use almond or coconut extract in place of vanilla for a twist. These small changes can make a big difference in taste.
Occasional Serving Ideas
This cheesecake is perfect for special occasions. Serve it at birthdays, holidays, or family gatherings. It looks stunning with its colorful topping of cherries and pistachios.
Pair it with drinks like sweet tea or sparkling lemonade. The tartness of the cheesecake balances well with sweet beverages. This combination will make your dessert time even more enjoyable.
Storage Info
How to Store Leftovers
To keep your lemon-lime cherry pistachio cheesecake fresh, store it in the fridge. Use an airtight container or wrap it tightly with plastic wrap. This helps keep the flavors and textures intact. If stored correctly, your cheesecake can last for about 5 to 7 days. After that, the quality may decline, and it won’t taste as good.
Freezing Instructions
If you want to save some cheesecake for later, freezing is a great option. Follow these simple steps to freeze it properly:
1. Cool the Cheesecake: Allow your cheesecake to cool completely in the fridge.
2. Wrap It Up: Use plastic wrap to cover the cheesecake tightly. Then, wrap it in aluminum foil for extra protection.
3. Label It: Write the date on the foil. This way, you’ll know how long it has been in the freezer.
You can freeze the cheesecake for up to 3 months. When you’re ready to enjoy it again, follow these reheating tips:
– Thaw in the Fridge: Move the cheesecake from the freezer to the fridge. Let it thaw overnight.
– Serve Cold: For the best taste, serve the cheesecake cold after it has thawed. The flavors will be just as bright and vibrant as when you first made it.
Enjoy your delicious dessert anytime by following these storage tips!
FAQs
Common Questions
How can I make my cheesecake fluffier?
To make your cheesecake fluffier, start by using room temperature cream cheese. Beat it well with sugar until it is smooth and creamy. Incorporate eggs one at a time, mixing gently. Over-mixing can make it dense, so mix just until smooth.
Can I use frozen cherries instead of fresh?
Yes, you can use frozen cherries. Just thaw and drain them before adding to the filling. This helps keep the cheesecake from becoming too watery.
Recipe-Specific Inquiries
Can I make this cheesecake ahead of time?
Absolutely! This cheesecake is perfect for making ahead. You can prepare it a day in advance and chill it overnight. It will taste even better after resting.
What’s the best way to serve leftover cheesecake?
Store leftover cheesecake in the fridge. When serving, slice cold for the best texture. You can add fresh whipped cream and extra cherries for a lovely touch.
General Cheesecake Questions
Why does my cheesecake crack on top?
Cracks often come from rapid baking. Ensure your oven isn’t too hot. Also, avoid over-mixing. Letting the cheesecake cool slowly helps prevent cracks.
How do I know when my cheesecake is fully baked?
Check the edges of the cheesecake. They should be set while the center has a slight jiggle. If it jiggles too much, give it more time in the oven.
This cheesecake combines a tasty crust with a creamy filling. You learned how to make it step by step, plus tips for success. Variations allow for dietary needs and flavors. Remember, refrigerate leftovers well, or freeze them for later. Enjoying this treat at gatherings can impress friends. With the right care, your cheesecake can shine at any event. I hope you feel inspired to create this delightful dessert!


