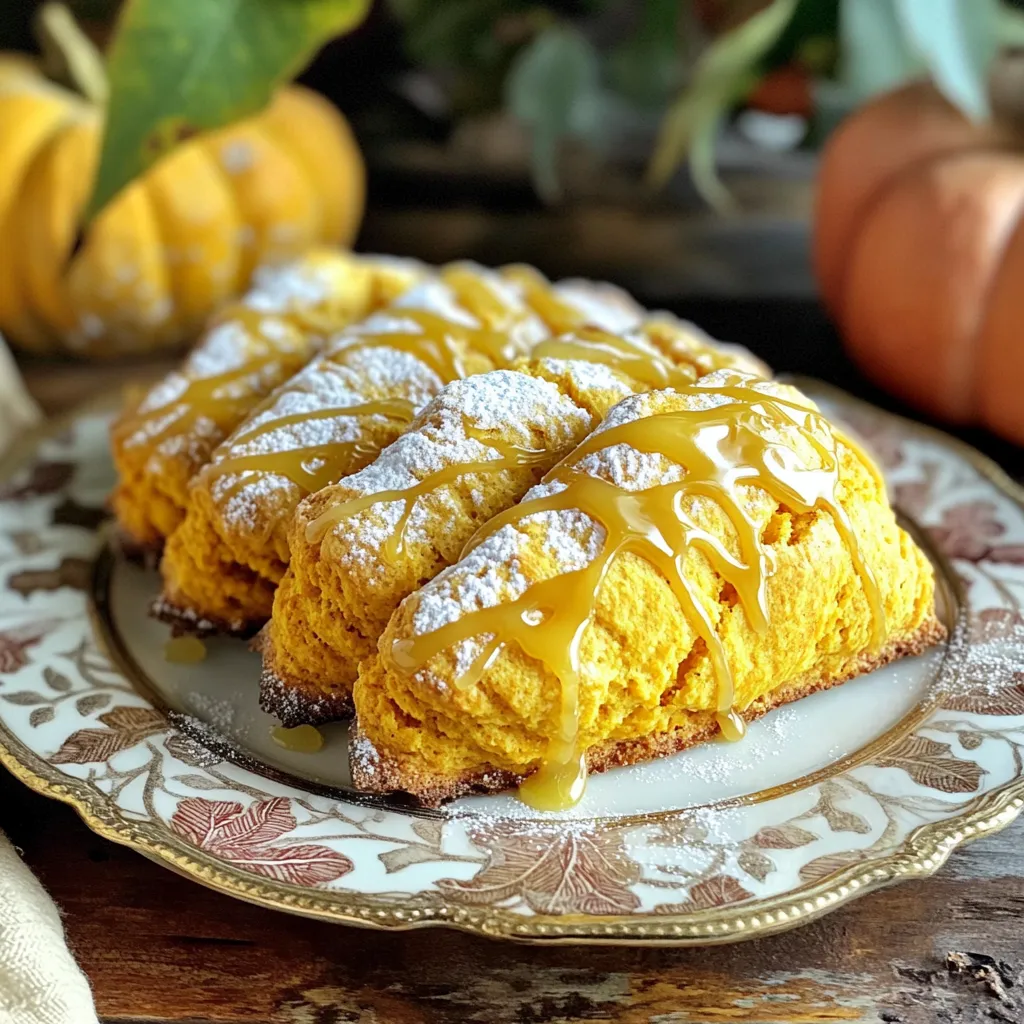
Fall has arrived, and what better way to celebrate than with Maple Glazed Pumpkin Scones? These treats are soft, sweet, and packed with cozy spices. You can easily whip them up with simple ingredients right from your pantry. Discover how to bring warmth to your kitchen and impress your friends with these delightful scones. Grab your mixing bowl, and let’s dive into this tasty fall recipe!
Why I Love This Recipe
- Delicious Flavor Combination: The blend of pumpkin, spices, and maple creates a warm and inviting flavor that’s perfect for fall.
- Easy to Make: This recipe is straightforward and requires minimal effort, making it perfect for both beginner and experienced bakers.
- Perfect for Any Occasion: These scones are great for breakfast, brunch, or even as a sweet snack with coffee or tea.
- Customizable: You can easily adapt the recipe by adding nuts, chocolate chips, or dried fruits for extra texture and flavor.
Ingredients
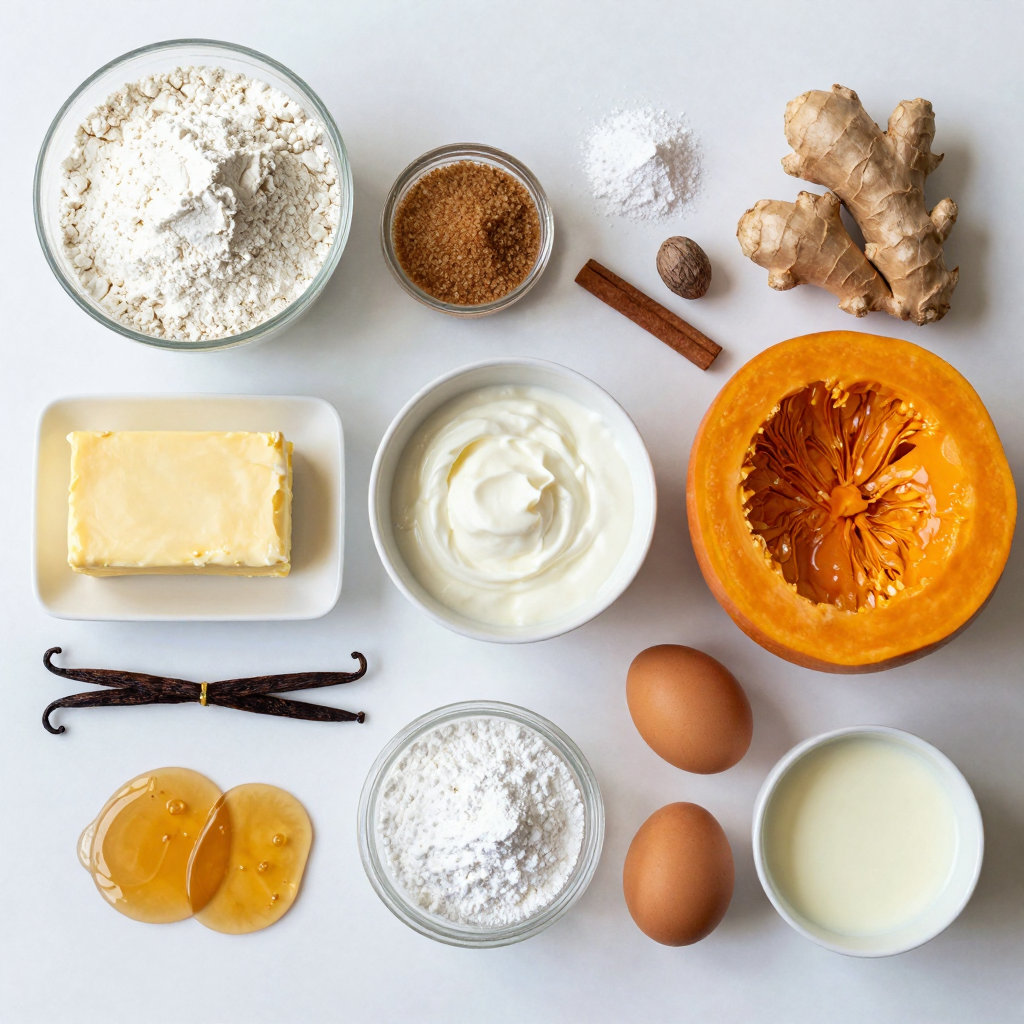
Dry Ingredients
For these scones, I use all-purpose flour and brown sugar. The flour gives the scones their structure. The brown sugar adds a nice depth of flavor. I also mix in baking powder and baking soda to help the scones rise. A pinch of salt balances the sweetness.
Spices are key in this recipe. I use:
– 1 teaspoon ground cinnamon
– 1/2 teaspoon ground nutmeg
– 1/4 teaspoon ground ginger
These spices bring warmth and comfort. Cinnamon is sweet and cozy. Nutmeg adds a touch of earthiness. Ginger offers a nice kick.
Wet Ingredients
Pumpkin puree is the star of these scones. It brings moisture and flavor. Make sure to use pure pumpkin, not pumpkin pie filling. I add heavy cream for richness and a large egg to bind everything together.
Using cold butter is vital. Cold butter helps create flaky layers. When you mix it into the dry ingredients, it should be cubed and chilled. This way, the butter stays in small bits, creating that perfect scone texture.
Glaze Ingredients
For the glaze, I choose pure maple syrup. It has a rich flavor that pairs well with pumpkin. You can use other syrups, but maple is best.
To get the right glaze consistency, whisk together:
– 1 cup powdered sugar
– 2 tablespoons maple syrup
– 1 tablespoon milk
You want the glaze to be smooth and pourable, but not too runny. Adjust milk as needed. Drizzle this sweet topping over your cooled scones for a delightful finish!
Step-by-Step Instructions
Preparation Steps
1. Start by preheating the oven to 425°F (220°C). This high heat gives the scones a nice rise.
2. Line your baking sheet with parchment paper. This helps the scones bake evenly and makes cleanup easy.
3. In a large bowl, add the dry ingredients: 2 cups of flour, 1/2 cup of brown sugar, 1 tablespoon of baking powder, 1/2 teaspoon of baking soda, 1/2 teaspoon of salt, 1 teaspoon of cinnamon, 1/2 teaspoon of nutmeg, and 1/4 teaspoon of ginger. Mix these well. This mix brings the fall flavors together.
Combining Ingredients
1. Next, add the cold, cubed butter. You need 1/2 cup of unsalted butter for this. Using your fingers or a pastry cutter, blend until it looks like coarse crumbs. This step is key for flaky scones.
2. In another bowl, mix together 1 cup of pure pumpkin puree, 1/4 cup of heavy cream, 1 large egg, and 1 teaspoon of vanilla extract. Stir until smooth. This mix adds moisture and flavor.
3. Now, pour the pumpkin mix into the dry ingredients. Stir gently until just combined. Be careful not to overmix here; you want your scones to stay light and fluffy.
Baking and Glazing
1. Turn the dough onto a floured surface. Knead it a few times until it forms a cohesive dough. Pat it into a circle, about 1-inch thick.
2. Cut the dough into 8 wedges using a sharp knife. Place these on your prepared baking sheet.
3. Bake for 15-18 minutes. You want them golden brown and fully cooked in the middle.
4. While the scones cool, make the maple glaze. In a small bowl, whisk together 1 cup of powdered sugar, 2 tablespoons of maple syrup, and 1 tablespoon of milk. Mix until smooth.
5. Drizzle the glaze over the cooled scones. Let it set for a few minutes before enjoying. This sweet touch makes the scones shine!
Pro Tips
- Use Cold Butter: Ensure your butter is cold when mixing with the dry ingredients for flakier scones.
- Avoid Overmixing: Mix the dough just until combined to keep your scones tender and light.
- Customize Spices: Feel free to adjust the spices based on your preference or try adding a pinch of cloves for extra warmth.
- Glaze Variation: Experiment with different flavored syrups in the glaze, like vanilla or caramel, for a unique twist.
Tips & Tricks
Perfecting Scone Texture
To make your scones light and fluffy, avoid overmixing the dough. When you mix the wet and dry ingredients, stir until just combined. If you mix too much, your scones can turn out dense. This step is key for that perfect texture.
Chilling the dough can be helpful too. It firms up the butter, which helps the scones rise better. However, if you chill it too long, it may become hard. Aim for about 15-30 minutes in the fridge for best results.
Serving Suggestions
Enjoy your scones with a warm cup of tea or coffee. The flavors pair well and make a cozy treat. For a festive look, arrange the scones on a pretty plate. You can garnish with a sprig of fresh mint or a light dusting of powdered sugar. These details elevate your presentation.
Troubleshooting Common Issues
If your scones turn out too dry, you can fix them. Try adding a little more cream or butter to the dough next time. This will help keep them moist.
For the glaze, if it’s too sweet, you can adjust it. Add a little extra milk to tone down the sweetness. This makes the glaze smoother and lighter.
Variations
Flavor Modifications
You can change the flavor of your maple glazed pumpkin scones easily. Adding nuts like walnuts or pecans gives a nice crunch. You can also mix in chocolate chips for a sweet twist. If you want to try other spices, swap ground cinnamon for cardamom or allspice. These spices can add warmth and depth to your scones.
Dietary Adaptations
Making gluten-free maple glazed pumpkin scones is simple. Just use gluten-free flour blends. Many blends work well in this recipe. For vegan scones, replace the butter with coconut oil. You can use flaxseed meal mixed with water instead of the egg. This mix helps bind the dough and keeps it moist.
Seasonal Variations
You can switch out pumpkin for other seasonal fruits like sweet potatoes or apples. These ingredients add unique flavors. For a festive touch during the holidays, try adding spices like cloves or allspice. These spices can brighten the taste and make your scones feel extra special.
Storage Info
Storing Leftover Scones
To keep your scones fresh, store them in an airtight container. This method locks in moisture. You can place them in the refrigerator for about three days. If you want to store them longer, use the freezer. Wrap each scone in plastic wrap, then place them in a zip-top bag. They can last up to three months in the freezer.
Reheating Tips
To reclaim freshness, reheat your scones. The oven works best. Preheat it to 350°F (175°C). Place the scones on a baking sheet for about 5 to 10 minutes. This warms them up and keeps them crispy. You can also use the microwave for quick reheating. Heat them for about 15 to 20 seconds. This option is fast but may make them soft.
Shelf Life
You can store scones for about three days at room temperature. In the fridge, they last about three days. If frozen, they stay good for up to three months. Check for signs of spoilage—like mold or a sour smell. If you notice these signs, it’s best to toss them to stay safe.
FAQs
Can I use fresh pumpkin instead of canned?
Yes, you can use fresh pumpkin. To prepare fresh pumpkin, start by cutting the pumpkin in half. Scoop out the seeds and stringy bits. Then, peel the skin and cut the flesh into small pieces. Next, boil or steam the pieces until they are soft. Finally, mash or blend the pumpkin until smooth. This will give you about one cup of fresh pumpkin puree for your scones.
What can I substitute for heavy cream?
If you need a substitute for heavy cream, there are good options. For a dairy alternative, use full-fat coconut milk. It has a rich texture. You can also use half-and-half or whole milk for a lighter version. For a non-dairy option, try almond milk mixed with a bit of coconut oil. This will help mimic the creaminess of heavy cream.
Can I prepare the dough in advance?
Yes, you can make the dough ahead of time. Prepare the dough and wrap it tightly in plastic wrap. Place it in the fridge for up to 24 hours before baking. If you want to freeze the dough, slice it into wedges first. Then, wrap each wedge in plastic wrap and place them in a freezer bag. You can freeze them for up to three months. When ready to bake, just place them on a baking sheet and bake straight from the freezer, adding a few extra minutes to the baking time.
We explored the essentials for making delicious maple glazed pumpkin scones. You learned about the right dry and wet ingredients, with tips on mixing and baking. Perfect texture comes from avoiding overmixing and chilling the dough. We discussed variations for flavor and dietary needs, plus how to store and reheat your scones.
Enjoying these scones with a warm drink will make your day better. Get creative and adapt the recipes to your taste!


