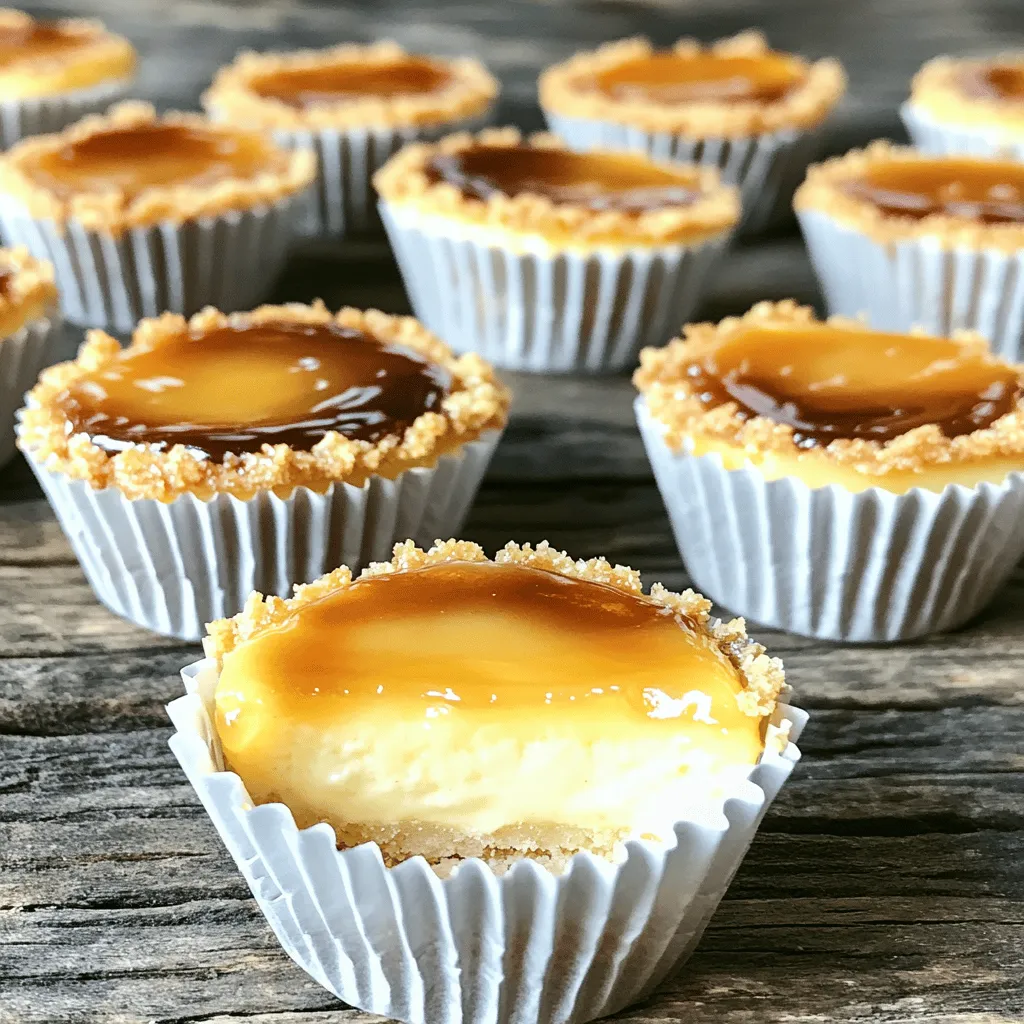
Are you ready to make a delicious treat that wows everyone? This Mini Crème Brûlée Cheesecakes recipe is simple and fun. You’ll learn how to create a creamy cheesecake base with a crispy topping. Each bite is a delightful mix of textures and flavors. Follow my easy instructions, and soon, you’ll impress friends and family with your baking skills. Let’s dive in and whip up these tasty mini desserts!
Ingredients
List of Ingredients
– 1 cup graham cracker crumbs
– 2 tablespoons granulated sugar
– 5 tablespoons unsalted butter, melted
– 8 oz cream cheese, softened
– 1/2 cup granulated sugar
– 1 teaspoon vanilla extract
– 2 large eggs
– 1/4 cup heavy cream
– 2 tablespoons granulated sugar (for topping)
Measurement Details
For this recipe, you need precise amounts to get the best taste. Here’s what you should use:
– Graham cracker crumbs: 1 cup gives a nice crust.
– Granulated sugar: Use 2 tablespoons for the crust and 1/2 cup for the filling.
– Unsalted butter: 5 tablespoons, melted, adds richness.
– Cream cheese: 8 oz, softened, makes it creamy.
– Vanilla extract: 1 teaspoon boosts the flavor.
– Eggs: 2 large help with texture.
– Heavy cream: 1/4 cup for a smooth finish.
– Granulated sugar for topping: 2 tablespoons create the brûlée finish.
If you want alternatives, you can use:
– Crushed cookies instead of graham crackers for a different crust.
– Plant-based cream cheese for a dairy-free option.
Equipment Needed
To make these mini cheesecakes, gather the following tools:
– Muffin pan: This holds the mini cheesecakes.
– Mixing bowls: You need these for mixing your ingredients.
– Kitchen torch or broiler: Use this to caramelize the sugar on top.
With these ingredients and tools, you’re ready to create your delightful mini crème brûlée cheesecakes!
Step-by-Step Instructions
Preparing the Cheesecake Base
Preheating the oven: Start by preheating your oven to 325°F (163°C). This ensures your cheesecakes bake evenly.
Making the crust: In a medium bowl, mix together 1 cup of graham cracker crumbs, 2 tablespoons of sugar, and 5 tablespoons of melted unsalted butter. Stir until the crumbs are coated well. Line a muffin pan with cupcake liners or lightly grease it. Press about 1 tablespoon of the crumb mixture into each liner. Bake for 5-7 minutes until slightly golden, then let them cool.
Mixing the Cheesecake Filling
Steps to achieve the right texture: In a mixing bowl, beat 8 oz of softened cream cheese until smooth. Gradually add in ½ cup of granulated sugar, mixing until well combined.
Incorporating eggs and heavy cream: Add 1 teaspoon of vanilla extract and 2 large eggs, mixing one at a time. Be careful not to overmix. Finally, pour in ¼ cup of heavy cream and mix until smooth and creamy.
Baking and Chilling
Baking times and temperatures: Pour the cheesecake filling into each crust-lined cup, filling them just below the edge. Bake for 20-25 minutes until the edges are set but the centers still jiggle slightly.
Cooling and chilling tips: After baking, remove them from the oven and let them cool at room temperature for about 30 minutes. Then, refrigerate for at least 2 hours, or overnight for the best results.
Now, you’re ready to brulee the tops and enjoy this delightful treat!
Tips & Tricks
Common Mistakes to Avoid
– Overmixing the cheesecake batter: Mix just until smooth. Overmixing can add too much air. This air can cause cracks during baking.
– Underbaking or overbaking: Keep an eye on the time. You want the edges firm but the center slightly jiggly. This helps keep them creamy.
Perfecting the Crème Brûlée Top
– How to achieve a crispy top: Use a kitchen torch for the best results. Move the torch in small circles to melt the sugar evenly.
– Alternate methods without a torch: You can also use your oven’s broiler. Place the cheesecakes under it for just a few seconds. Stay close to avoid burning.
Presentation Suggestions
– Plating and serving ideas: Use small plates for each cheesecake. Add a dollop of whipped cream on the side. This gives a nice touch.
– Garnishes to elevate the dish: Fresh berries or mint leaves add color. A sprinkle of cocoa powder or crushed nuts can enhance the look and taste.
Variations
Flavor Enhancements
You can easily change the flavor of your mini crème brûlée cheesecakes. Adding chocolate is a fun twist. Just mix in melted chocolate when you prepare the cheesecake filling. You can also add fruit. Fresh berries or a fruit puree can brighten the flavors. You can even make a lemon version by adding lemon juice and zest.
For the crust, consider using different options. Instead of graham crackers, try crushed cookies. Oreos or vanilla wafers can work well too. Experiment with nut-based crusts for a gluten-free take.
Dietary Adjustments
Want a gluten-free version? Simply swap out the graham cracker crumbs for gluten-free crumbs. You can find these at most stores. If you need a vegan option, use dairy-free cream cheese. Substitute eggs with flax eggs or applesauce. This makes the recipe kinder for everyone to enjoy.
Seasonal Twists
You can adapt these cheesecakes for the holidays. Try adding pumpkin spice for fall or peppermint for winter. Using seasonal ingredients can make these treats even more special. Fresh strawberries or peaches bring summer flavors into your kitchen. During the holidays, a touch of cinnamon or nutmeg can enhance the taste.
Each variation allows you to make this dessert your own.
Storage Info
How to Store Leftovers
To keep your mini crème brûlée cheesecakes fresh, use airtight containers. Glass or plastic containers work well. Separate layers with parchment paper to avoid sticking. Store them in the fridge. This way, they stay cool and creamy.
Freezing Instructions
You can freeze these mini cheesecakes for later enjoyment. First, place them in a single layer on a baking sheet. Freeze them for about two hours until firm. Then, transfer them to a freezer-safe container. They can last for up to three months. When you want to eat one, just move it to the fridge overnight to thaw. Serve them chilled for the best taste.
Shelf Life
Mini cheesecakes taste best within five days of making them. After that, they might start to lose flavor. If you notice an off smell or any mold, throw them away. Always check for freshness before enjoying your delightful treat.
FAQs
What can I use instead of a kitchen torch?
If you don’t have a kitchen torch, you can use your oven broiler. Place the mini cheesecakes on a baking sheet. Sprinkle sugar on top, then put them under the broiler for a few seconds. Watch closely to avoid burning the sugar. This method gives a nice caramelized effect too.
Can I make these mini cheesecakes ahead of time?
Yes, you can make these mini cheesecakes a day in advance. After baking, let them cool and chill in the fridge. Just add the sugar topping and torch them right before serving. This will keep them fresh and tasty.
How do I know when the cheesecakes are done baking?
You can tell the cheesecakes are done when the edges are set and the center has a slight jiggle. It’s important not to overbake them. The gentle jiggle means they will firm up as they cool.
Is it possible to double the recipe?
Absolutely! You can double the ingredients to make more mini cheesecakes. Just use a larger muffin pan or bake in batches. Remember to adjust baking time as needed. Keep an eye on them to ensure they cook evenly.You’ll find everything you need to create these delightful treats!
You now have all the steps to make mini crème brûlée cheesecakes. We covered ingredients, tools, and techniques to craft this treat. Remember to mix gently and bake carefully to avoid common mistakes. You can try various flavors or dietary options for your cheesecakes.
Enjoy perfecting your recipe, impressing friends and family. These treats are sure to be a hit! Happy baking!


