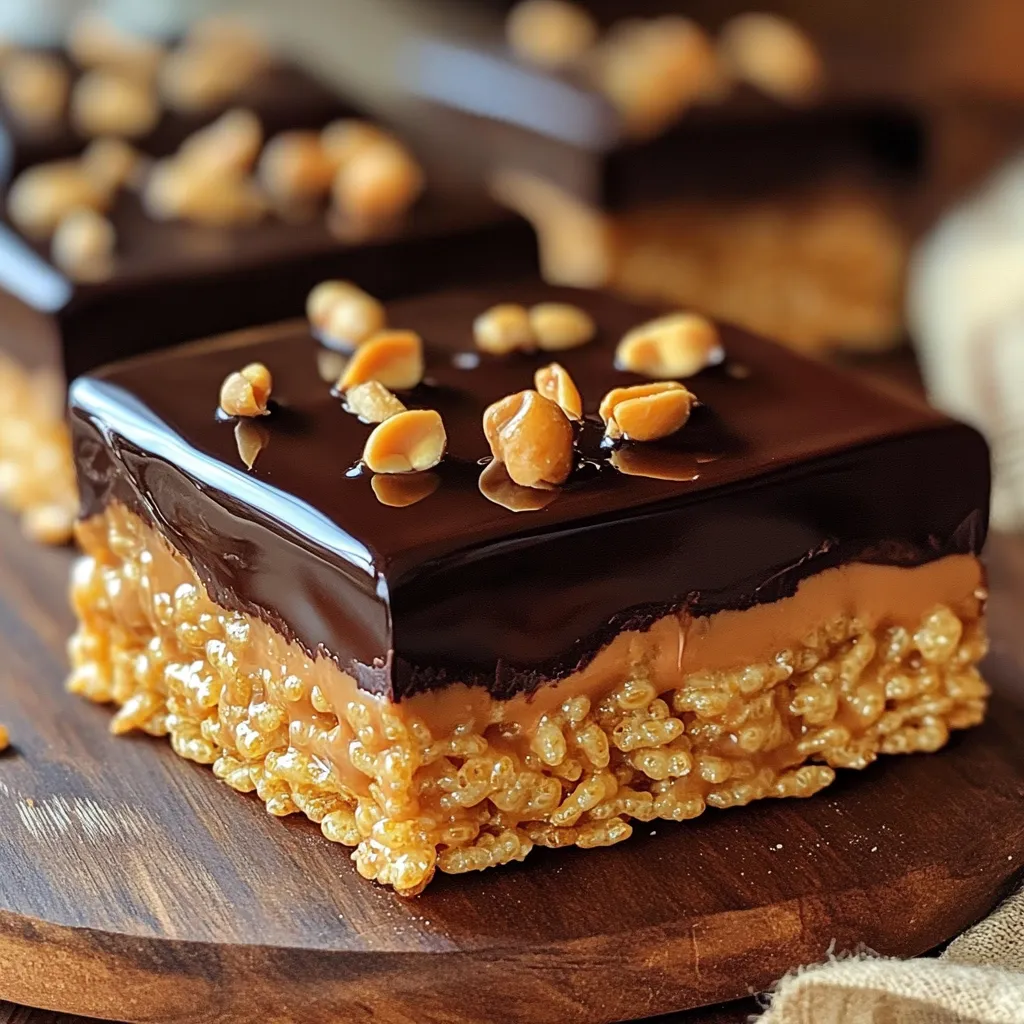
Craving a sweet treat that’s quick and easy? You’ll love these No Bake Chocolate Peanut Butter Krispie Bars! I’ll show you how to whip up this delicious snack with simple ingredients and no oven required. Imagine the rich taste of chocolate and peanut butter, plus a satisfying crunch! Follow my easy steps, and you’ll have a crowd-pleasing dessert in no time. Let’s dive in!
Why I Love This Recipe
- Quick and Easy: This recipe requires no baking and can be prepared in just 15 minutes, making it perfect for last-minute treats.
- Delicious Flavor Combination: The combination of rich chocolate and creamy peanut butter creates a mouthwatering flavor that everyone loves.
- Customizable: You can easily switch up the ingredients by using different nut butters or adding mix-ins like nuts or dried fruit.
- Healthy Sweetener: Using honey or maple syrup as a natural sweetener makes these bars a bit healthier compared to traditional desserts.
Ingredients
List of Required Ingredients
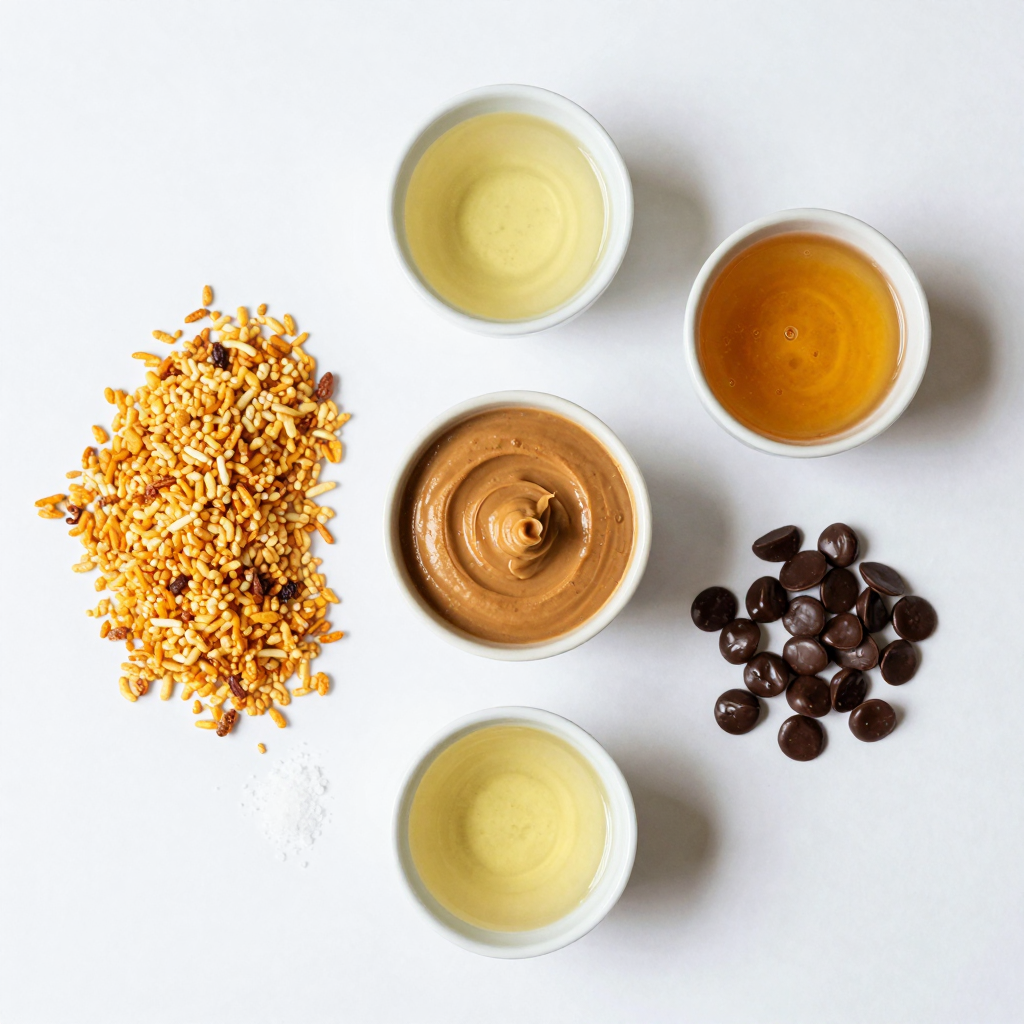
To make these No Bake Chocolate Peanut Butter Krispie Bars, you need:
– 2 cups crispy rice cereal
– 1 cup creamy peanut butter
– 1 cup honey or maple syrup
– 1 cup dark chocolate chips
– 1 teaspoon vanilla extract
– A pinch of salt
These ingredients work together to create a tasty treat that is easy and quick to make.
Recommended Substitutes
If you want to switch things up, consider these substitutes:
– Instead of honey, use maple syrup for a vegan option.
– Swap creamy peanut butter for crunchy peanut butter for extra texture.
– Use milk chocolate chips if you prefer a sweeter taste.
These swaps can help you customize the bars to your liking.
Optional Add-ins
Feel free to enhance your bars with these add-ins:
– Add chopped nuts for crunch.
– Mix in mini marshmallows for sweetness.
– Sprinkle sea salt on top for a salty kick.
These options allow you to make your bars unique and exciting!
Step-by-Step Instructions
Preparation of Peanut Butter Mixture
First, gather your ingredients. You will need creamy peanut butter and honey or maple syrup. Measure one cup of each. Next, take a medium saucepan and place it on low heat. Add the peanut butter and honey to the pan. Stir with a spoon as they heat up. Keep stirring until the mix melts and blends well. This step is key! Once it is smooth, take it off the heat. Now, stir in one teaspoon of vanilla extract and a pinch of salt. This gives the mixture a nice flavor boost.
Mixing in Crispy Rice Cereal
Now, grab a large mixing bowl. Measure two cups of crispy rice cereal and pour it into the bowl. Take your warm peanut butter mixture and pour it over the cereal. Use a spatula to gently fold the cereal into the mix. Make sure all the cereal gets coated. This part is fun! You will see the mixture start to come together. Once it looks even, you’re ready for the next step.
Melting and Adding Chocolate
For the next step, you’ll need dark chocolate chips. Measure one cup and place them in a microwave-safe bowl. Put the bowl in the microwave and heat it in 30-second bursts. Stir in between each burst until the chocolate is fully melted. It should be smooth and shiny. Carefully pour the melted chocolate over the cereal mixture in the pan. Use your spatula to spread it evenly. This creates a nice top layer. After this, put the pan in the fridge for at least one hour. This helps the bars set. After an hour, you can lift them out and cut them into squares! Enjoy your tasty treat!
Pro Tips
- Use Natural Sweeteners: For a healthier option, try using pure maple syrup instead of honey. It brings a unique flavor and is vegan-friendly.
- Chill for Better Texture: Allowing the bars to set in the refrigerator for a longer time, up to 2 hours, results in a firmer texture that is easier to cut.
- Experiment with Toppings: Get creative by adding toppings like crushed nuts, shredded coconut, or a sprinkle of sea salt for added flavor and texture.
- Storage Tips: Store the bars in an airtight container in the refrigerator for up to a week for the best freshness and taste.
Tips & Tricks
How to achieve the perfect texture
To get the best texture for your bars, pay close attention to the peanut butter and honey mixture. Heat it slowly on low. This helps it melt well. Stir it until smooth. Avoid high heat; it can change the taste and texture. When mixing in the crispy rice cereal, fold gently. This keeps the cereal crunchy. Press the mixture firmly into the pan. A flat layer helps the bars hold together.
Common mistakes to avoid
One big mistake is not measuring the ingredients correctly. Too much cereal can make the bars dry. Too little can make them too sticky. Another mistake is rushing the cooling time. If you cut the bars too soon, they may fall apart. Always let them chill in the fridge for at least one hour. Also, don’t skip the salt. It helps balance the sweetness of the chocolate and peanut butter.
Serving suggestions
Serve your bars on a fun plate. You can drizzle extra melted chocolate on top for flair. Crushed peanuts also add a nice crunch. For a treat, pair them with a glass of milk or a scoop of ice cream. These bars are great for parties or snack time. They also make a nice gift. Just wrap them in pretty paper for a sweet surprise!
Variations
Different chocolate options
You can switch up the chocolate in this recipe. Dark chocolate gives a rich taste. Milk chocolate adds sweetness and creaminess. For a fun twist, try white chocolate. It pairs nicely with the peanut butter. Each chocolate adds its own flavor. Mixing chocolates can also create a unique taste.
Alternative nut butters
If you want to change the nut butter, use almond or cashew butter. These options have great flavors and textures. Sunflower seed butter is a good choice for nut-free diets. Each nut butter will give a different taste. Experiment with your favorite to find the best fit for you.
Additional flavors and mix-ins
You can add more fun to these bars. Try adding mini marshmallows for a chewy texture. Raisins give a sweet touch and a bit of chewiness. You can even mix in coconut flakes for a tropical vibe. Chia seeds or flaxseeds boost nutrition and add crunch. Let your creativity shine with these tasty options!
Storage Info
Best practices for storage
To keep your No Bake Chocolate Peanut Butter Krispie Bars fresh, store them in an airtight container. I recommend placing a piece of parchment paper between layers if you stack the bars. This method helps prevent them from sticking together. Keep the container in a cool, dry place, away from heat or sunlight. This will help maintain their texture and flavor.
How long the bars last
Your delicious bars can last up to one week at room temperature. If you store them in the fridge, they can stay fresh for up to two weeks. Just make sure to check for any signs of spoilage before enjoying. If you notice any changes in texture or smell, it’s best to toss them.
Freezing instructions
If you want to keep your bars for longer, freezing is a great option. First, cut the bars into squares or rectangles. Wrap each piece tightly in plastic wrap. Then, place them in a freezer-safe bag or container. They can last up to three months in the freezer. When you’re ready to enjoy them, just take them out and let them thaw in the fridge for a few hours. Enjoy your tasty treat!
FAQs
Can I use agave syrup instead of honey?
Yes, you can use agave syrup instead of honey. Both sweeteners work well in this recipe. Agave syrup has a mild taste, which matches the peanut butter. It makes the bars just as sweet and tasty.
Are these bars kid-friendly?
Absolutely! These bars are very kid-friendly. They have a rich chocolate and peanut butter flavor that kids love. Plus, they are easy to make. Kids can help mix and press the layers, making it a fun kitchen activity.
How to make them vegan?
To make these bars vegan, you need to swap a few ingredients. Use maple syrup instead of honey. Choose dark chocolate chips that are dairy-free. You can use any nut butter that fits your diet. Enjoy a delicious vegan treat!
This article covers how to make tasty peanut butter bars. We explored required ingredients, substitutes, and optional add-ins for flexibility. I shared step-by-step instructions to guide you through preparation, mixing, and melting chocolate. You learned tips for the best texture and common mistakes to avoid. We also looked at variations, storage, and answered common questions.
Now, it’s time to try this fun recipe. Enjoy making these bars your way!


