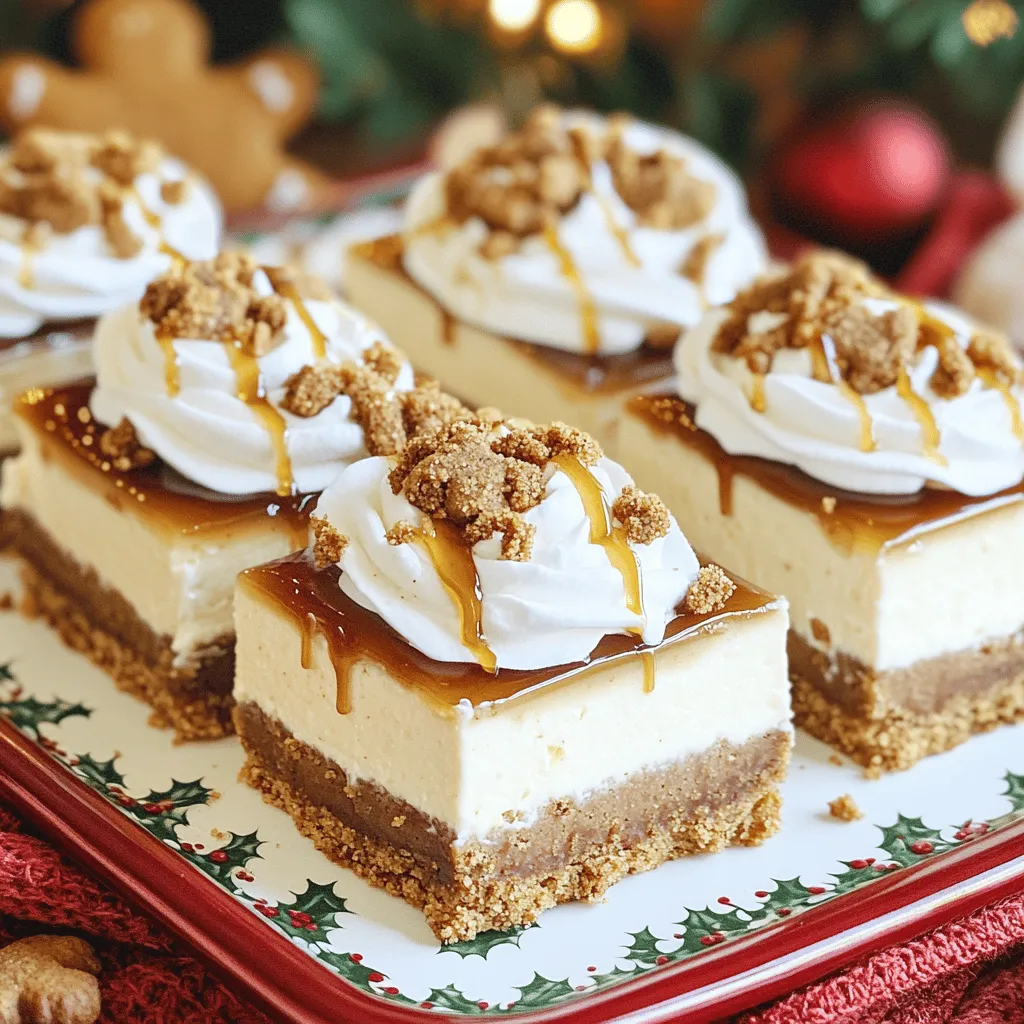
Get ready to indulge in a festive treat with my No-Bake Gingerbread Cheesecake Bars! These bars combine rich cream cheese and warm spices, creating a holiday delight you won’t want to miss. Perfect for gatherings or a cozy night in, they offer a simple way to enjoy seasonal flavors without turning on the oven. Let’s dive into the tasty ingredients and easy steps to make this dessert a true crowd-pleaser!
Why I Love This Recipe
- Deliciously Festive: This cheesecake bars bring the warm, spicy flavors of gingerbread, making them the perfect treat for the holiday season.
- No Baking Required: With no oven time needed, these bars are easy to whip up and perfect for busy holiday schedules.
- Impressive Presentation: These bars look stunning when served, especially with whipped cream and crushed gingerbread on top.
- Perfectly Creamy: The combination of cream cheese and whipped cream creates a light and creamy texture that melts in your mouth.
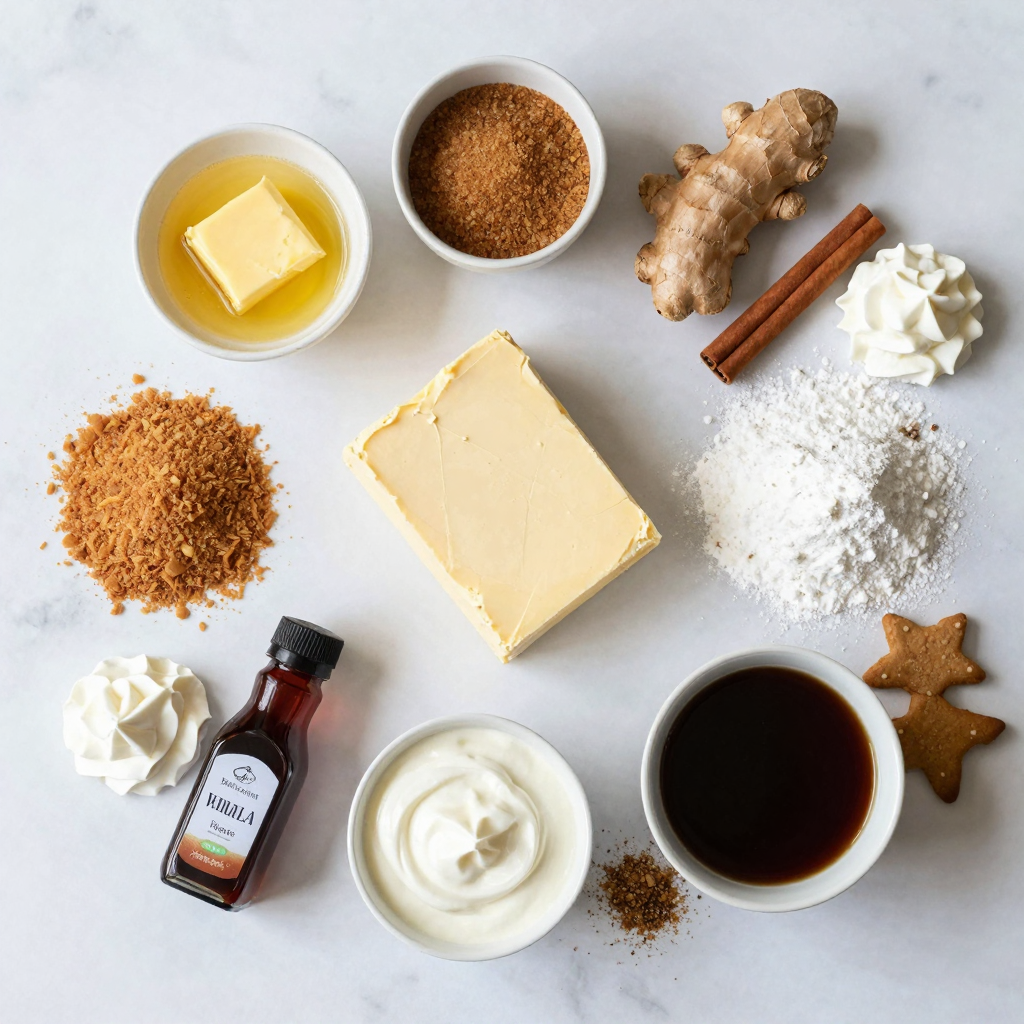
Ingredients
Main Ingredients
– 1 ½ cups graham cracker crumbs
– ½ cup unsalted butter, melted
– ¼ cup brown sugar
– 1 (8 oz) package cream cheese, softened
– 1 cup powdered sugar
– 1 cup heavy whipping cream
These main ingredients form the base of your gingerbread cheesecake bars. The graham cracker crumbs give a nice crunch, while the cream cheese adds richness. The heavy cream helps create a light and fluffy texture.
Flavor Enhancements
– 2 teaspoons ground ginger
– 1 teaspoon cinnamon
– ¼ teaspoon ground nutmeg
These spices bring warmth and depth to the bars. Ground ginger adds a kick, cinnamon offers sweetness, and nutmeg provides a hint of nuttiness. Mixing these into the filling makes each bite taste like the holidays.
Toppings and Decorations
– Whipped cream
– Crushed gingerbread cookies
– Additional molasses
These toppings elevate your dessert. A dollop of whipped cream adds lightness, and crushed gingerbread cookies bring crunch and flavor. Drizzling extra molasses adds a touch of sweetness and a beautiful finish.
Step-by-Step Instructions
Preparing the Crust
To start, grab a medium bowl. Combine 1 ½ cups of graham cracker crumbs, ½ cup of melted unsalted butter, and ¼ cup of brown sugar. Add 2 teaspoons of ground ginger and 1 teaspoon of cinnamon. Mix until all the ingredients come together. You want a sandy texture.
Next, line an 8×8-inch baking pan with parchment paper. This makes it easy to lift out the bars later. Press the mixture firmly and evenly into the bottom of the pan. Make sure it’s compact so your crust holds up. Chill the crust in the fridge while you prepare the filling.
Making the Filling
In a large bowl, beat 1 (8 oz) package of softened cream cheese until it’s smooth. This should take a few minutes. Next, add 1 cup of powdered sugar, 1 teaspoon of vanilla extract, and 1 teaspoon of molasses. Mix until everything is creamy and well blended.
In another bowl, whip 1 cup of heavy cream until stiff peaks form. This part is fun! Carefully fold the whipped cream into the cream cheese mixture. Be gentle to keep the air in the whipped cream. It makes your cheesecake light and fluffy!
Then, sprinkle in ¼ teaspoon of ground nutmeg. Fold this in just until it’s mixed.
Assembling and Chilling
Now, it’s time to assemble! Pour the cheesecake filling over the prepared crust. Use a spatula to spread it evenly. This helps each bite have the right amount of crust and filling.
Cover the pan with plastic wrap. Refrigerate it for at least 4 hours. This chilling time is important for it to set properly. Once it’s set, you can lift the cheesecake out of the pan using the parchment paper. Cut it into bars and enjoy your delightful treat!
Pro Tips
- Use Room Temperature Ingredients: Allow the cream cheese to soften at room temperature for easier mixing and a smoother filling.
- Chill Thoroughly: Ensure the cheesecake bars are chilled for at least 4 hours to achieve the perfect texture and firmness.
- Customize the Spices: Feel free to adjust the spices to your taste; add more ginger or cinnamon for an extra kick!
- Presentation Matters: For an elegant presentation, serve on a festive platter and garnish with additional crushed gingerbread cookies and a drizzle of molasses.
Tips & Tricks
Achieving the Perfect Cheesecake Texture
To get the right texture for your cheesecake, start with whipped cream. Whipping the cream gives it a light and airy feel. Fold it into your cream cheese mix slowly. This way, you keep that fluffy texture. Ensure your cream cheese is soft before mixing. A smooth cream cheese mixture makes a creamy filling.
Presentation Suggestions
For serving, cut the bars into neat squares. Use a sharp knife for clean edges. Place them on a festive platter to wow your guests. A drizzle of extra molasses can add a nice touch. You can also sprinkle crushed gingerbread cookies on top for a fun look.
Common Mistakes to Avoid
One mistake is overmixing the whipped cream. This can make it lose its fluffiness. Be gentle when folding it into the cream cheese mix. Another common error is not chilling the bars long enough. They need at least four hours in the fridge to set properly. Don’t rush this step for the best results.
Variations
Flavor Variations
You can make your No-Bake Gingerbread Cheesecake Bars even tastier by adding flavors. Try mixing in pumpkin spice for a warm twist. Just a teaspoon can bring fall vibes to your bars. If you’re a chocolate lover, swap some of the cream cheese with chocolate cream cheese. This will give you rich, sweet bars that blend perfectly with the gingerbread.
Dietary Adjustments
If you need gluten-free options, use gluten-free graham cracker crumbs. They work just as well and will keep the taste intact. For those who want a dairy-free version, try using dairy-free cream cheese. Many brands now offer great taste without the dairy. Just be sure to check the texture so it blends well.
Portion Adjustments
You can easily scale this recipe to fit your needs. If you want fewer bars, cut the recipe in half and use a smaller pan. If you want more, double the ingredients and use a larger pan. You can also make mini cheesecake bars. Just use a muffin tin and line it with cupcake liners. This way, you get fun, bite-sized treats that are perfect for sharing.
Storage Info
Proper Storage Methods
To keep your no-bake gingerbread cheesecake bars fresh, start with the refrigerator. Place the bars in an airtight container. You can also cover them with plastic wrap. This helps prevent them from absorbing other smells.
If you want to freeze them, wrap each bar in plastic wrap first. Then, place them in a freezer-safe bag. Make sure to squeeze out all the air. This helps prevent freezer burn.
Shelf Life
In the fridge, your cheesecake bars will last about 5 days. After 5 days, they may lose their creamy texture and flavor.
For the best results, you can freeze the bars for up to 3 months. Just remember, the longer they stay in the freezer, the more they may lose taste and texture.
Reheating Tips
When ready to enjoy your frozen bars, take them out of the freezer. Let them thaw in the fridge overnight. This keeps them cool and tasty.
If you want to refresh the texture after freezing, you can whip a bit of cream. Gently fold it into the thawed bars. This helps restore some of the creaminess. Enjoy your delicious treat!
FAQs
Can I make these bars ahead of time?
Yes, you can make these bars ahead of time. I suggest preparing them one to two days in advance. This allows the flavors to meld and the texture to set nicely. After making the bars, store them in the refrigerator. Cover them with plastic wrap to keep them fresh. This makes them a great choice for parties or holiday gatherings.
What can I substitute for graham crackers?
If you need an alternative crust, there are several options. You can use crushed Oreos for a chocolate twist. Another great choice is using crushed vanilla wafers. If you prefer a gluten-free option, try almond flour or gluten-free cookie crumbs. Each option gives a unique flavor, so feel free to experiment.
How do I achieve the best consistency?
To get the best consistency, focus on mixing. Start by beating the cream cheese until it is very smooth. Add the powdered sugar slowly to avoid lumps. When whipping the cream, make sure it reaches stiff peaks. Gently fold the whipped cream into the cream cheese mixture to keep it light and airy. Avoid overmixing, as this can lead to a dense texture.
This cheesecake recipe combines simple ingredients and clear steps for a delicious treat. You learned about key ingredients and how to prepare them for a tasty outcome. I shared tips to avoid common mistakes and ways to create variations. Remember to store your cheesecake correctly and enjoy it fresh. Now, you can impress friends and family with your skills in making these cheesecake bars at home. Enjoy the sweet rewards of your hard work!


