Are you ready to elevate your dessert game? My Not Yo Mama’s Banana Pudding is a simple yet delicious treat that reinvents a classic favorite. With easy steps and fresh flavors, you’ll impress family and friends. From special ingredients to handy tips, this guide covers it all. Let’s dive in and make a banana pudding that stands out! Your taste buds are about to thank you.
Ingredients
Detailed List of Ingredients
To make Not Yo Mama’s Banana Pudding, gather these items:
– 4 ripe bananas, sliced
– 1 box (12 oz) vanilla wafer cookies
– 1 cup heavy cream
– 1 cup whole milk
– 1/2 cup granulated sugar
– 1/4 cup cornstarch
– 1 teaspoon vanilla extract
– 1/4 teaspoon salt
– 3 large egg yolks
– 1/2 teaspoon ground cinnamon
– 1/2 cup toasted coconut (optional for garnish)
These ingredients blend together to create a rich and creamy pudding. Each item plays a key role in flavor and texture. The bananas add sweetness, while the vanilla wafers give a lovely crunch.
Substitutes for Common Ingredients
You might not have everything on hand. Here are some easy swaps:
– Use almond milk instead of whole milk for a lighter option.
– Swap granulated sugar with brown sugar for a deeper flavor.
– Cornstarch can be replaced with all-purpose flour, but it may alter the texture slightly.
– If you want a lighter topping, use whipped topping instead of heavy cream.
These substitutes keep the dish tasty while making it easier to prepare.
Optional Add-ons and Garnishes
To elevate your pudding, consider these add-ons:
– A sprinkle of chopped nuts for added crunch.
– A drizzle of chocolate sauce for a sweet contrast.
– Fresh berries like strawberries or raspberries for a tart touch.
– Add a layer of peanut butter for a rich twist on flavor.
These options let you customize your pudding to suit your taste.
Step-by-Step Instructions
Preparing the Pudding Base
Start by mixing milk, heavy cream, sugar, cornstarch, salt, and cinnamon in a saucepan. Use a whisk to blend these well. Cook over medium heat while stirring all the time. You want this to thicken and bubble. This takes about 5 to 7 minutes. Once thick, remove it from the heat.
Incorporating the Egg Yolks
In a small bowl, whisk the egg yolks until they are smooth. To avoid cooking them too fast, we need to temper the yolks. Slowly add a few spoonfuls of the hot pudding to the yolks while whisking. This keeps the yolks from curdling. After that, whisk the yolk mix back into the saucepan. Cook this for 1 to 2 more minutes until thick and creamy. Finally, stir in the vanilla extract.
Layering the Ingredients
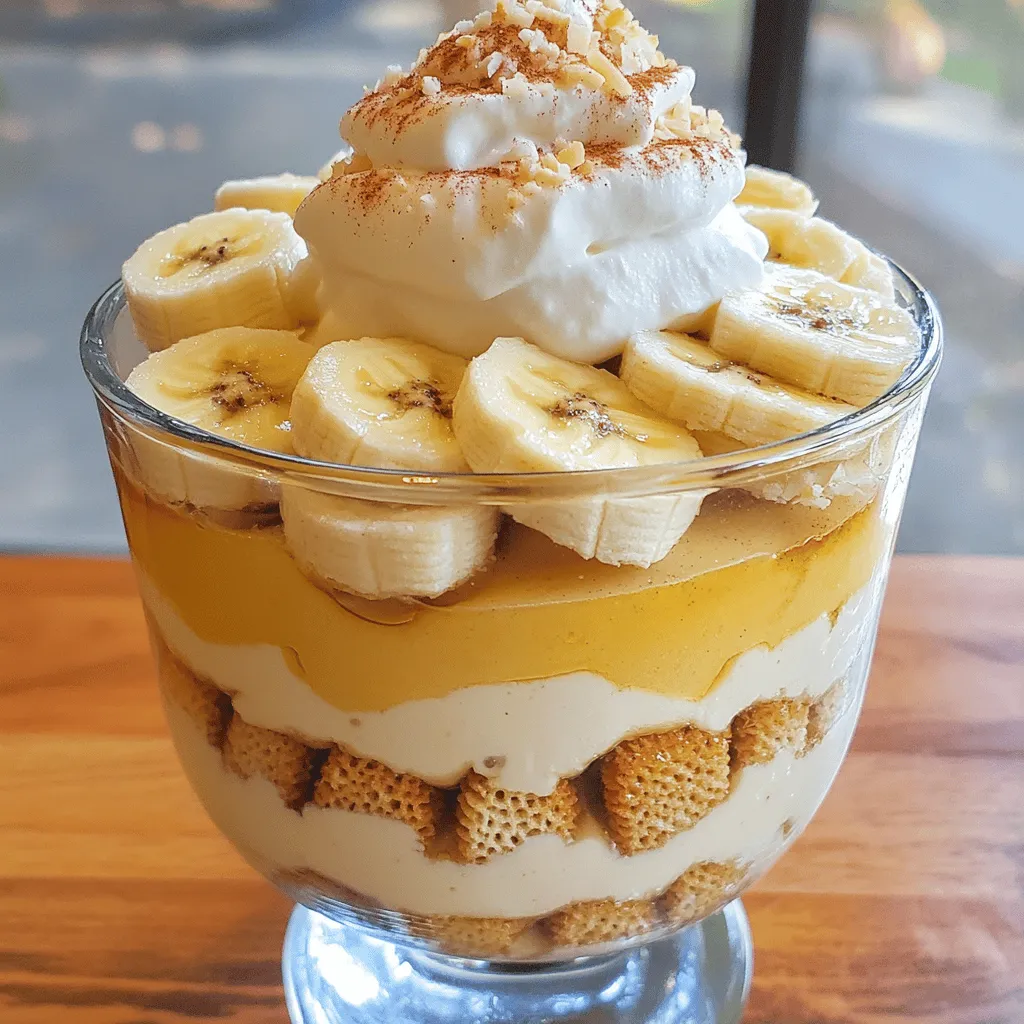
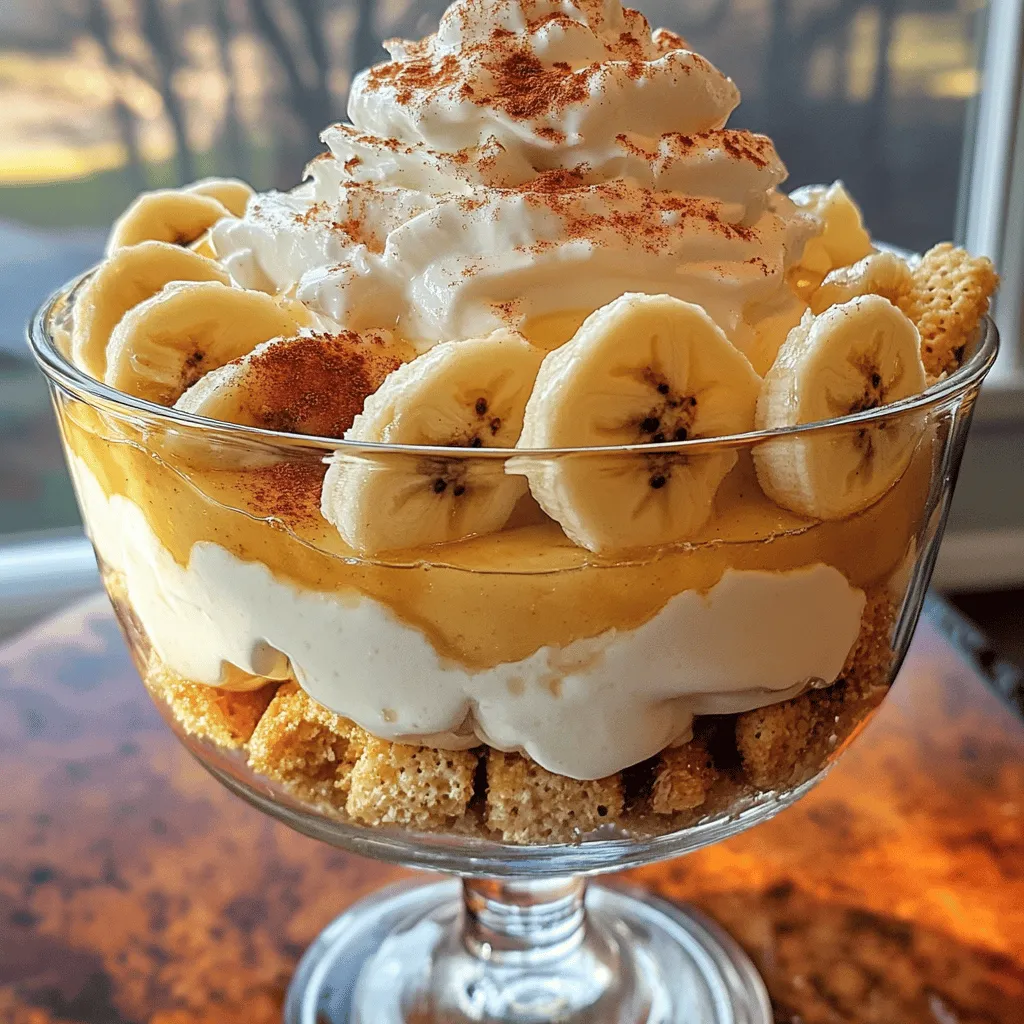
Grab a large dish or some individual glasses. Start with a layer of vanilla wafers. Next, add a layer of sliced bananas. Then, pour a generous layer of the warm pudding on top. Keep repeating these layers until you run out of ingredients. Finish with a layer of pudding on the top.
Tips & Tricks
How to Achieve the Perfect Pudding Consistency
To get the best pudding, focus on cooking time. Stir the mixture constantly. This helps it thicken nicely. When it starts to bubble, it is almost done. You want it thick but smooth. It should coat the back of a spoon. If it’s too runny, it might need more cooking. Always check it closely during the last minutes.
Preventing Common Issues
Two common issues are curdling and skin formation. To avoid curdling, temper the egg yolks first. Slowly mix hot pudding into the yolks, then back into the pot. For skin formation, cover the pudding directly with plastic wrap. This keeps it smooth while cooling. If you see a skin form, just whisk it in before serving.
Presentation Tips for Serving
Layering is key for a beautiful dish. Start with vanilla wafers, then bananas, and warm pudding. Repeat until you reach the top. Finish with pudding and a dollop of whipped cream. Add toasted coconut for crunch. A sprinkle of cinnamon gives it a nice touch. Serve in clear glasses for a lovely view of the layers.
Variations
Flavor Twists
You can easily change the flavor of Not Yo Mama’s Banana Pudding. Here are some ideas:
– Chocolate: Add cocoa powder to the pudding base. Use chocolate wafers instead of vanilla.
– Caramel: Drizzle caramel sauce between the layers. You can also fold caramel into the pudding base.
– Peanut Butter: Mix in some peanut butter for extra creaminess. It pairs well with bananas.
– Coconut: Use coconut milk instead of whole milk. Top with extra toasted coconut for flavor.
Dietary Adjustments
You can adapt this recipe to fit different diets. Here are some options:
– Gluten-Free: Use gluten-free vanilla wafers. Many brands offer great substitutes.
– Dairy-Free: Substitute almond milk or coconut milk for dairy. Use coconut cream in place of heavy cream.
– Low-Sugar: Replace granulated sugar with a low-calorie sweetener. Just be sure to adjust the amount based on the brand you use.
Creative Serving Suggestions
Serving is key to impressing your guests. Here are some fun ideas:
– Individual Cups: Layer the pudding in small cups for easy serving. This makes it fun and fancy.
– Pudding Parfaits: Layer pudding with fruits and granola in a tall glass. It adds texture and looks beautiful.
– Garnish with Fresh Fruit: Add sliced bananas or berries on top. It makes each serving pop with color.
– Serve with Cookies: Pair the pudding with extra vanilla wafers or cookies on the side. This adds a nice crunch.
Storage Info
Best Practices for Refrigeration
To keep your Not Yo Mama’s banana pudding fresh, store it in the fridge. Use an airtight container to prevent any odors from other foods seeping in. Make sure the pudding is covered tightly with plastic wrap. This helps avoid a skin from forming on top.
How Long it Lasts in the Fridge
When stored properly, this banana pudding lasts about 3 to 4 days in the fridge. After that, the bananas may brown and the texture can change. For the best taste, try to enjoy it within the first couple of days.
Freezing Options and Tips
You can freeze banana pudding, but it may change in texture. If you want to freeze it, do so before adding the bananas. Place the pudding in a freezer-safe container. It will last up to 2 months in the freezer. When you’re ready to eat, let it thaw in the fridge overnight. Add fresh banana slices just before serving.
FAQs
What makes this Banana Pudding different from traditional recipes?
This banana pudding has a rich, creamy base that stands out. I use cornstarch, which makes it thick and smooth. Traditional recipes often use instant pudding, but I prefer a homemade touch. The layers of fresh bananas and vanilla wafers create a lovely texture. Plus, I add a hint of cinnamon for warmth. This gives it a unique flavor twist.
Can I use alternative sweeteners in this recipe?
Yes, you can! If you want to cut down on sugar, try using a sweetener like honey or maple syrup. You may need to adjust the amount since these sweeteners are sweeter than sugar. Stevia or erythritol also work well. Just be sure to check the conversion for the sweetener you choose.
How can I make this recipe in advance?
Making this banana pudding ahead of time is easy. You can prepare the pudding base and layer it with bananas and wafers up to a day in advance. Just remember to cover it tightly with plastic wrap to keep it fresh. It tastes even better after chilling overnight, as the flavors meld together.
Why is my pudding not thickening?
If your pudding doesn’t thicken, it could be due to a few reasons. First, ensure you whisk the cornstarch well before cooking. Also, cook it long enough on medium heat. The mixture should bubble and start to thicken. If you added the egg yolks too early, they may not have cooked properly, which can affect the thickness.
In this article, we covered the key ingredients for your banana pudding. We explored substitutes, optional add-ons, and detailed steps for preparation. I shared tips for perfecting consistency and preventing issues. We also discussed fun variations and storage best practices.
Remember, this pudding can be simple but tasty. Keep experimenting with flavors and enjoy each bite!


