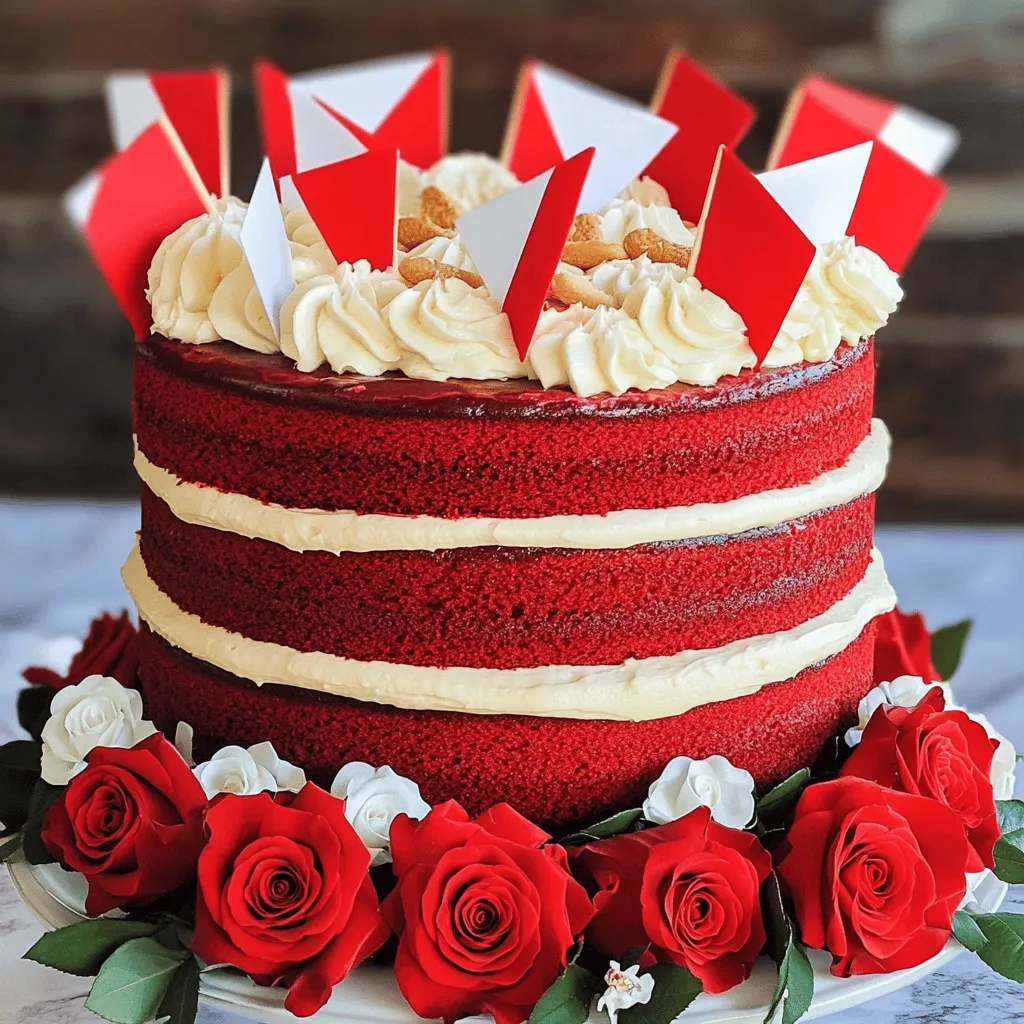
Do you crave a sweet and vibrant treat that impresses everyone? Look no further! My simple and delicious Red Velvet Layer Cake recipe will satisfy your taste buds and brighten your table. With rich flavors and a creamy frosting, this cake is perfect for any occasion. I’ll guide you through each step, ensuring your baking experience is easy and enjoyable. Let’s dive into the world of red velvet and create something special together!
Ingredients
Primary Ingredients for Red Velvet Layer Cake
To make a red velvet layer cake, you need the following key ingredients:
– 2 ½ cups all-purpose flour
– 1 ½ cups granulated sugar
– 1 cup vegetable oil
– 1 cup buttermilk, room temperature
– 2 large eggs, room temperature
– 2 tablespoons red food coloring
– 1 teaspoon vanilla extract
– 1 teaspoon baking soda
– 1 teaspoon white vinegar
– 1 teaspoon salt
These ingredients create a rich, moist cake with a deep red color. The buttermilk adds tanginess, while the food coloring gives it that iconic hue.
Essential Ingredients for Cream Cheese Frosting
For the cream cheese frosting, gather these essentials:
– 1 cup cream cheese, softened
– ½ cup unsalted butter, softened
– 4 cups powdered sugar
– 1 teaspoon vanilla extract
– 2 tablespoons heavy cream or milk
This frosting is smooth and creamy. The combination of cream cheese and butter creates a rich flavor that pairs well with the cake.
Optional Decorations and Toppings
To make your cake stand out, consider these fun toppings:
– Sprinkles
– Fresh berries
– Shaved chocolate
These decorations add flavor and color. You can even use fresh flowers for an elegant touch.
Step-by-Step Instructions
Preparing the Cake Batter
Start by preheating your oven to 350°F (175°C). Grease and flour three 9-inch round cake pans. You can also line them with parchment paper for easy removal. In a large bowl, whisk together 2 ½ cups of all-purpose flour, 1 ½ cups of granulated sugar, 1 teaspoon of baking soda, and 1 teaspoon of salt. This mix is key for a light cake.
In another bowl, mix 1 cup of vegetable oil, 1 cup of buttermilk, 2 large eggs, 2 tablespoons of red food coloring, 1 teaspoon of vanilla extract, and 1 teaspoon of white vinegar. Whisk these until smooth. Gradually add this wet mix to the dry mix. Stir gently until just combined. Avoid overmixing to keep your cake fluffy.
Baking the Cake Layers
Now it’s time to bake! Divide the batter evenly among the prepared pans. Bake for 25-30 minutes. Check for doneness by inserting a toothpick in the center. If it comes out clean, your cakes are ready. After baking, let them cool in the pans for about 10 minutes. Then, transfer the layers to a wire rack to cool completely.
Making the Cream Cheese Frosting
While the cake cools, let’s make the frosting. In a bowl, beat together 1 cup of softened cream cheese and ½ cup of softened unsalted butter until creamy and smooth. Gradually add 4 cups of powdered sugar. Mix until combined. Then, add 1 teaspoon of vanilla extract and 2 tablespoons of heavy cream or milk. Adjust the cream to reach your desired frosting consistency.
Assembling and Decorating the Cake
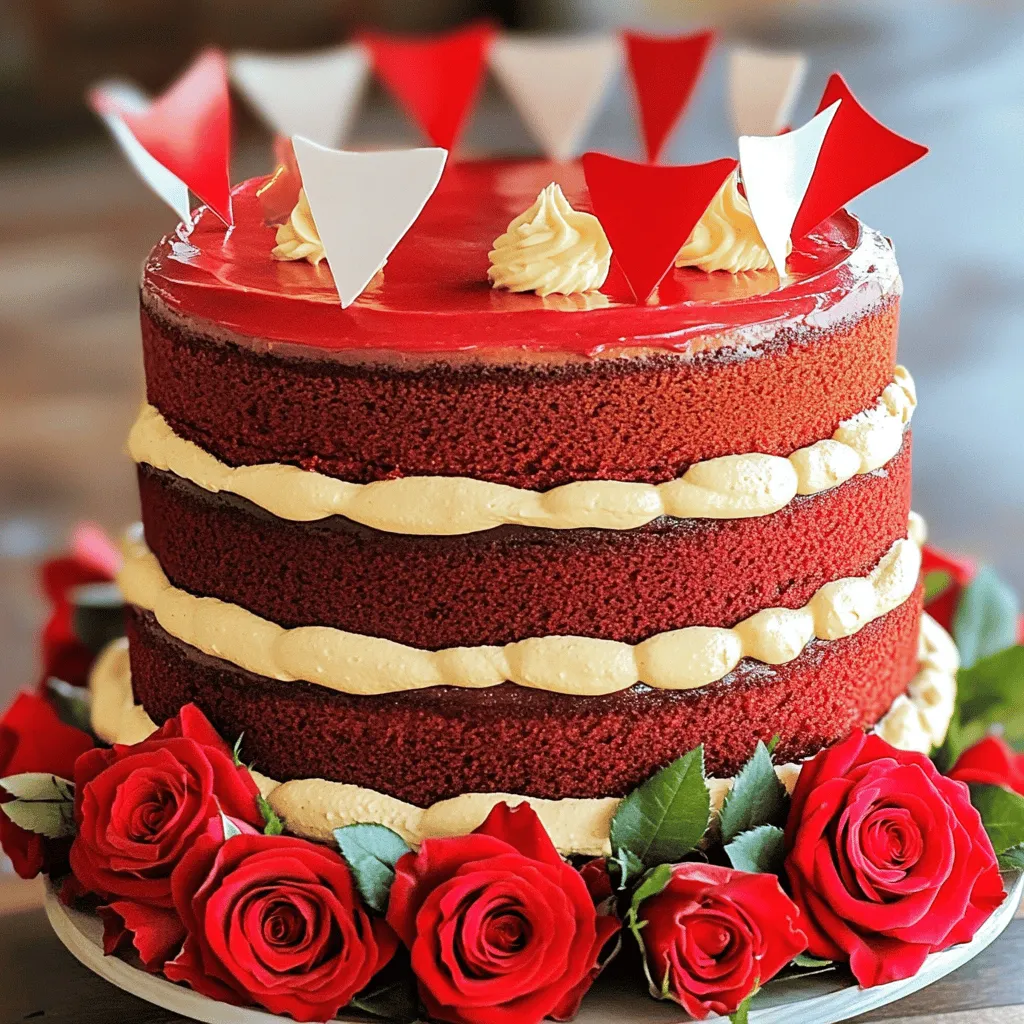
Once your cake layers are cool, it’s time to assemble. Place the first layer on a serving plate and spread a generous amount of cream cheese frosting on top. Add the second layer and repeat with the frosting. Finally, place the last layer on top. Use the remaining frosting to cover the top and sides of the cake. For decoration, consider adding sprinkles, fresh berries, or shaved chocolate on top.
Tips & Tricks
Achieving the Perfect Red Color
To get that stunning red color, use gel food coloring. Gel coloring gives more vibrant color than liquid. Start with two tablespoons as the recipe states, but feel free to add more if needed. Mix it well into your wet ingredients. Don’t skip this step, as it makes your cake pop!
Ensuring Moisture in the Cake
Moisture is key for a great cake. Use room temperature ingredients like buttermilk and eggs. This helps them mix better and keeps the cake soft. Also, don’t overbake! Check the cakes a few minutes before the timer goes off. A toothpick should come out clean but not dry.
Common Mistakes to Avoid
One common mistake is overmixing the batter. When you mix too much, the cake becomes tough. Just mix until the dry ingredients are combined. Another mistake is skipping the cooling time. Letting the layers cool properly keeps them from breaking apart when you frost them. Follow these tips, and your cake will shine!
Variations
Alternate Frosting Options
If you want to change up the frosting, there are many choices. You could use chocolate ganache for a rich twist. A whipped cream frosting gives a light feel, perfect for summer. You can even try a vanilla buttercream for a classic touch. Each option adds a new flavor, making your cake unique and fun.
Gluten-Free Red Velvet Layer Cake
To make a gluten-free red velvet cake, swap all-purpose flour for a gluten-free blend. Look for a mix that includes xanthan gum, which helps with texture. This swap keeps the cake moist and tasty, just like the original. Always check your baking powder and food coloring for gluten-free labels.
Mini Red Velvet Cakes or Cupcakes
If you prefer smaller treats, try making mini red velvet cakes or cupcakes. Use the same batter, but fill cupcake liners about two-thirds full. Bake them for 15-20 minutes. This way, each person gets their own cake. They are perfect for parties or special occasions. Plus, they are easy to decorate and serve!
Storage Info
Best Practices for Storing Leftover Cake
Store your leftover red velvet layer cake in an airtight container. This keeps the cake moist and fresh. You can also wrap each slice in plastic wrap. If you use plastic wrap, make sure it fits tightly. Place the wrapped slices in a container for extra protection. This helps avoid any odors from your fridge.
Freezing Instructions for Red Velvet Cake
To freeze your cake, first, let it cool completely. Wrap each layer in plastic wrap, then in aluminum foil. This double wrap prevents freezer burn. You can also freeze slices if you prefer. Just follow the same wrapping steps. When ready to eat, thaw the cake in the fridge overnight for best results.
How Long Does Red Velvet Cake Last?
Red velvet cake lasts about 3 to 5 days in the fridge. If frozen, it can last up to 3 months. Always check for any signs of spoilage before eating. If you see mold or smell anything off, it’s best to throw it away. Keeping your cake stored properly helps it stay delicious for longer. Enjoy your sweet treat!
FAQs
What Makes Red Velvet Cake Red?
Red velvet cake gets its red color from cocoa powder and red food coloring. The cocoa gives a rich flavor, while the food coloring adds the signature hue. Some people use natural beet juice for a healthier option. This cake has a unique taste, blending chocolate and vanilla. The acidity from buttermilk and vinegar also helps create a tender crumb.
Can I Substitute Ingredients in the Recipe?
Yes, you can substitute some ingredients. If you don’t have buttermilk, mix milk with lemon juice or vinegar. Use vegetable oil instead of butter for a lighter texture. If you want a gluten-free cake, try a gluten-free flour blend. You can swap cream cheese with mascarpone for a different frosting flavor. Just remember that these changes may alter the final taste and texture.
Where Can I Buy a Red Velvet Layer Cake?
You can find red velvet layer cake at many bakeries. Check local shops or grocery stores with bakery sections. Some specialty cake shops offer unique designs too. If you’re short on time, look online for delivery options. Many bakeries ship cakes nationwide.
In this article, we explored the key ingredients for making a delicious red velvet layer cake and its cream cheese frosting. I shared step-by-step instructions for preparing, baking, and decorating your cake. I also covered important tips to ensure moisture and perfect color. You can try fun variations like gluten-free options or mini cakes. Remember to store leftovers properly to enjoy them later. With these insights, you’ll impress anyone with this tasty treat. Enjoy baking your red velvet cake!


