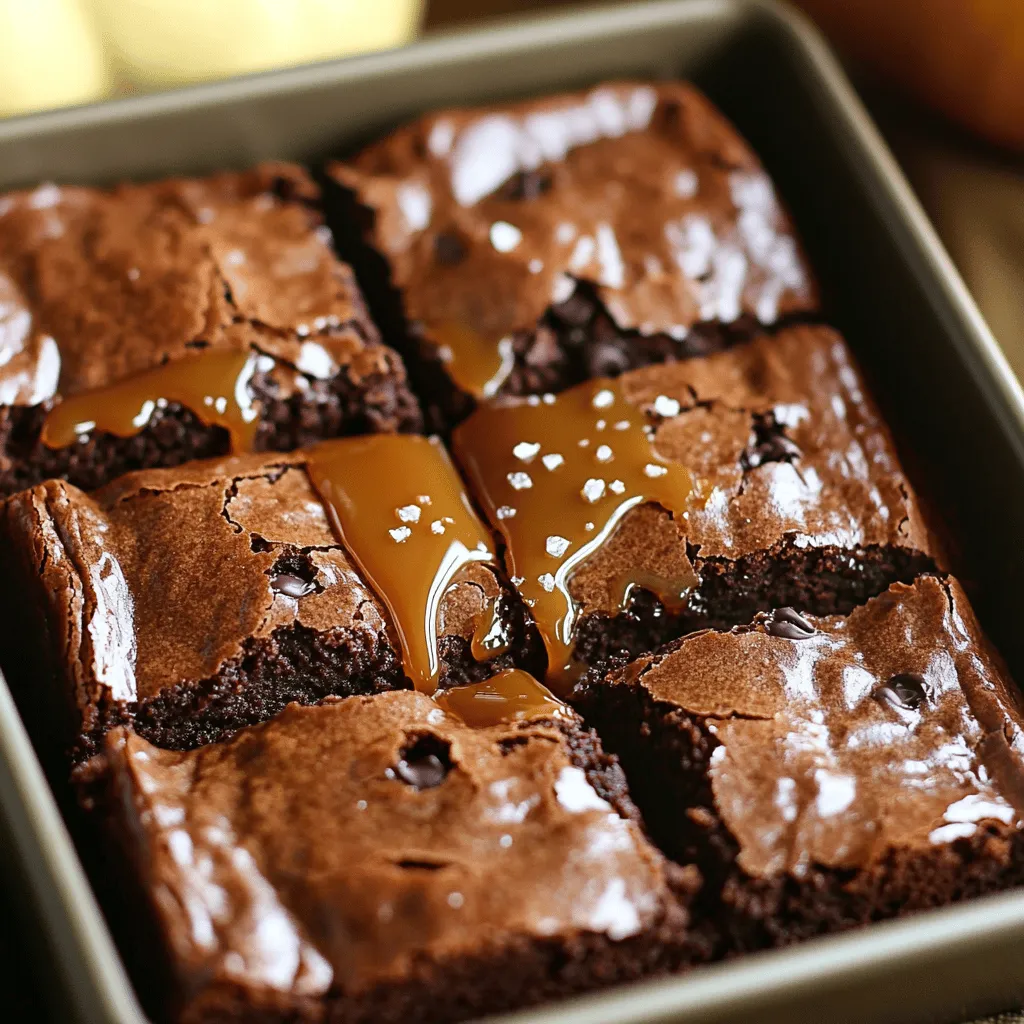
Indulge in the perfect treat with my Salted Caramel Chocolate Pumpkin Brownies Delight! These rich, fudgy brownies blend sweet caramel and spiced pumpkin for a fall-inspired dessert. Whether you are hosting a gathering or treating yourself, this recipe is sure to impress. Let’s dive in and create this crowd-pleaser together, step by step. Get ready to love every bite!
Why I Love This Recipe
- Moist and Fudgy: These brownies have the perfect texture, combining the rich flavors of chocolate and pumpkin for a decadent treat.
- Perfect for Fall: With pumpkin as a key ingredient, this recipe captures the essence of autumn, making it ideal for seasonal gatherings.
- Salted Caramel Delight: The addition of salted caramel elevates the flavor profile, providing a sweet and salty contrast that is irresistible.
- Easy to Make: With simple ingredients and straightforward steps, these brownies are quick to whip up, making them a go-to dessert for any occasion.
Ingredients
List of Ingredients
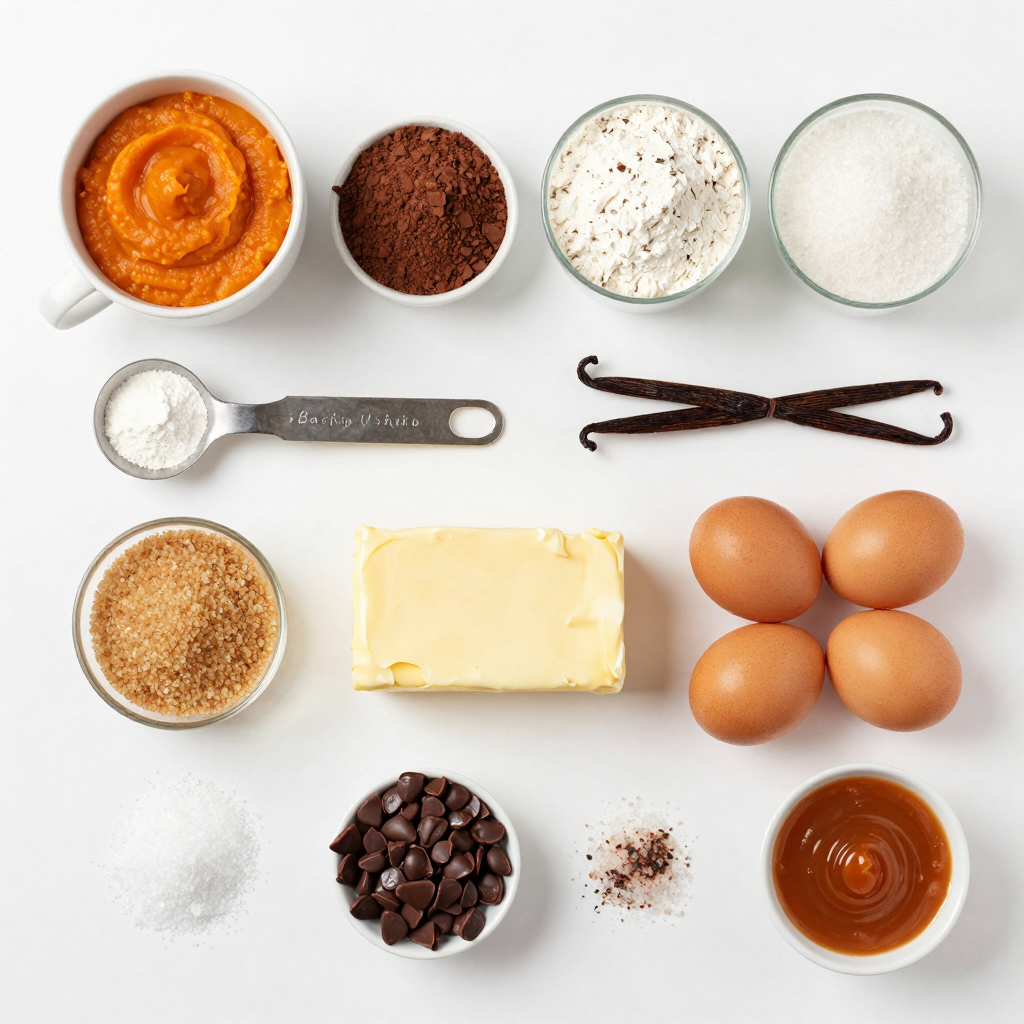
To make salted caramel chocolate pumpkin brownies, gather these ingredients:
– 1 cup pumpkin puree
– 1/2 cup unsweetened cocoa powder
– 1 cup all-purpose flour
– 1 cup granulated sugar
– 1/2 cup brown sugar, packed
– 1/2 cup unsalted butter, melted
– 3 large eggs
– 1 teaspoon vanilla extract
– 1/2 teaspoon baking powder
– 1/4 teaspoon baking soda
– 1/2 teaspoon salt
– 1/2 cup chocolate chips (dark or semi-sweet)
– 1/2 cup salted caramel sauce (store-bought or homemade)
– Flaky sea salt, for garnish
Ingredient Substitutions
You can swap some ingredients if needed:
– Use almond flour for gluten-free brownies.
– Replace unsweetened cocoa powder with carob powder for a different taste.
– Try using coconut oil instead of butter for a dairy-free option.
– Brown sugar can be replaced with coconut sugar for a healthier choice.
Tips for Choosing Quality Ingredients
Selecting quality ingredients enhances flavor:
– Pumpkin Puree: Look for 100% pure pumpkin. Avoid pumpkin pie filling, as it has added sugar and spices.
– Cocoa Powder: Choose high-quality unsweetened cocoa for rich flavor. Dutch-processed cocoa gives a smoother taste.
– Butter: Use unsalted butter for better control over salt levels.
– Chocolate Chips: Opt for high-cocoa content chocolate chips for intense chocolate flavor. Dark chocolate adds depth.
– Caramel Sauce: If making homemade, use fresh ingredients for the best taste. Store-bought should have a smooth consistency without additives.
Step-by-Step Instructions
Prepping Your Oven and Baking Pan
First, preheat your oven to 350°F (175°C). This step ensures even baking. Next, grab an 8×8-inch baking pan. You can grease it with butter or oil. Alternatively, line it with parchment paper for easy removal.
Mixing Wet Ingredients
In a large bowl, add 1 cup of pumpkin puree. Then, pour in 1/2 cup of melted unsalted butter. Next, add 1 cup of granulated sugar and 1/2 cup of packed brown sugar. Toss in 1 teaspoon of vanilla extract. Mix everything until it’s smooth and well combined.
Now, crack in 3 large eggs one by one. Beat well after each egg. This step helps to create a rich, moist brownie.
Combining Dry Ingredients
In another bowl, whisk together 1 cup of all-purpose flour, 1/2 cup of unsweetened cocoa powder, 1/2 teaspoon of baking powder, 1/4 teaspoon of baking soda, and 1/2 teaspoon of salt. Make sure there are no lumps. This mix adds structure and flavor to your brownies.
Layering the Brownies
Gradually add the dry mix to the wet mix. Stir until just combined. Be gentle to avoid overmixing. Next, fold in 1/2 cup of chocolate chips, reserving a few for later.
Now, pour half of the brownie batter into the prepared pan. Spread it out evenly. Drizzle half of the salted caramel sauce over this layer. Carefully pour the remaining batter on top. Finally, drizzle the rest of the caramel sauce. Use a knife to swirl it lightly into the batter.
Baking Process and Cooling Tips
Sprinkle the reserved chocolate chips on top. Bake in the oven for 25-30 minutes. Check if it’s done by inserting a toothpick into the center. It should come out with a few moist crumbs.
Once baked, take the brownies out and let them cool in the pan for at least 15 minutes. This step helps them set. After cooling, sprinkle some flaky sea salt on top. Now, slice them into squares and enjoy!
Pro Tips
- Use Fresh Pumpkin Puree: For the best flavor, use homemade pumpkin puree instead of canned. Roast and blend fresh pumpkin for a richer taste.
- Don’t Overmix: When combining wet and dry ingredients, mix just until incorporated. Overmixing can lead to dense brownies.
- Experiment with Caramel: Try different types of salted caramel, like vanilla or bourbon-infused, to add a unique twist to your brownies.
- Cool Before Slicing: Allow the brownies to cool completely in the pan before cutting to ensure clean edges and a better texture.
Tips & Tricks
How to Achieve the Best Texture
For the best texture, use room temperature eggs. They blend well and help the batter rise. Avoid overmixing the batter. Mix until ingredients are just combined. This keeps the brownies soft and fudgy. Let them cool in the pan for at least 15 minutes. This helps set the texture before cutting.
Enhancing Flavor with Add-Ins
You can make these brownies even more fun! Try adding nuts like walnuts or pecans. They add a nice crunch. You might also consider mixing in some spices. A pinch of cinnamon or nutmeg gives a warm flavor. If you love chocolate, add more chocolate chips. This will create extra chocolatey bites.
Common Mistakes to Avoid
One common mistake is not measuring ingredients properly. Use measuring cups for accuracy. Another mistake is baking for too long. Always check with a toothpick before the time is up. If it comes out with moist crumbs, they are done. Lastly, don’t skip the flaky sea salt on top. It balances sweetness and enhances flavor.
Variations
Adding Nuts or Other Mix-Ins
You can make your brownies even better by adding nuts. Nuts like walnuts or pecans give a great crunch. You can mix in about 1/2 cup of chopped nuts. Stir them in with the chocolate chips. You can also try other mix-ins. Dried fruit, such as cranberries or cherries, adds a nice touch. Just be sure to keep the total mix-ins to about 1/2 cup.
Gluten-Free Option
If you want a gluten-free treat, use gluten-free flour. You can find many brands in stores. Just replace the all-purpose flour with a gluten-free blend. Make sure it has xanthan gum in it. This helps the brownies hold together well. Follow the rest of the recipe as is, and enjoy your tasty gluten-free brownies.
Vegan Adaptations by Omitting Eggs
Want to make these brownies vegan? You can easily leave out the eggs. Replace each egg with 1/4 cup of unsweetened applesauce. This keeps the brownies moist and adds some natural sweetness. You can also use melted coconut oil instead of butter. With these changes, you can enjoy a delicious vegan treat. Just follow the same steps in the recipe for baking!
Storage Info
How to Store Leftover Brownies
Store leftover brownies in an airtight container. This keeps them fresh. Place a piece of wax paper between layers to avoid sticking. Brownies stay good at room temperature for up to three days. For longer storage, refrigerate them. They can last up to a week in the fridge. Make sure to let them cool completely before storing.
Freezing Instructions
You can freeze brownies for up to three months. First, cut them into squares. Wrap each square tightly in plastic wrap. Then, place them in a freezer-safe bag or container. Label the bag with the date. When you crave a treat, take out a square and let it thaw in the fridge overnight.
Reheating Tips for Optimal Taste
To enjoy warm brownies, reheat them in the oven. Preheat the oven to 350°F (175°C). Place the brownies on a baking sheet. Heat them for about 10 minutes. This makes them soft and gooey again. If you want, top them with a scoop of ice cream or more caramel sauce for extra delight.
FAQs
Can I use canned pumpkin instead of fresh?
Yes, you can use canned pumpkin. It saves time and is very easy. Just make sure to choose pure pumpkin puree, not pumpkin pie filling. Canned pumpkin has a similar taste and texture to fresh. It works great in these brownies.
What kind of chocolate is best for brownies?
Dark or semi-sweet chocolate is the best choice. These chocolates add richness and depth to your brownies. They balance well with the sweetness of the sugars. You can also use chocolate chips for added texture and bites of chocolate.
How do I know when brownies are done baking?
To check if brownies are done, use a toothpick. Insert it in the center of the brownies. If it comes out with a few moist crumbs, they are ready. If the toothpick comes out clean, the brownies might be over-baked. Keep an eye on them after 25 minutes.
Can I make the brownies ahead of time?
Yes, you can make these brownies ahead of time. They stay fresh for several days. Just store them in an airtight container. You can also freeze them for later. Wrap them tightly and enjoy at your convenience.
In this article, we explored the key ingredients for perfect brownies, including swaps for dietary needs. You learned how to prep, mix, and bake brownies for the best results. Remember the tips to boost flavor and correct common mistakes. We also covered fun variations and how to store your treats. Now, you have the tools to bake delicious brownies anytime. Enjoy sharing your creations and experimenting with new ideas. Happy baking!


