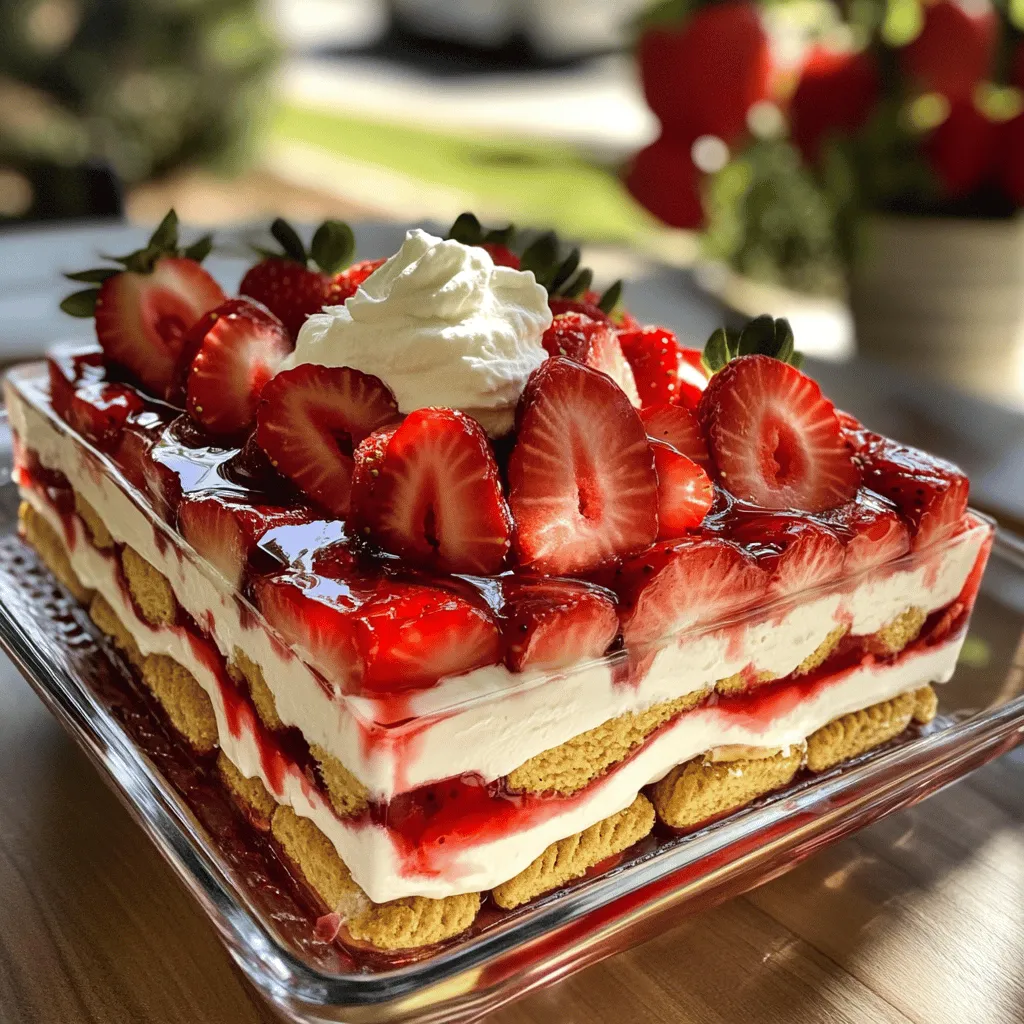
Looking for a cool, sweet treat? You’ve found it with my Strawberry Shortcake Icebox Cake. This easy, no-bake dessert combines fresh strawberries, whipped cream, and creamy mascarpone cheese. It’s simple to prepare, and you can impress your family or friends without much fuss. Join me as we dive into this delightful recipe and learn how to create a dessert that everyone will love!
Why I Love This Recipe
- Fresh and Fruity: This icebox cake features ripe strawberries, providing a burst of fresh flavor in every bite.
- No-Bake Delight: With no baking required, this recipe is perfect for hot summer days when you want a cool dessert.
- Easy to Assemble: Layering the ingredients is a breeze, making it a great option for both novice and experienced bakers.
- Perfect for Gatherings: This cake serves a crowd, making it an ideal dessert for parties and family get-togethers.
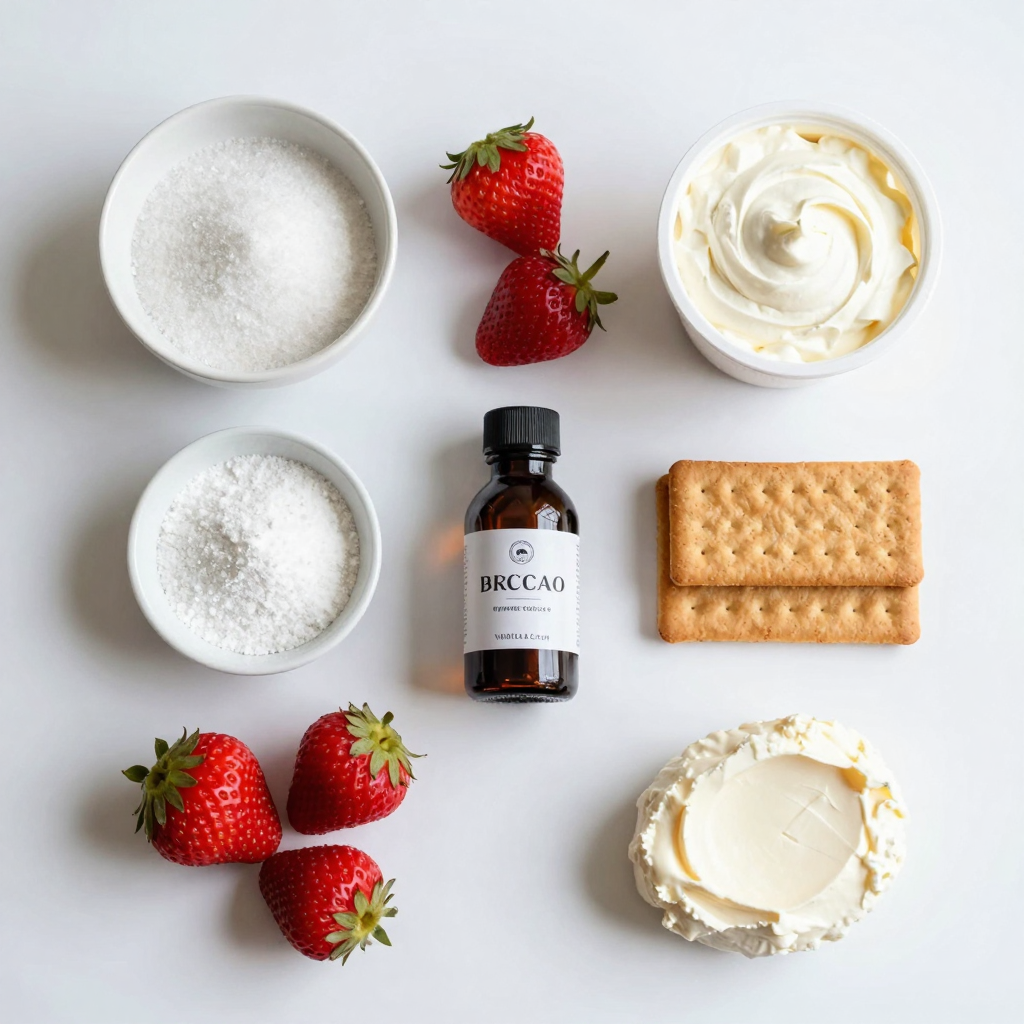
Ingredients
Fresh Strawberries
You need 2 pounds of fresh strawberries. Wash them well, hull, and slice them. Strawberries give the cake a sweet and juicy taste. They also add bright color to the dessert.
Sugars (Granulated & Powdered)
You will use both granulated and powdered sugar. For granulated sugar, you need 1/2 cup. This sugar helps to draw out moisture from the strawberries. You also need 1/2 cup of powdered sugar. This sugar sweetens the whipped cream and mascarpone cheese.
Heavy Whipping Cream
You need 1 cup of heavy whipping cream. This cream makes the cake light and fluffy. When whipped, it adds a lovely texture to the dessert.
Mascarpone Cheese
Grab 1 cup of mascarpone cheese. This cheese is rich and creamy. It adds a smoothness to the cake that pairs well with the strawberries.
Graham Crackers
You will need 24 graham crackers. These crackers form the cake’s layers. They soak up the flavors and give a nice crunch.
Vanilla Extract
A teaspoon of vanilla extract is essential for flavor. This ingredient enhances the taste of the cream and cheese. It adds a lovely aroma to the cake.
Step-by-Step Instructions
Preparing the Strawberries
Start with the freshest strawberries you can find. Wash them well, then hull and slice them. In a medium bowl, combine the sliced strawberries with the granulated sugar. Toss them gently to coat. Let the strawberries sit for about 30 minutes. This helps create a tasty syrup. The sugar draws out the juice, making the strawberries sweet and juicy.
Whipping the Cream
Next, grab a separate mixing bowl. Pour in the heavy whipping cream, powdered sugar, and vanilla extract. Use an electric mixer to whip the mixture. Beat it until soft peaks form. This usually takes a few minutes. The cream should be fluffy, light, and smooth.
Combining the Mascarpone
Now, take another bowl and whisk the mascarpone cheese until it is smooth. The goal is to remove any lumps. Once smooth, gently fold the whipped cream into the mascarpone. Use a spatula to blend them together. Be gentle, as you want to keep the whipped cream’s airiness.
Assembling the Icebox Cake
To assemble, spread a thin layer of the mascarpone mixture in the bottom of a 9×13 inch baking dish. Lay a layer of graham crackers over the mascarpone. Break them as needed to fit. Spoon a layer of strawberries, with some syrup, over the crackers. Then, add another layer of the mascarpone mixture. Repeat the layers until all ingredients are used. Finish with a layer of the mascarpone on top.
Refrigeration and Setting Time
Cover the dish with plastic wrap or a lid. Place it in the refrigerator for at least 4 hours, but overnight is best. This allows the flavors to meld together and the cake to set properly. When you’re ready to serve, you can garnish with extra sliced strawberries or a dollop of whipped cream for a lovely touch.
Pro Tips
- Choose Ripe Strawberries: Make sure to select ripe, sweet strawberries for the best flavor. Look for berries that are bright red and slightly firm to the touch.
- Chill the Mascarpone: For a smoother texture, chill the mascarpone cheese before mixing. This helps it blend seamlessly with the whipped cream.
- Layering Technique: When layering, try to keep the layers even for a more aesthetically pleasing presentation. Use a spatula to spread the mascarpone mixture evenly.
- Serve Cold: This dessert is best enjoyed cold. Allow it to chill for at least 4 hours, but overnight is ideal for maximum flavor and texture.
Tips & Tricks
Best Practices for Slicing Strawberries
To slice strawberries well, use a sharp knife. Start by hulling the strawberries. This means removing the green tops. Then, cut them in half or quarters. The size depends on your taste. Keep the pieces even for a nice look. This helps them layer better in the cake.
Achieving Perfect Whipped Cream
For great whipped cream, use cold tools. Chill your mixing bowl and beaters. Pour in heavy cream, powdered sugar, and vanilla. Mix on medium speed until soft peaks form. Avoid overmixing; it can turn into butter. Keep it fluffy for a light texture in your cake.
Layering Techniques for Better Presentation
Layering is key for a stunning icebox cake. Start with a thin layer of the mascarpone mixture. Then, place a layer of graham crackers. Add strawberries and more mascarpone on top. Repeat this until you use all the ingredients. Finish with mascarpone on top for a smooth look.
Chilling Time Recommendations
Chill your cake for at least four hours. Overnight chilling is best for full flavor. It helps the layers set and blend well. After chilling, it will slice easily and hold its shape. This makes serving a breeze, so you can enjoy your treat!
Variations
Alternative Fruits to Use
You can easily switch fruits in this icebox cake. Try peaches, blueberries, or raspberries. These fruits add unique flavors and colors. Mix and match to find your favorite combo. For a tropical twist, use pineapple or mango. Each fruit brings its own sweet touch to the cake. Just make sure to adjust the sugar based on the fruit’s sweetness.
Gluten-Free Substitutions
If you need a gluten-free version, swap graham crackers for gluten-free cookies. Look for cookies made from almond flour or oats. These will hold up well and still taste great. You can also use gluten-free ladyfingers or sponge cake. Check labels to ensure all ingredients are gluten-free. This way, everyone can enjoy this dessert.
Flavor Enhancements
Add fresh herbs or citrus for extra flavor. A little lemon zest brightens the cream and adds a fresh twist. Mint leaves can give a refreshing taste. Just chop them finely and fold them into the cream. You can also mix in some almond extract for a nutty flavor. Experiment with flavors to make this cake your own!
Storage Info
Proper Refrigeration Techniques
To keep your strawberry shortcake icebox cake fresh, always cover it well. Use plastic wrap or a tight lid. This prevents air from drying it out and keeps flavors strong. Make sure your fridge is set to a cool temperature, around 40°F (4°C). Store the cake on a flat shelf to avoid any spills.
How Long It Lasts
When stored properly, this cake lasts about 3 to 5 days in the fridge. The strawberries stay juicy, and the cream remains rich during this time. If you notice any changes in smell or texture, it’s best to toss it out. Always trust your senses!
Freezing Suggestions
You can freeze leftover cake if you want it to last longer. To freeze, slice the cake into squares. Wrap each piece in plastic wrap, then place them in a freezer-safe bag. This helps prevent freezer burn. The cake can stay good for up to 2 months. When you’re ready to eat, thaw it in the fridge overnight. Enjoy the fresh taste of summer anytime!
FAQs
Can I make this cake in advance?
Yes, you can make this cake in advance. In fact, it tastes better the next day. I like to prepare it the night before. This lets the flavors blend well. Just remember to keep it in the fridge. It should chill for at least four hours. Overnight is best for great taste.
How do I keep my whipped cream from deflating?
To keep your whipped cream firm, use cold tools. Chill your mixing bowl and beaters first. This helps the cream whip up better. Avoid overmixing, as this can turn it into butter. Mix until soft peaks form, then stop. Adding a bit of powdered sugar can also help it hold its shape longer.
What can I substitute for mascarpone cheese?
If you don’t have mascarpone, try cream cheese. Soften it first for the best results. You can also mix cream cheese with a bit of sour cream. This gives a similar texture and taste. Another option is ricotta cheese. Just blend it until smooth for a nice creaminess.
Is there a non-dairy option for this recipe?
Yes, there are non-dairy options. Use coconut cream instead of heavy cream. Chill a can of coconut milk overnight, then scoop out the cream. For mascarpone, use a dairy-free cream cheese. Many brands offer great flavors. Always check the ingredients to ensure they fit your needs.
This blog post covered all you need for an icebox cake. We explored fresh strawberries, whipped cream, and mascarpone cheese as key ingredients. I shared step-by-step instructions, plus tips for perfect layers and presentation. Variations let you swap fruits or try gluten-free options. Storing tips ensure your cake stays fresh. With the right methods, you can enjoy a delicious, homemade treat. Try it out and enjoy every bite!


