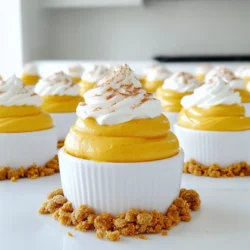
No Bake Pumpkin Mousse Cups
Indulge in the delightful flavors of fall with these No Bake Pumpkin Mousse Cups! Easy to make and irresistibly creamy, this recipe blends pumpkin puree, whipped cream, and cream cheese for a luscious treat. Perfect for gatherings or cozy nights in, these mousse cups are layered with crushed ginger snaps for an extra crunch. Click through for the full recipe and get ready to impress your guests! #PumpkinMousse #NoBakeDesserts #FallRecipes #PumpkinSpice