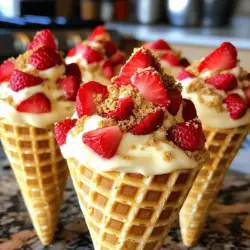
- Strawberry Crunch Cheesecake Cones
Beat the summer heat with these easy Strawberry Crunch Cheesecake Cones! This delightful treat combines creamy cheesecake with a crispy crunch in a convenient cone, making it perfect for family gatherings or a fun dessert at home. Discover simple steps and ingredient swaps to customize your cones, plus topping ideas that add flair. Don't miss out on impressing your friends and family—click through to explore the full recipe and start creating your own delicious cones today!