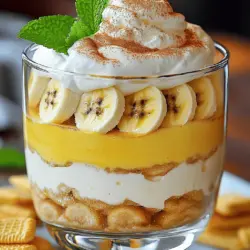
Are you ready to whip up a delightful treat? Banana pudding is easy and fun to make! This guide takes you step by step, from choosing the right ripe bananas to layering creamy goodness. I’ll share tips for perfect texture and sneaky tricks to enhance flavor. Whether you’re serving it for a family dinner or a party, this classic dessert will surely impress. Let’s dive into our Banana Pudding Delightful and Easy Recipe Guide!
Ingredients
To make this delightful banana pudding, you need to gather the following ingredients:
- Ripe bananas
- Vanilla pudding mix
- Milk
- Vanilla extract
- Heavy cream
- Powdered sugar
- Cinnamon
- Vanilla wafers
- Optional: Fresh mint leaves for garnish
Each ingredient plays a key role in making this dessert rich and tasty.
Ripe Bananas
Choose ripe bananas for the best flavor. They should have a few brown spots. This shows they are sweet and soft.
Vanilla Pudding Mix
The vanilla pudding mix gives the pudding its creamy texture. You can use instant or cook-and-serve pudding.
Milk
Whole milk works best for a rich taste. It helps the pudding mix blend well and become creamy.
Vanilla Extract
This adds a nice aroma and flavor. A little goes a long way in enhancing the taste.
Heavy Cream
Whipping heavy cream creates a light and fluffy texture. This makes the pudding feel special.
Powdered Sugar
This sugar helps sweeten the whipped cream. It dissolves easily, so you won’t have grainy bits.
Cinnamon
A pinch of cinnamon gives warmth and depth to the flavor. It pairs well with bananas.
Vanilla Wafers
These cookies are the base of the dessert. They add crunch and sweetness to balance the creamy layers.
Optional: Fresh Mint Leaves
Mint leaves can make a lovely garnish. They add a pop of color and a fresh taste.
With all these ingredients, you will create a delicious banana pudding that everyone will love.
Step-by-Step Instructions
Preparation of Pudding
To start, mix the vanilla pudding and milk in a medium bowl. Use a whisk to blend them well. In about five minutes, it will thicken up nicely. Next, stir in the vanilla extract and a sprinkle of cinnamon. This adds warmth and depth to the flavor.
Whipping Cream
Now, let’s whip the heavy cream. In a clean bowl, beat the cream and powdered sugar together. Keep whipping until stiff peaks form. This means the cream holds its shape. Gently fold half of the whipped cream into the pudding mixture. Be careful not to deflate it; you want it light and fluffy.
Layering the Banana Pudding
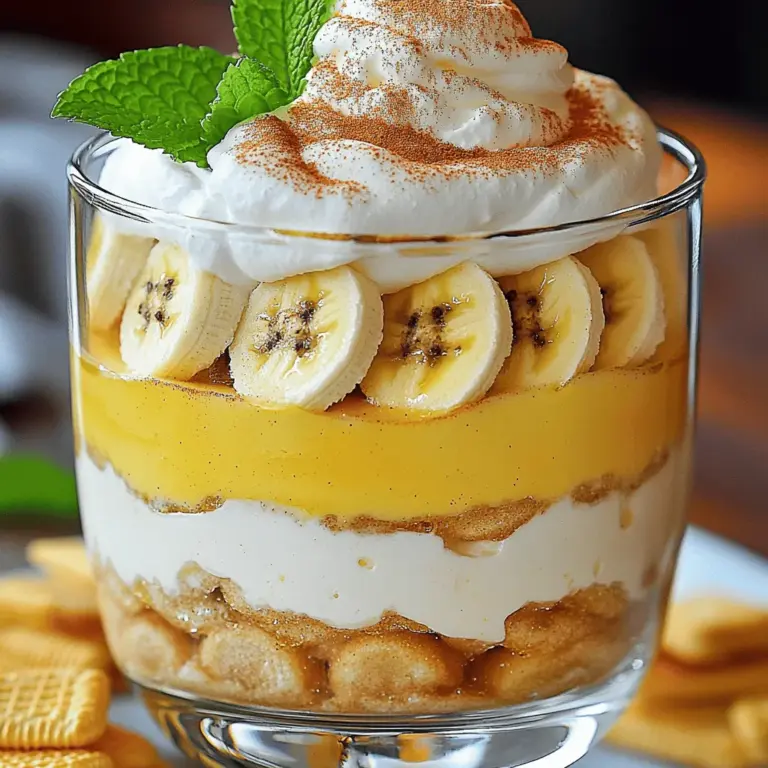
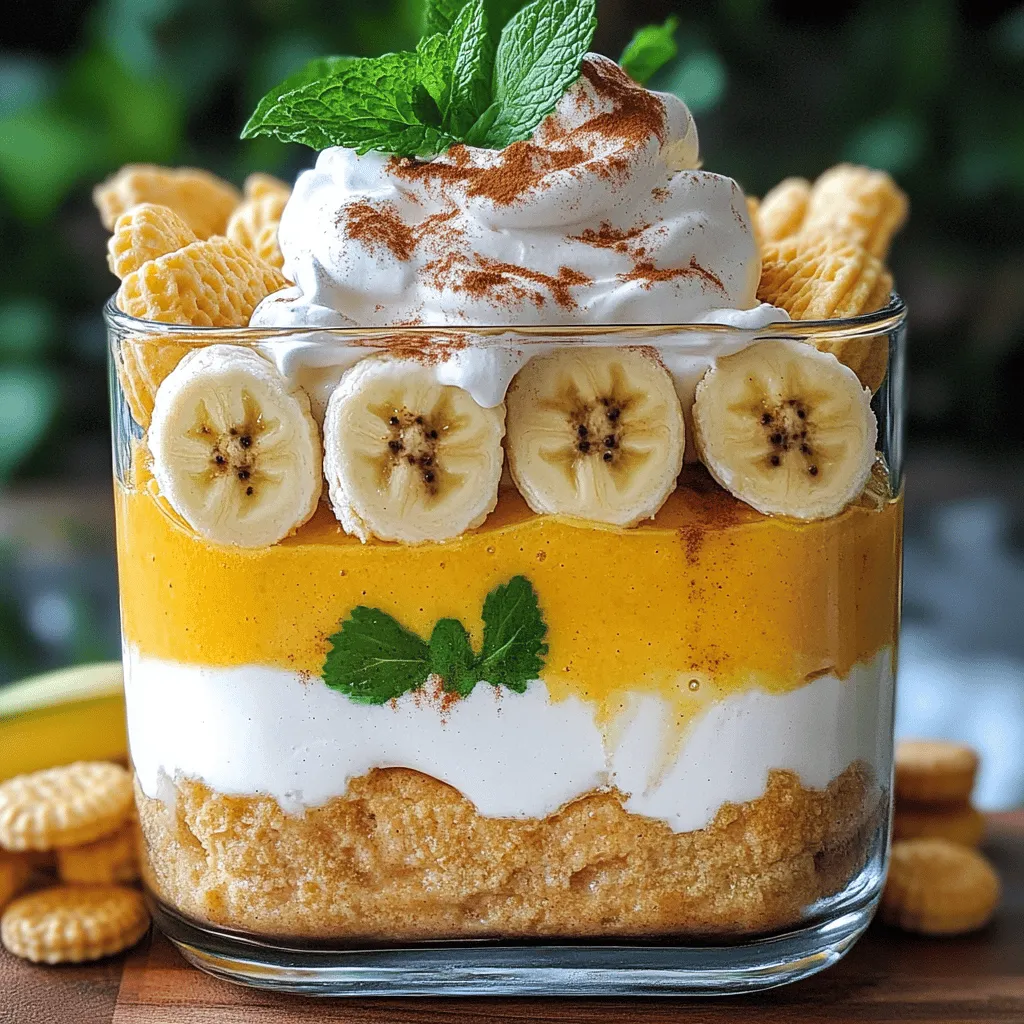
Grab a 9×9 inch dish for layering. Start by placing a layer of vanilla wafers at the bottom. Next, add sliced bananas over the wafers. Then, spread half of your pudding mixture over the bananas. Repeat this process. Add more vanilla wafers, more banana slices, and then the rest of the pudding mixture.
Top it off with the remaining whipped cream for a fluffy finish. Cover the dish and refrigerate for at least four hours. This helps the flavors meld and the wafers to soften. Enjoy this delightful treat later!
Tips & Tricks
Achieving the Perfect Texture
Chilling time is key. It helps the flavors meld and the texture become creamy. I recommend chilling the pudding for at least four hours. This waiting time makes a big difference!
For whipping cream, aim for stiff peaks. Start with cold cream for the best results. Use a chilled bowl too. Whip until the cream holds its shape. It should not be runny. This step creates a light and airy topping.
Flavor Enhancements
You can add other flavors to your banana pudding. Try a hint of almond extract for a twist. Chocolate chips can also bring a fun surprise.
For toppings, consider crushed cookies or fresh berries. They add texture and color. A drizzle of caramel sauce can bring a sweet finish. Don’t be afraid to mix and match!
Common Mistakes to Avoid
One mistake is overmixing ingredients. Mix just until combined. Overmixing can make the pudding grainy.
Another common mistake is not using ripe bananas. Ripe bananas are sweeter and softer. They blend better into the pudding. Always choose bananas with a few brown spots for the best taste.
Variations
Alternate Ingredients
You can change the flavor of your banana pudding. Use different pudding mixes like chocolate or butterscotch. This adds a fun twist. You can also add fruits like strawberries or blueberries. This makes your dish colorful and tasty. For a chocolate kick, try adding chocolate chips. These small changes can create new flavors.
Dietary Adjustments
If you need gluten-free options, use gluten-free wafers instead of vanilla wafers. Many brands offer these. If you are dairy-free, replace milk and cream with almond milk or coconut cream. These substitutes keep your pudding creamy and delicious. Always check labels to ensure they fit your needs.
Mini Banana Pudding Cups
Making mini banana pudding cups is super easy! Use small cups or jars for individual servings. Start by layering a few wafers at the bottom of each cup. Then add sliced bananas and the pudding mixture. Repeat the layers until you reach the top.
For a creative touch, use fun toppings. Try crushed cookies, sprinkles, or even a drizzle of chocolate syrup. These mini cups are perfect for parties, and they look great on any table.
Storage Info
Proper Storage Techniques
To keep your banana pudding fresh, store it in an airtight container. This helps prevent the pudding from absorbing other smells in the fridge. Place a layer of plastic wrap directly on the surface. This will help keep the whipped cream from drying out. Banana pudding lasts about 3 to 4 days in the fridge.
Freezing Banana Pudding
You can freeze banana pudding, but the texture may change. To freeze, use a freezer-safe container. Allow it to cool completely before sealing. When ready to eat, thaw it in the fridge overnight. The cream may separate, so stir gently before serving. The bananas can turn brown, but they will still taste good.
Serving Suggestions
Banana pudding shines at parties! Serve it in individual cups for a fun twist. Top with extra whipped cream and banana slices for a nice touch. Pair banana pudding with chocolate cake or fresh fruit. This mix of flavors makes a great dessert spread.
FAQs
Can I use instant pudding instead of regular pudding mix?
Yes, you can use instant pudding. It saves time and still tastes great. Just mix the instant pudding with milk. Follow the package instructions and let it thicken. It will work well in your banana pudding.
How long does banana pudding need to chill?
Banana pudding needs to chill for at least four hours. This time helps the flavors blend. It also lets the vanilla wafers soften. You can chill it overnight for even better taste.
What can I use instead of vanilla wafers?
If you don’t have vanilla wafers, use graham crackers or shortbread cookies. Both options add a nice crunch. You can also try using cookies with flavors like chocolate or caramel for a fun twist.
Is it better to make banana pudding a day ahead?
Yes, making banana pudding a day ahead is often best. This gives the flavors more time to mix. It also allows the wafers to soften just right. The result is a creamier and more delicious dessert.
In this blog post, we explored the fun and simple way to make banana pudding. We covered every ingredient you need, from ripe bananas to whipped cream. I shared step-by-step instructions for preparing the pudding and tips for the perfect texture. We also discussed variations and storage methods to keep your dessert fresh.
Banana pudding is easy and rewarding. With a few simple steps, you can create a dessert that brings joy to any occasion. Enjoy your delicious creation!