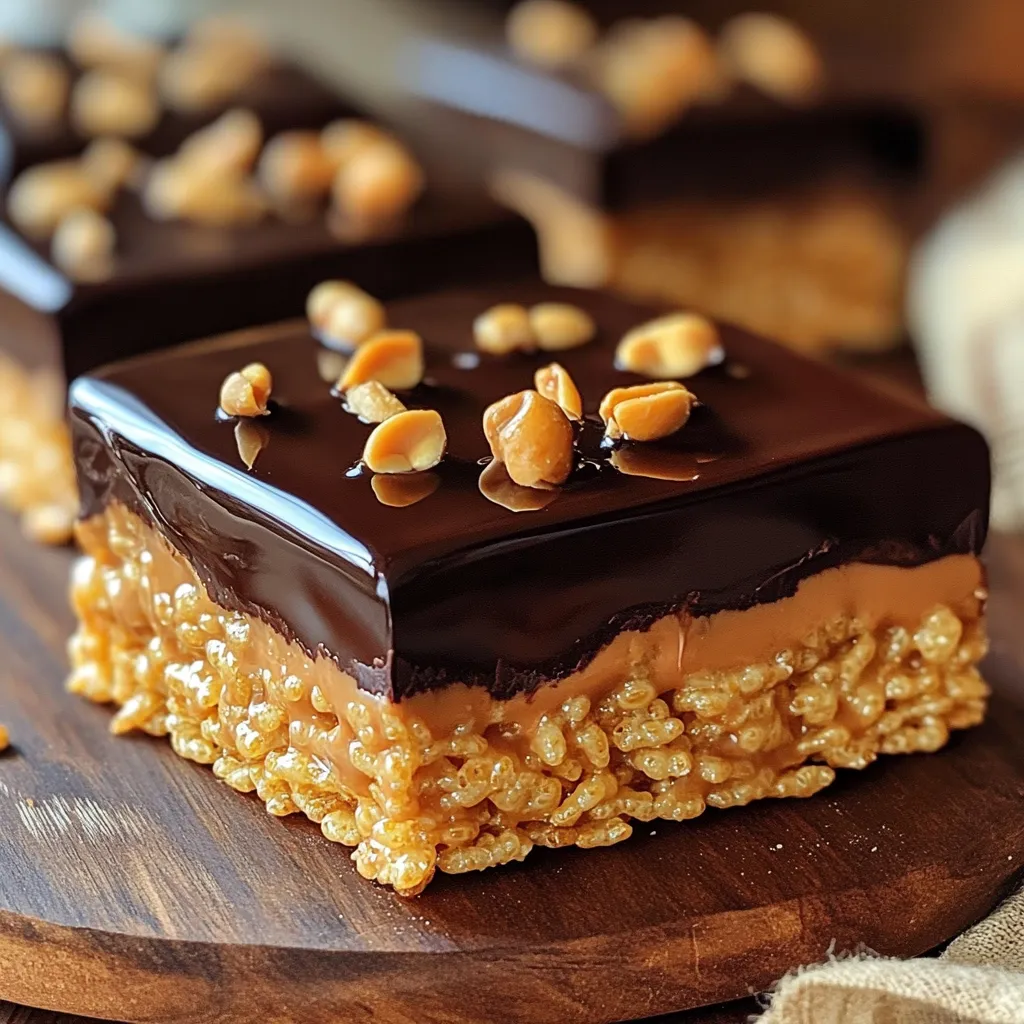
No Bake Chocolate Peanut Butter Krispie Bars Delight
Craving a sweet treat that’s quick and easy? You’ll love these No Bake Chocolate Peanut Butter Krispie Bars! I’ll show

Craving a sweet treat that’s quick and easy? You’ll love these No Bake Chocolate Peanut Butter Krispie Bars! I’ll show
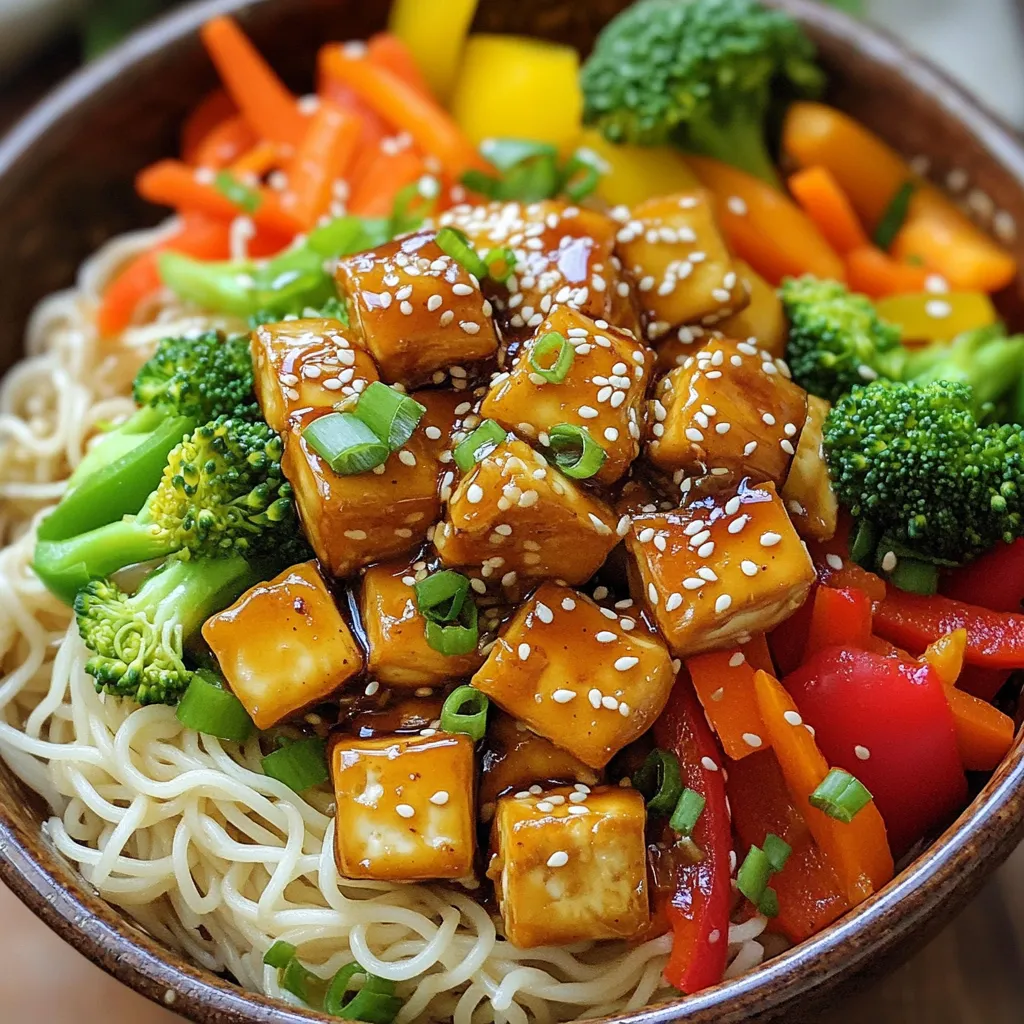
Are you craving a quick and tasty meal that’s easy to make? Look no further! Honey Garlic Tofu Noodle Bowls

Fall has arrived, and what better way to celebrate than with Maple Glazed Pumpkin Scones? These treats are soft, sweet,
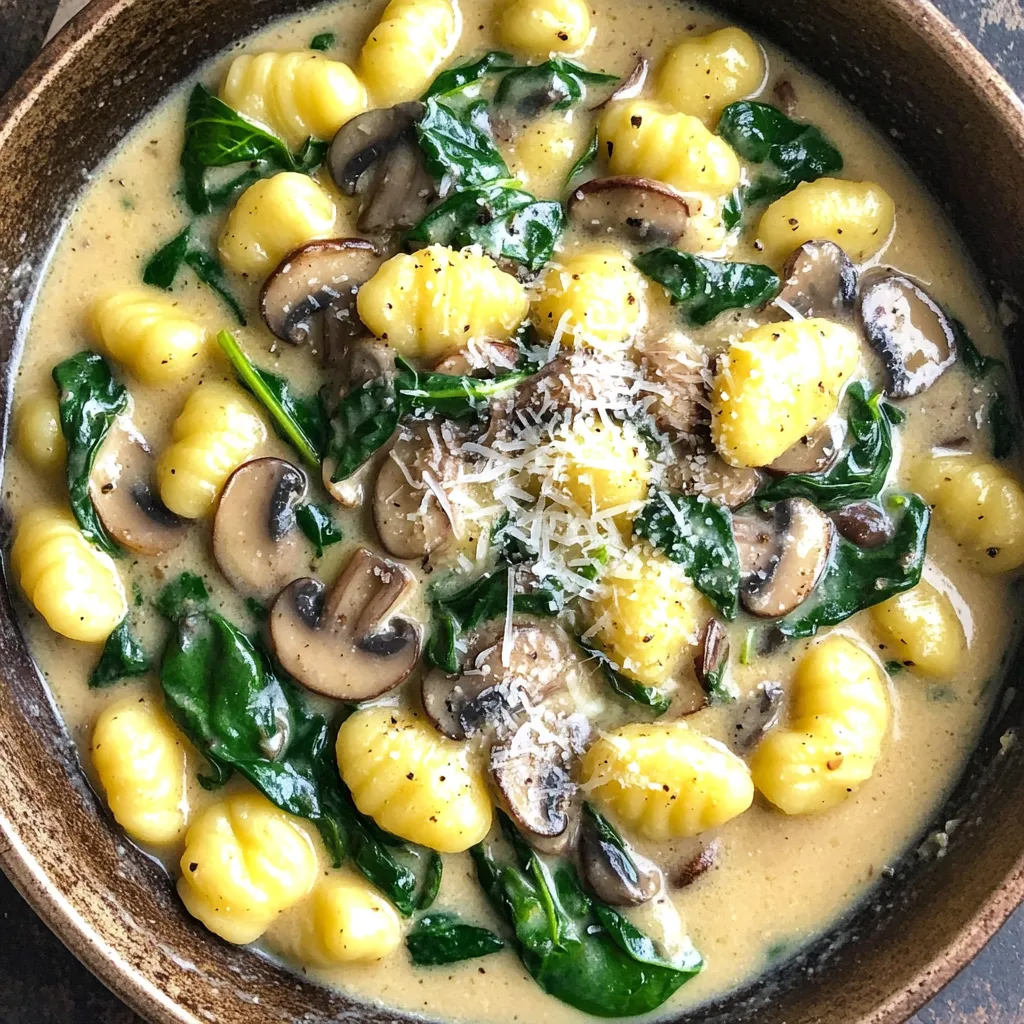
Looking for a quick and tasty dinner? This One Pot Mushroom Spinach Gnocchi is your answer. It’s easy to make
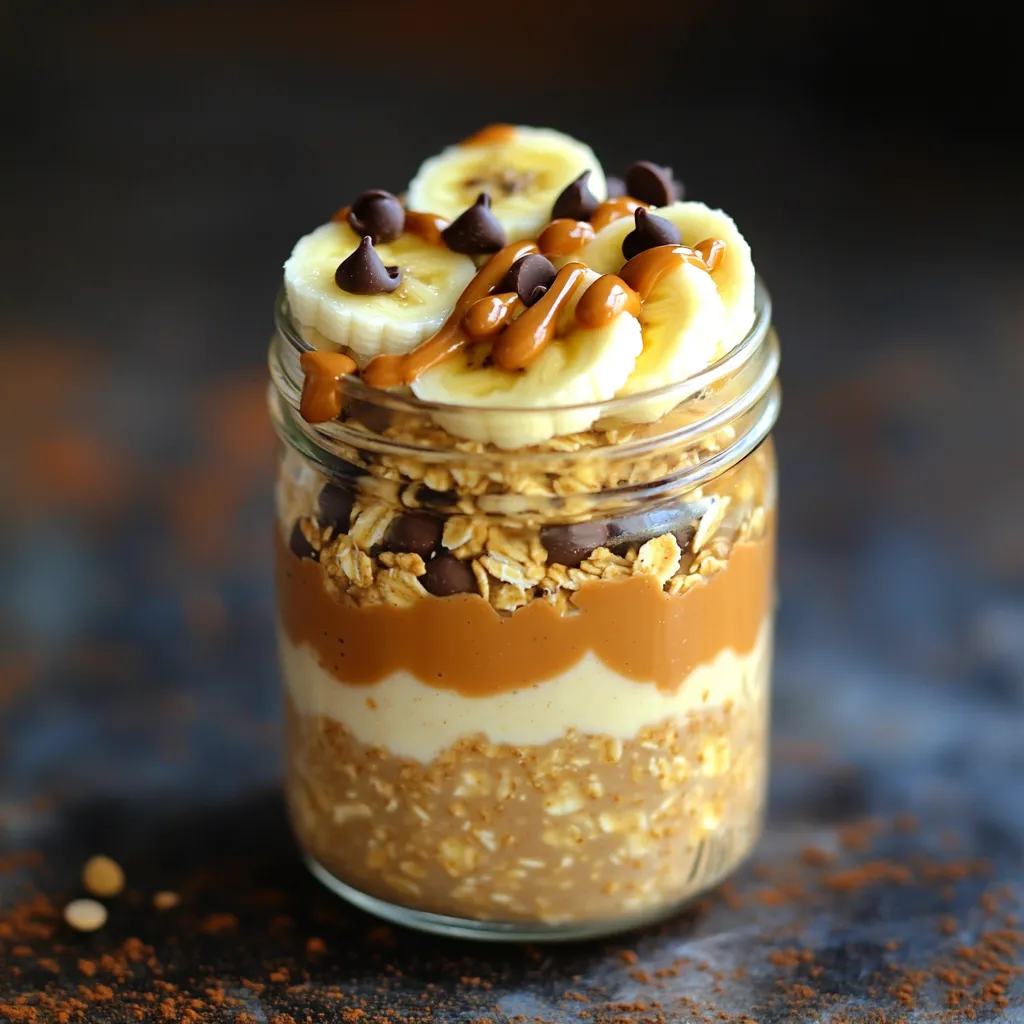
Start your day with a tasty twist on breakfast! My Peanut Butter Cookie Dough Overnight Oats are easy, fun, and
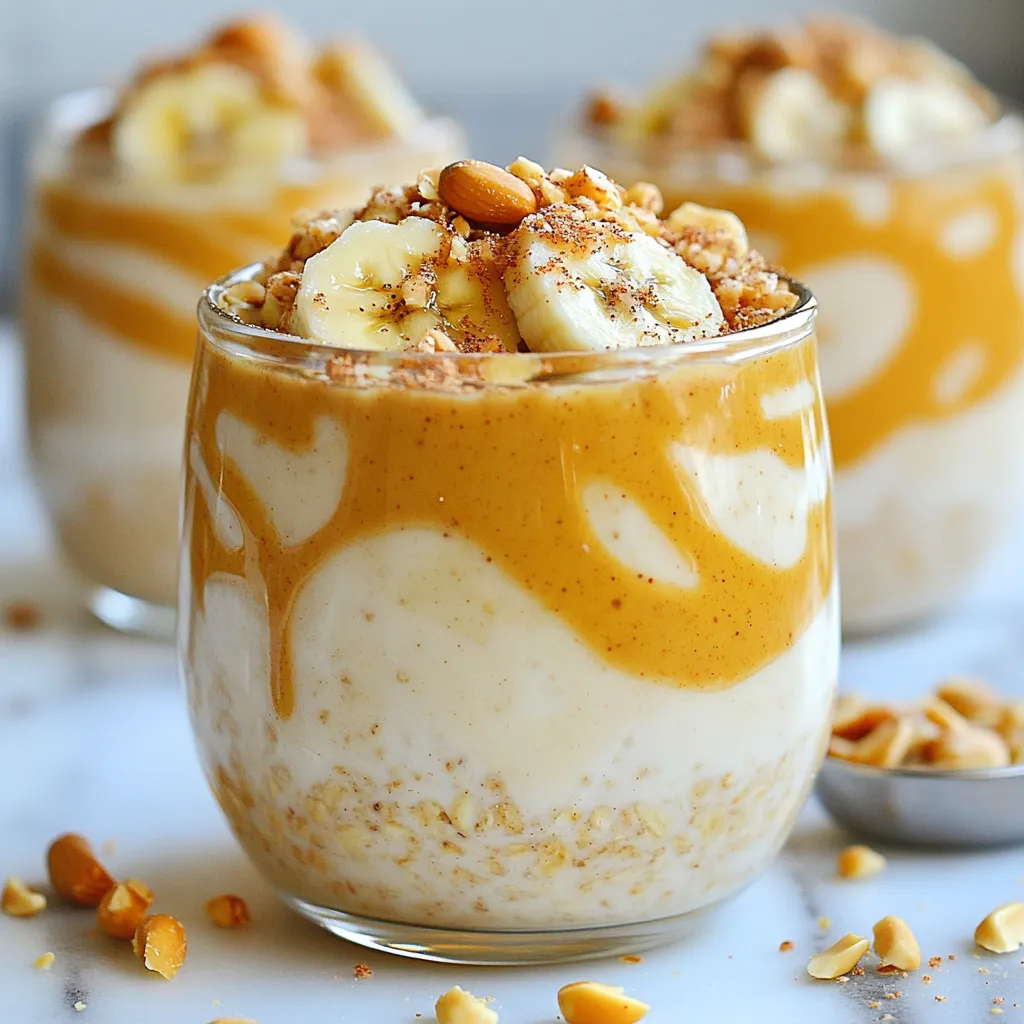
Are you ready to jumpstart your mornings with a nutritious and delicious meal? Peanut Butter Banana Overnight Oats are the
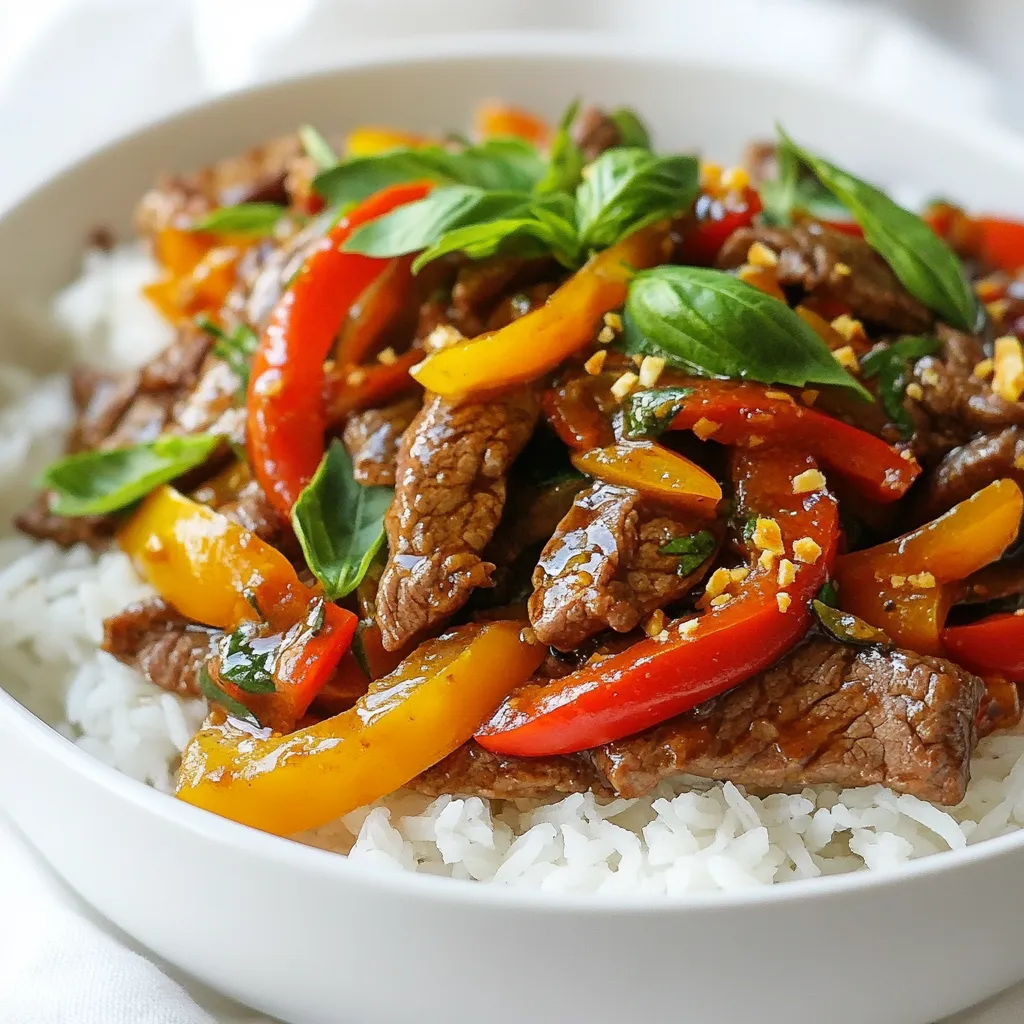
Are you ready to spice up your dinner routine? My Spicy Thai Basil Beef recipe is packed with flavor and
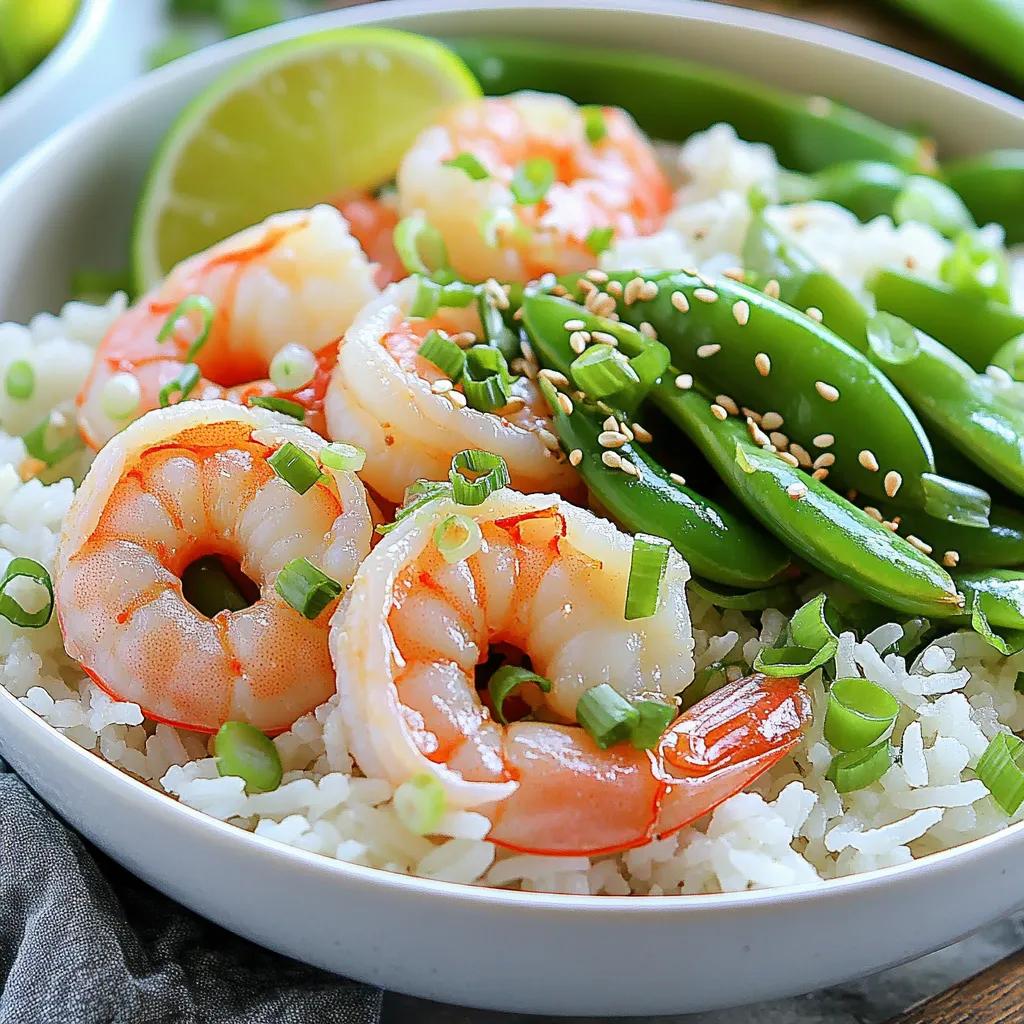
Craving a quick meal? My Minute Garlic Ginger Shrimp Rice Bowls are the answer! This dish combines juicy shrimp with
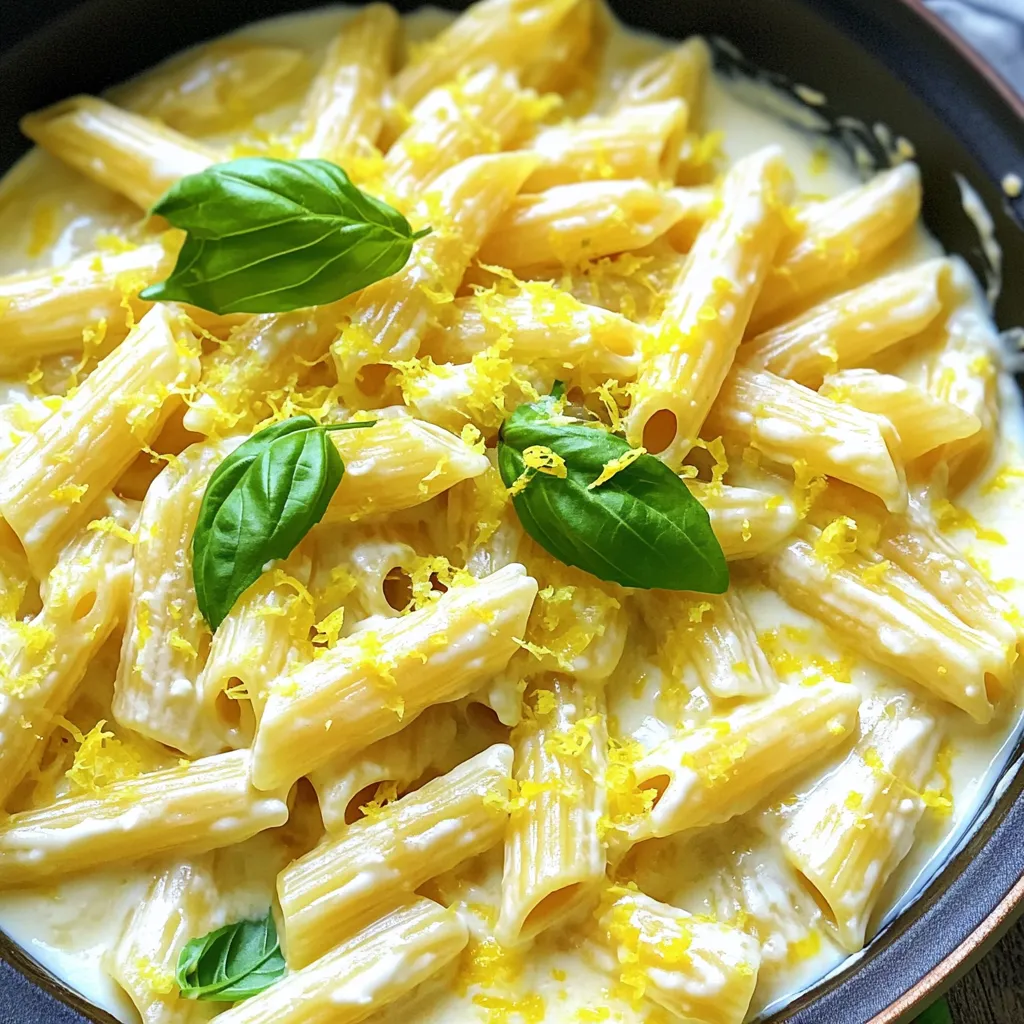
Are you ready to whip up a simple and tasty meal? This Creamy One-Pot Lemon Ricotta Pasta is just what
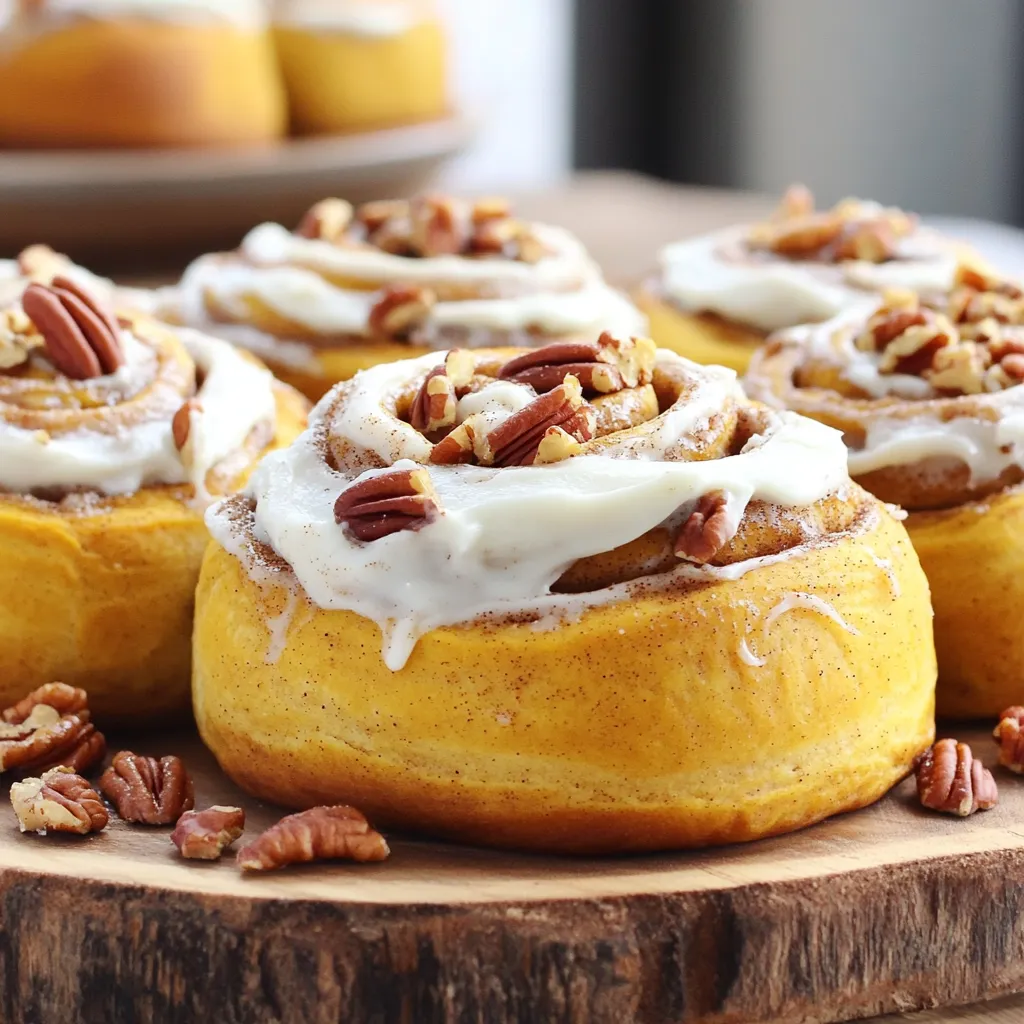
Fall is here, and there’s no better way to celebrate than with warm, Pumpkin Pecan Cinnamon Rolls. Imagine soft dough
