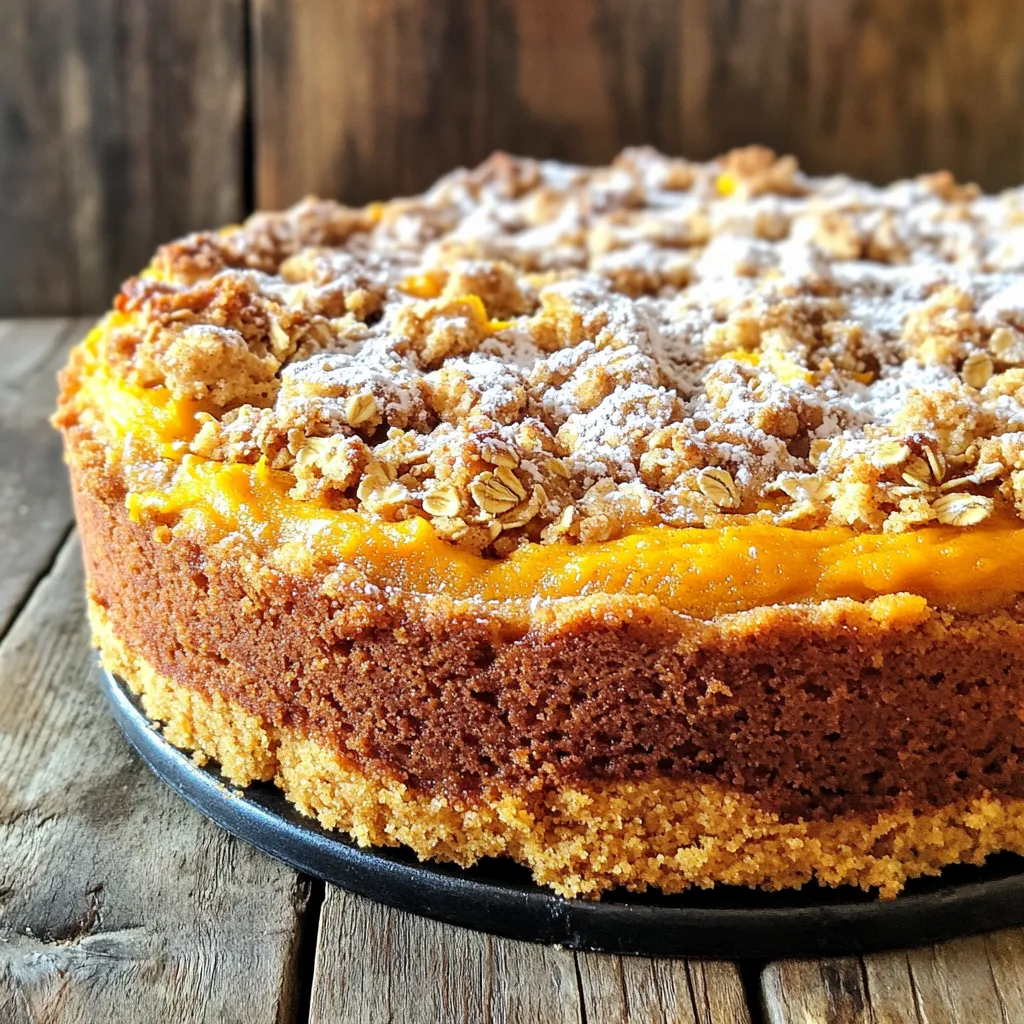
Bakery-Style Pumpkin Streusel Coffee Cake Delight
Get ready to indulge in a slice of heaven with my Bakery-Style Pumpkin Streusel Coffee Cake Delight! This cozy treat

Get ready to indulge in a slice of heaven with my Bakery-Style Pumpkin Streusel Coffee Cake Delight! This cozy treat
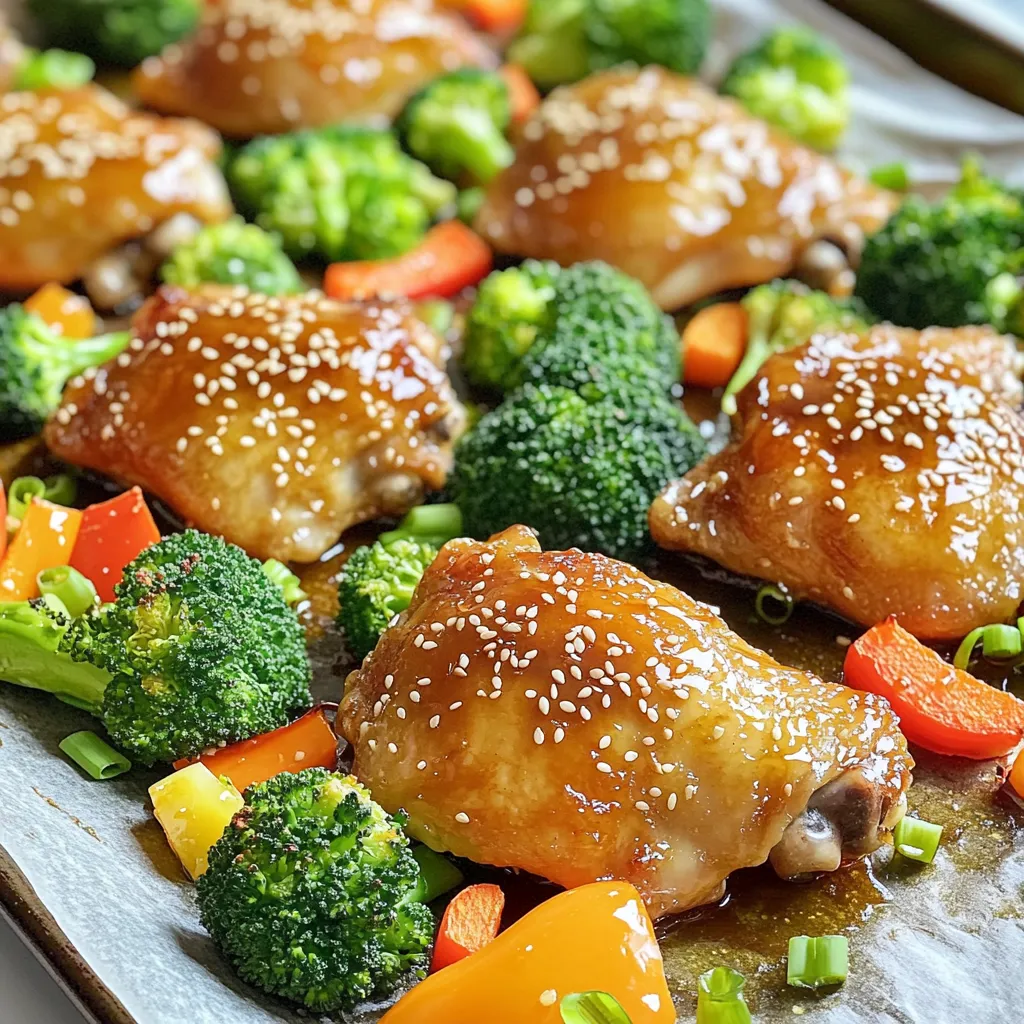
Are you ready for a mouthwatering meal? My Sheet-Pan Honey Garlic Chicken Thighs are easy to make and full of

Craving a sweet treat that’s easy to make? My No-Bake Chocolate Almond Clusters are the perfect fix! With just a
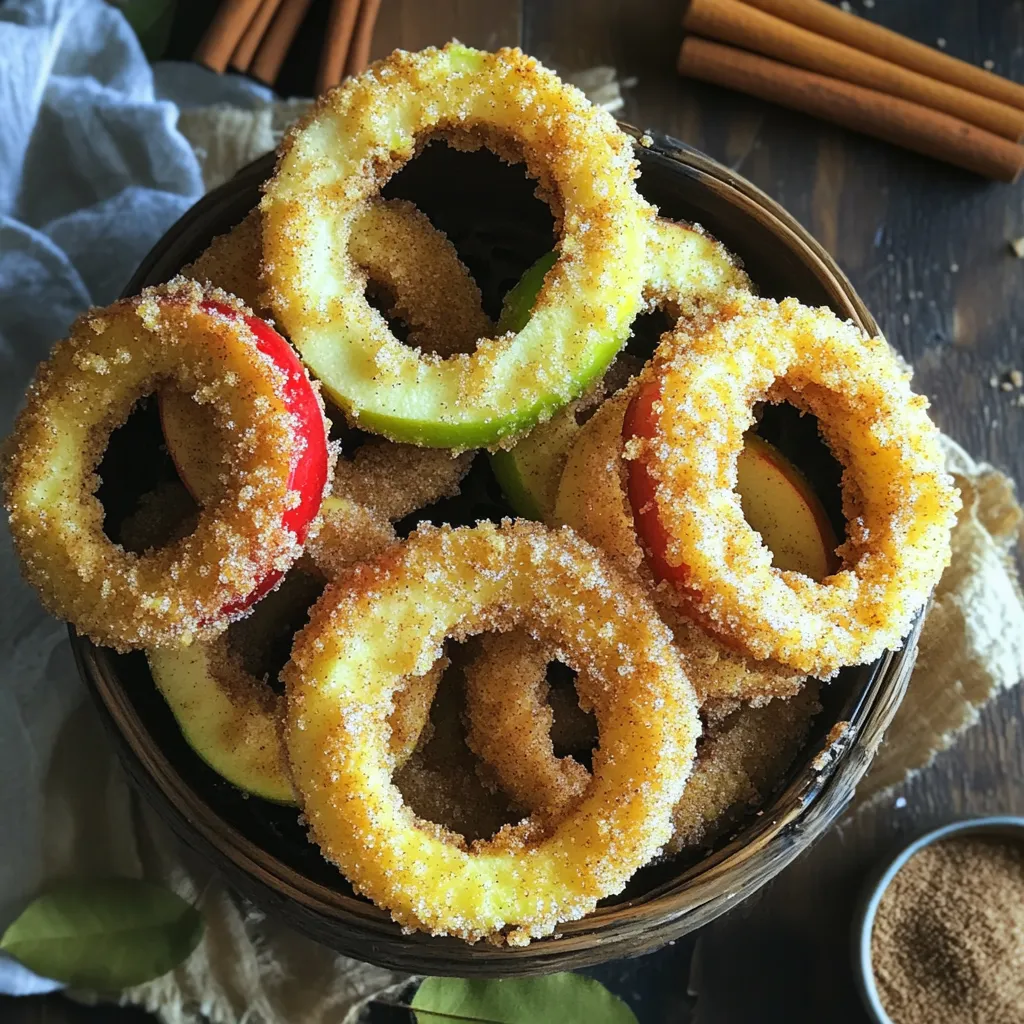
Looking for a tasty treat that’s easy to make? You’ll love these Air Fryer Cinnamon Sugar Apple Rings! They are
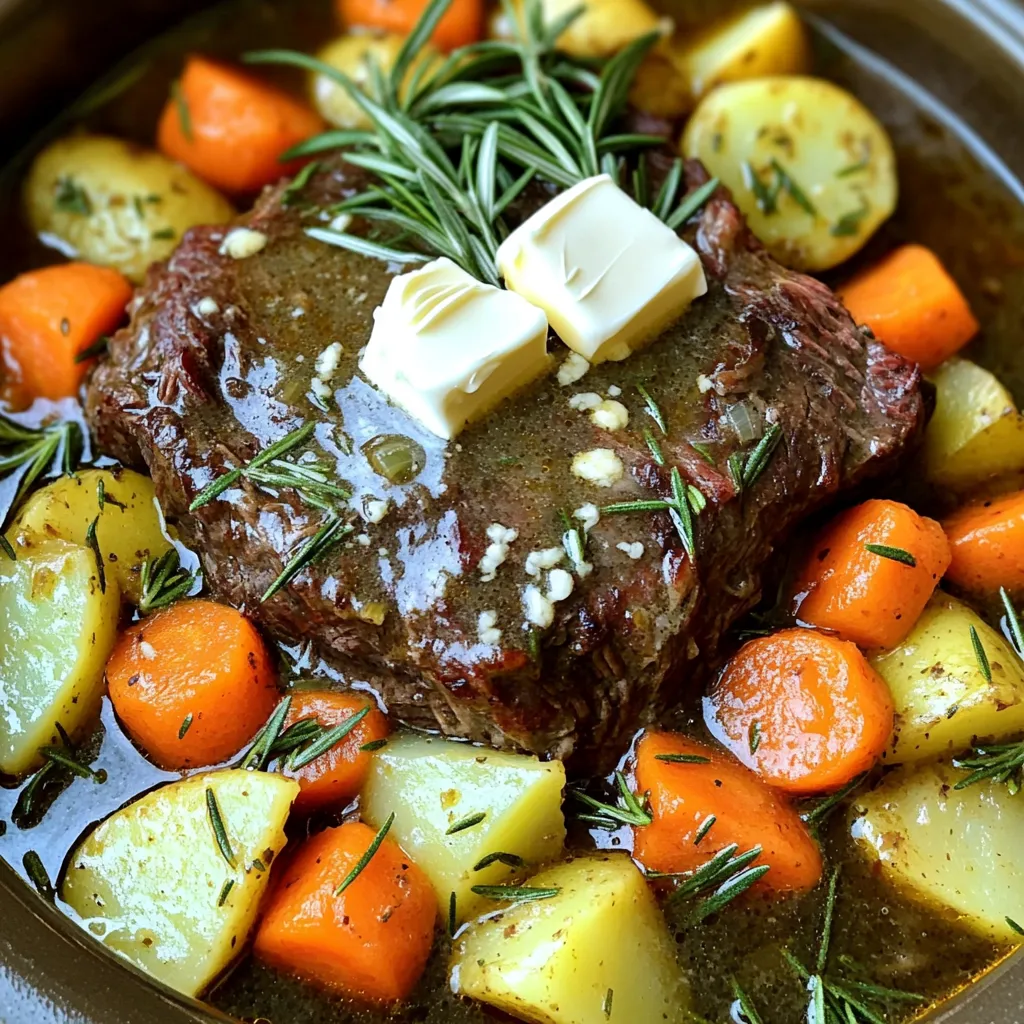
If you crave a comforting dish that warms your soul, you’ve found it. My Slow Cooker Garlic Butter Pot Roast
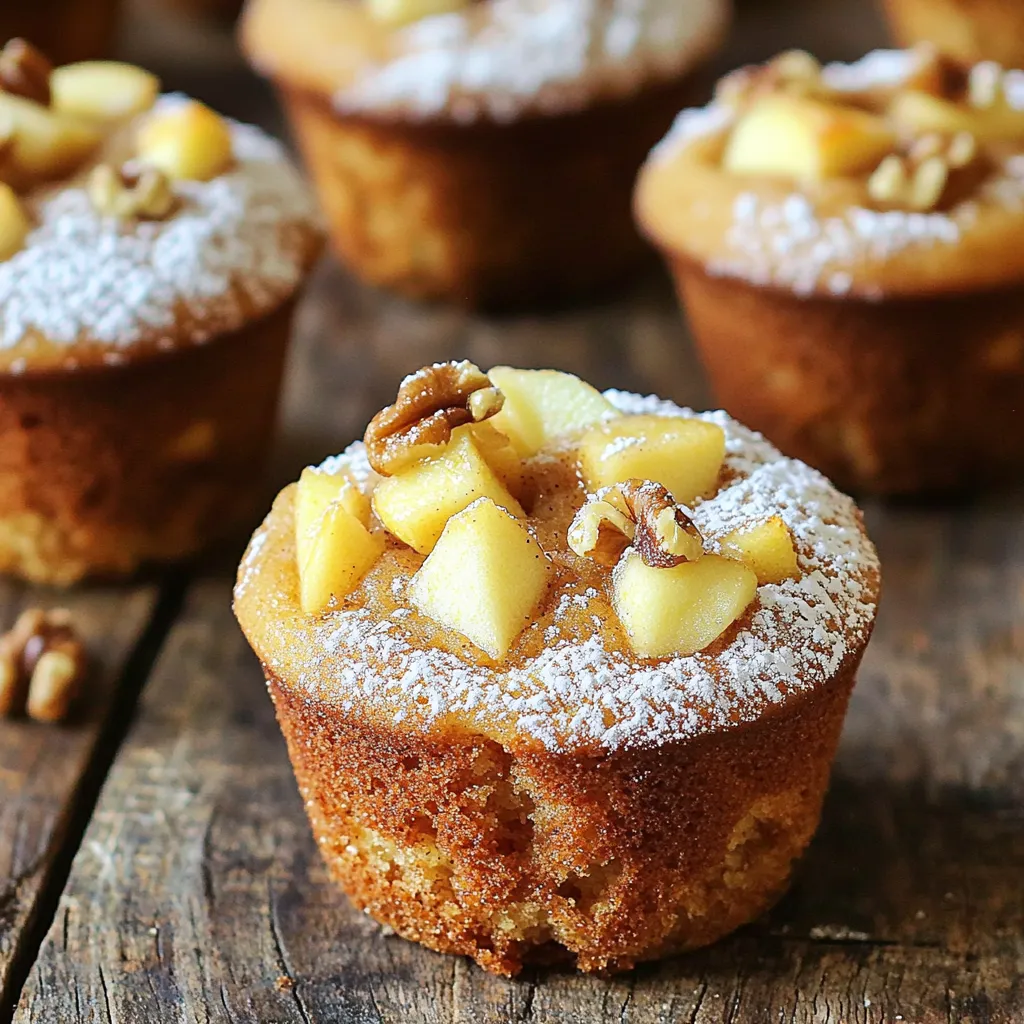
Looking for a warm, comforting treat? Let me introduce you to my Apple Cinnamon Coffee Cake Muffins. These easy-to-make muffins
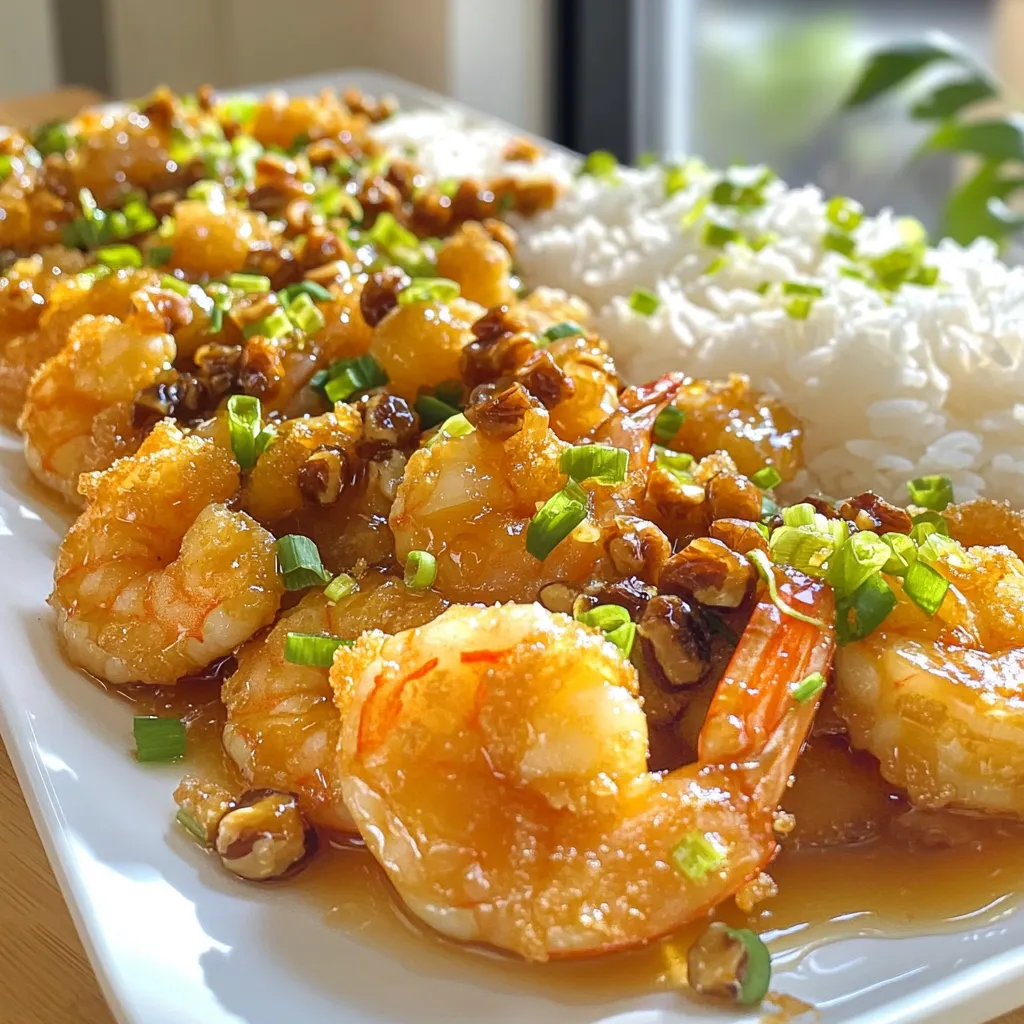
Do you love Honey Walnut Shrimp but hate takeout prices? You’re in luck! In this guide, I’ll cover how to
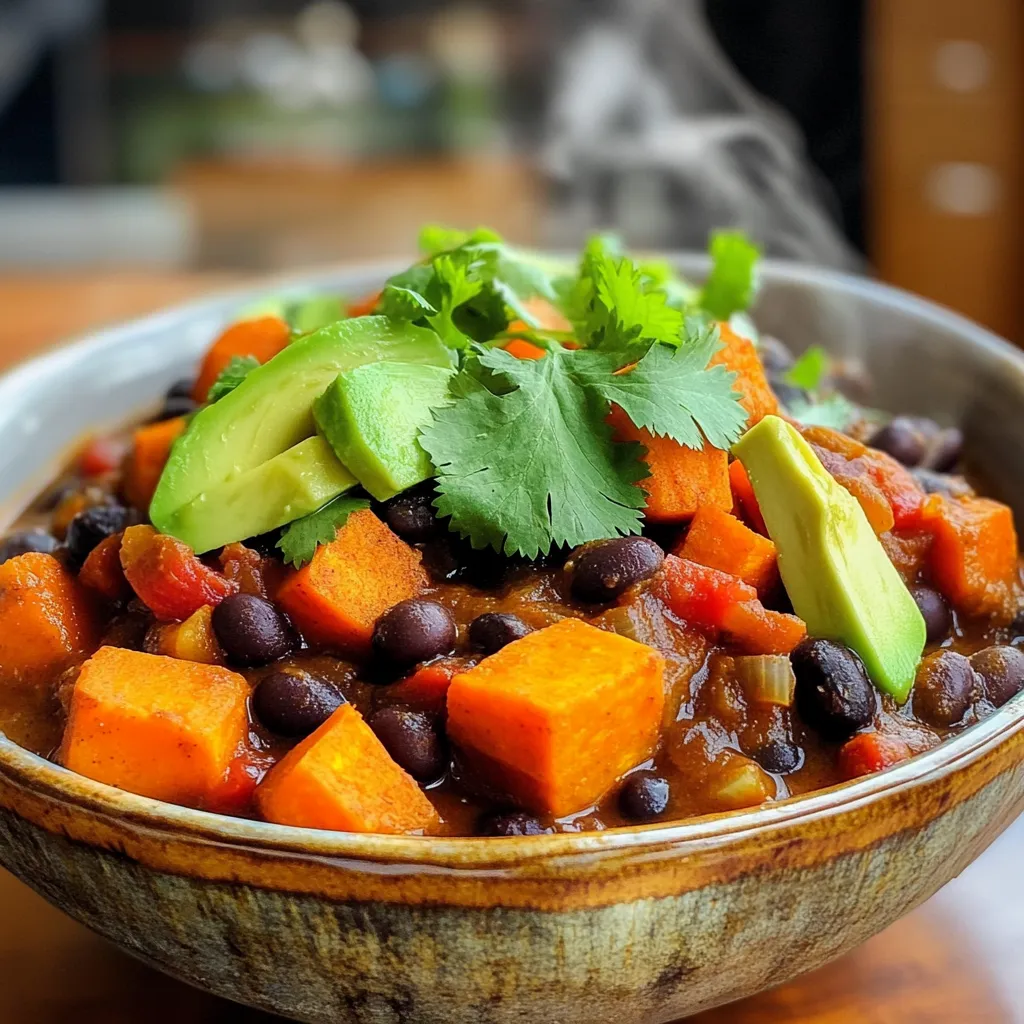
Welcome to my kitchen! Today, we’re diving into a flavorful recipe for Sweet Potato Black Bean Chili made in a
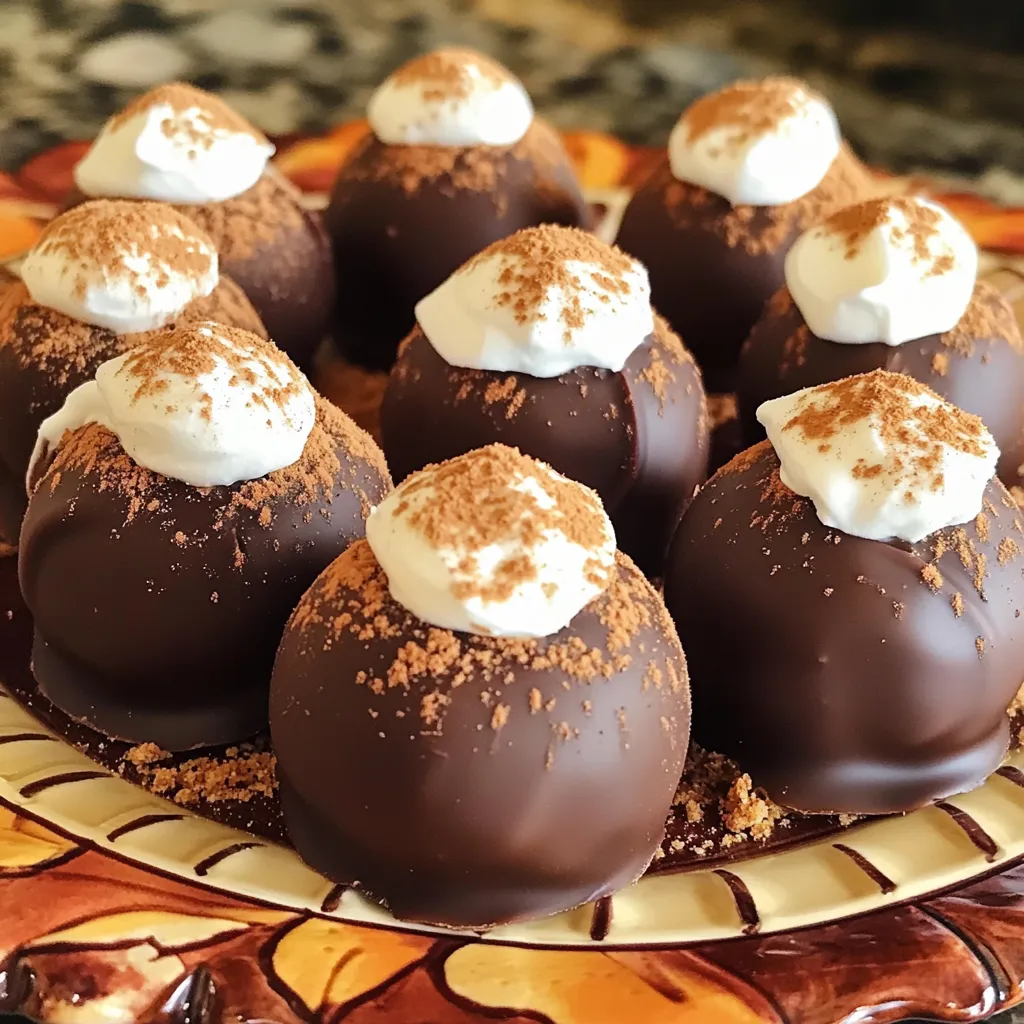
Looking for a quick and easy treat that combines the flavors of fall? You’re in the right place! These Chocolate
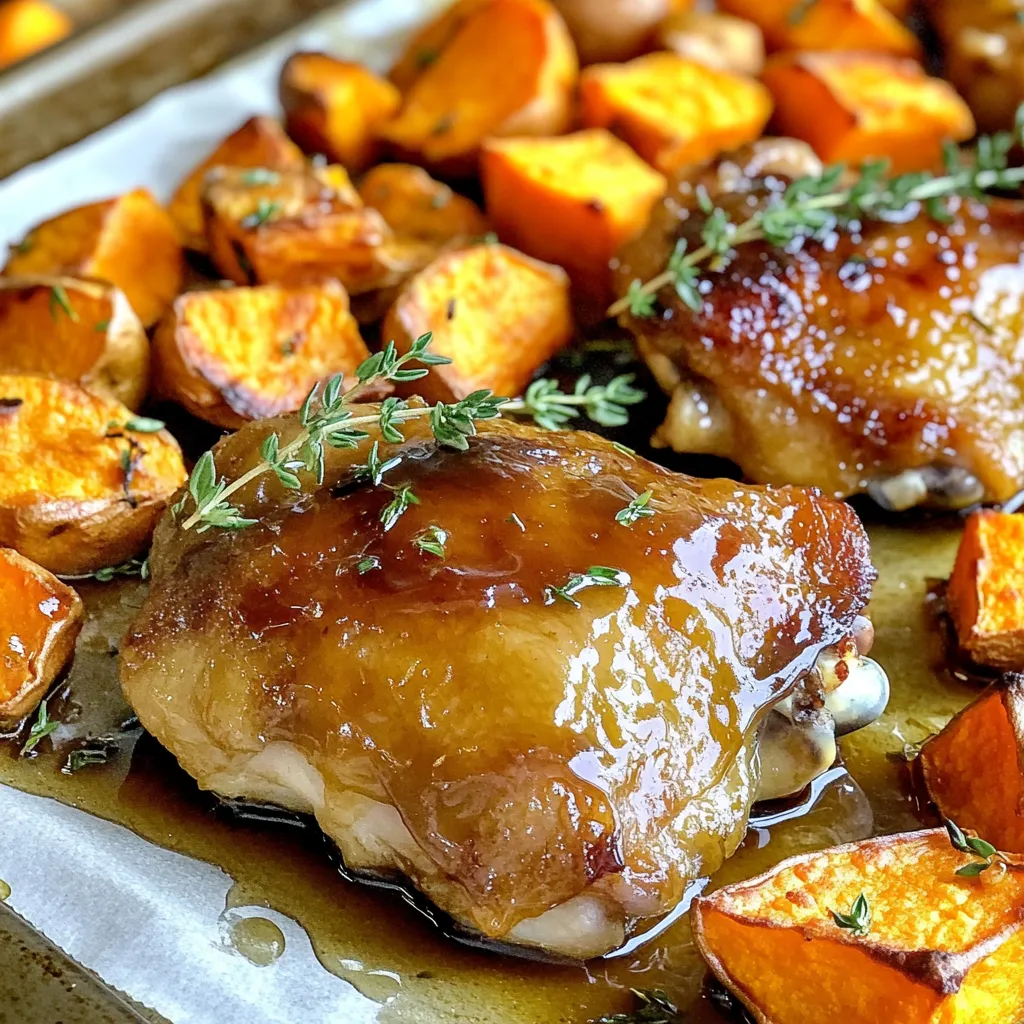
Looking for a quick and tasty meal idea? Let me introduce you to my Maple Glazed Chicken and Sweet Potatoes
