Looking for a fun and tasty treat? Chocolate Covered Banana Pops are your answer! These easy-to-make pops are perfect for kids and adults alike. With just a few simple ingredients, you can create a dessert that's delicious and healthy. In this guide, I'll walk you through the steps to make these delightful treats. Let's dive in and turn ripe bananas into a sweet sensation!
Why I Love This Recipe
- Easy to Make: This recipe requires minimal ingredients and simple steps, making it perfect for both beginners and experienced cooks.
- Healthy Treat: Bananas are packed with nutrients, and when paired with dark chocolate, they make a guilt-free dessert.
- Customizable: You can easily swap out toppings like nuts and coconut to suit your taste preferences or dietary needs.
- Fun for Kids: Making these pops is a fun activity for children, and they can help with dipping and decorating!
Ingredients
List of Required Ingredients
- Ripe bananas
- Dark chocolate chips
- Coconut oil
- Crushed nuts
- Shredded coconut
- Popsicle sticks
Optional Ingredients for Variations
- Different types of chocolate (milk, white, etc.)
- Additional toppings (sprinkles, granola, etc.)
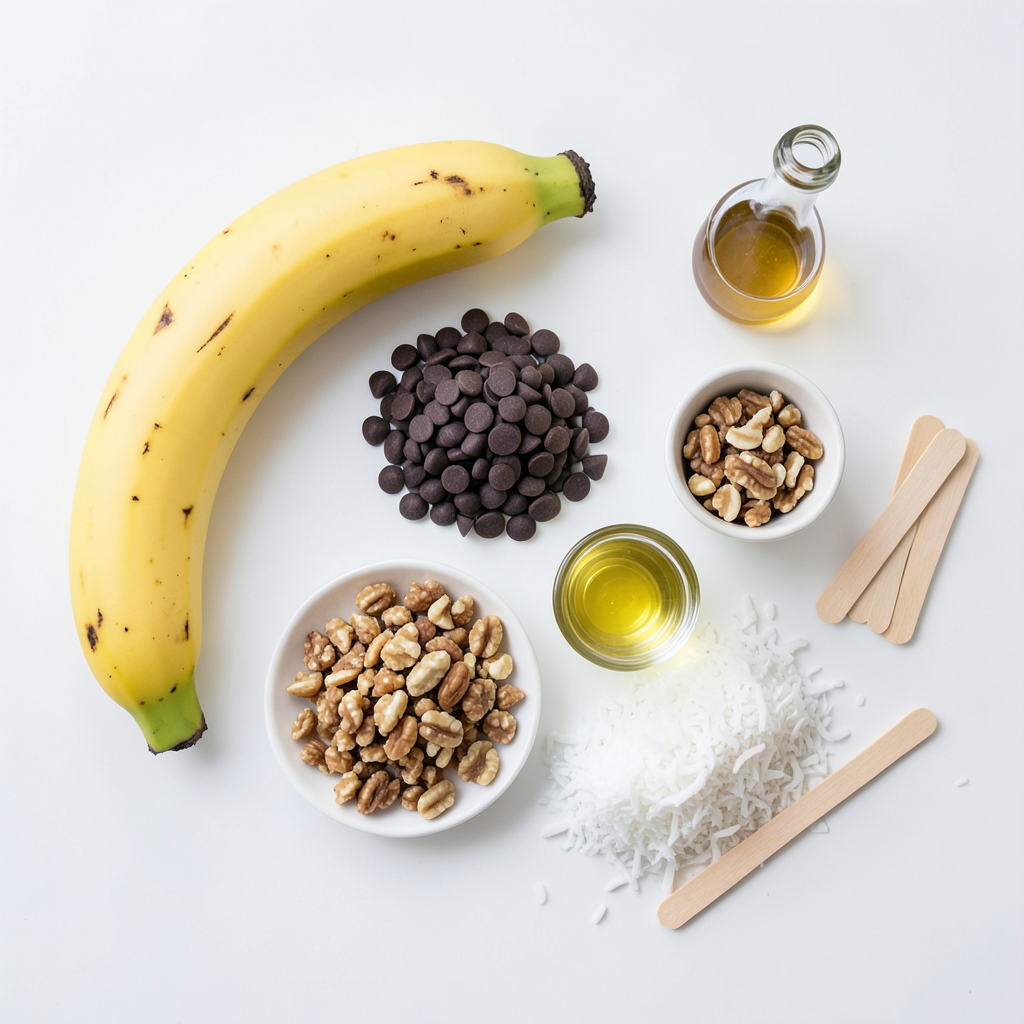
Chocolate covered banana pops are simple yet delightful. To make them, you need a few core ingredients. Start with ripe bananas. They should be sweet and easy to peel. Next, grab dark chocolate chips. They melt well and give a rich taste. Coconut oil helps the chocolate stay smooth when melting.
For texture and flavor, use crushed nuts like almonds or walnuts. Shredded coconut adds a fun twist, too. Don’t forget the popsicle sticks! They make it easy to hold and enjoy your treat.
Feel free to mix things up! You can use milk or white chocolate instead of dark. Sprinkles or granola make great toppings, adding color and crunch. These options let you tailor the pops to your taste!
Step-by-Step Instructions
Preparing the Bananas
First, peel the bananas. Cut each banana in half. This gives you four pieces. Next, insert a popsicle stick into each banana half. Make sure the stick goes in halfway. This helps hold the banana pop together.
Freezing the Bananas
Now, place the bananas on a parchment-lined baking sheet. Freeze them for about 30 minutes. This step is important because it makes the bananas firm. A firm banana holds up better when you dip it in chocolate.
Melting the Chocolate
Grab a microwave-safe bowl. Add 1 cup of dark chocolate chips and 2 tablespoons of coconut oil to the bowl. Heat it in the microwave at 30-second intervals. Stir between each interval. Keep heating until the chocolate is smooth and fully melted.
Dipping and Coating
Take the frozen banana pops out of the freezer. Dip each banana pop into the melted chocolate. Make sure to cover it all around. After dipping, roll the banana in crushed nuts or shredded coconut. This gives it a nice texture and flavor.
Final Freezing and Serving
Once you coat the bananas, place them back on the baking sheet. Freeze them for another 30 minutes. This helps the chocolate harden. You can serve them right away or store them. Keep them in an airtight container in the freezer for up to a week.
Tips & Tricks
Perfecting Your Chocolate Coating
To get a smooth chocolate coating, use good quality dark chocolate. The chocolate should melt well. Mix in coconut oil to make it shiny and smooth. This helps the chocolate flow better.
When you heat the chocolate, do it slowly. Microwave in short bursts. Stir in between to ensure it melts evenly. If it hardens too fast, add a little more coconut oil. This keeps it smooth for dipping.
Presentation Tips
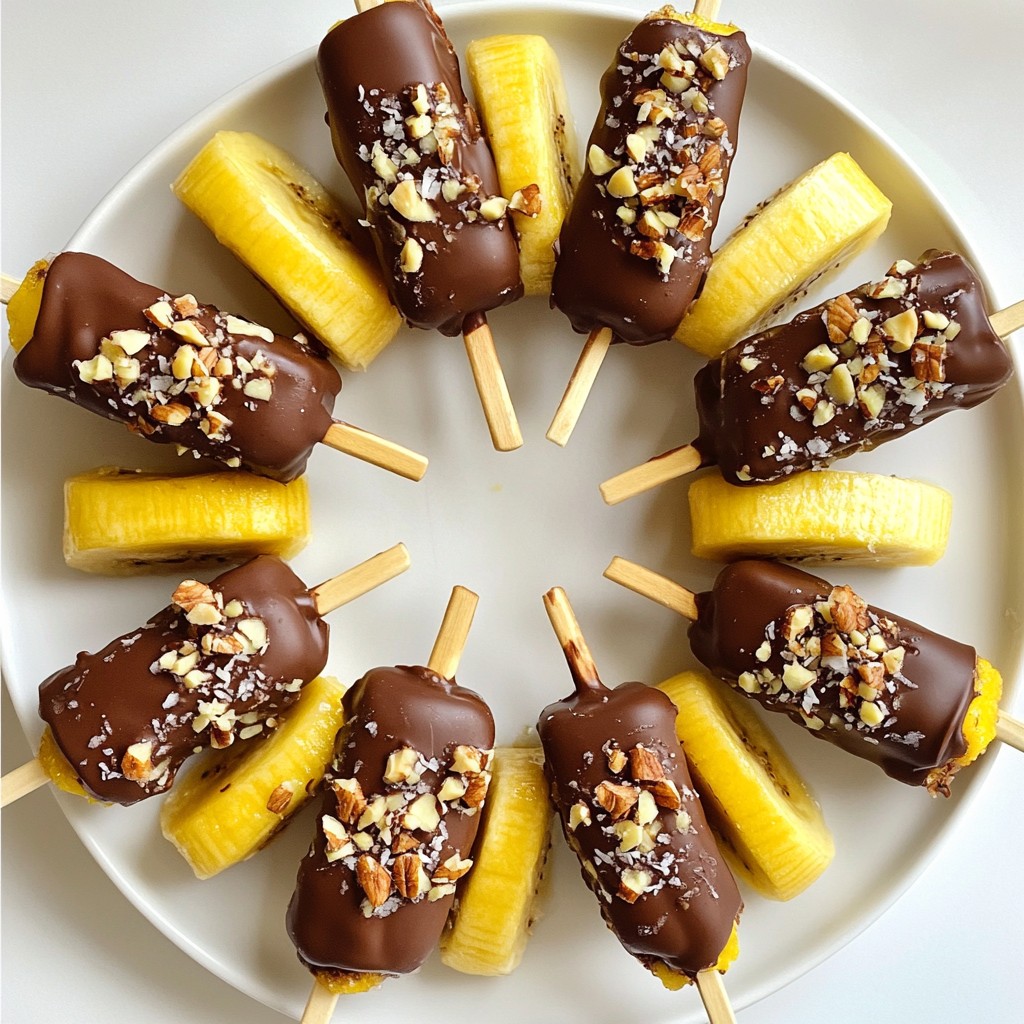
You want your banana pops to look great when you serve them. Use a colorful plate to make them pop. Arrange the banana pops in a circle. Sprinkle some extra nuts or coconut in the center. This makes your dish look fancy and inviting.
For an extra touch, drizzle more melted chocolate on top. This adds flair and makes them even more fun.
Health Benefits of Ingredients
Bananas are not just tasty; they are also healthy. They are full of potassium, fiber, and vitamins. Eating bananas can help with digestion and give you energy.
Dark chocolate has health perks too. It can boost heart health and improve mood. It contains antioxidants that are good for your body. Enjoying these treats can be a fun and healthful choice!
Pro Tips
- Choose Ripe Bananas: Make sure your bananas are ripe, but not overripe, for the best flavor and texture when frozen.
- Use Quality Chocolate: Opt for high-quality dark chocolate for a richer taste. You can also experiment with different types of chocolate.
- Customize Coatings: Feel free to get creative with your coatings! Try using sprinkles, crushed cookies, or seeds in addition to nuts and coconut.
- Serve with Dipping Sauce: For an extra treat, serve your banana pops with a side of melted chocolate or a fruit sauce for dipping.
Variations
Different Chocolate Dips
You can change up the chocolate for your banana pops. Try using milk chocolate for a sweeter taste. White chocolate also adds a nice twist and a creamy flavor. If you want something fun, combine milk and dark chocolate. It creates a beautiful swirl effect that looks great and tastes amazing.
Alternative Coatings
Instead of nuts or coconut, think about using crushed cookies. They add a nice crunch and flavor. You could use graham crackers or Oreos for a fun touch. Seeds are another option. Chia or sunflower seeds can give you a nutritious boost. For a lighter option, dip the bananas in yogurt. It adds a tangy flavor and gives a different texture.
Adding Flavors
You can make your banana pops even more exciting by adding flavors. A pinch of cinnamon can give a warm taste. Vanilla or almond extract can add a sweet note. You can also change the nuts you use. Try pecans or hazelnuts for a twist. Each nut brings its own flavor, making your treats even more special.
Storage Info
Best Storage Practices
To keep your chocolate covered banana pops fresh, store them in an airtight container. This prevents freezer burn and keeps them tasty. Use a container that seals well. You can stack the pops to save space.
For the best flavor and texture, freeze the pops for up to one week. After that, they might lose some of their crunch and taste. If you plan to keep them longer, consider wrapping each pop in plastic wrap before placing them in the container.
Reheating or Refreshing
If your frozen banana pops become too hard, you can soften them. Let them sit at room temperature for a few minutes. This makes them easier to bite into without losing their shape.
If you want to refresh the chocolate coating, try melting a bit more chocolate. Dip the banana pops again to give them a new layer. You can use the same method as before. Just make sure to let the new coating set in the freezer again.
FAQs
How long do Chocolate Covered Banana Pops last in the freezer?
Chocolate Covered Banana Pops last about one week in the freezer. To keep them fresh, store them in an airtight container. This helps prevent freezer burn and keeps the pops tasty.
Can I use frozen bananas for this recipe?
You can use frozen bananas, but ripe bananas work best. Ripe bananas are sweet and creamy. Frozen bananas may lose some texture when dipped in chocolate. If you use frozen ones, let them thaw a bit before dipping.
What type of chocolate is best for dipping?
Dark chocolate is my favorite for dipping. It has a rich flavor that pairs well with bananas. You can also use milk or white chocolate if you prefer a sweeter taste. Each type gives a different twist to the pops.
Are Chocolate Covered Banana Pops healthy?
Yes, these pops can be a healthy treat. Bananas are full of vitamins and minerals. Dark chocolate is high in antioxidants. The nuts and coconut add healthy fats and fiber. Enjoy them in moderation for a tasty snack!
You learned how to make tasty chocolate-covered banana pops using simple ingredients. We covered necessary items, like ripe bananas and dark chocolate, plus optional toppings for fun flavors. Following easy steps, you can create these treats at home and store them for later.
Enjoy experimenting with different chocolates and coatings. These banana pops are not just yummy; they also have great health benefits. Now, it’s time to whip up your creations and delight in the rewards!


