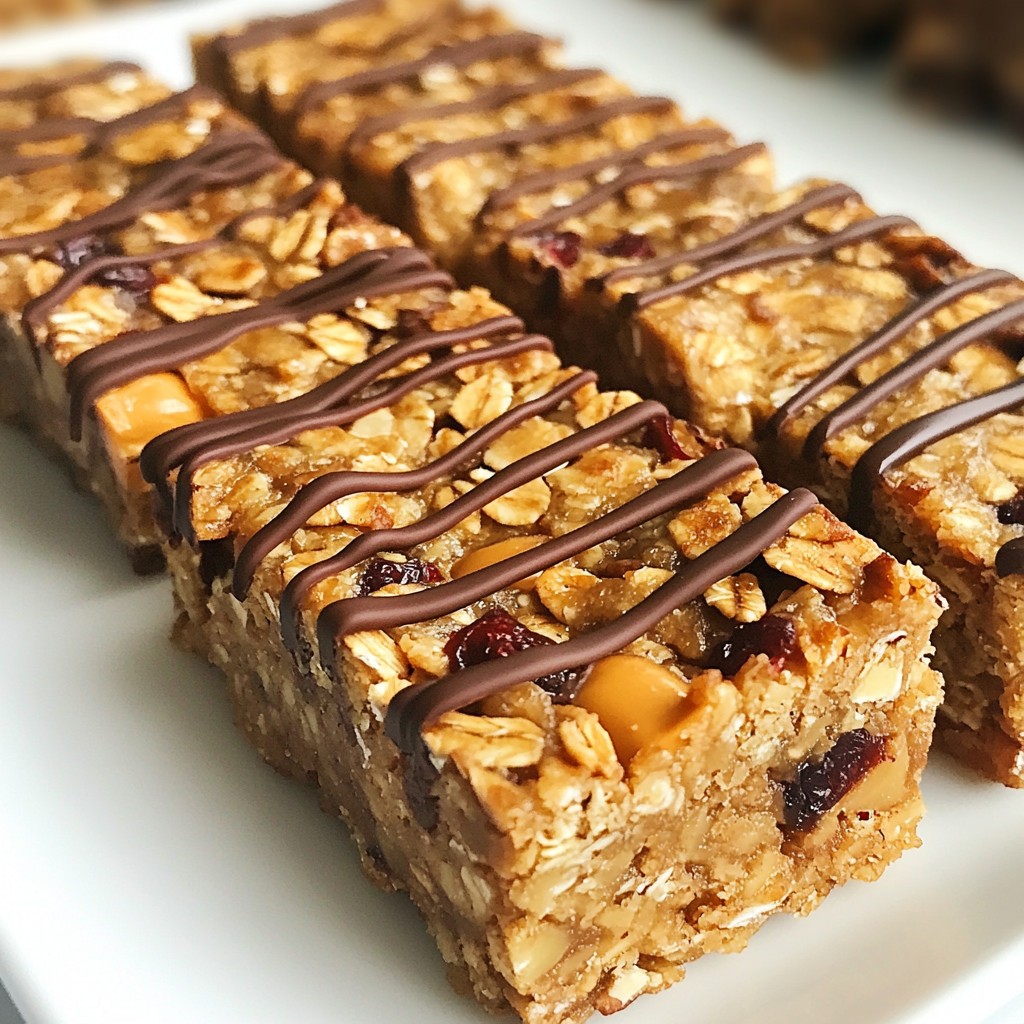
Looking for a tasty snack that's easy to make? My Peanut Butter Chocolate Chip Granola Bars are perfect for you! Packed with wholesome ingredients like rolled oats, creamy peanut butter, and chocolate chips, these bars are scrumptious and satisfying. Plus, you can customize them to match your tastes. Follow my simple steps to whip up a batch that’s great for breakfast, a quick snack, or even dessert! Let's get started!
Why I Love This Recipe
- Healthy Snack Alternative: These granola bars provide a nutritious option that satisfies sweet cravings without compromising on health.
- Quick and Easy to Make: With just a few simple steps, you can whip up a batch in under 30 minutes, perfect for busy days.
- Customizable Ingredients: You can easily swap out nuts, dried fruits, or sweeteners to suit your preferences or dietary needs.
- Great for On-the-Go: These bars are perfect for taking with you for a quick breakfast or snack, making them ideal for busy mornings or outdoor adventures.
Ingredients
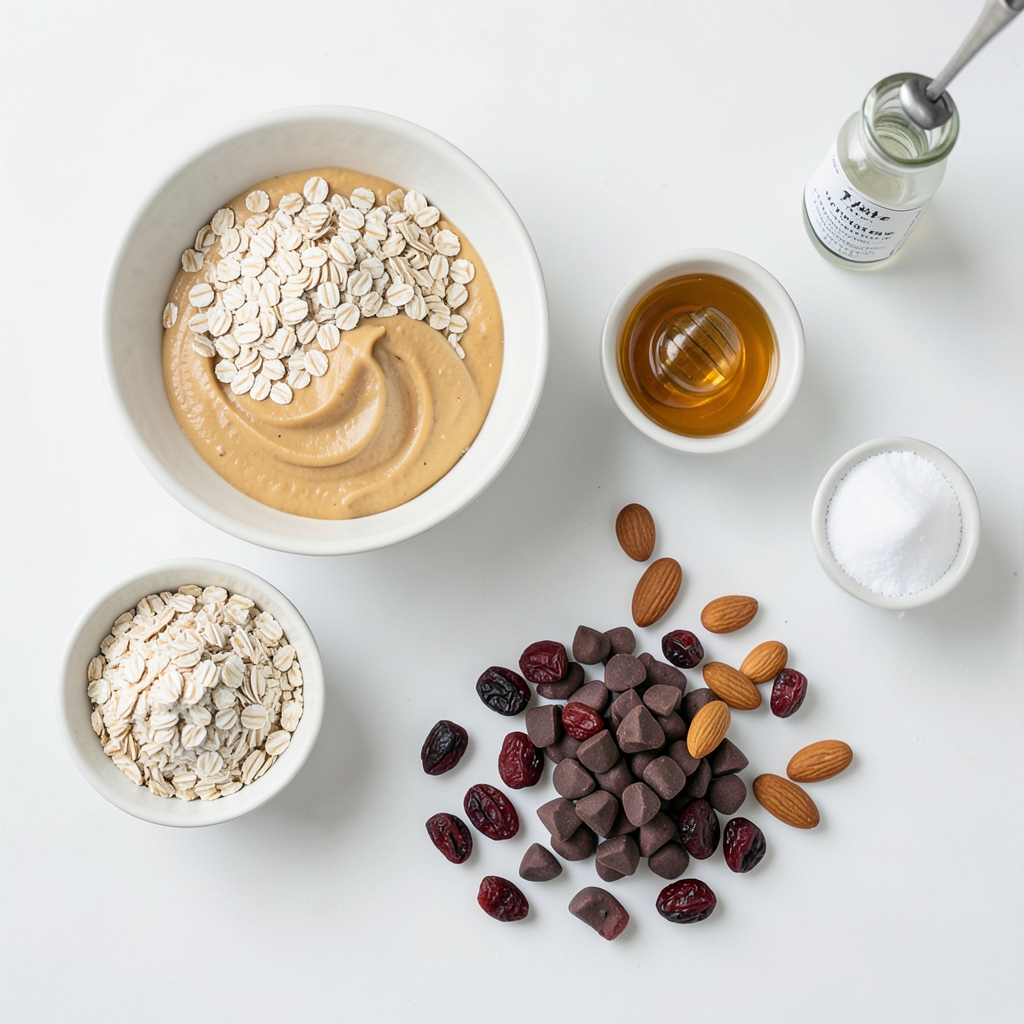
Main Ingredients
- 1 cup rolled oats
- 1/2 cup peanut butter (creamy or chunky)
- 1/4 cup honey or maple syrup
- 1/2 cup chocolate chips (semi-sweet or dark)
These main ingredients form the base of our granola bars. The rolled oats provide great texture and fiber. Peanut butter adds protein and creaminess. Honey or maple syrup serves as a sweetener and binder. Finally, chocolate chips bring a lovely sweetness and richness.
Optional Ingredients
- 1/4 cup chopped nuts (almonds or walnuts)
- 1/4 cup dried fruit (such as cranberries or raisins)
Adding optional ingredients can make your bars more interesting. Chopped nuts give crunch and healthy fats. Dried fruit adds sweetness and chewiness. You can mix and match based on your taste.
Ingredient Substitutions
- Alternatives for peanut butter: Try almond butter or sunflower seed butter.
- Sweetener options: You can use agave syrup or brown sugar instead of honey.
- Nut-free variations: Use seeds like pumpkin or sunflower seeds to avoid nuts.
These substitutions help you customize the recipe. They also cater to dietary needs or preferences. Remember, the key is to keep the texture and flavor balanced.
Step-by-Step Instructions
Preparation Steps
1. Preheat your oven to 350°F (175°C).
2. Line a 9x9 inch baking pan with parchment paper. Make sure some paper hangs over the sides. This helps you lift the bars out later.
3. In a large bowl, mix together:
- 1 cup rolled oats
- 1/4 cup chopped nuts (almonds or walnuts)
- 1/4 teaspoon salt
This mixture will form the base of your granola bars.
Making the Peanut Butter Mixture
1. In a small saucepan, add:
- 1/2 cup peanut butter (creamy or chunky)
- 1/4 cup honey or maple syrup
- 1/2 teaspoon vanilla extract
2. Heat on low and stir constantly until smooth. This should take just a few minutes.
The mixture needs to be warm but not bubbling.
Combining the Mixtures
1. Pour the warm peanut butter mixture over the oat mixture.
2. Add:
- 1/2 cup chocolate chips (semi-sweet or dark)
- 1/4 cup dried fruit (optional)
3. Stir everything together until fully combined.
4. Transfer this mixture to your prepared baking pan. Press down firmly with a spatula or your hands.
Make sure it is even and compact.
Now you're ready to bake!
Tips & Tricks
Baking Tips
To get even baking, spread the mixture flat in your pan. Press it down firmly. This helps the bars cook evenly. Every oven is different. If yours runs hot, check the bars a bit early. They should be golden brown around the edges. If they look dark, take them out.
Texture and Storage Tips
Do you like chewy bars? Use more peanut butter and honey. For crunchy bars, add more oats. Let them cool completely before cutting. Store them in an airtight container. This keeps them fresh longer. For the best taste, eat them within a week.
Serving Suggestions
These bars are great as a snack. Try serving them with fresh fruit or yogurt. You can also drizzle some honey on top. This makes them even sweeter. For a fun twist, crumble them over ice cream. Enjoy your tasty creation!
Pro Tips
- Use Fresh Ingredients: Ensure your oats, nuts, and dried fruits are fresh for the best flavor and texture.
- Customize Your Mix-ins: Feel free to swap in your favorite nuts, seeds, or dried fruits to make the bars uniquely yours.
- Press Firmly: Press the mixture down firmly in the pan to help the bars hold their shape once baked.
- Store Properly: Keep the bars in an airtight container at room temperature for up to a week, or refrigerate for longer freshness.
Variations
Flavor Variations
You can easily change the taste of your granola bars. Adding spices can make them more exciting. Try cinnamon for warmth or nutmeg for a unique twist. You can also switch up the chocolate. Use white chocolate for a sweeter taste or dark chocolate for a rich flavor.
Dietary Variations
If you need gluten-free options, use certified gluten-free oats. They provide the same great taste without the gluten. For vegan adaptations, replace honey with maple syrup. This keeps your bars sweet and plant-based.
Mix-In Ideas
Mix-ins can take your bars to another level. Consider nuts like pecans or cashews for added crunch. You can also add dried fruits like apricots or figs for sweetness. For extra nutrition, toss in seeds like chia or flaxseed. Superfoods like quinoa or hemp hearts can also boost health benefits.
Storage Info
How to Store Granola Bars
To keep your granola bars fresh, store them at room temperature. Place them in a cool, dry area away from sunlight. For longer storage, refrigeration or freezing are great options. If you choose to refrigerate, they can last up to two weeks. If you freeze them, they can stay good for up to three months.
Best Storage Containers
Using airtight containers is key for keeping granola bars fresh. You can also wrap them tightly in plastic wrap or foil. This helps prevent them from getting stale. For easy access, consider cutting them into bars first. Then, layer them in the container with parchment paper between each layer.
Shelf Life
Granola bars can last up to two weeks at room temperature. In the fridge, they stay fresh for about two weeks. If you freeze them, they can last up to three months. Always check for any signs of spoilage, like a change in smell or texture. Store them properly to enjoy these tasty treats longer!
FAQs
Can I use natural peanut butter in this recipe?
Yes, you can use natural peanut butter. It adds a rich flavor and texture. Just choose a brand with no added sugar or oils. Natural peanut butter can be thinner than processed kinds. This may change the texture of your granola bars slightly. If you find your mixture too runny, add more oats or a bit of flour to thicken it.
How do I know when the granola bars are done baking?
You can tell the granola bars are done when the edges turn golden brown. Usually, this takes about 15 to 20 minutes in the oven. Keep an eye on them to avoid burning. The center may look soft, but it will firm up as they cool. If you want chewier bars, take them out a bit earlier. For crunchier bars, leave them in until they are more brown.
Can I make these bars without nuts?
Yes, you can make nut-free granola bars. Here are some alternatives:
- Use seeds like sunflower or pumpkin instead of nuts.
- Omit nuts and add extra dried fruit for flavor.
- Try adding seeds and oats to maintain texture.
These changes keep your bars delicious and safe for those with nut allergies.
You can easily make delicious granola bars using simple ingredients. We covered the main ingredients like oats, peanut butter, and honey. You learned step-by-step instructions to prepare and bake these treats. The tips shared can help you achieve the perfect texture. Plus, you now know various ways to customize and store your bars.
Making granola bars is fun and allows for creativity. Experiment with flavors and find your favorite mix-ins. Enjoy your homemade snacks!


