
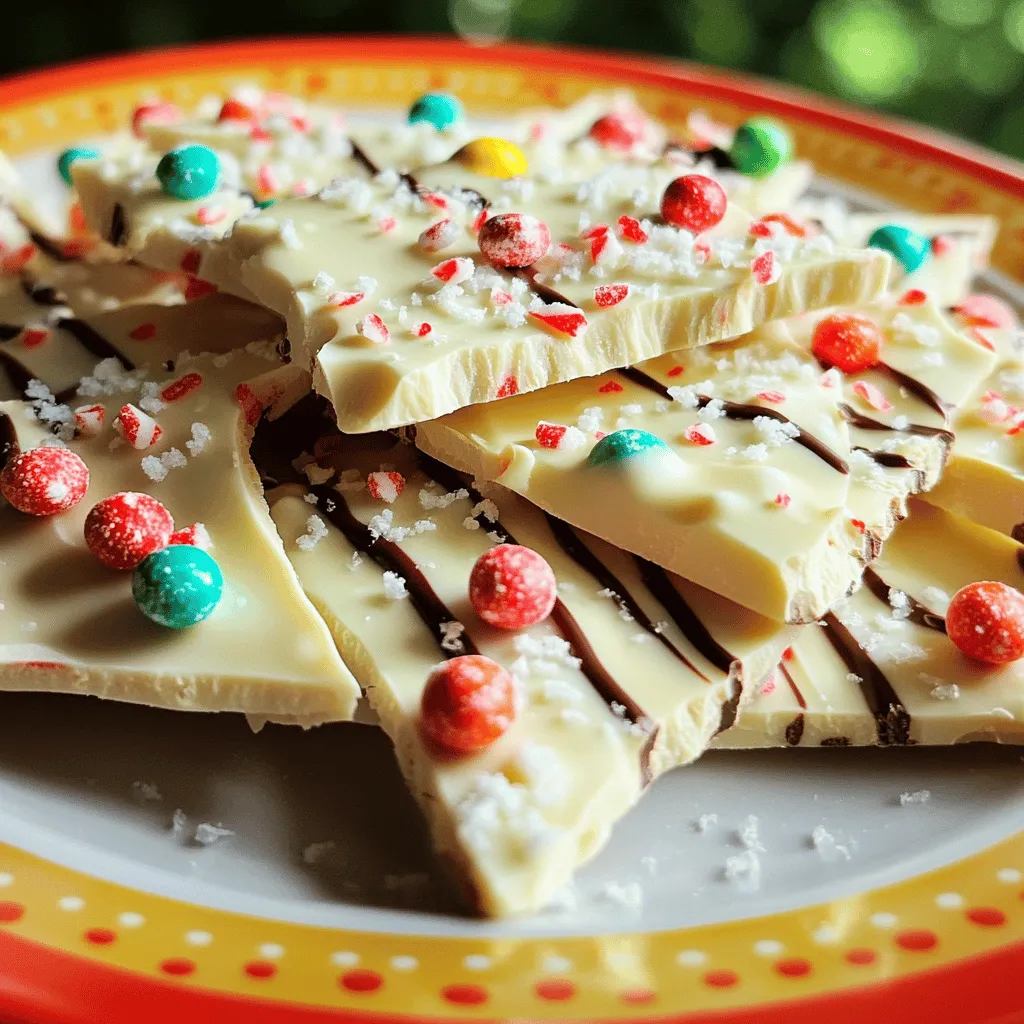
Get ready for a sweet treat that’s easy and fun to make! In this post, I’ll show you how to whip up No-Bake White Chocolate Peppermint Bark Delight. This festive dessert combines creamy white chocolate with peppermint for a holiday favorite. Perfect as a gift or to enjoy at home, it takes just a few simple steps. Let’s dive into the ingredients and get started on this tasty treat!
Ingredients
Required Ingredients
To make No-Bake White Chocolate Peppermint Bark, gather the following ingredients:
- 12 oz white chocolate chips
- 1 cup crushed peppermint candies (or candy canes)
- 1/2 tsp peppermint extract
- 1/4 cup dark chocolate chips (for drizzling)
- Sea salt flakes (optional, for garnish)
These ingredients create a sweet and minty treat that’s perfect for the holidays.
Optional Ingredients for Customization
You can easily customize your peppermint bark. Here are a few ideas:
- Add a dash of vanilla extract for extra flavor.
- Substitute with milk chocolate chips for a different taste.
- Use crushed nuts, like almonds or pecans, for added texture.
- Drizzle with white chocolate for a more visual appeal.
Feel free to play with these options to make this recipe your own!
Step-by-Step Instructions
Preparing the Baking Sheet
To start, line a baking sheet with parchment paper. This helps the bark come off easily later. Make sure the surface is flat and smooth. A good surface keeps the bark even and nice.
Melting the White Chocolate
Next, grab a microwave-safe bowl. Combine the 12 oz of white chocolate chips with 1/2 tsp of peppermint extract. Heat the mixture in the microwave. Use 30-second intervals, stirring after each. This method ensures the chocolate melts evenly. In about 1 to 2 minutes, it should be smooth.
Assembling the Bark
Once the chocolate is melted, mix in three-quarters of the crushed peppermint candies. This adds a nice crunch and flavor. Pour the melted chocolate onto the prepared baking sheet. Use a spatula to spread it evenly. Then, sprinkle the remaining crushed candies on top. Press them down gently to help them stick.
Drizzling the Dark Chocolate
Now, let’s melt the dark chocolate. Use another microwave-safe bowl with 1/4 cup of dark chocolate chips. Again, use the 30-second method until smooth. Drizzle the melted dark chocolate over the white chocolate using a spoon or a piping bag. Creating a pattern makes it look fancy.
Final Touches and Setting
If you like, sprinkle some sea salt flakes on top. This adds a great flavor contrast. Next, place the baking sheet in the refrigerator. Let it set for at least 1 hour. Once it’s firm, break the bark into pieces. Enjoy your tasty treat!
Tips & Tricks
Perfecting the Texture
To get the best texture for your no-bake white chocolate peppermint bark, make sure the white chocolate is fully melted. This means heating it gently in the microwave. Use 30-second intervals and stir well after each. This way, you avoid burning the chocolate. You want it smooth and creamy.
For a smooth finish, spread the melted chocolate carefully on the baking sheet. Use a spatula to get an even layer. Press the crushed peppermint candies gently into the chocolate so they stick well. This gives a nice look and great taste.
Variations and Customization
Feel free to mix things up! You can add different toppings like nuts or dried fruit. Try using crushed Oreos or sprinkles for a fun twist. You can also swap in milk chocolate or dark chocolate for the white chocolate. Each type will give its own unique flavor.
If you want a richer taste, add more peppermint extract. Just be careful not to overdo it. A little goes a long way!
Serving Suggestions
When serving your peppermint bark, presentation matters. Arrange the pieces on a festive platter. You can garnish with fresh peppermint leaves for a holiday vibe. It makes a great centerpiece for any gathering.
Pair this treat with hot cocoa or coffee. The flavors complement each other well. This bark also makes a lovely gift. Pack it in a cute box or tin for a sweet surprise!
Storage Info
How to Store Leftovers
To keep your peppermint bark fresh, use an airtight container. This will prevent moisture from ruining the texture. You can also use a zip-top bag. Make sure to press out any air before sealing. Store it in the fridge for up to two weeks. This way, you can enjoy it later!
Freezing Instructions
You can freeze peppermint bark for longer storage. Cut it into pieces and layer them between sheets of parchment paper. Place them in a freezer-safe container or bag. This helps keep the pieces from sticking together. For thawing, take the bark out and let it sit at room temperature. It should be ready to serve in about 30 minutes. Enjoy your treat as if it was just made!
FAQs
How long does No-Bake White Chocolate Peppermint Bark last?
No-Bake White Chocolate Peppermint Bark stays fresh in the fridge for about two weeks.
- Shelf life in the refrigerator: Keep it in an airtight container. It will maintain its taste and texture.
- Signs of spoilage: Look for any discoloration or strange smells. If it feels hard or dry, it may be time to toss it.
Can I use milk chocolate instead of white chocolate?
You can use milk chocolate if you prefer.
- Discussion on chocolate substitutions: Milk chocolate will make the bark sweeter and creamier. It has a different taste than white chocolate.
- Effects on flavor and appearance: The color will change to a darker hue. It may not have the same bright look as white chocolate bark.
Is this recipe suitable for gifting?
Yes, this bark makes a perfect gift during the holidays.
- Presentation tips for gifting: Cut the bark into nice pieces. Arrange them on a colorful plate or in a festive box.
- Packaging suggestions for holiday gifting: Use cellophane bags tied with ribbon. This adds a nice touch and keeps the bark fresh.
No-Bake White Chocolate Peppermint Bark is fun and easy to make. You start with simple ingredients and follow clear steps. This treat looks great for any holiday gathering. I shared tips to help you create the perfect bark and ways to store it for later. Remember, you can customize it to fit your taste. Make this treat, and enjoy the smiles it brings!

