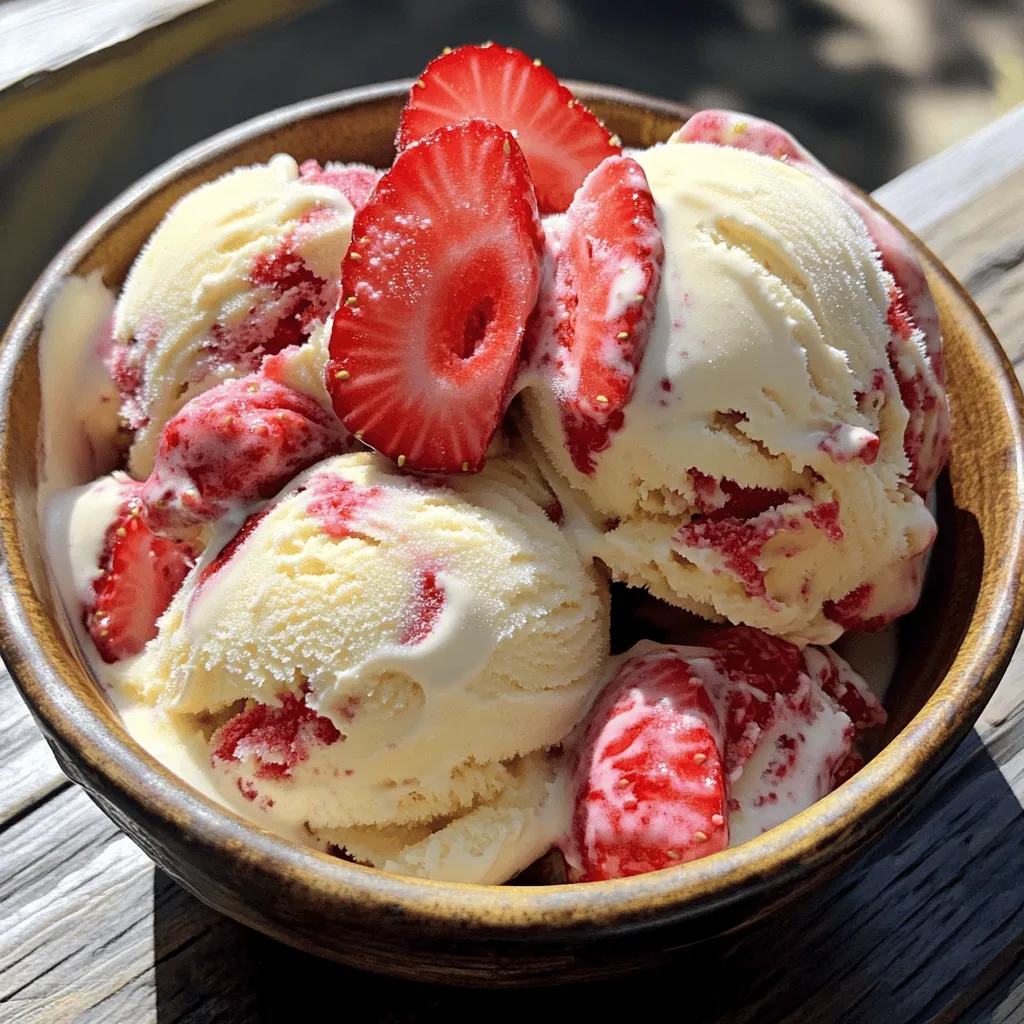
You don’t need an ice cream maker to enjoy creamy, homemade strawberry ice cream! In this simple and delicious treat, I’ll guide you step-by-step to whip up a batch using fresh strawberries and a few basic ingredients. With my tips, you’ll master the art of no-churn ice cream, impressing family and friends. Get ready to cool off with a scoop of bliss that’s all yours!
Ingredients
Fresh Ingredients
– 2 cups fresh strawberries
– 1/3 cup granulated sugar
– 1 teaspoon lemon juice
Fresh strawberries are the star of this ice cream. Choose ripe, sweet strawberries for the best flavor. The sugar helps to bring out their sweetness. Lemon juice adds a nice zing that balances the taste. This simple mix creates a fruity base for your ice cream.
Creamy Base Ingredients
– 1 cup heavy cream
– 1 can (14 oz) sweetened condensed milk
– 1 teaspoon vanilla extract
– A pinch of salt
For the creamy base, heavy cream is key. It whips up to a fluffy texture. Sweetened condensed milk adds rich sweetness and creaminess. Vanilla extract gives a warm flavor that complements the strawberries. A pinch of salt enhances all the tastes, making the ice cream even better.
Using these fresh and creamy ingredients, you create a smooth and delicious no-churn strawberry ice cream.
Step-by-Step Instructions
Preparing the Strawberries
To start, I prepare the strawberries. I take 2 cups of fresh strawberries, hull them, and slice them. Then, I mix them in a bowl with 1/3 cup of granulated sugar and 1 teaspoon of lemon juice. This macerating process is key. It helps the strawberries release their sweet juices. Let them sit for about 10-15 minutes. This step is vital for a juicy texture that adds flavor to the ice cream.
After the strawberries soften, I lightly mash them with a fork. I leave some chunks for great texture in the ice cream. If you prefer a smoother ice cream, you can blend them lightly in a food processor.
Whipping the Cream
Next, I whip the cream. I pour 1 cup of heavy cream into a large mixing bowl. Using an electric mixer, I whip it until stiff peaks form. This means the cream holds its shape well. Be careful not to over-whip it. If you do, it might turn grainy, and I want a nice fluffy texture.
Combining Ingredients
Now, it’s time to combine the ingredients. In another bowl, I whisk together 1 can of sweetened condensed milk, 1 teaspoon of vanilla extract, and a pinch of salt. I mix these until smooth. Then, I gently fold the whipped cream into this mixture. I do this slowly to keep the air in the cream. This keeps the ice cream light and airy.
After that, I gently fold in the strawberries. I ensure they are evenly mixed throughout the cream. This allows every bite to be full of strawberry flavor.
Freezing Process
For the freezing process, I transfer the mixture into a loaf pan or an airtight container. I spread it evenly and smooth the top with a spatula. I cover the container tightly with plastic wrap or a lid. I recommend freezing the ice cream for at least 6 hours, or even overnight. This will help it firm up nicely.
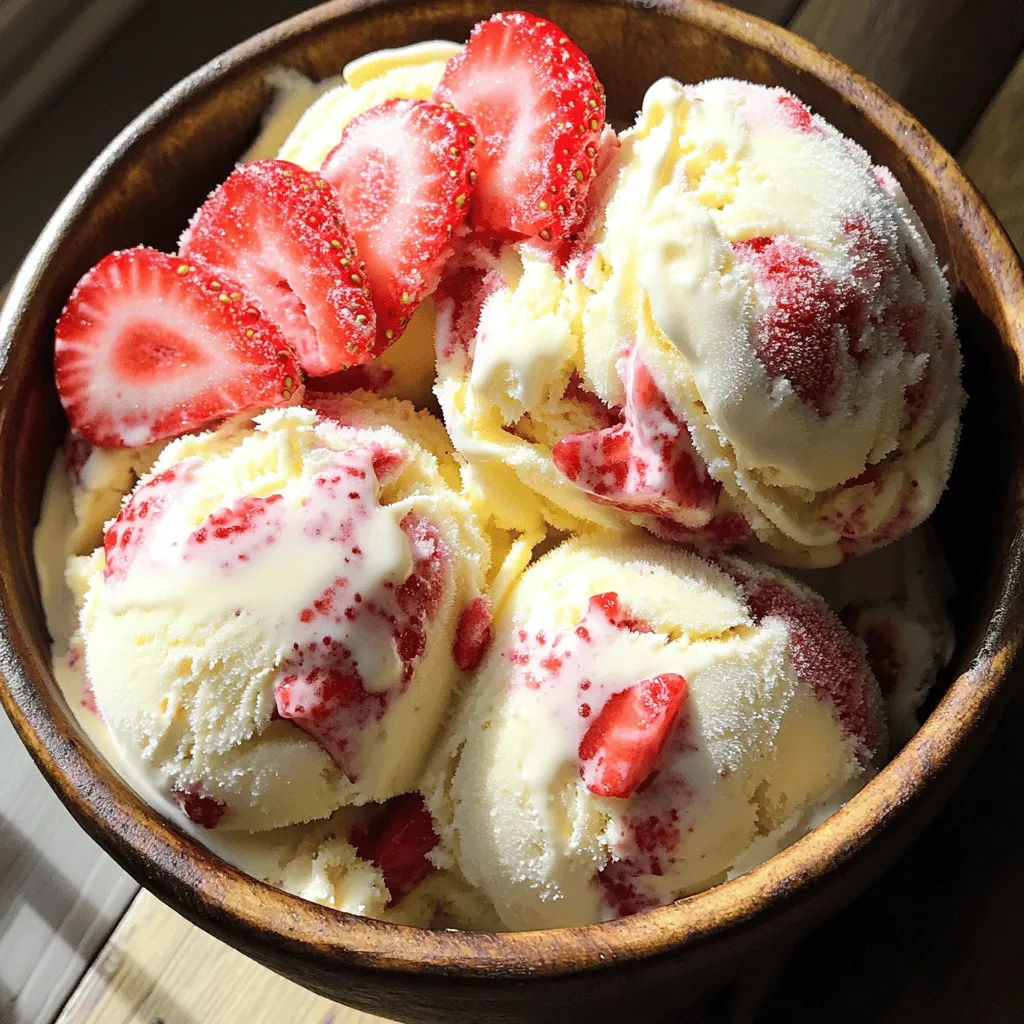
When it’s time to enjoy, simply scoop the ice cream into bowls or cones. It’s a simple and delicious treat that everyone will love!
Tips & Tricks
Adjusting Sweetness
You can easily change the sweetness of your ice cream.If you like it sweeter, add more sugar. If you prefer it less sweet, cut back on the sugar.
Adding lemon juice is a great way to enhance the flavor. Just one teaspoon adds brightness. It helps balance the sweetness and makes the strawberries taste even better.
Texture Preferences
Think about how you want your ice cream to feel. If you like a chunky texture, mash the strawberries slightly. Leave some larger pieces for a fun bite. If you prefer a smooth ice cream, blend the strawberries fully in a food processor.
You can also add mix-ins to customize your ice cream. Try chocolate chips, crushed cookies, or nuts. These extras add crunch and fun flavors.
Serving Suggestions
When serving your no-churn strawberry ice cream, use bowls or cones. A scoop on a warm brownie tastes amazing too.
Pair your ice cream with other desserts for a treat. It goes well with pie, cake, or even fresh fruit. You can create a beautiful dessert plate and impress your guests!
Variations
Fruit Variations
You can change up the flavor with different fruits. Berries like blueberries, raspberries, or blackberries work great. You can even mix them! Seasonal fruits like peaches or cherries add a fun twist too. Just keep the same measurements for sweetness and creaminess.
Flavor Add-Ins
Want to spice things up? Add chocolate chips or swirl in some fudge. Nut butters like almond or peanut butter can create a rich taste. Vanilla or almond extract can enhance the flavor too. Be creative, and try what you love!
Dairy-Free Options
If you want a dairy-free treat, replace heavy cream with coconut cream. It gives a nice, creamy texture. You can also use maple syrup or agave nectar as sweeteners. This way, you keep the sweet taste without dairy.
Storage Info
Best Practices for Storage
Store no-churn strawberry ice cream in an airtight container. Use a glass or plastic container with a tight lid. This helps keep the ice cream fresh and prevents freezer burn. Before sealing, press a piece of plastic wrap against the surface. This adds an extra layer of protection.
Shelf Life
Your no-churn ice cream lasts about two weeks in the freezer. It may stay good for a month, but the taste may change. Look for ice crystals forming on top. This is a sign it may spoil. If the ice cream smells off or feels gritty, it’s best to toss it.
Re-freezing Tips
If you need to refreeze, do it gently. Let the ice cream sit at room temperature for a few minutes before scooping. This helps maintain its smooth texture. Avoid refreezing more than once. Each thaw can make the ice cream grainy. For best results, serve it fresh after each thaw.
FAQs
How to make No-Churn Strawberry Ice Cream without an ice cream maker?
You can make this ice cream easily without a machine. Follow these simple steps:
1. Prepare the strawberries: Mix sliced strawberries, sugar, and lemon juice. Let them sit for 10-15 minutes.
2. Mash the strawberries: Use a fork or a potato masher. Leave some chunks for texture.
3. Whip the cream: Beat heavy cream until you get stiff peaks. Don’t over-whip it.
4. Combine the mixtures: In another bowl, mix sweetened condensed milk, vanilla, and salt. Gently fold in the whipped cream.
5. Add strawberries: Fold the mashed strawberries into the cream mixture.
6. Freeze: Pour the mixture into a container. Cover and freeze for at least 6 hours.
This method gives you a smooth, creamy treat without the fuss of a machine.
Can you use frozen strawberries?
Yes, you can use frozen strawberries. However, they may change the texture and flavor. Frozen berries can be mushy when thawed. They also may not be as sweet as fresh ones. To use them:
– Let them thaw completely.
– Drain excess liquid.
– Mash or blend as you would with fresh strawberries.
This way, you can make a delicious ice cream even when fresh strawberries are not in season.
What to do if the ice cream is too hard?
If your ice cream is too hard, don’t worry! Here are some tips to soften it before you serve:
– Let it sit: Take the ice cream out of the freezer and let it sit at room temperature for 5-10 minutes.
– Warm scoop: Run your ice cream scoop under warm water. This helps it glide through the ice cream.
– Microwave: For a quick fix, microwave the ice cream for about 10 seconds. Check and repeat if needed.
These tips make serving easier and keep your ice cream enjoyable.
How can I make this recipe healthier?
You can make this no-churn strawberry ice cream healthier with a few changes:
– Use low-fat cream: Substitute heavy cream with half-and-half or a light whipping cream.
– Sweetener swap: Replace granulated sugar with a natural sweetener like honey or agave.
– Add yogurt: Mix in Greek yogurt for protein and a tangy flavor.
These simple swaps can lower calories while keeping the ice cream delicious.
This blog post covered all you need to know about making no-churn strawberry ice cream. I shared the key ingredients and detailed each step from preparing strawberries to freezing. You learned tips for adjusting sweetness and texture, and we explored fun variations.
Ultimately, making your own ice cream is easy and rewarding. Enjoy experimenting with flavors and enjoy every scoop!


